Art FLaHG
PREP | YEAR 1 & 2 | YEAR 3 & 4 | YEAR 5 6 |
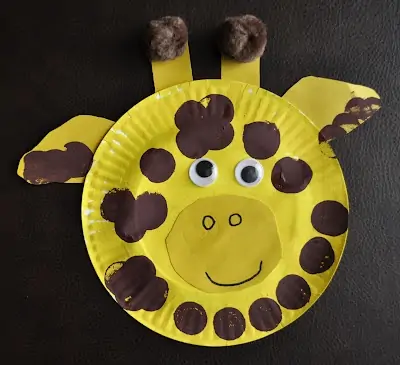
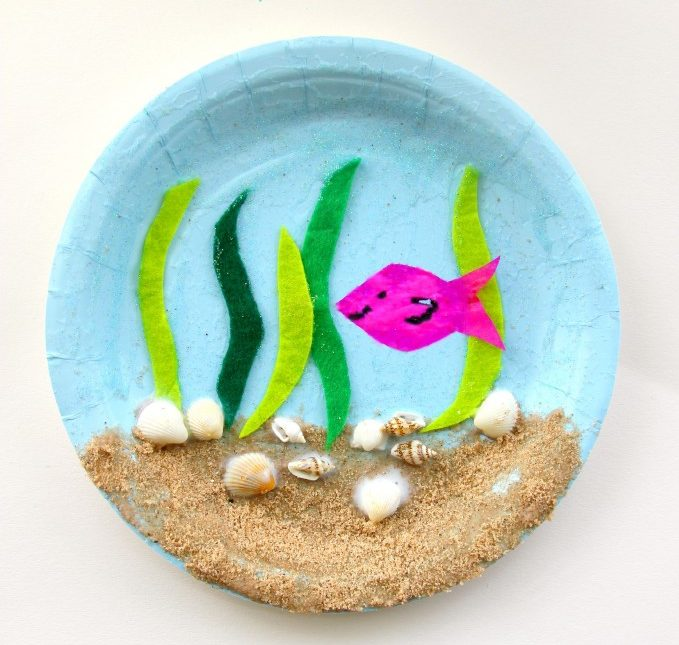
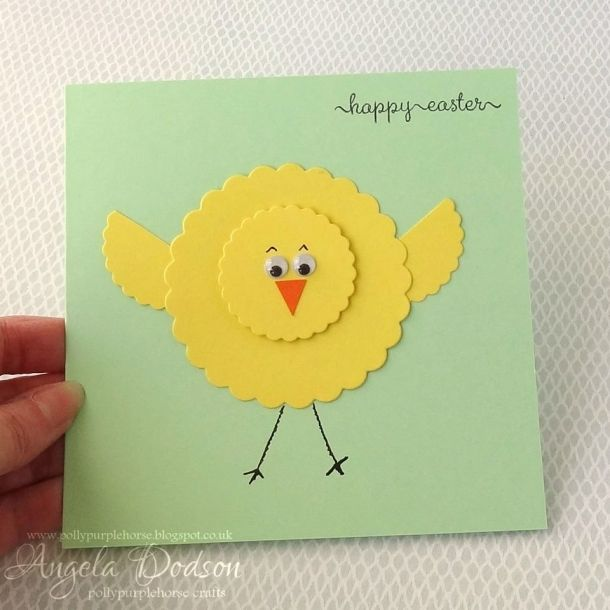
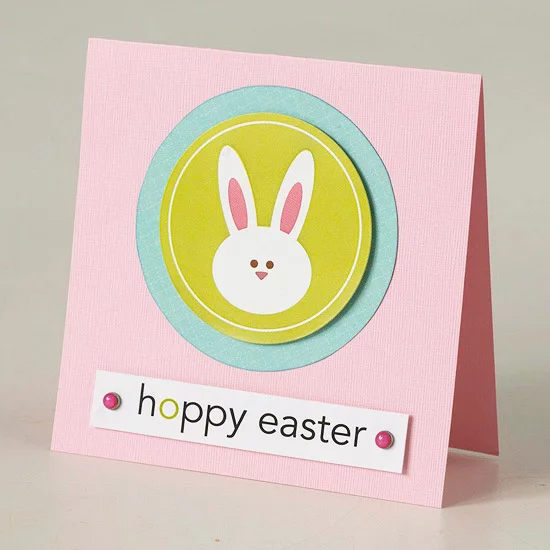
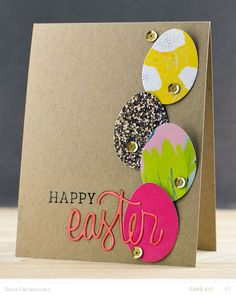
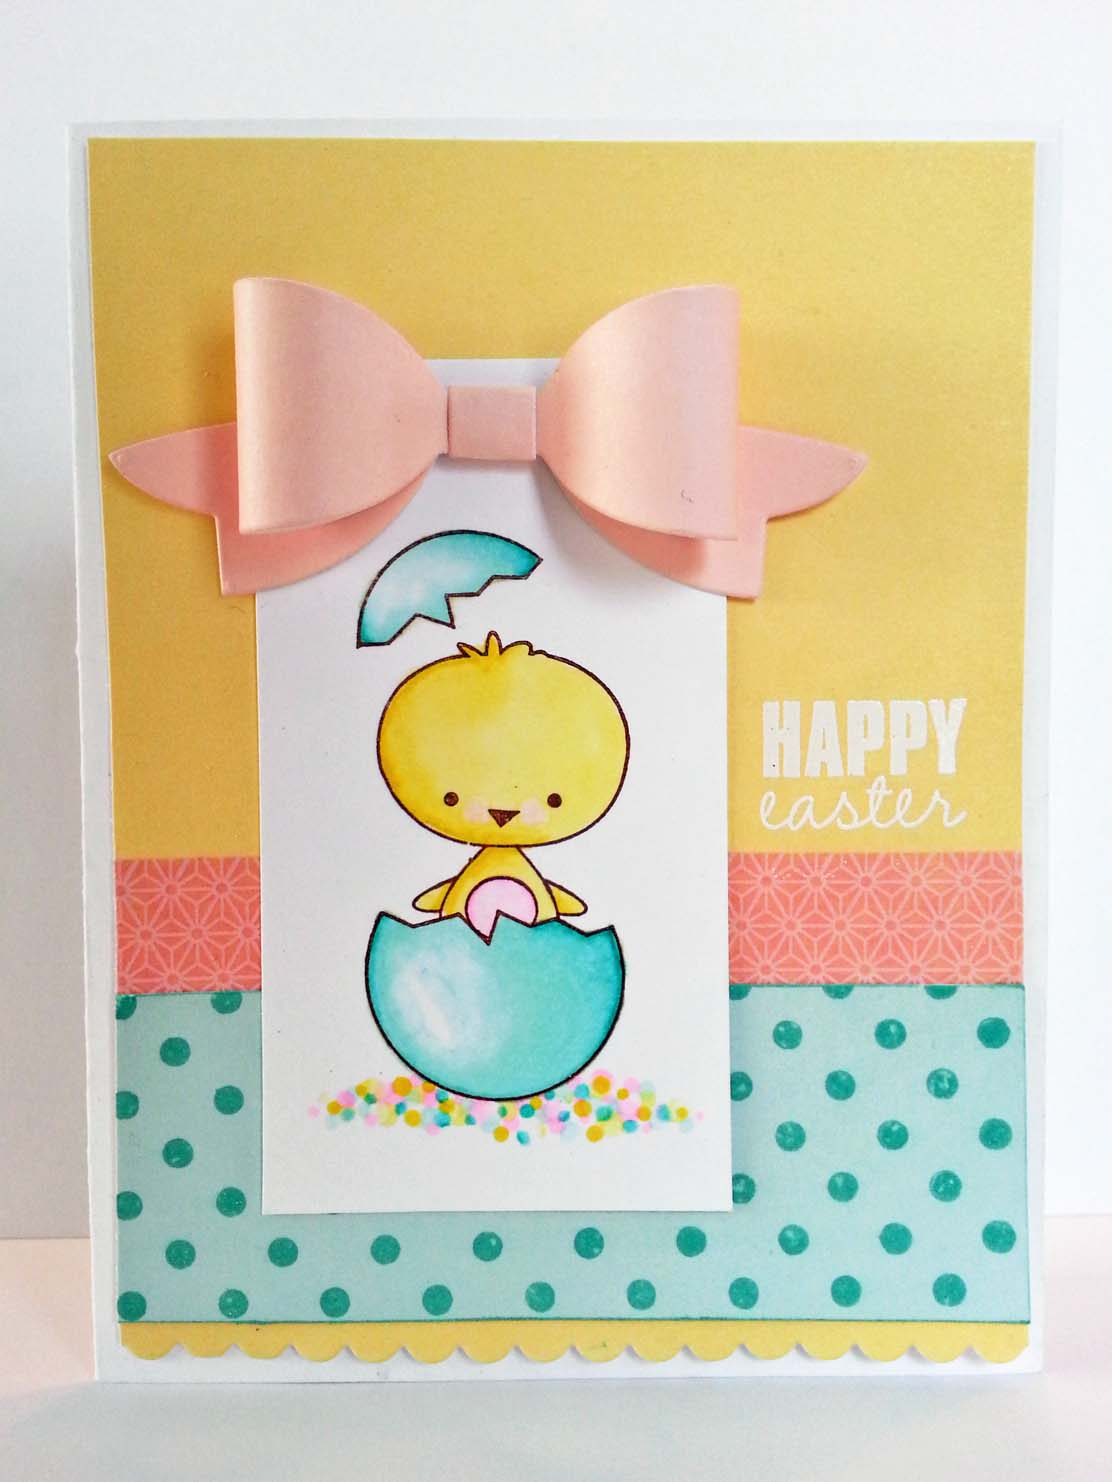
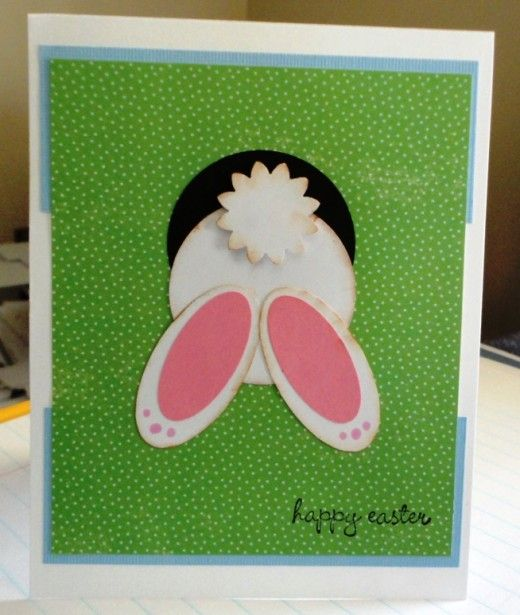
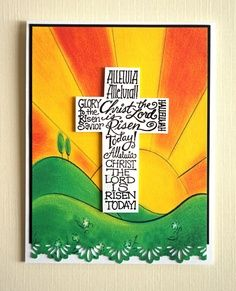
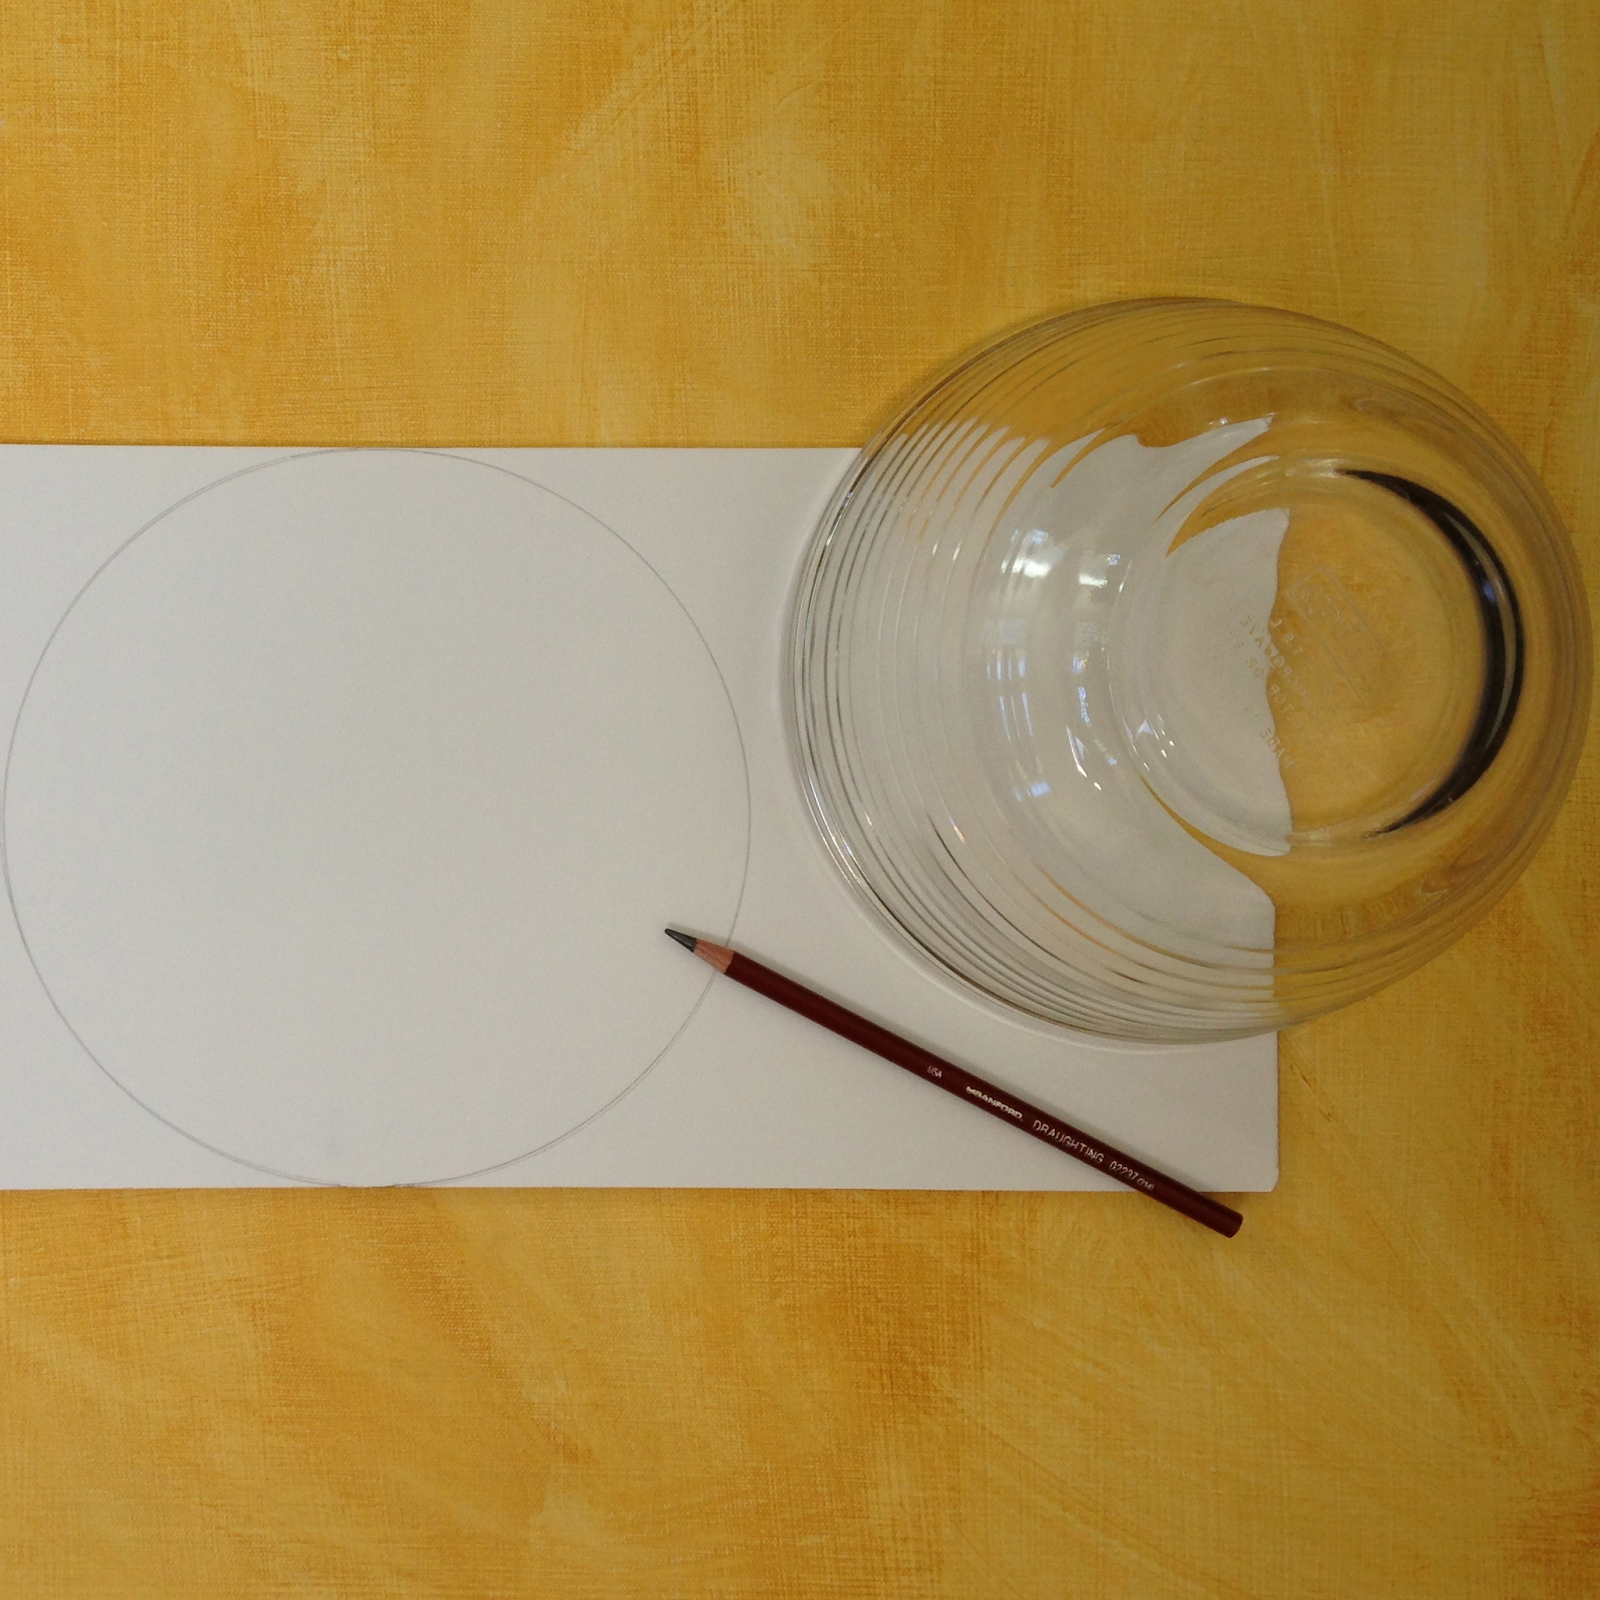
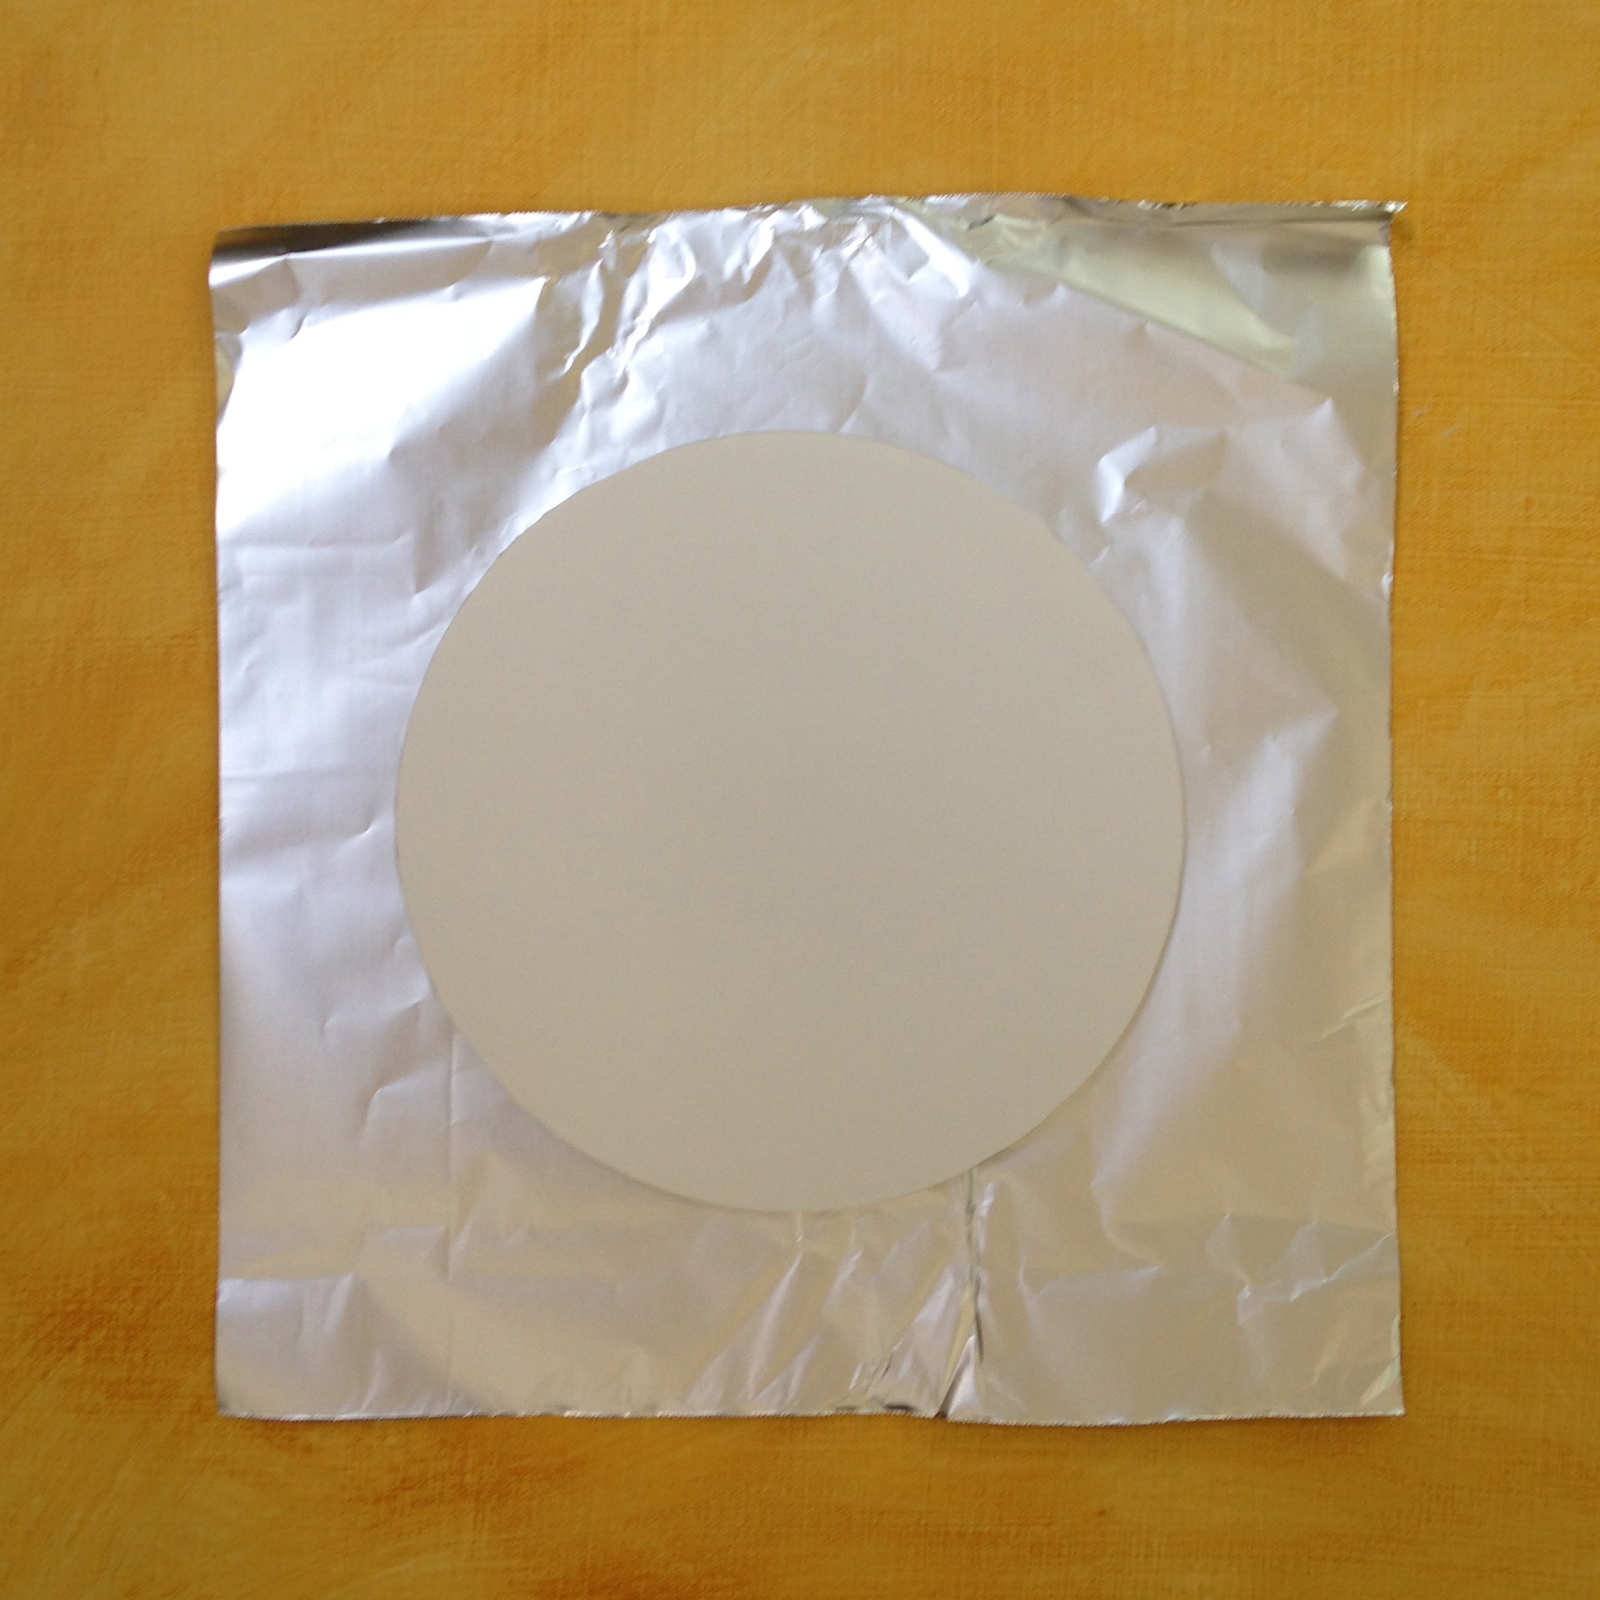
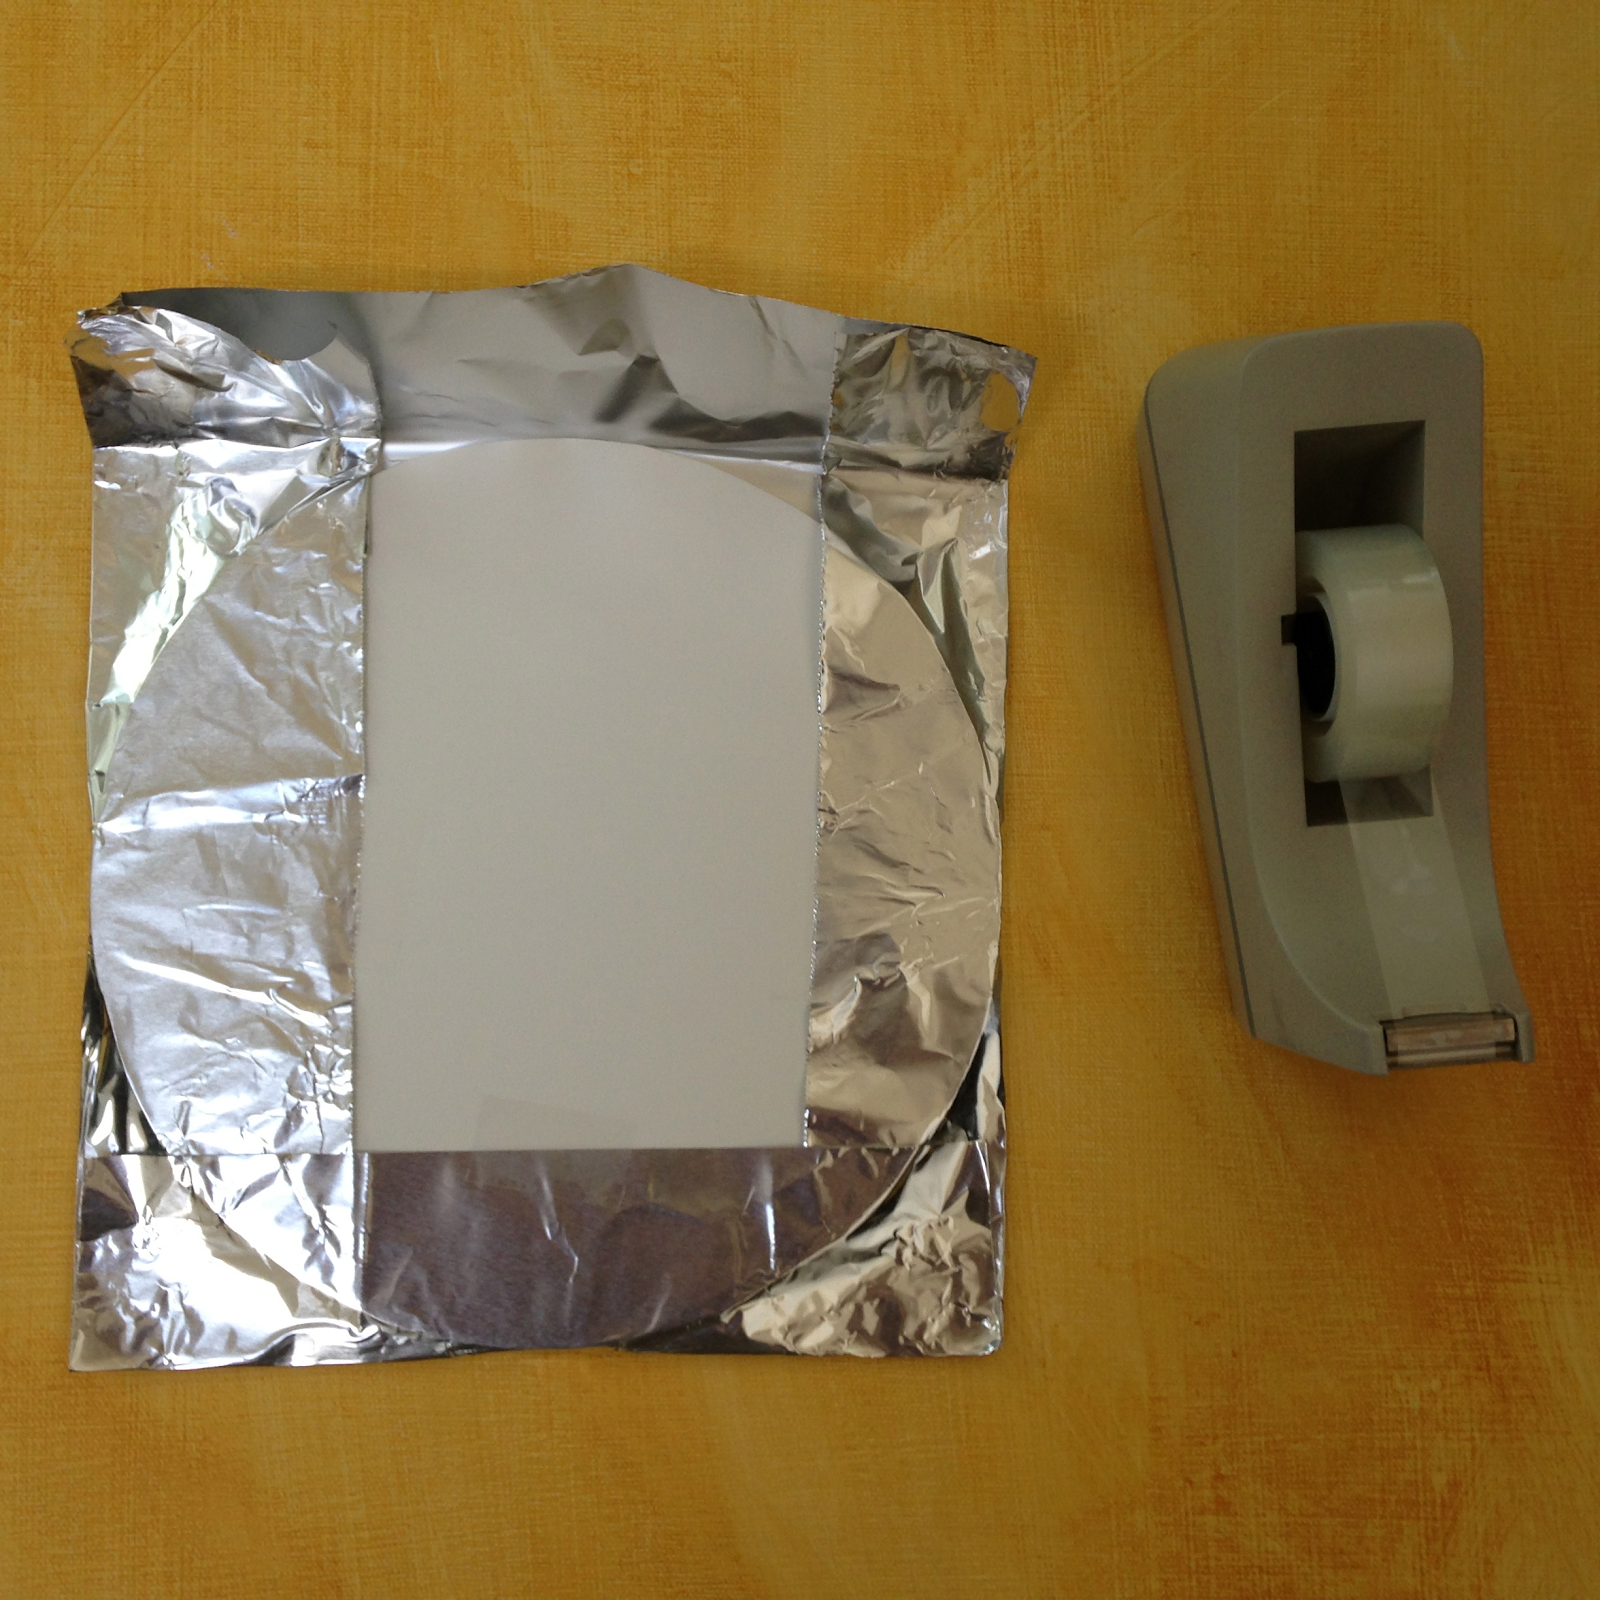
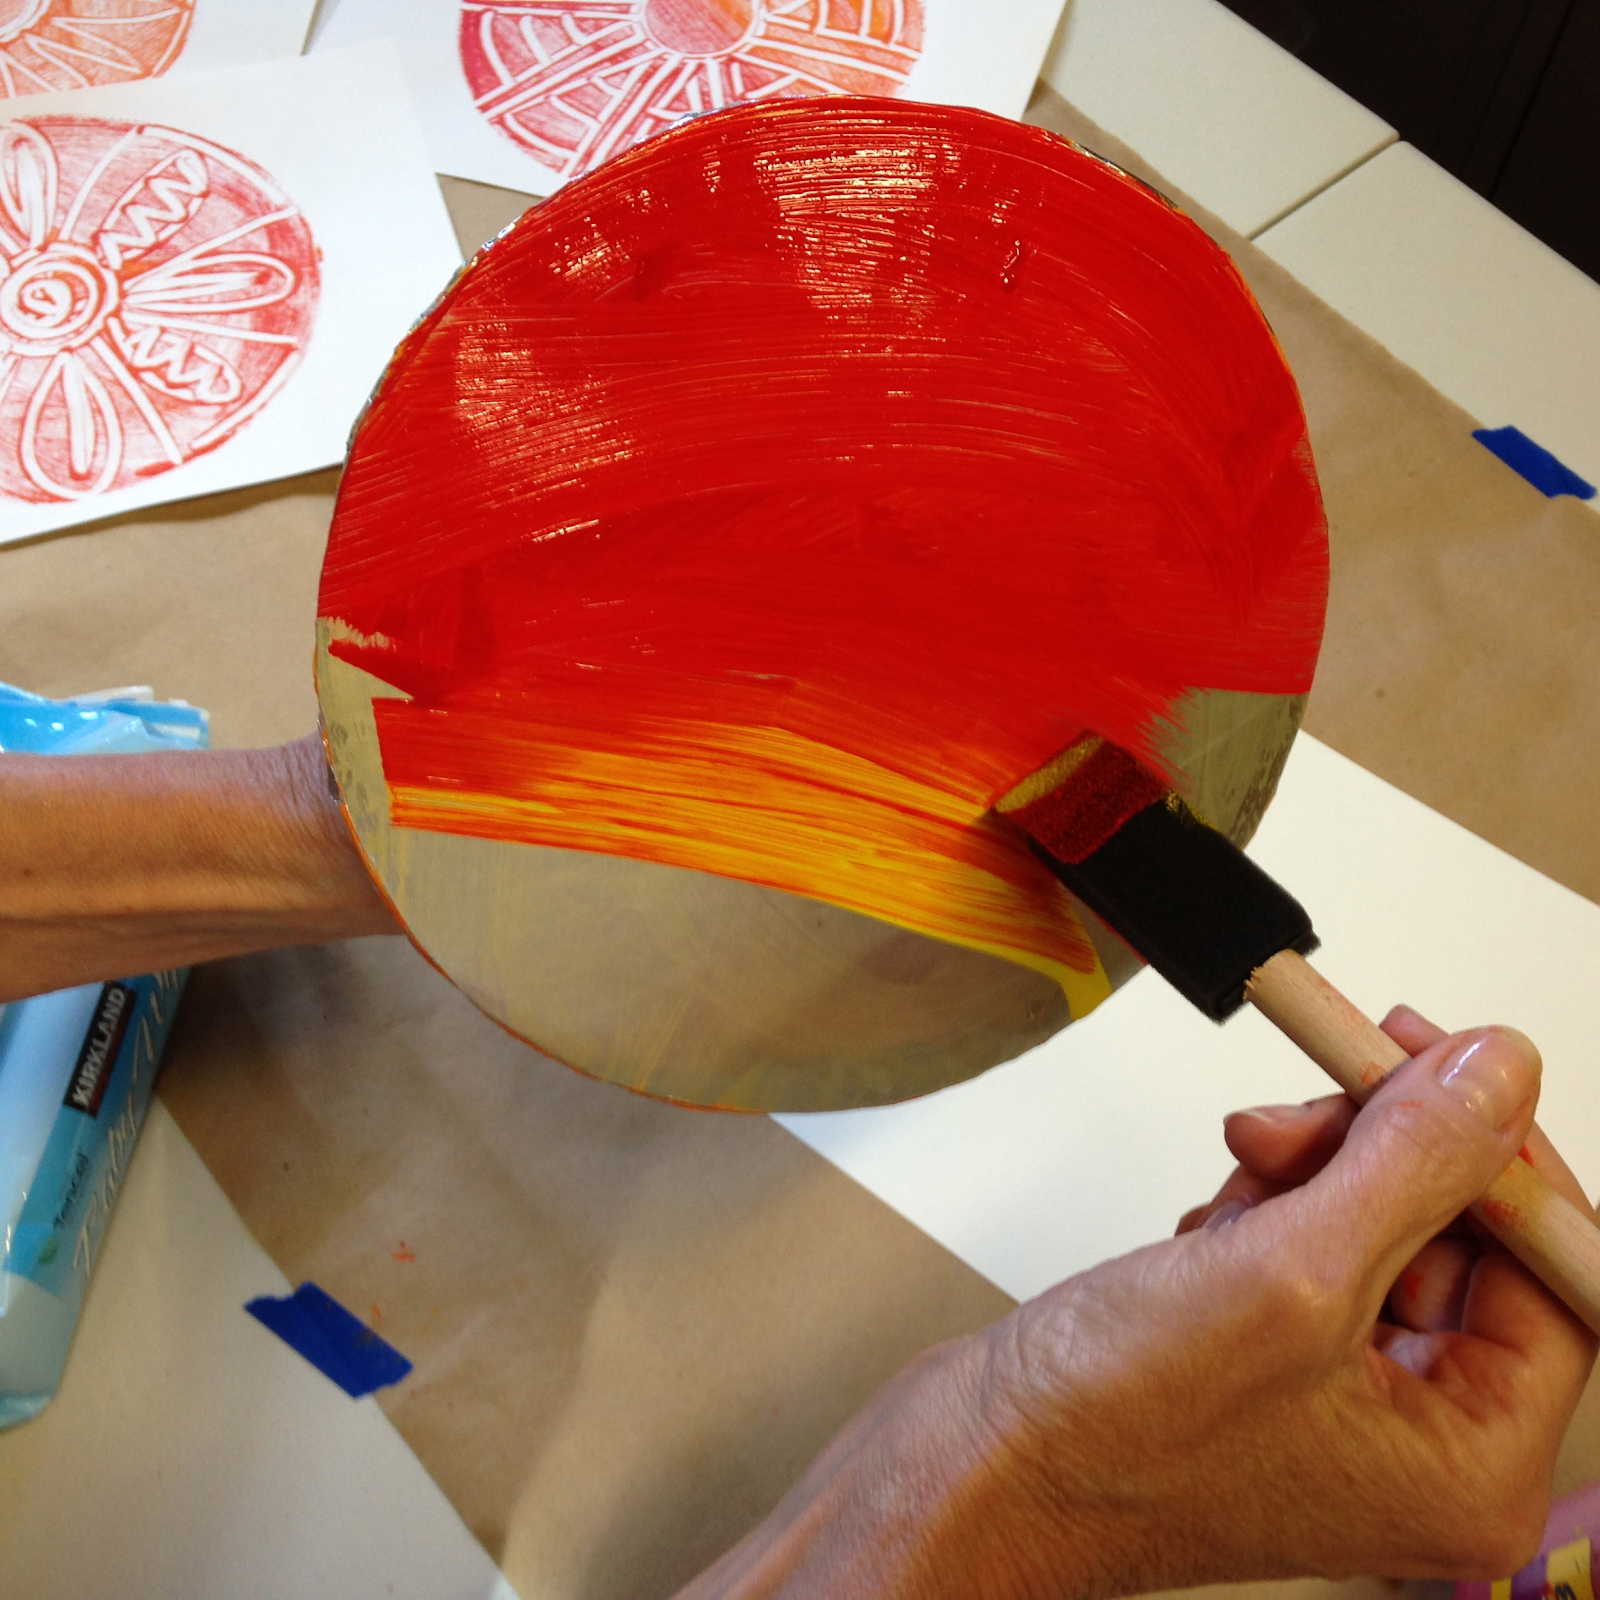
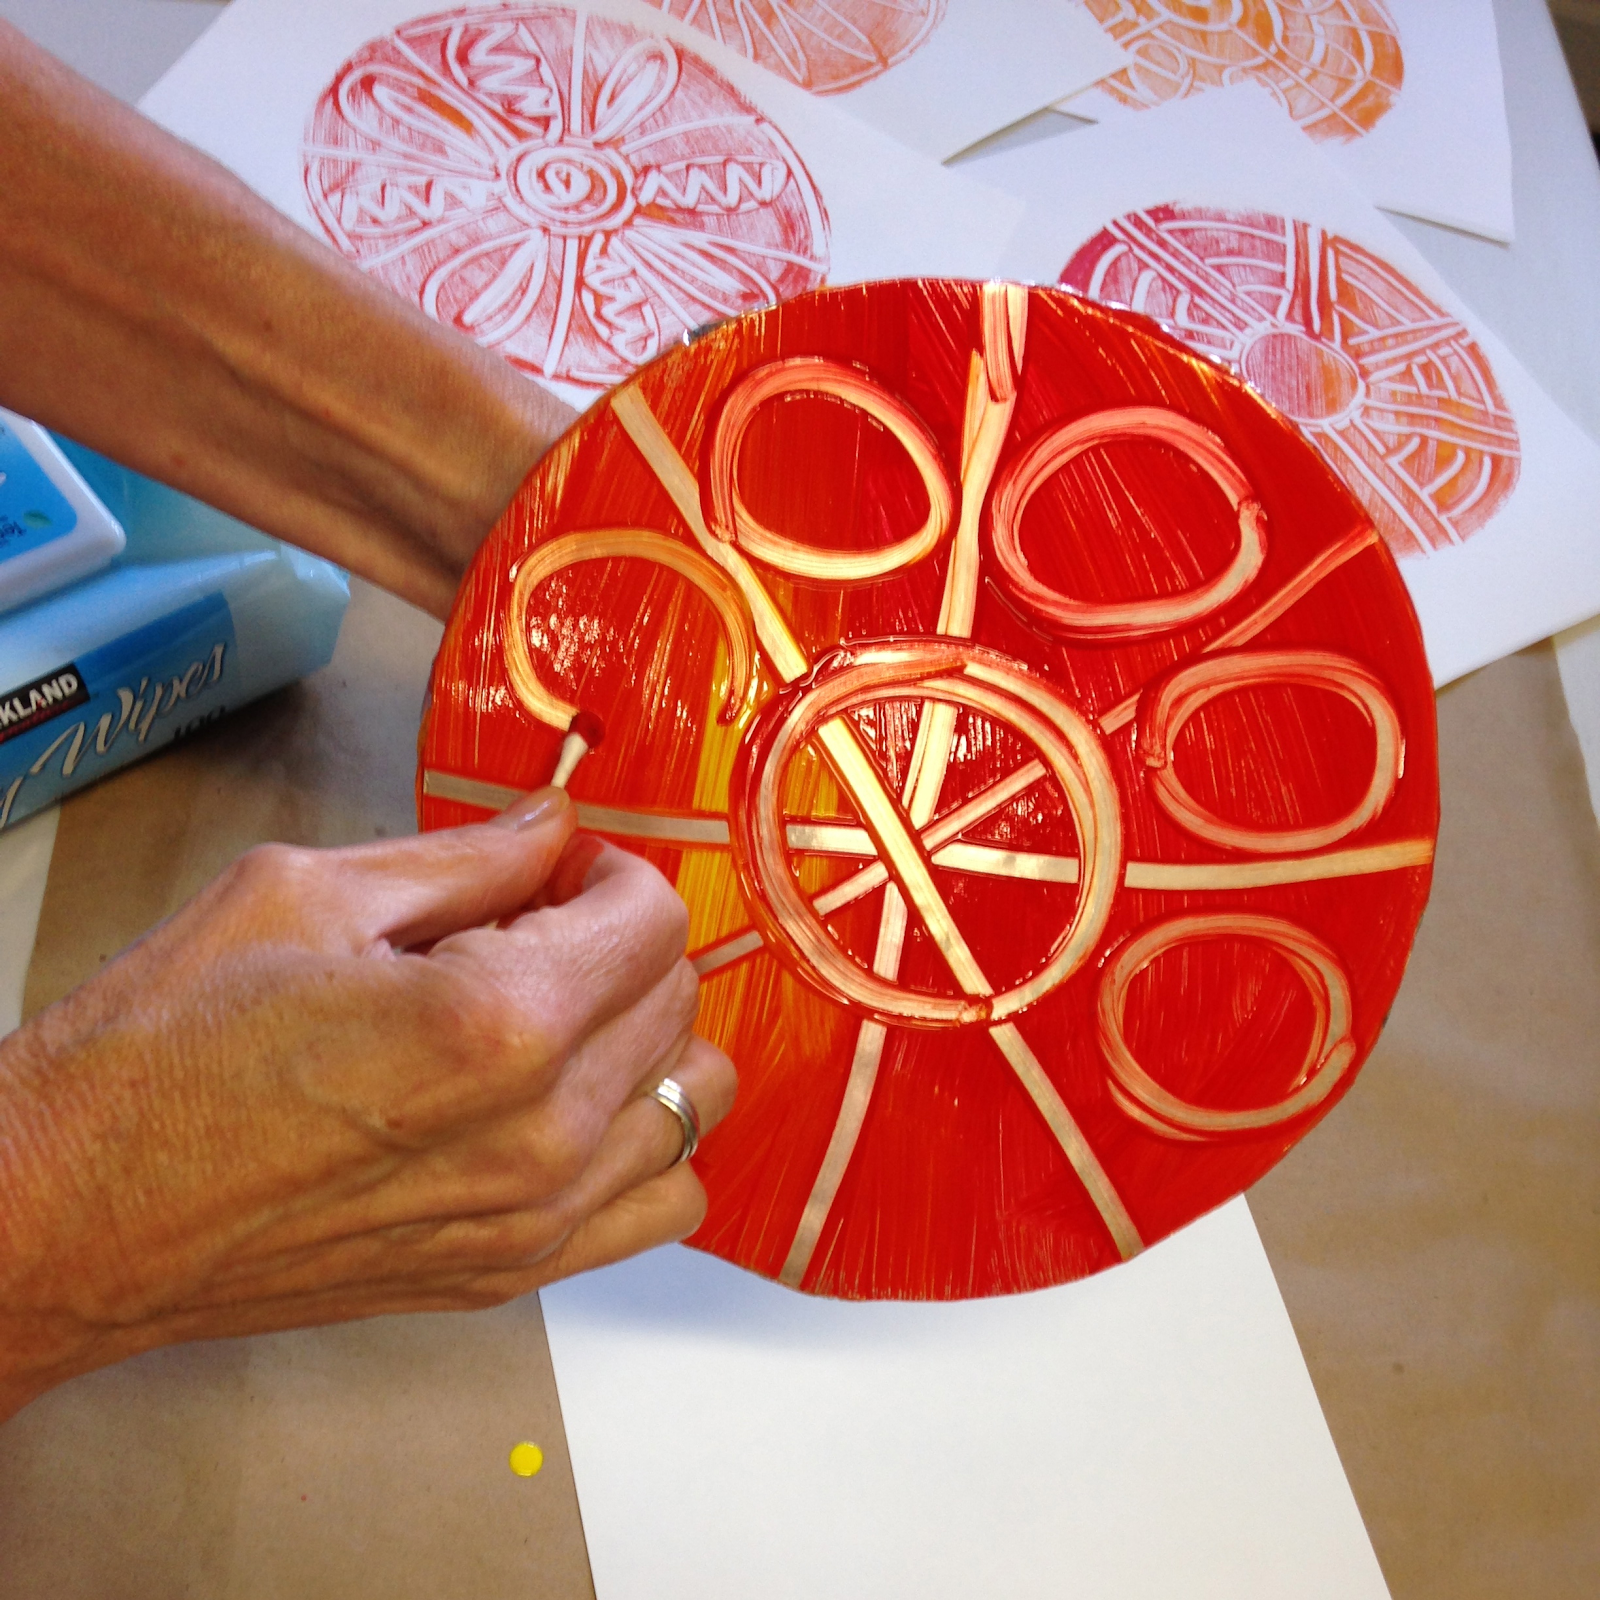
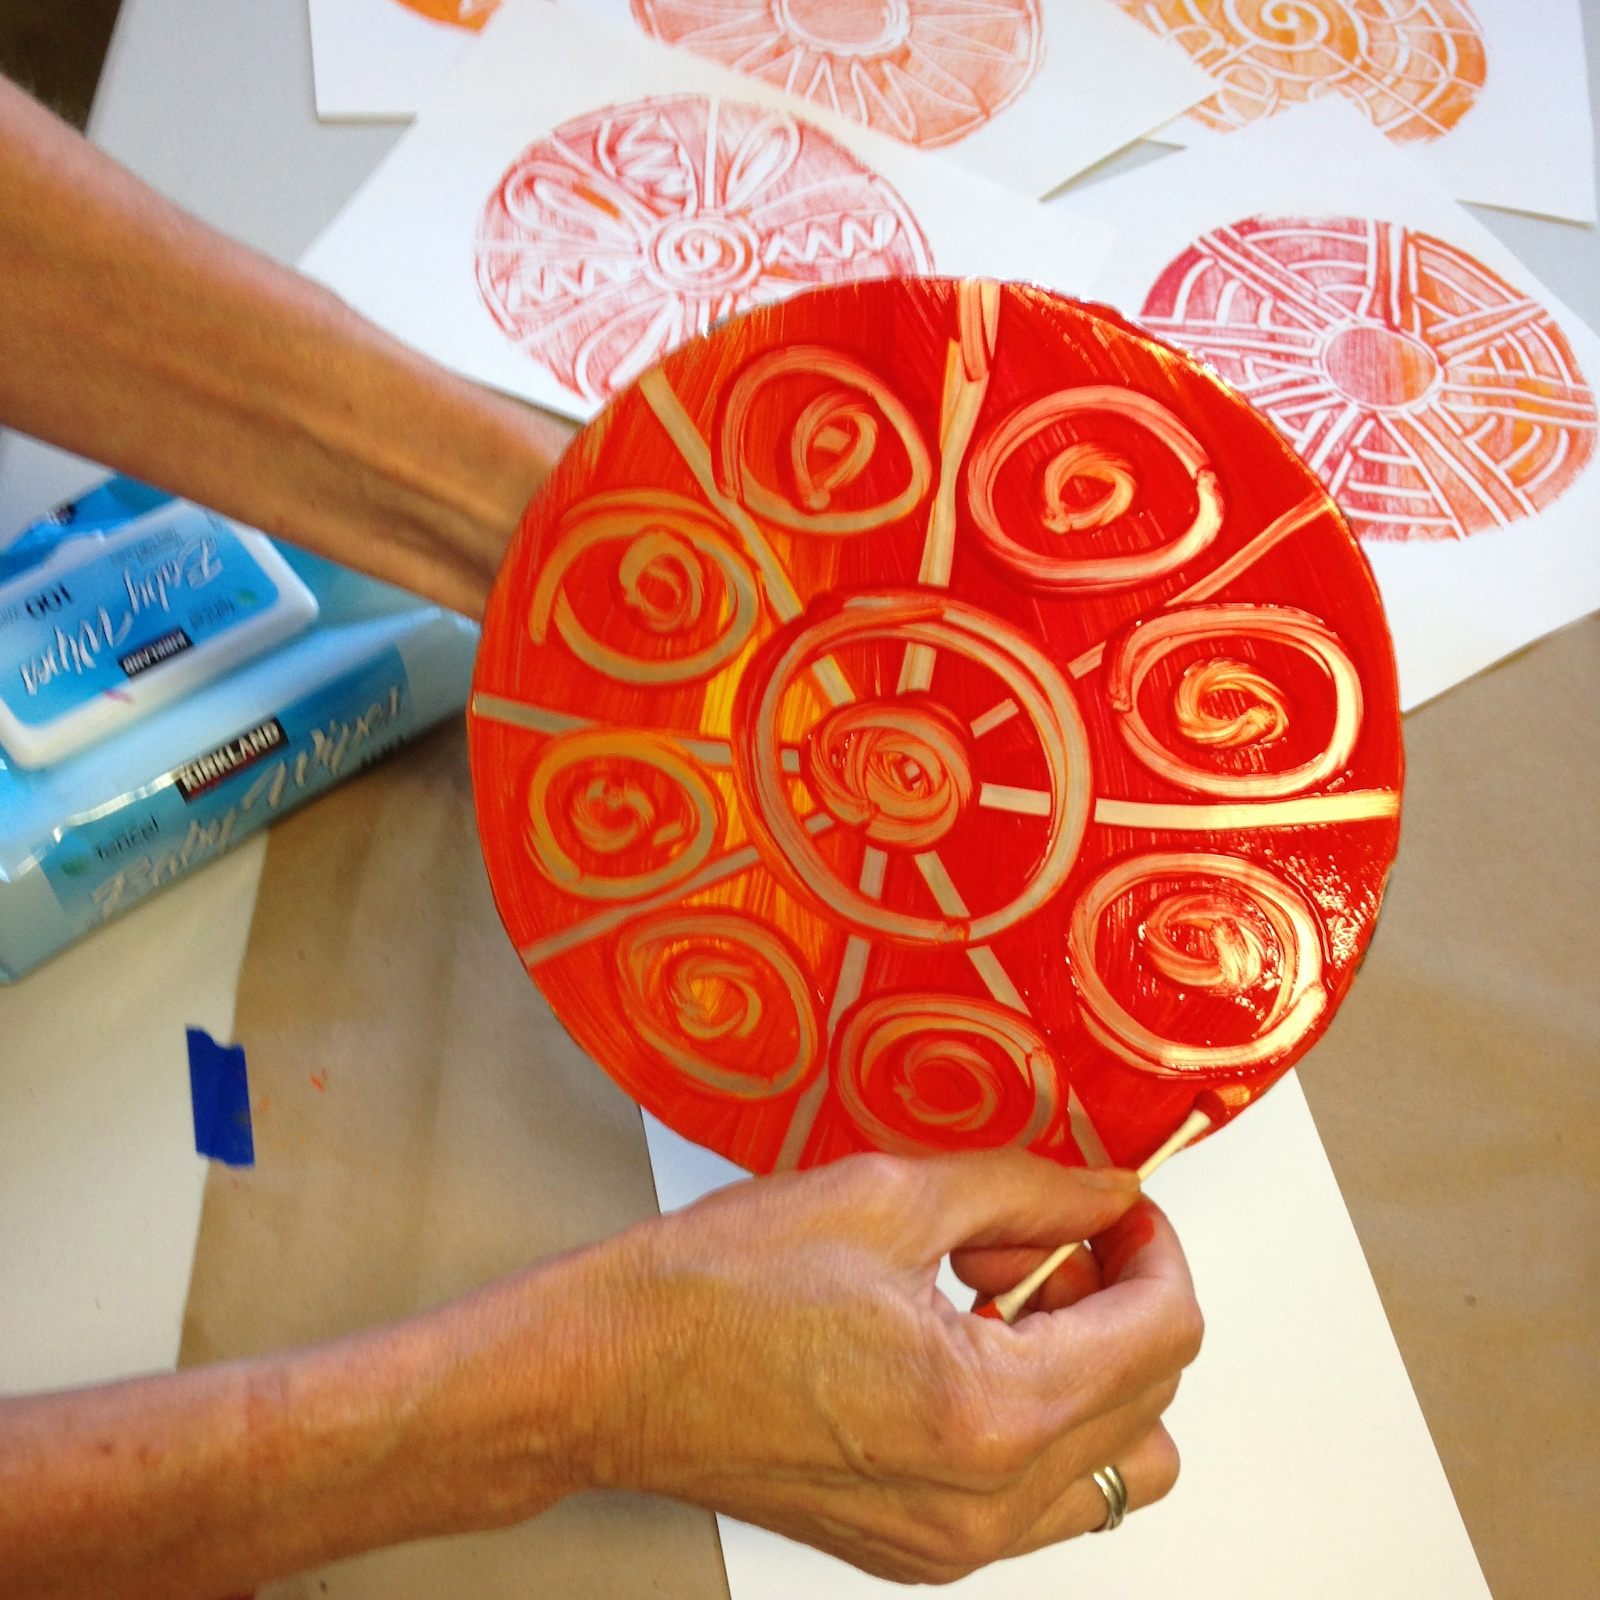
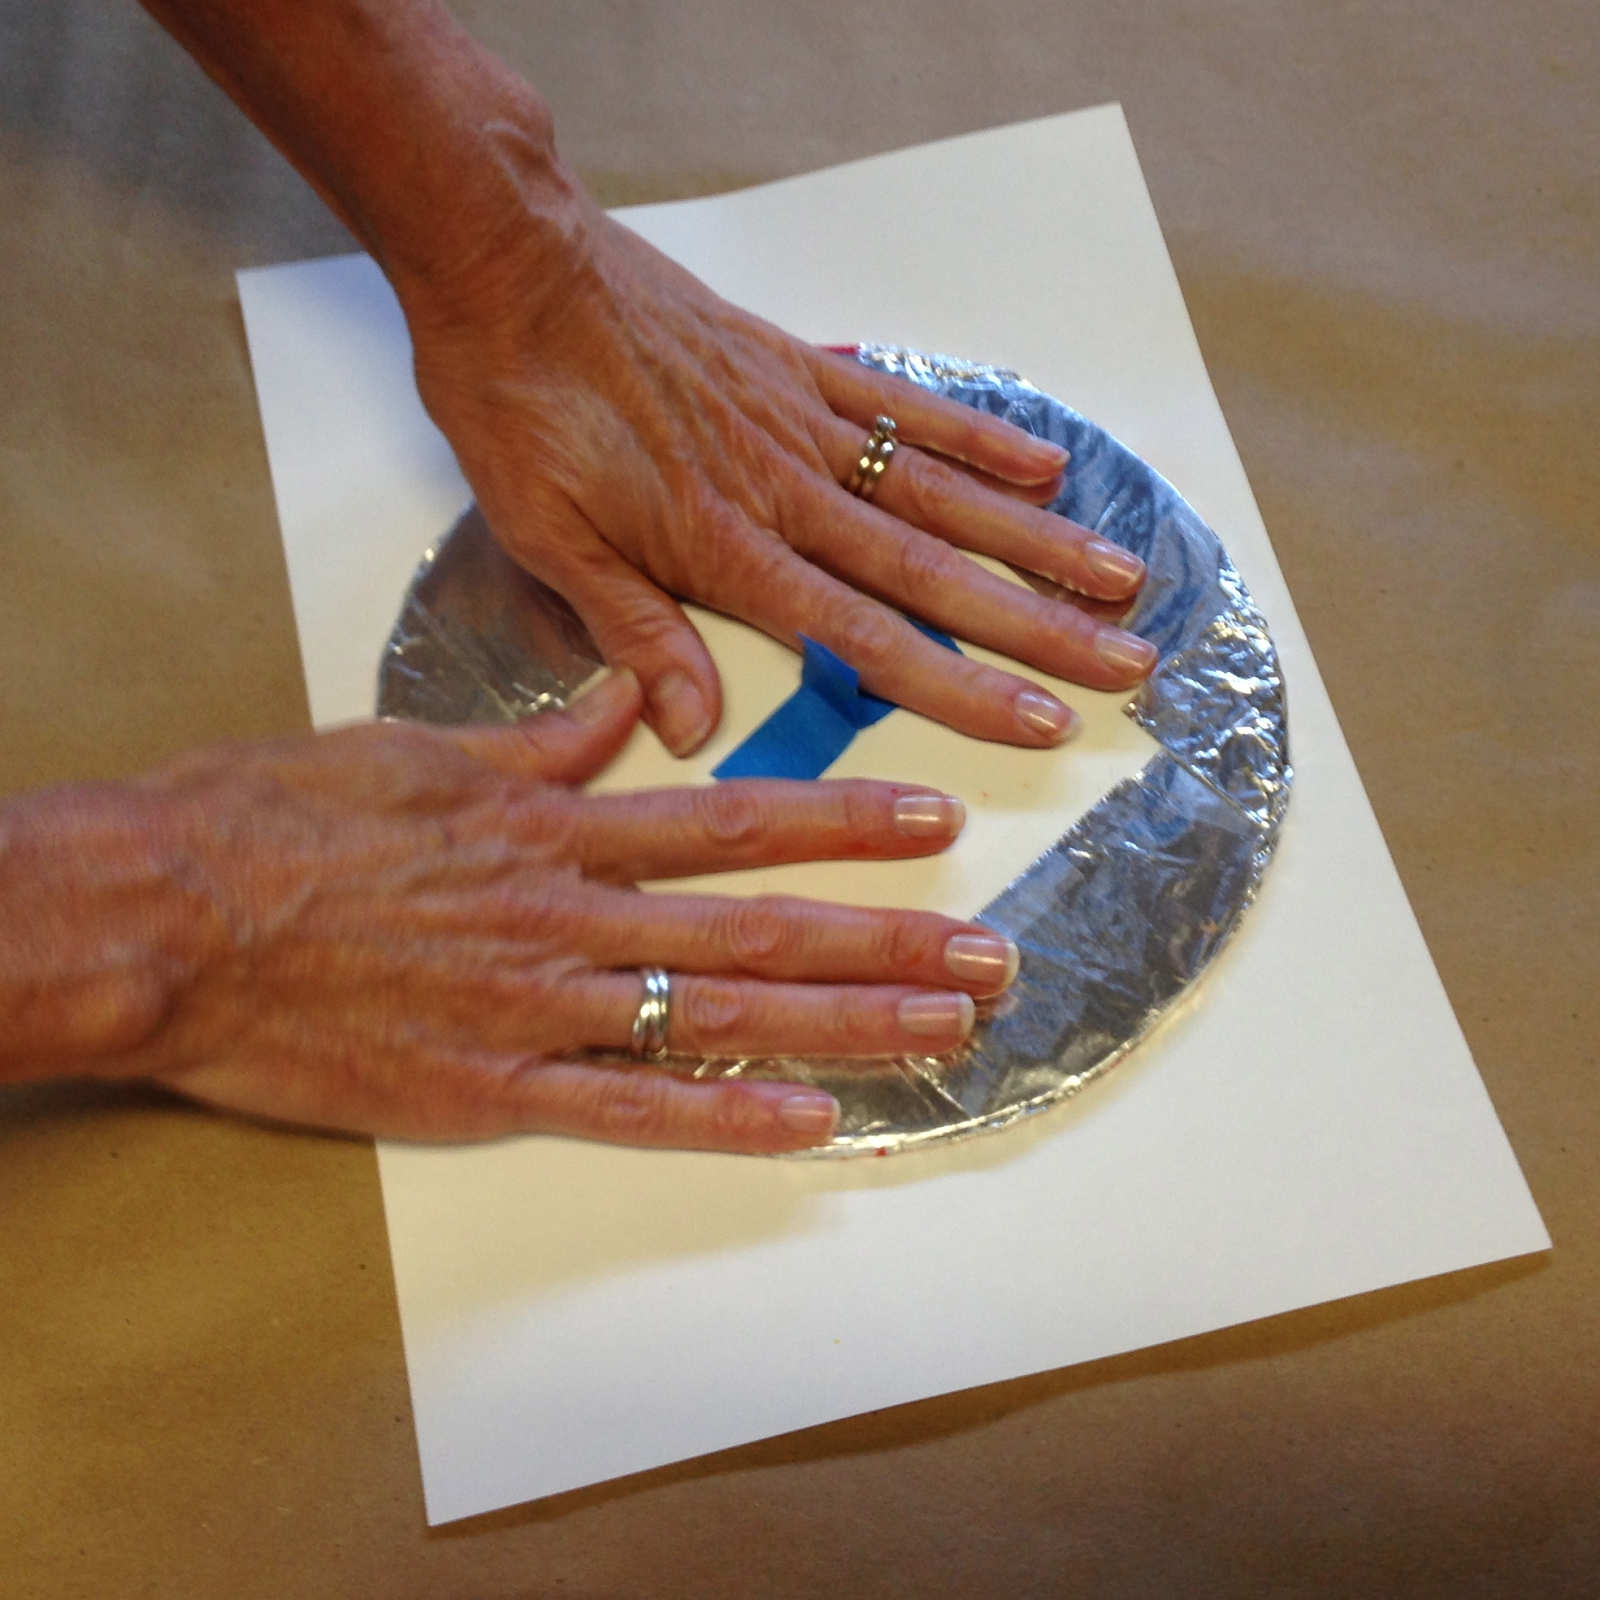
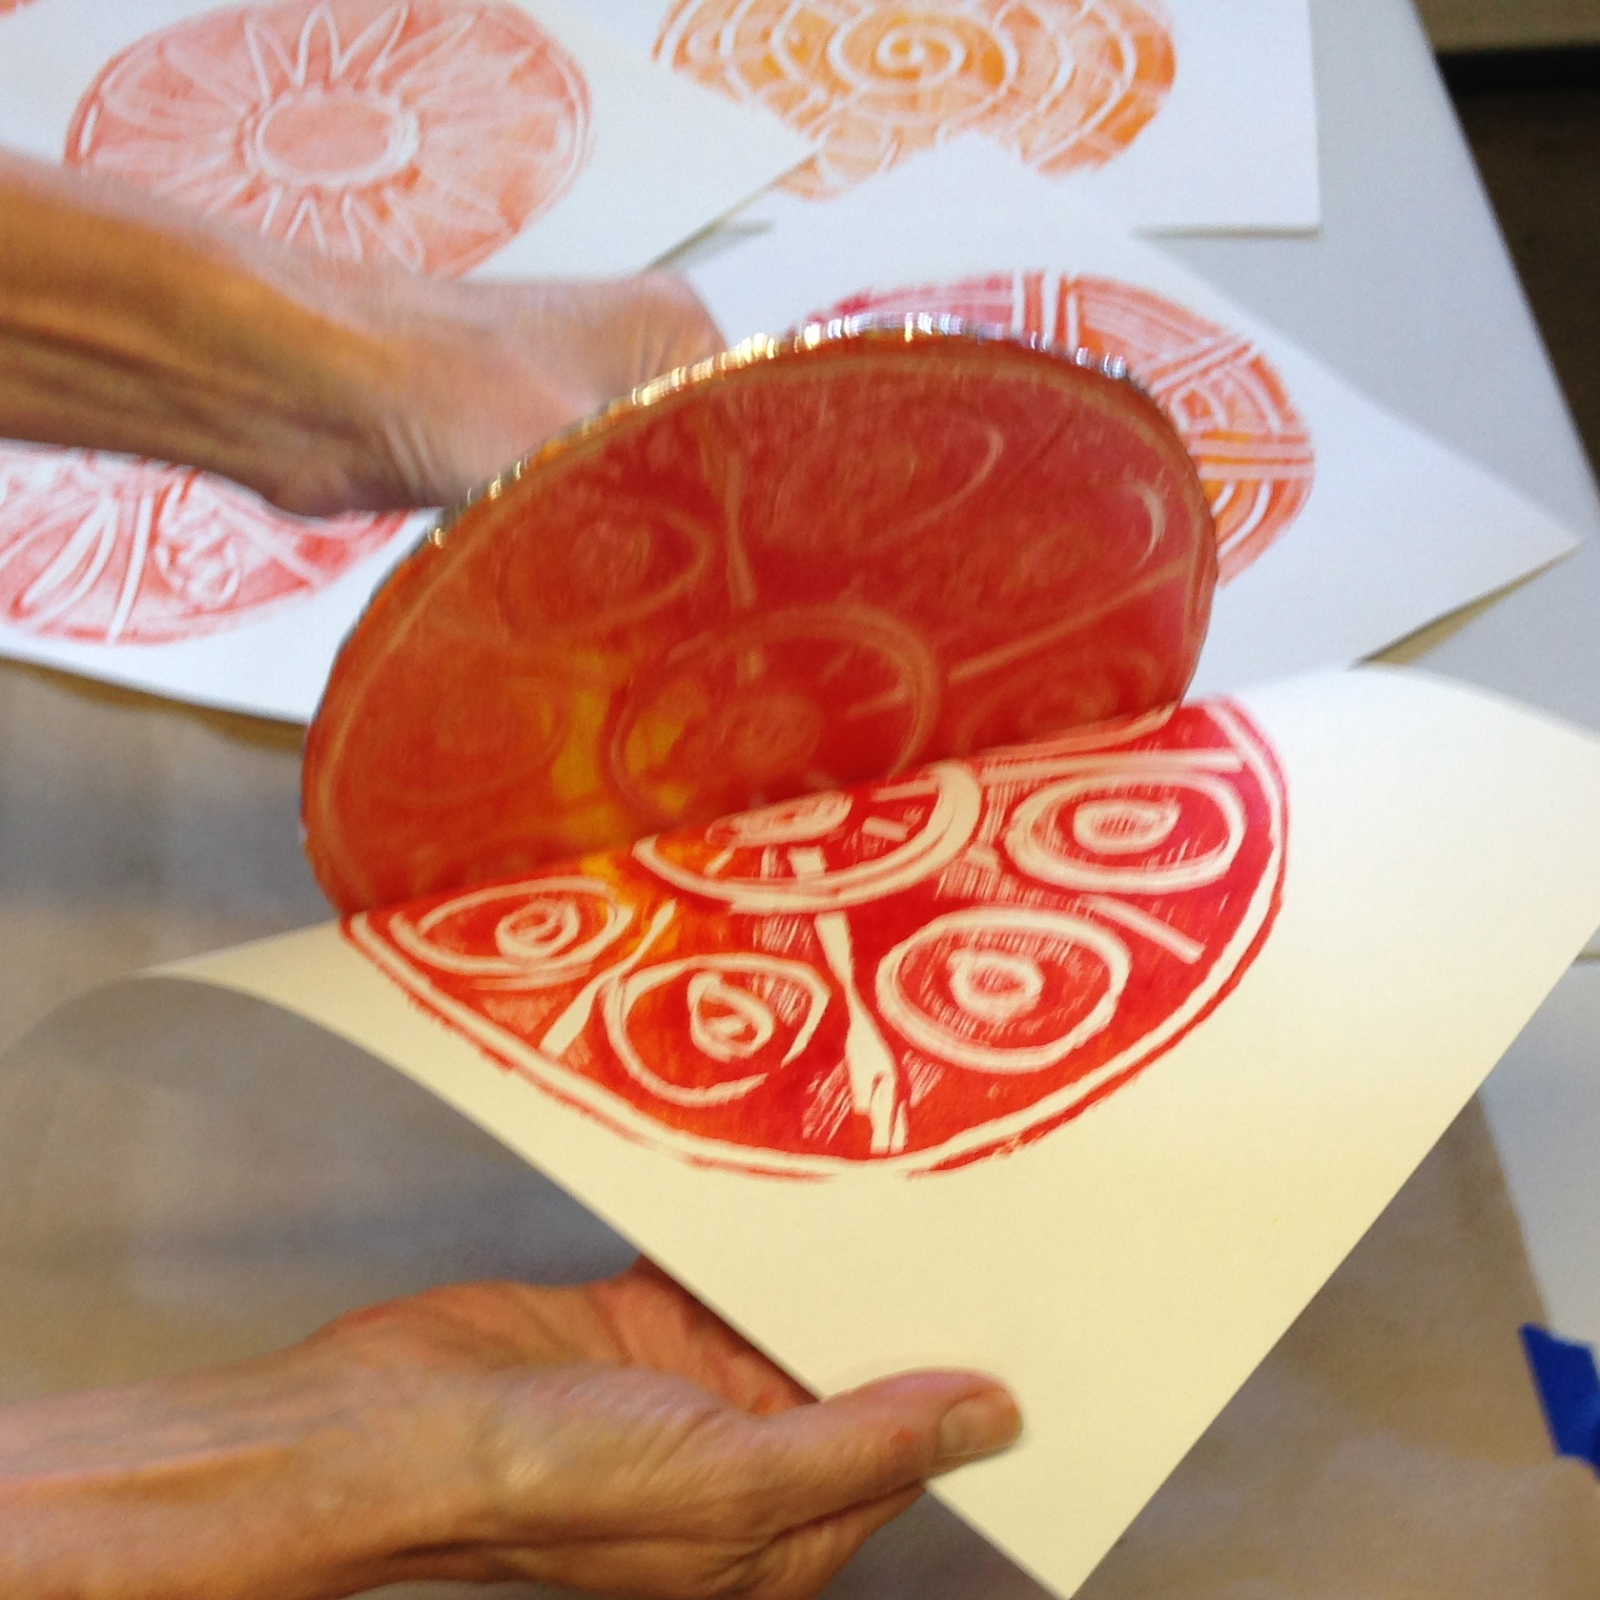
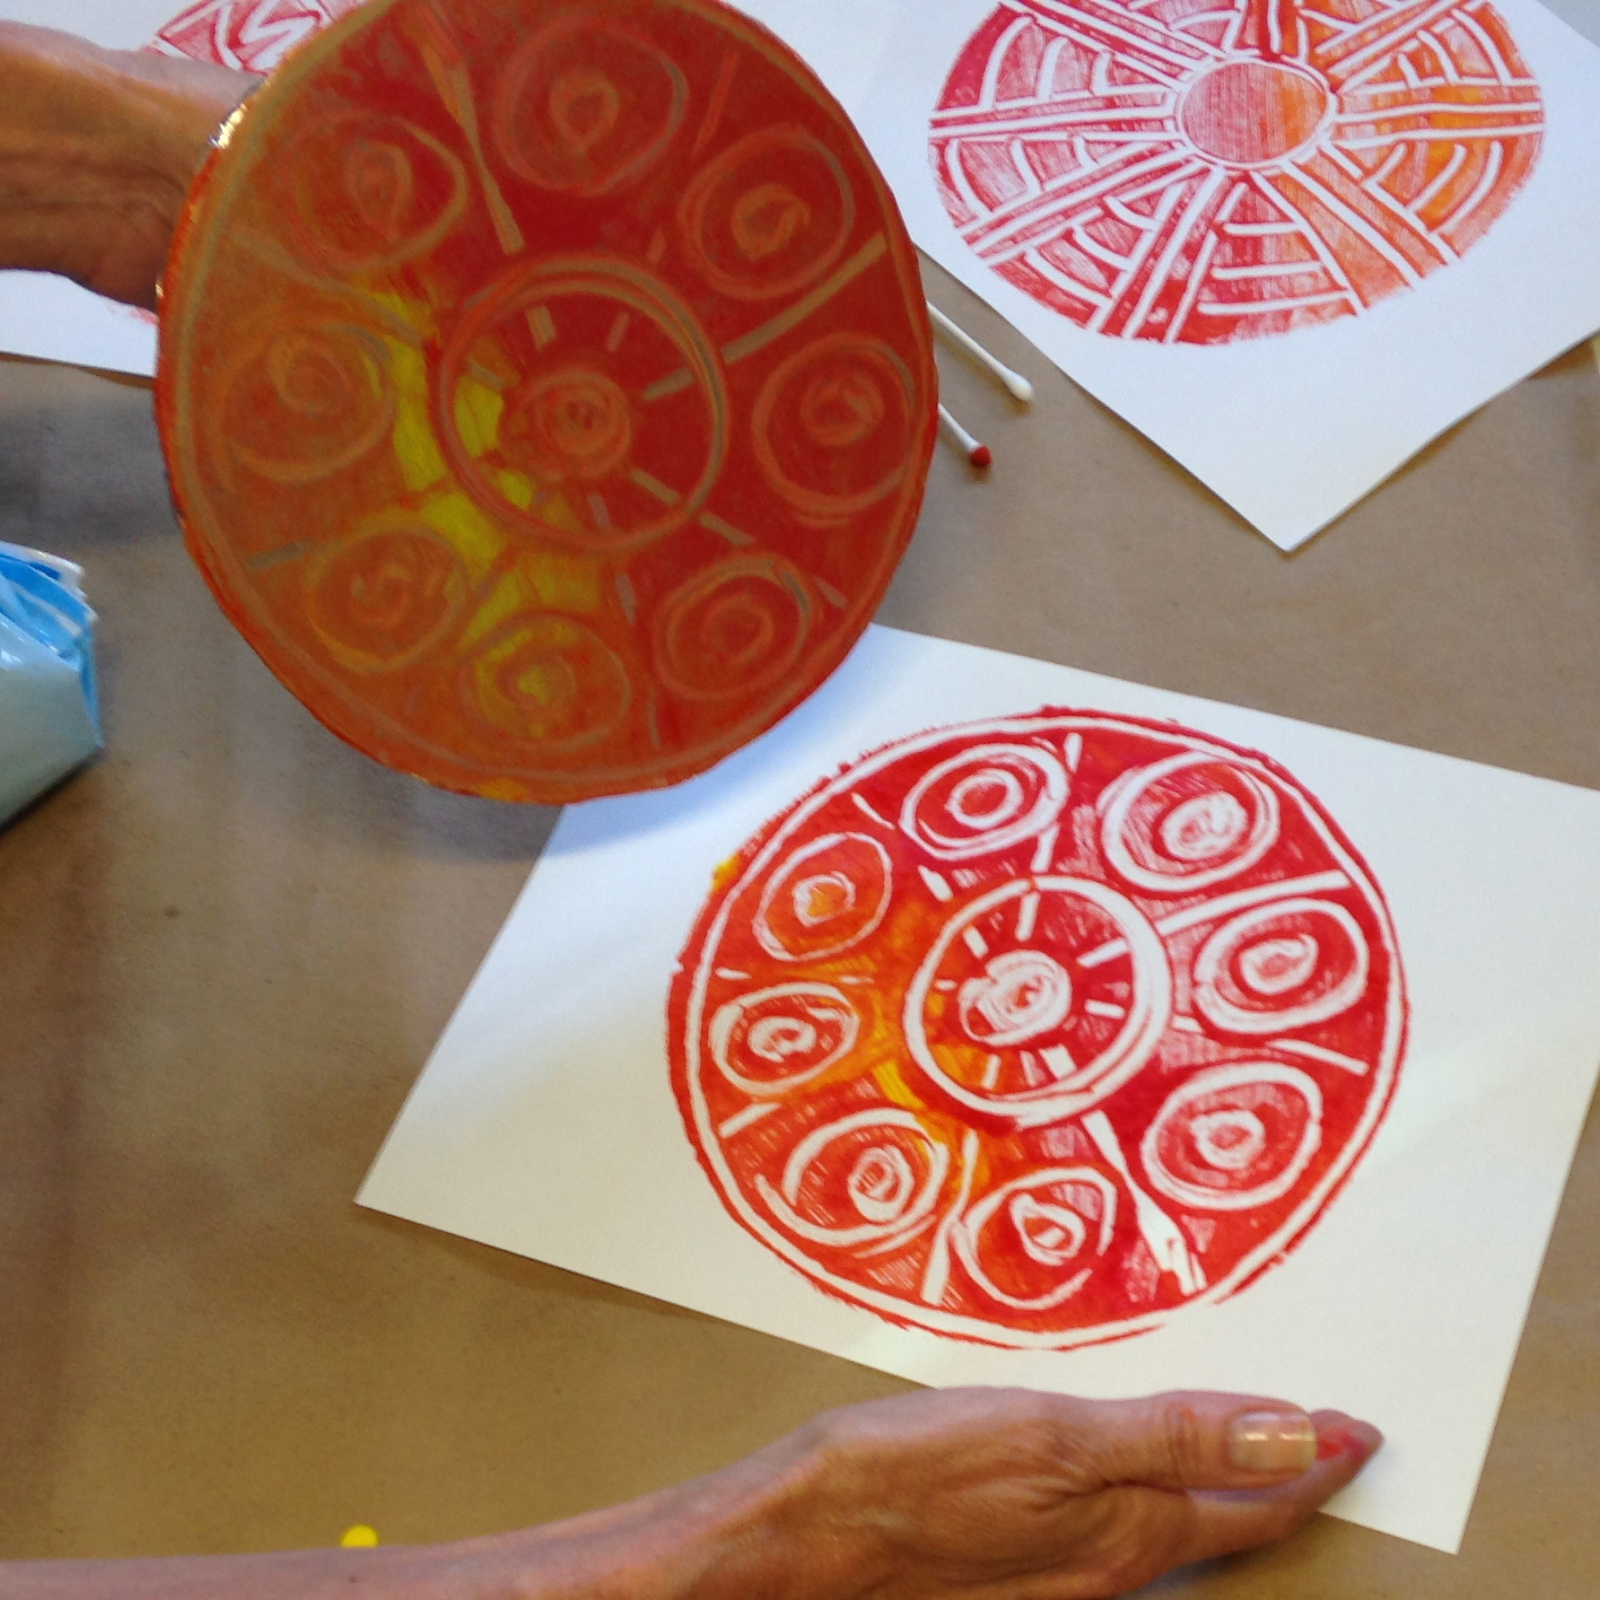
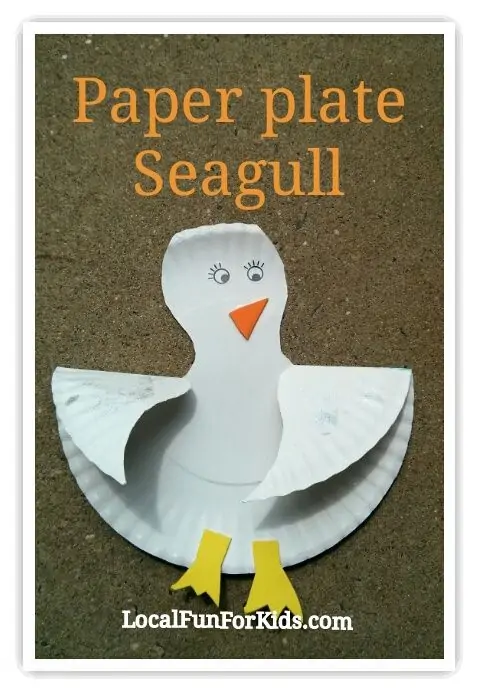
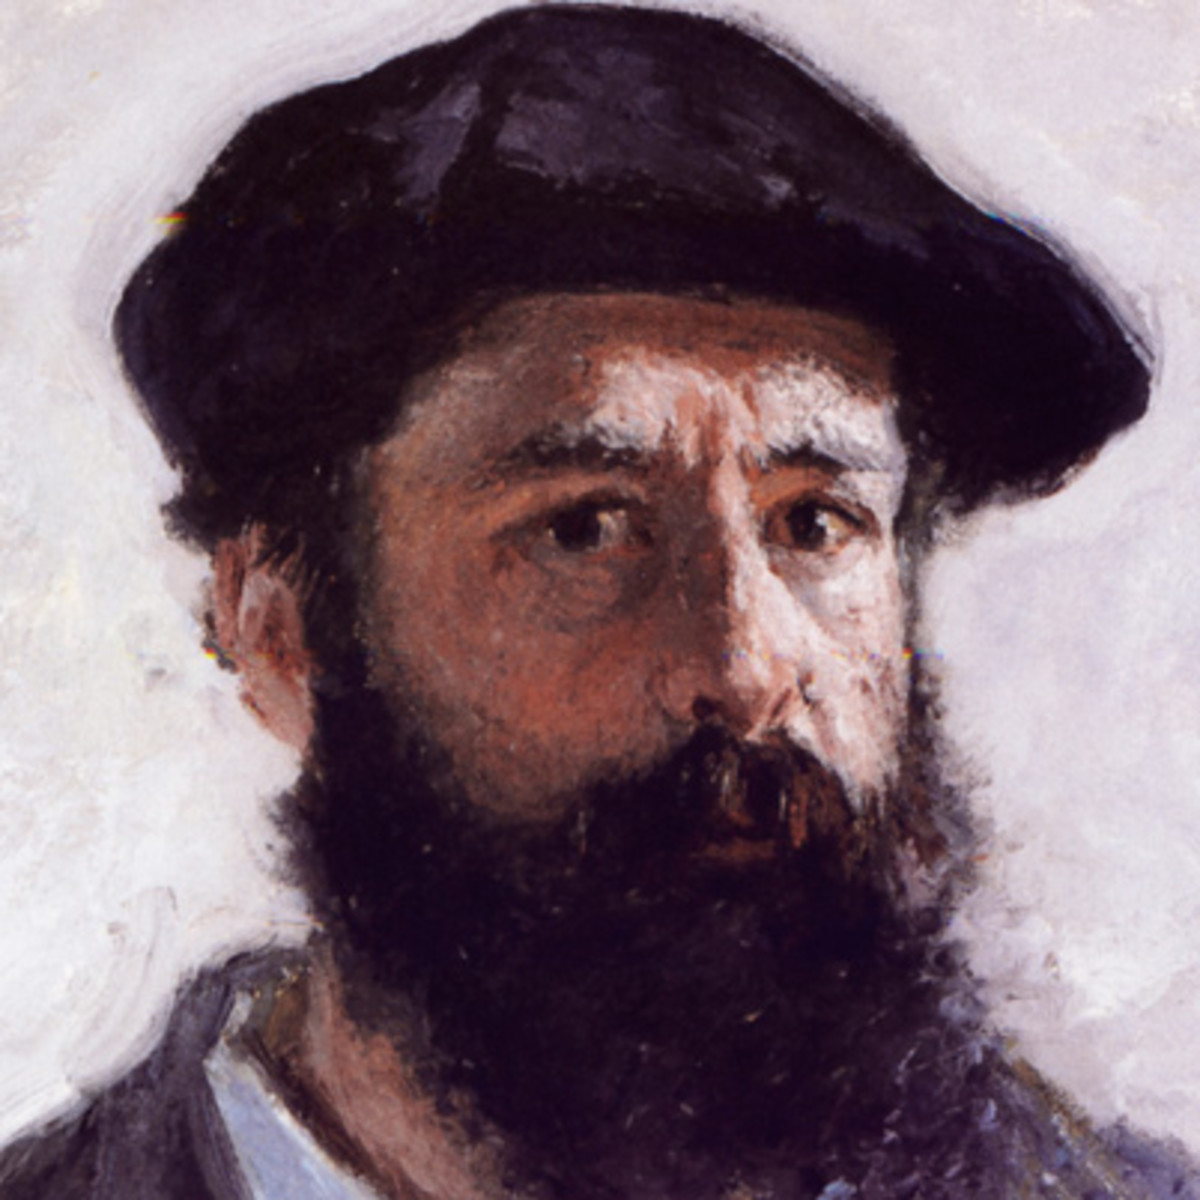
Paper plate activities to make and create Let’s make a giraffe using a paper plate. Materials: Paper plate Yellow texta Brown pom poms Googly eyes Cardboard paper Directions: 1.Colour your paper plate yellow with either texta and/or paint. 2.Cut out some ears and little horns out of cardboard. 3. Draw a mouth and little nostrils. 3. Glue on googly eyes on. 4. Glue on brown pom poms. You can then create a puppet show if you make yet another paper plate animal. Now create a paper plate fish bowl if time permits or you would like to create something a little different. If you do not have all materials listed above, you will need to improvise and use other materials at home readily available at home. | Making and creating an Easter card. Materials: Grey lead pencils coloured cardboard paper. Paint either water or other paint. Easter stencils scissors Examples are given below Look into Easter greetings either religious and/or novelty greetings. Examples: May you be blessed with the Lord's love and peace this Easter. We thank the Lord for his blessings and wish you an Easter full of joy and peace. Let us remember the miracle of Jesus' resurrection and his endless love. We wish you a season of Christ’s peace, joy and blessings. May the miracle of Easter inspire your year ahead. We wish you a blessed Easter. Let the blessings of the Lord bring you all you need at Easter. Wishing you all of the Lord’s blessings on this special day.. If you do not have materials listed above, you will need to improvise and use other materials readily available at home. Give examples of how to design an Easter card. eg: Easter egg, baby chicks, Jesus rising to new life. Use one of the examples given or one of your choice. | Making monoprint Mandalas. As we have been looking, I thought it would be an appropriate activity for students to continue. You will need a foam cardboard piece Circle template Pencil and pen for tracing. A knife for cutting (adults to do this) Aluminium foil Red, yellow or blue paint (using primary colours) 1 paint brush Q-tip (ear bud) 9 x 12 white paper Wipes to clean up. If you do not have each of the materials listed above you can improvise and use materials readily available at home. 1.Trace and cut your circle making it a little smaller than the paper you want to print on. 2. Wrap your foam circle with aluminium foil, so that one side is completely covered. Wrap the sides of foil over the edges and tape to the back. 3. Make a “handle” from the tape on the back of your foam circle. So you’ll have something to hang onto while you're painting/printing. 4. Squirt 2 different colours of paint (about a quarter each) onto the smooth foil surface 5. Use a Q-tip to create your designs. 6. Place on a piece of white cardboard. 7. Peel off white cardboard. 8. Your print is now complete! Enjoy! Now make another. | Artist Study Complete an artist study piece. You will also need to replicate a piece of work from your prefered artist. Questions for artist study: Who is your artist? Name? Date of birth? Country of origin? What inspired them to become an artist? What inspired you to choose this artist? Name and list some of their most famous pieces? Do they have a famous piece they are renowned for? What techniques have they used to create their piece? What materials were used? Did you enjoy exploring and researching your artist? Why? Why not? What did you learn about your artist during this time? Do you have a greater appreciation for art? Why? Make sure to replicate a piece of your artist's work Lastly, don't forget to prepare for your 10 minute oral presentation to the class. |