Provisioning a Mac OSX Shared Device to the WiFi network
Information and Purpose:
- Provisioning a school district a school district shared asset adds authentication information to the device.
- This is for devices used by more than one person, such as desktops in a computer lab.
- If a device has more than one local account, each account will have to be provisioned.
- Once provisioned, the device will be able to authenticate a different user through the network login portal each time it is logged out of the local account.
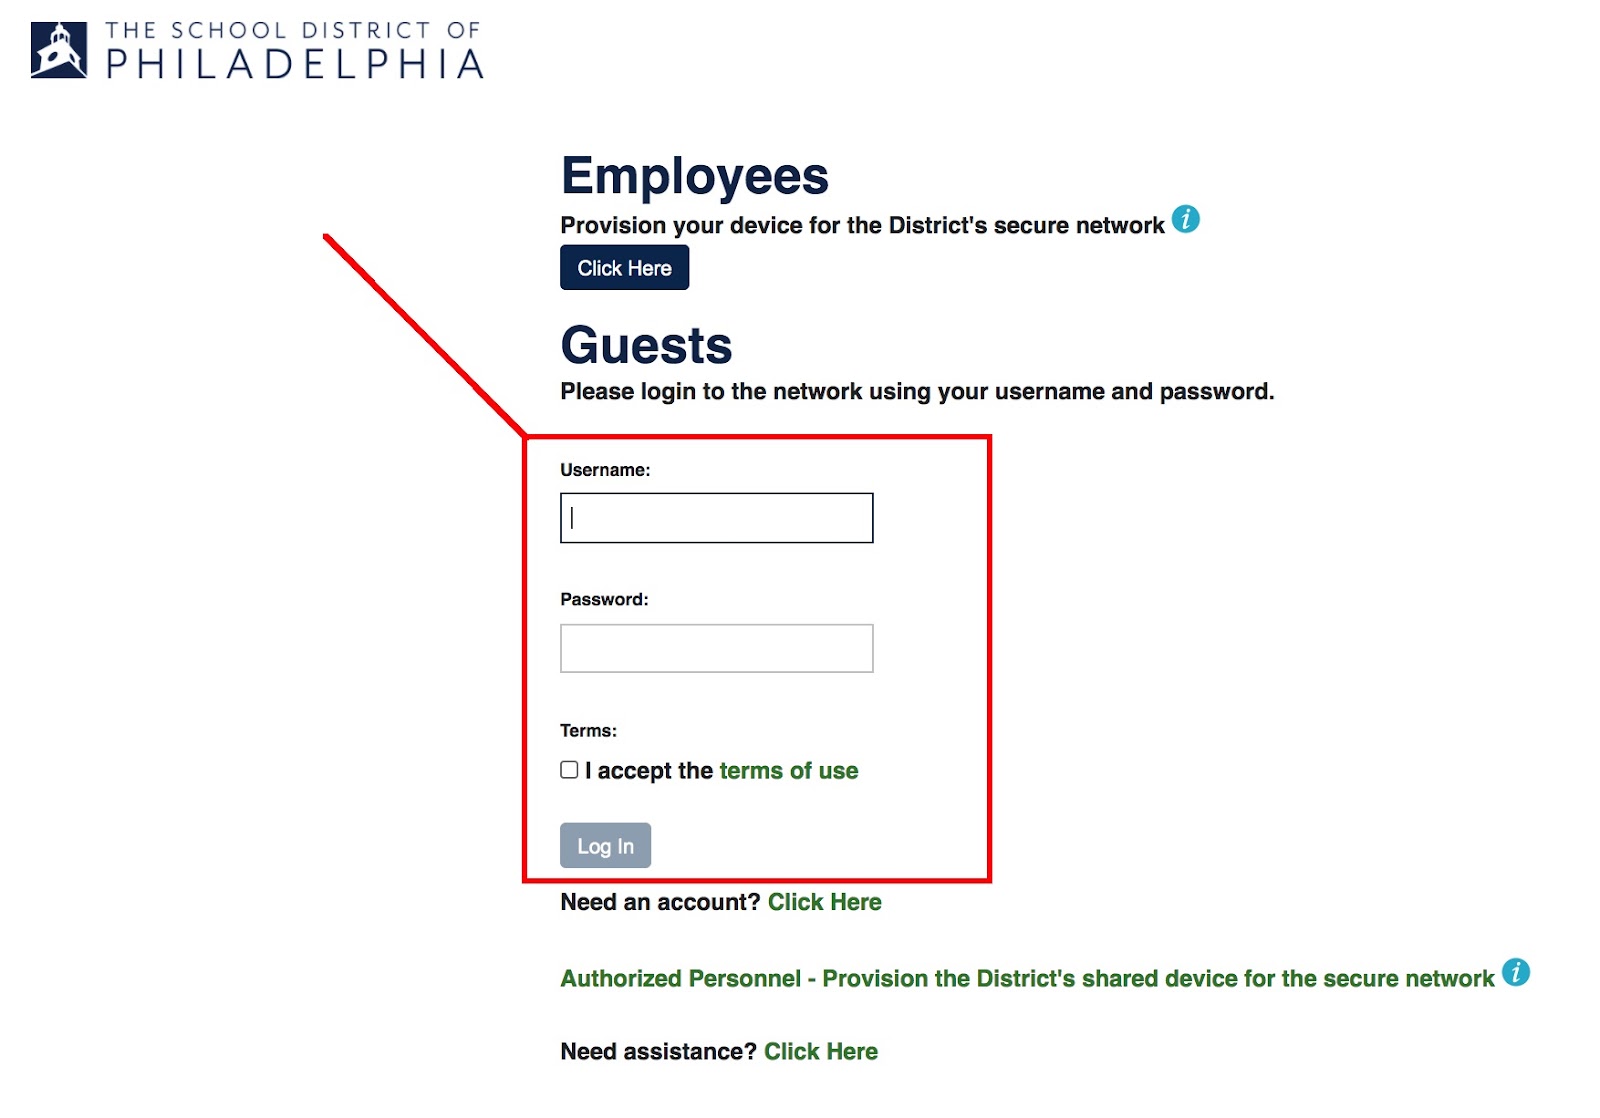
- Connect your wireless to PhilaSD WiFi Guest
- Open a web browser such as Chrome or Firefox
- The Network Login window will open
- Note: If the Network Login screen does not appear, enter a non-district website in the browser, such as “captive.apple.com”
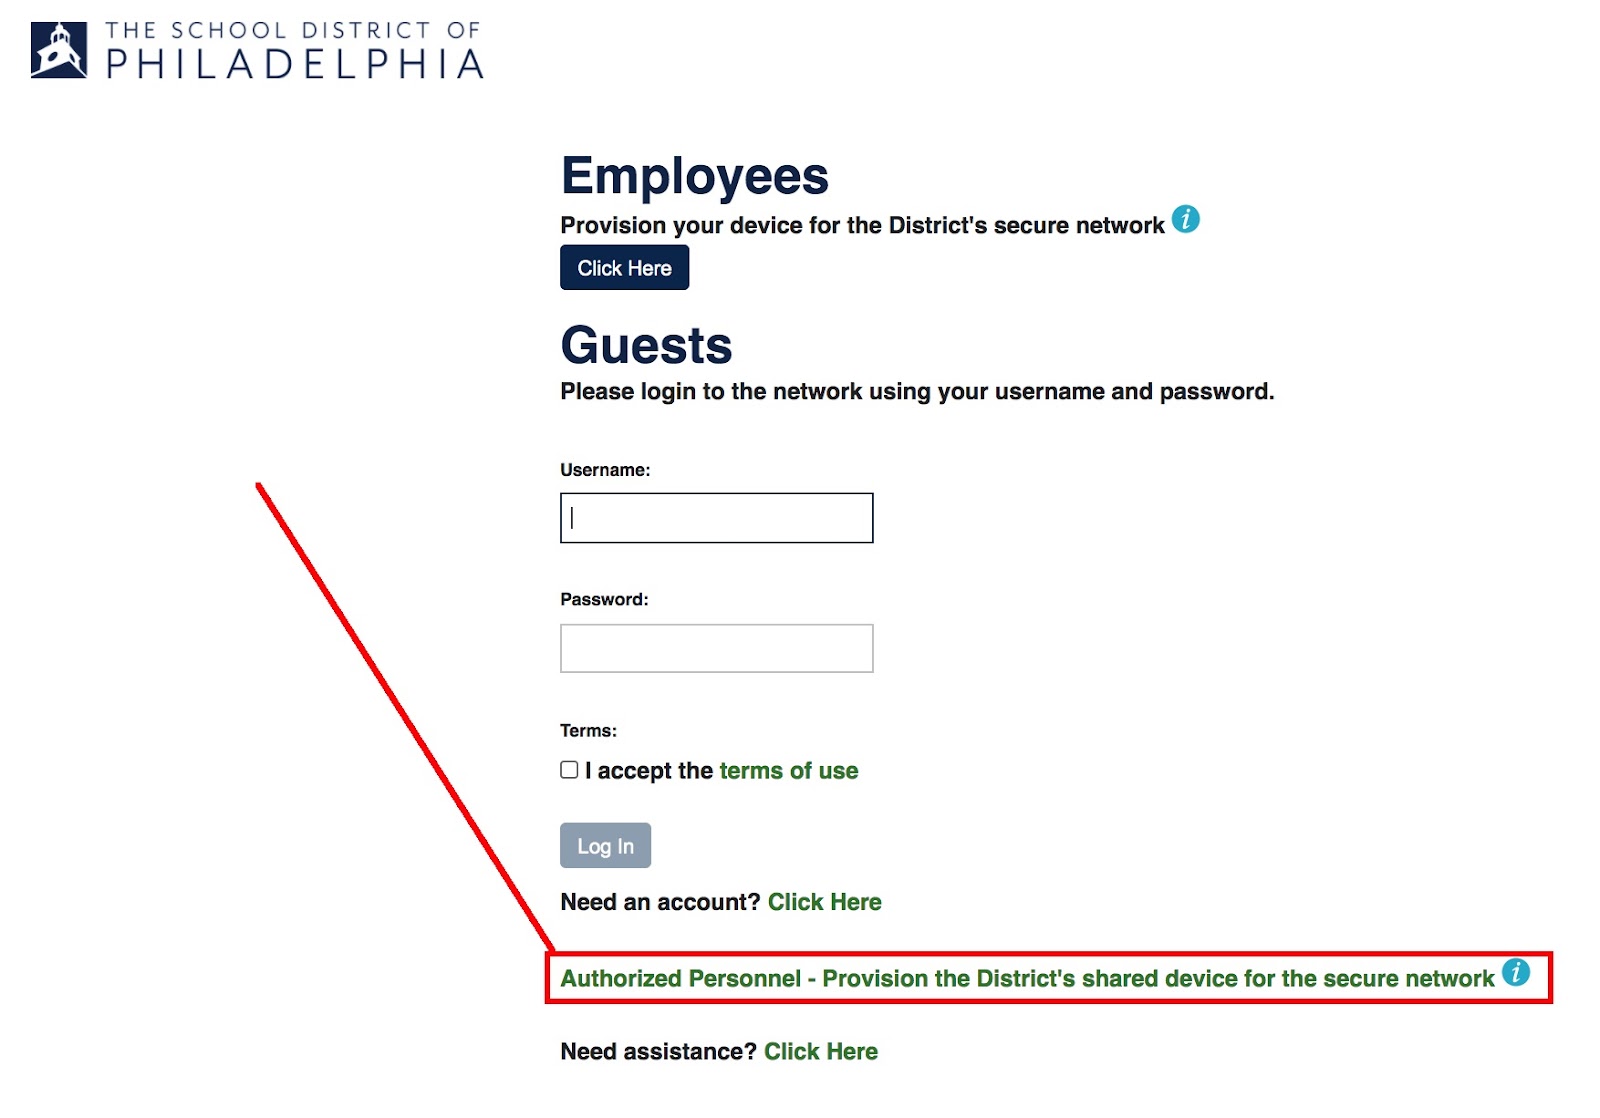
- Select “Authorized Personnel” towards the bottom of the screen to provision a shared device
- Note: If you choose to login without provisioning, you will only be given web access
- Note: Shared devices, once provisioned, will allow a user to log in to the Network Login portal each time the device is logged out of the local account and re-logged in. Logging into this portal will give the proper access to a student, employee, or guest.
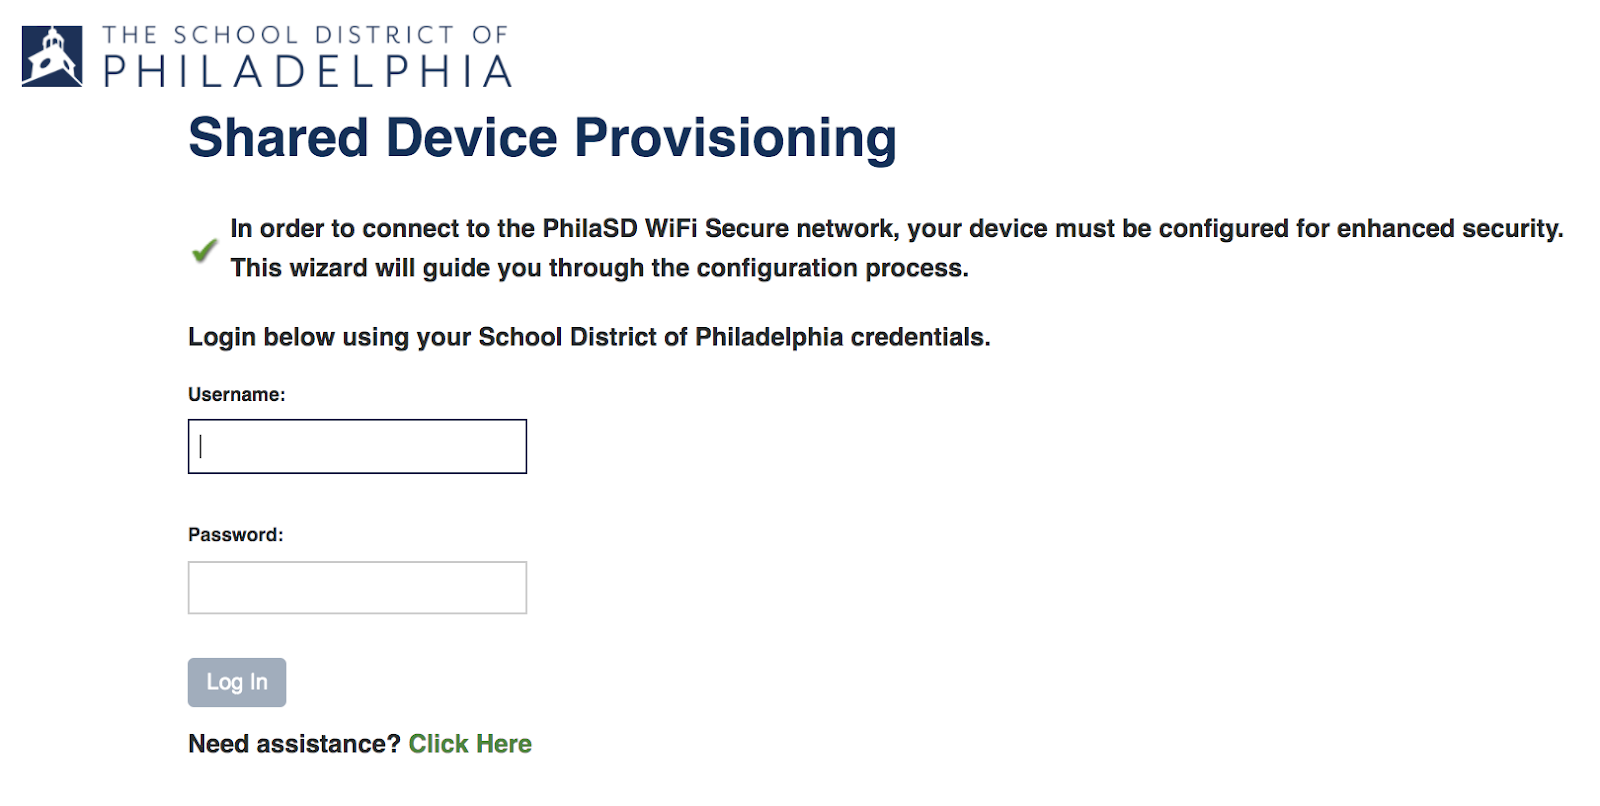
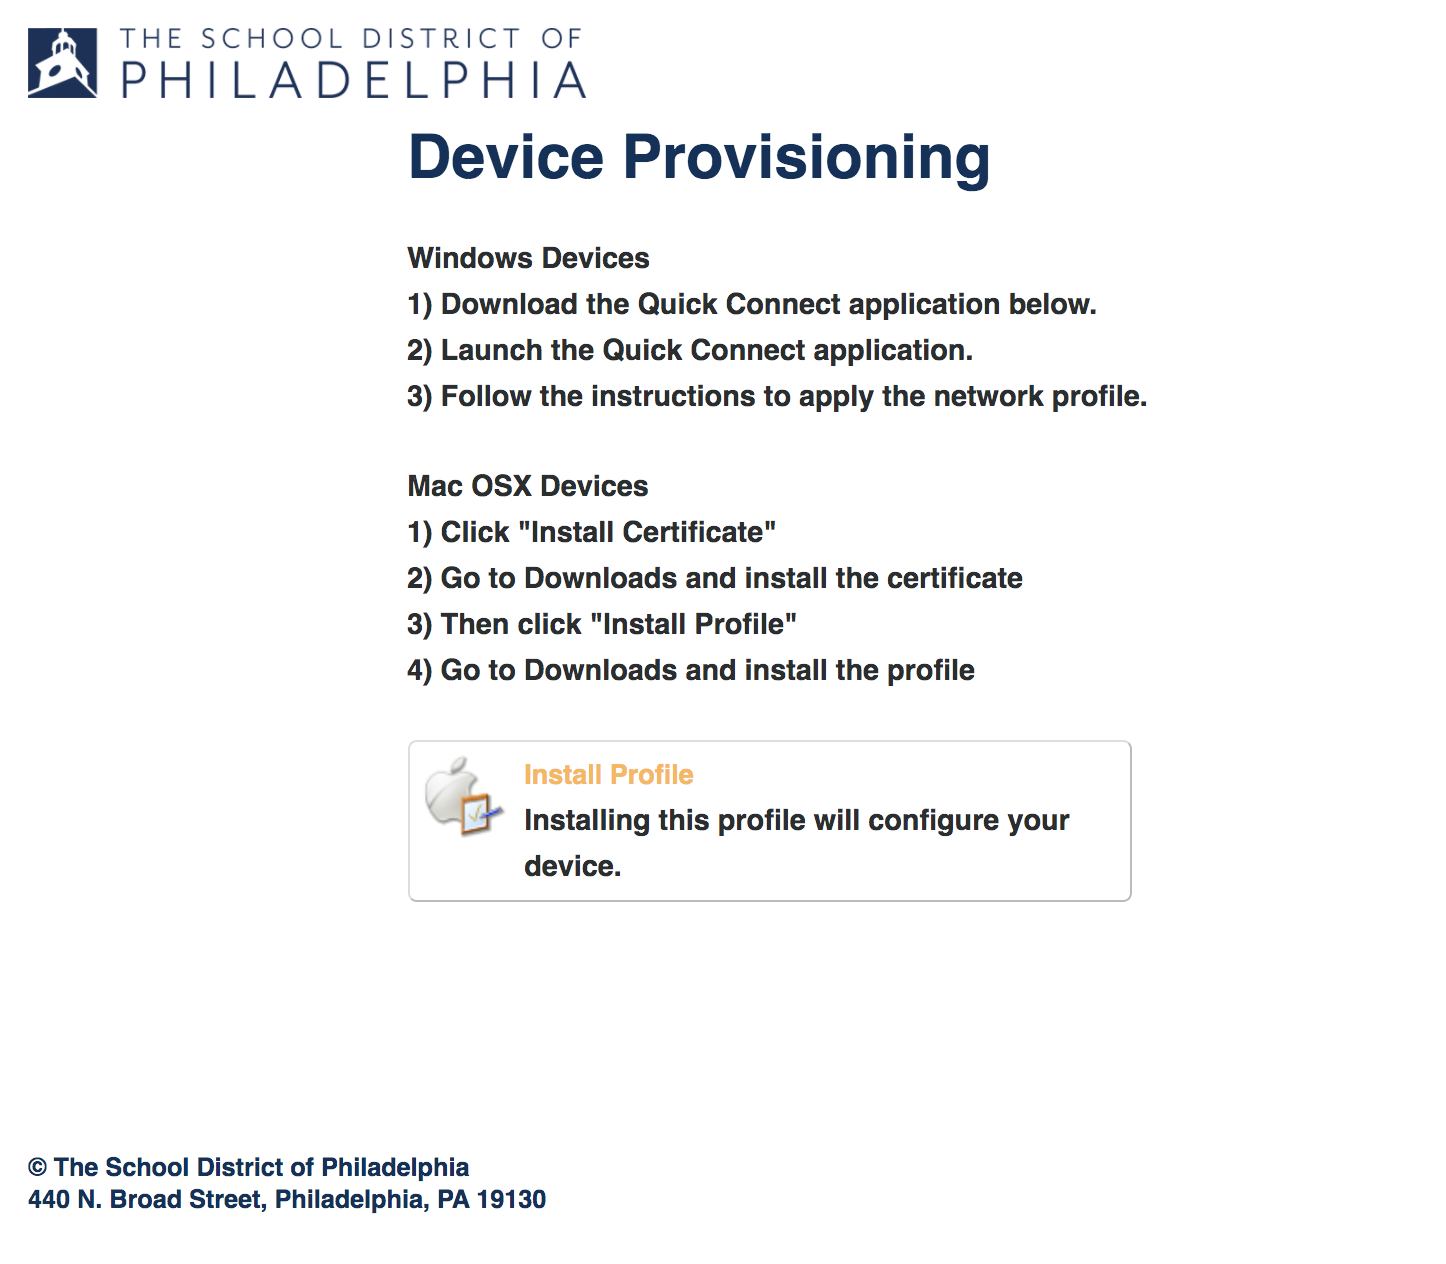
- This will present you with the SDP Device Provisioning steps
- Authenticate your session using the shared asset account credentials provided to authorized personnel in the Shared Device Provisioning window Note: Your personal school district username and password should not be used to provision a shared asset..
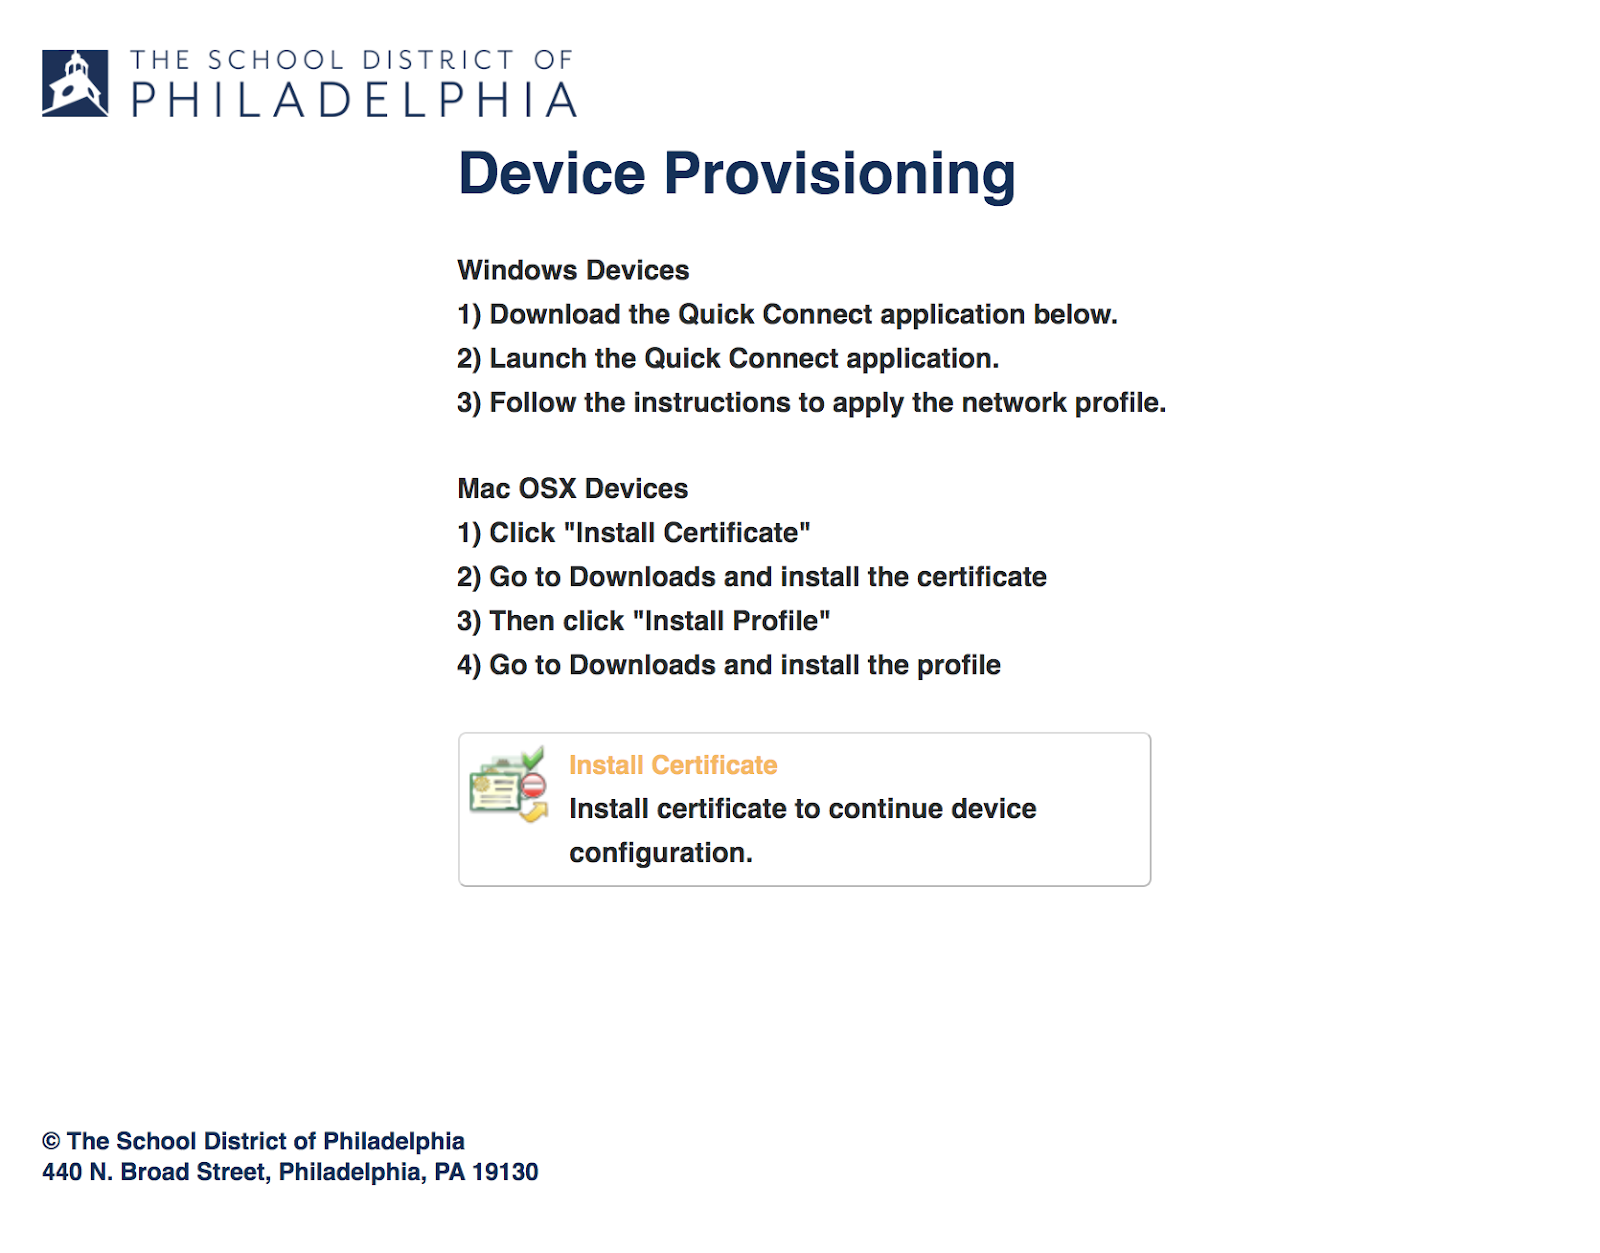
- You will be required to install a unique certificate, and profile onto each provisioned device..
- Click on the Install Certificate link.
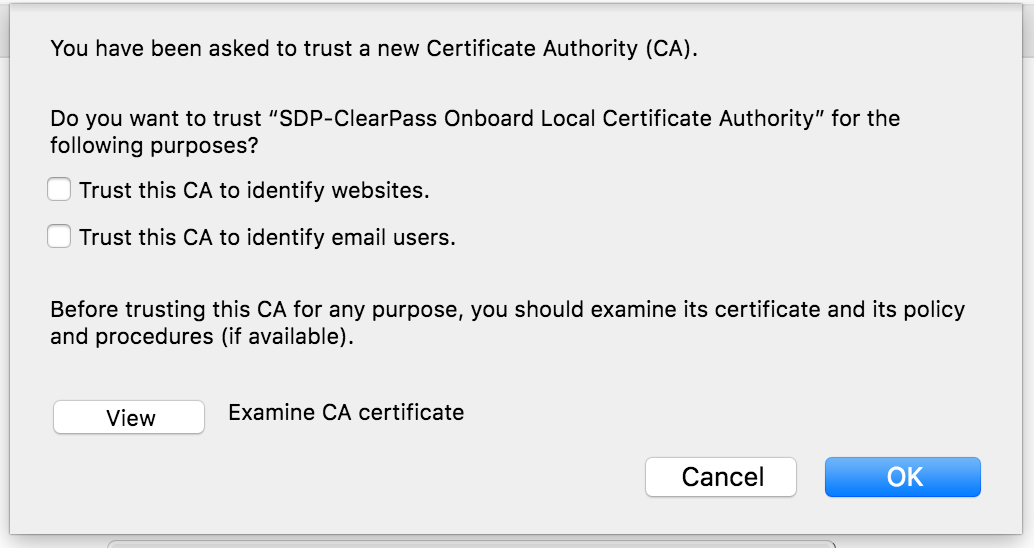
- Click OK to trust the new certificate authority (May not apply in all scenarios)
Note: Leave the checkboxes blank.
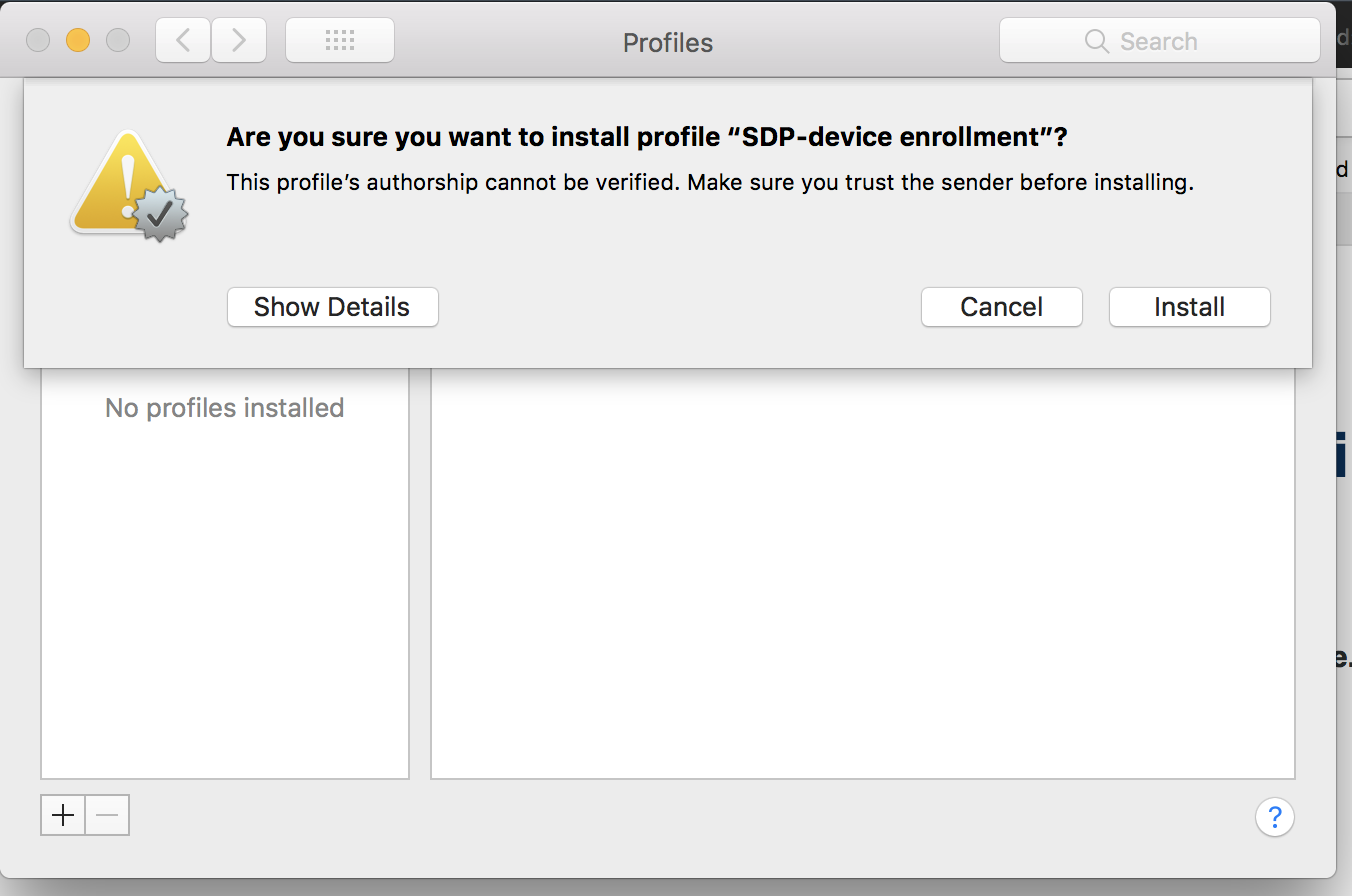
- Following the installation of the certificate, you will be prompted to install a profile to configure network settings.
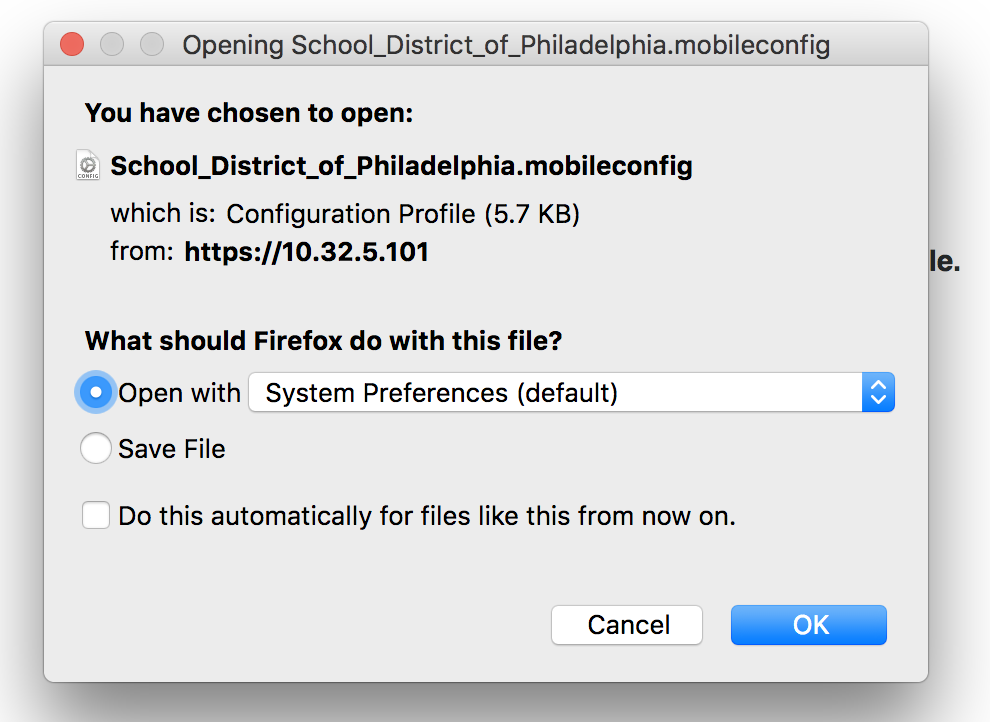
- Click ok to open the mobileconfig file with System Preferences.
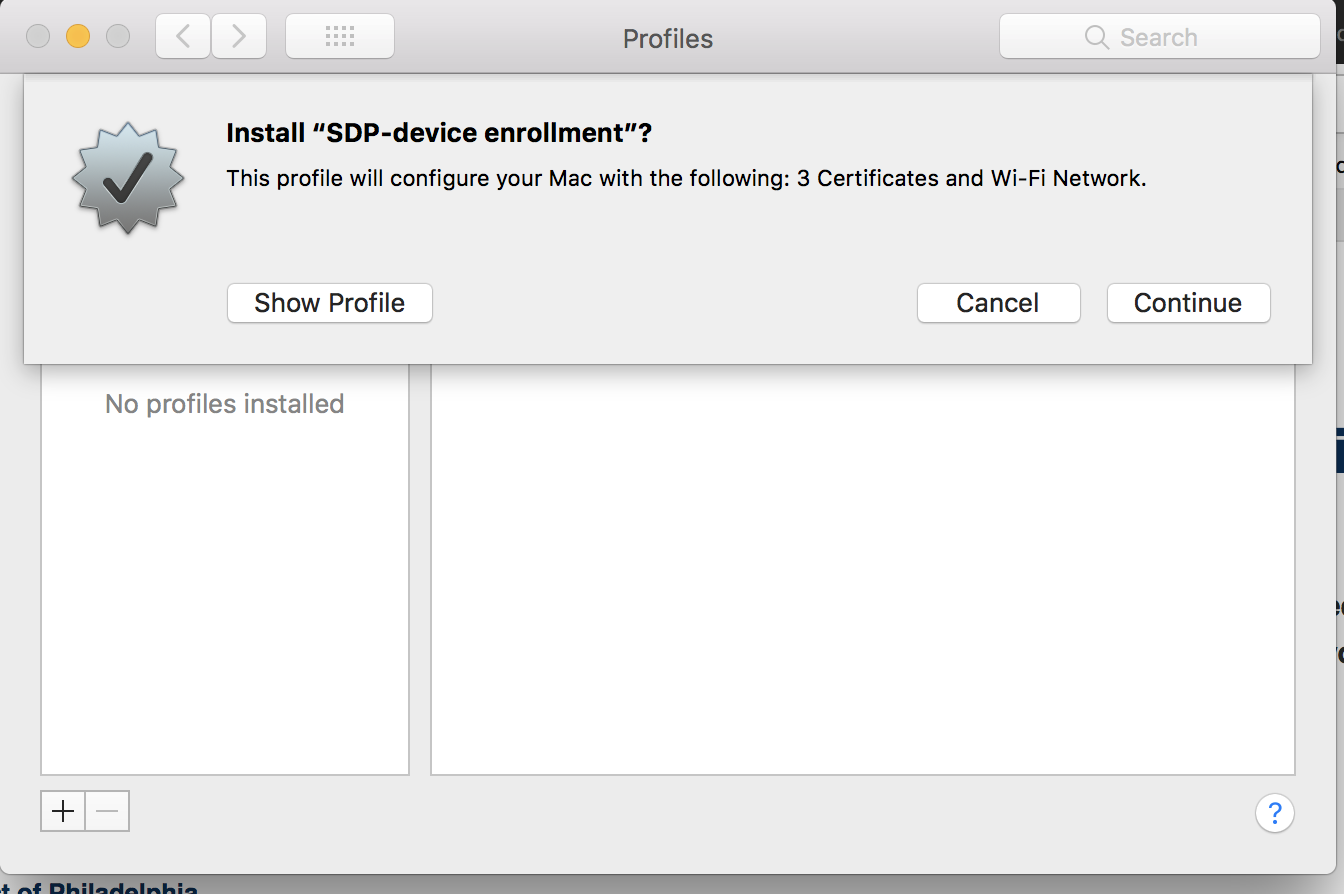
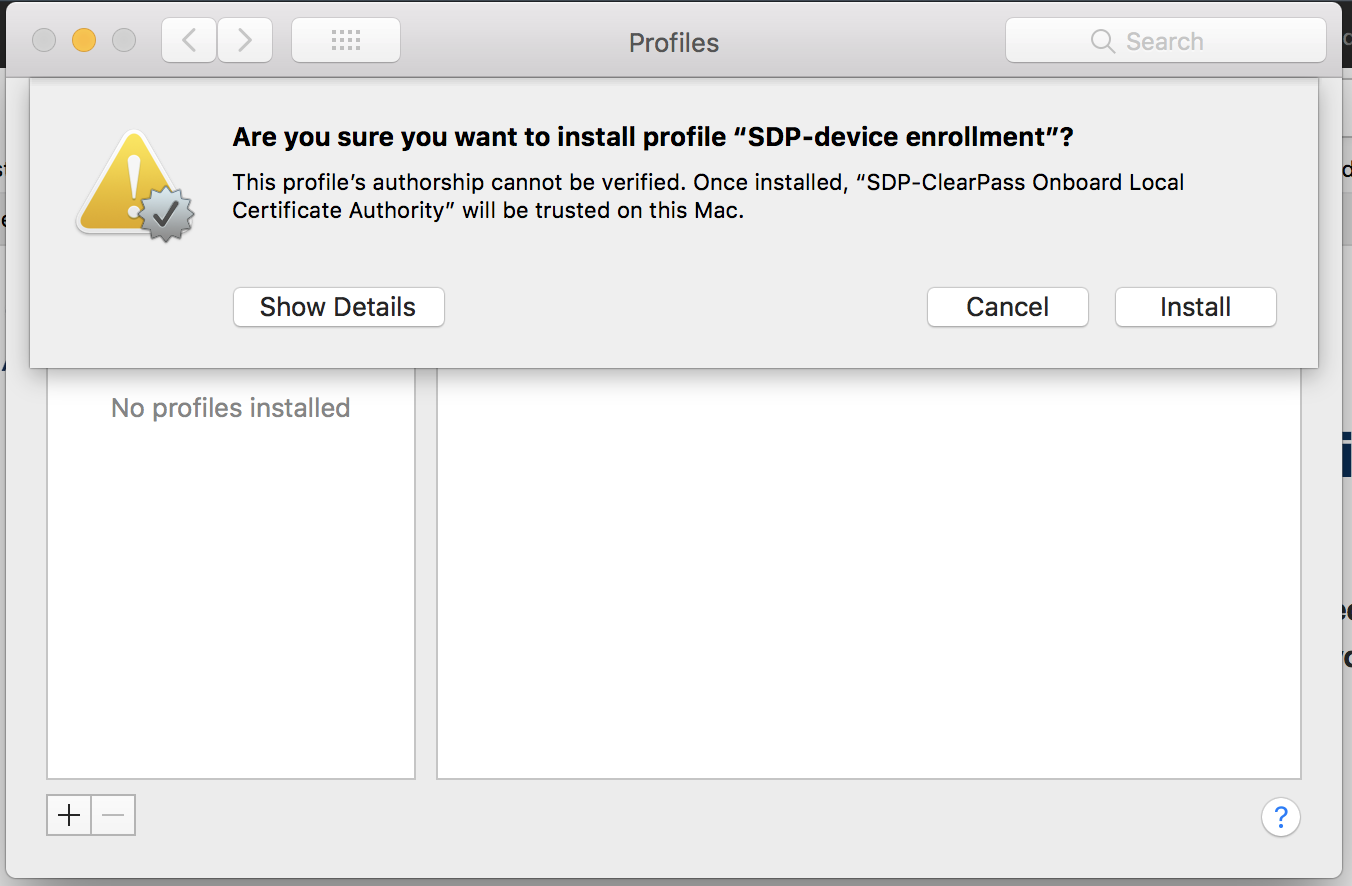
- Install the device enrollment profile by clicking install or continue on the next two windows (Language may vary depending on different versions of OS)
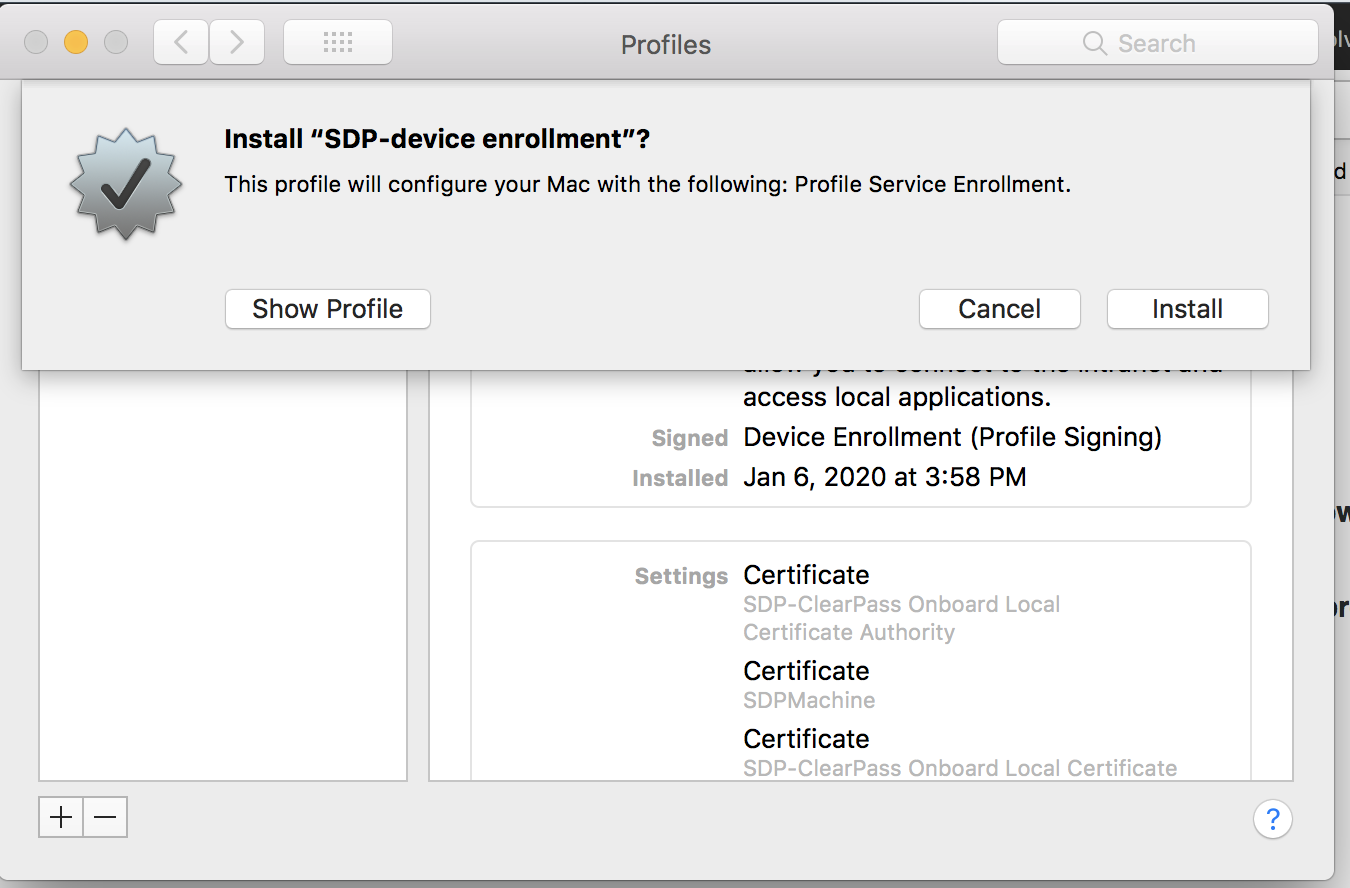
- Click Continue to configure device enrollment certificates, then click Install
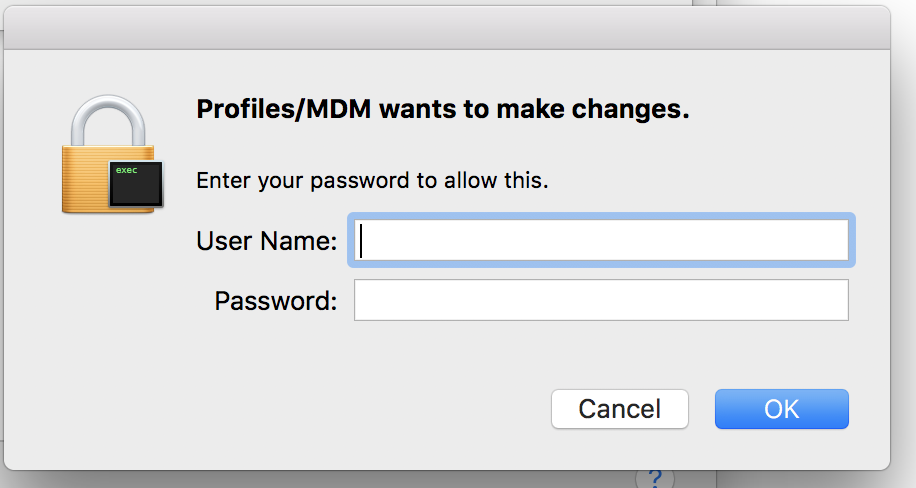
- When prompted, enter your local user name and password. This is typically the credentials you use to log into your device.
- Once complete, click on the red radio button to close this window.

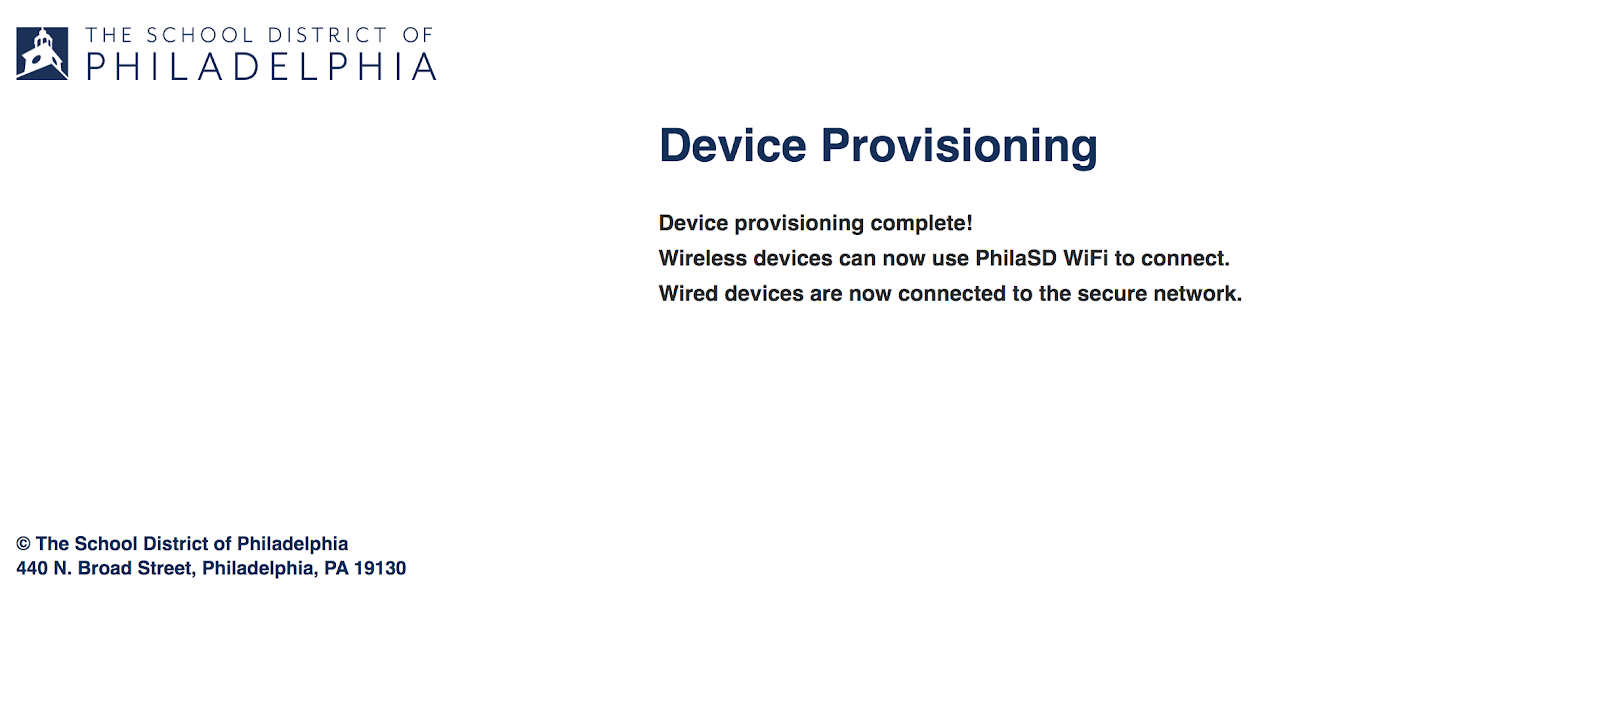
- The last screen will confirm that the machine was provisioned. Your machine is now configured to log into the secure network.
- Connect your wireless to PhilaSD WiFi Secure. If your device does not have the Clearpass Onguard Agent (Health Assessment Application) installed, you will be prompted to do so before you can continue.
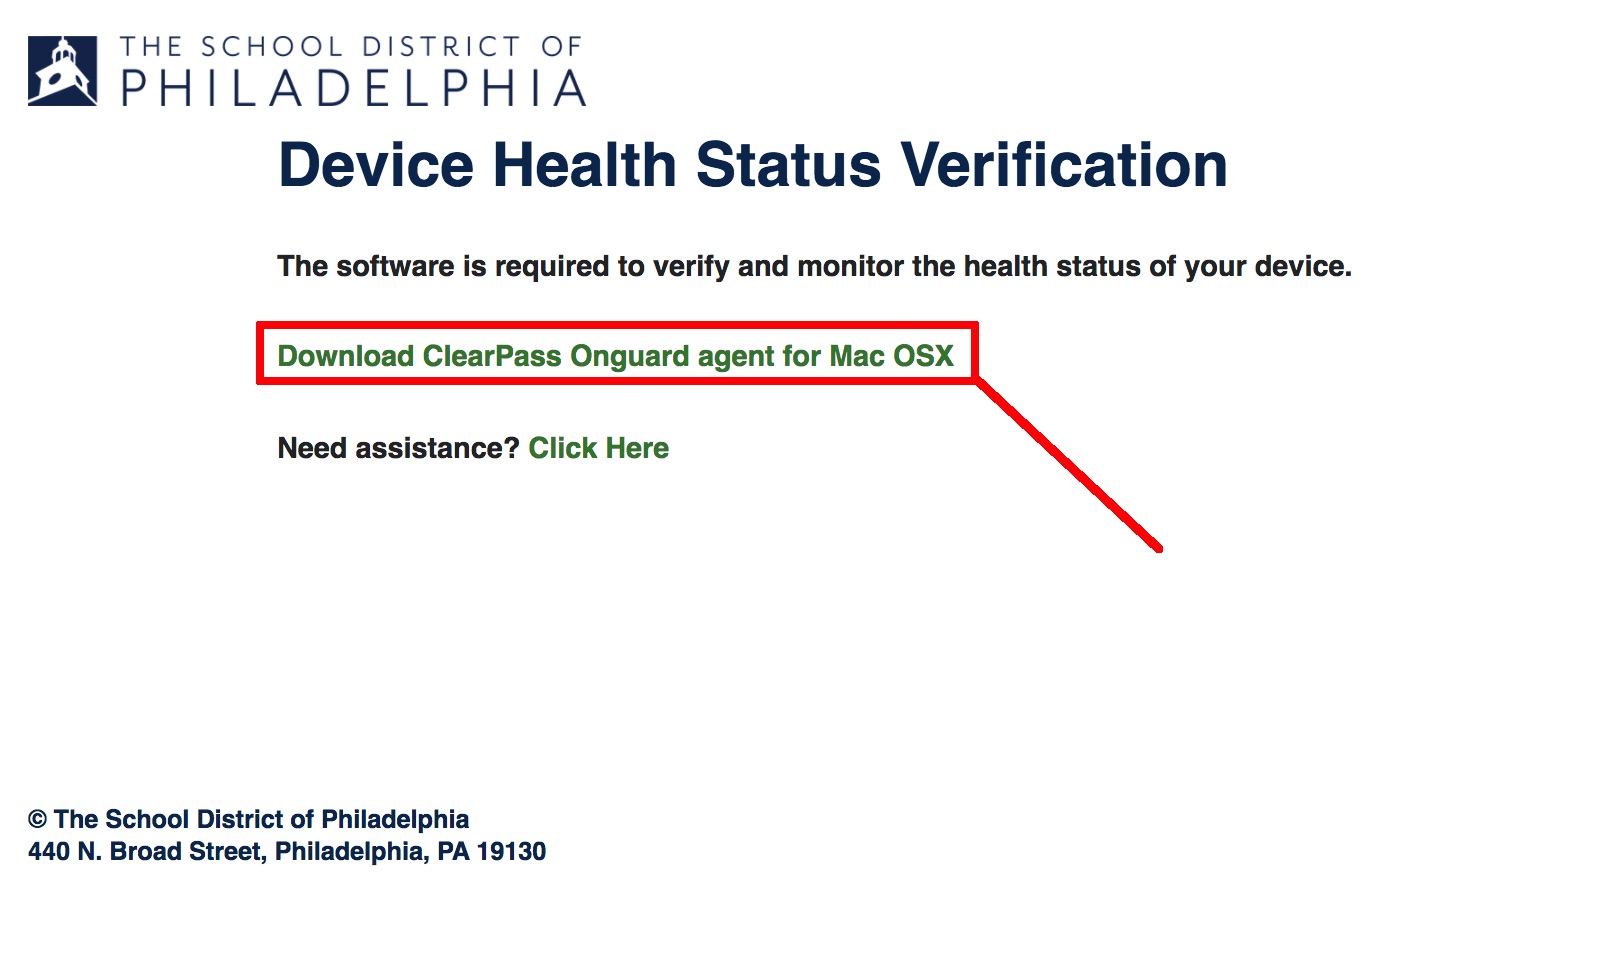
- The Device Health Status window will open
- Note: If the Device Health Status screen does not appear, enter a non-district website in the browser, such as “captive.apple.com”
- Click the link to download the ClearPass Onguard Agent
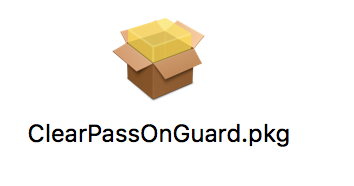
- Click on the clearpassonguard.dmg
Note: If not installed automatically, the installer will be in your Downloads folder.
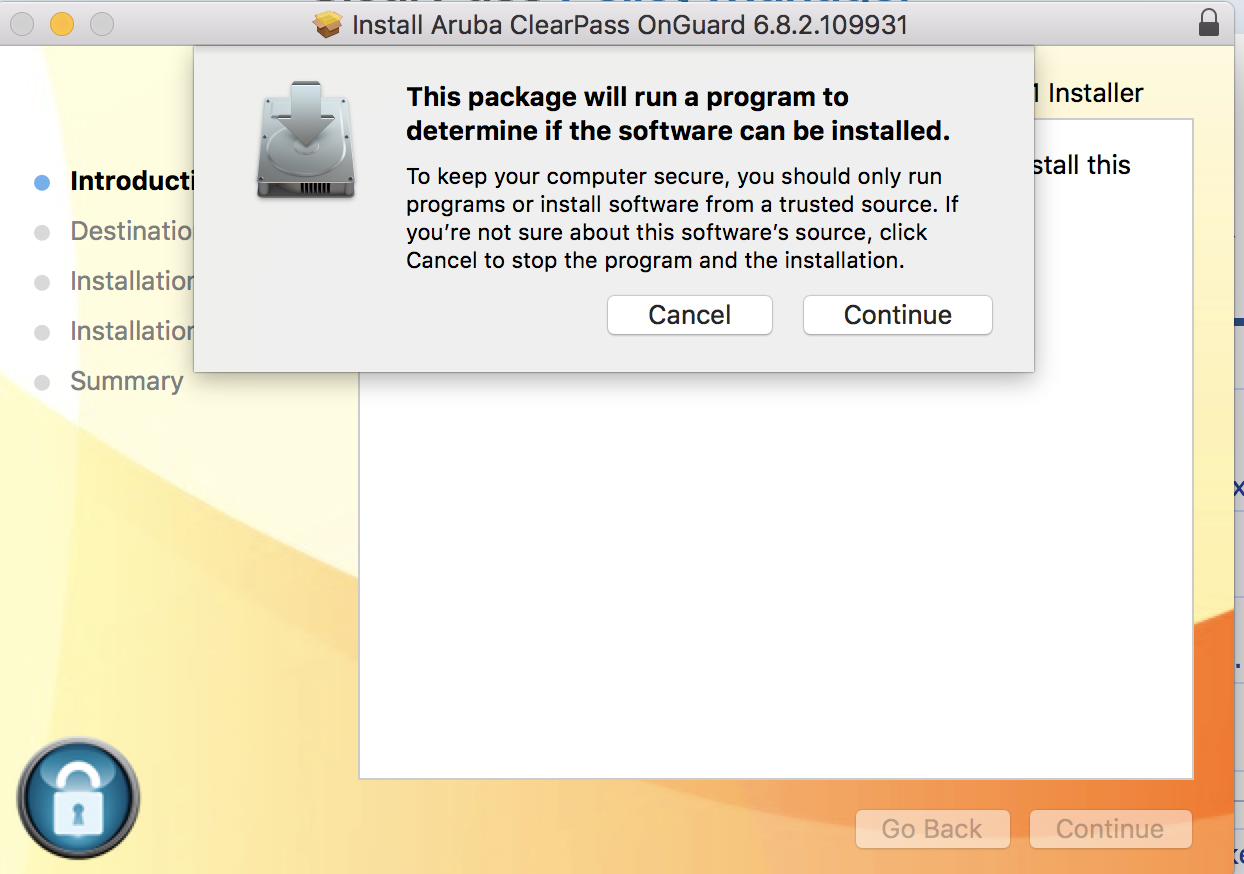
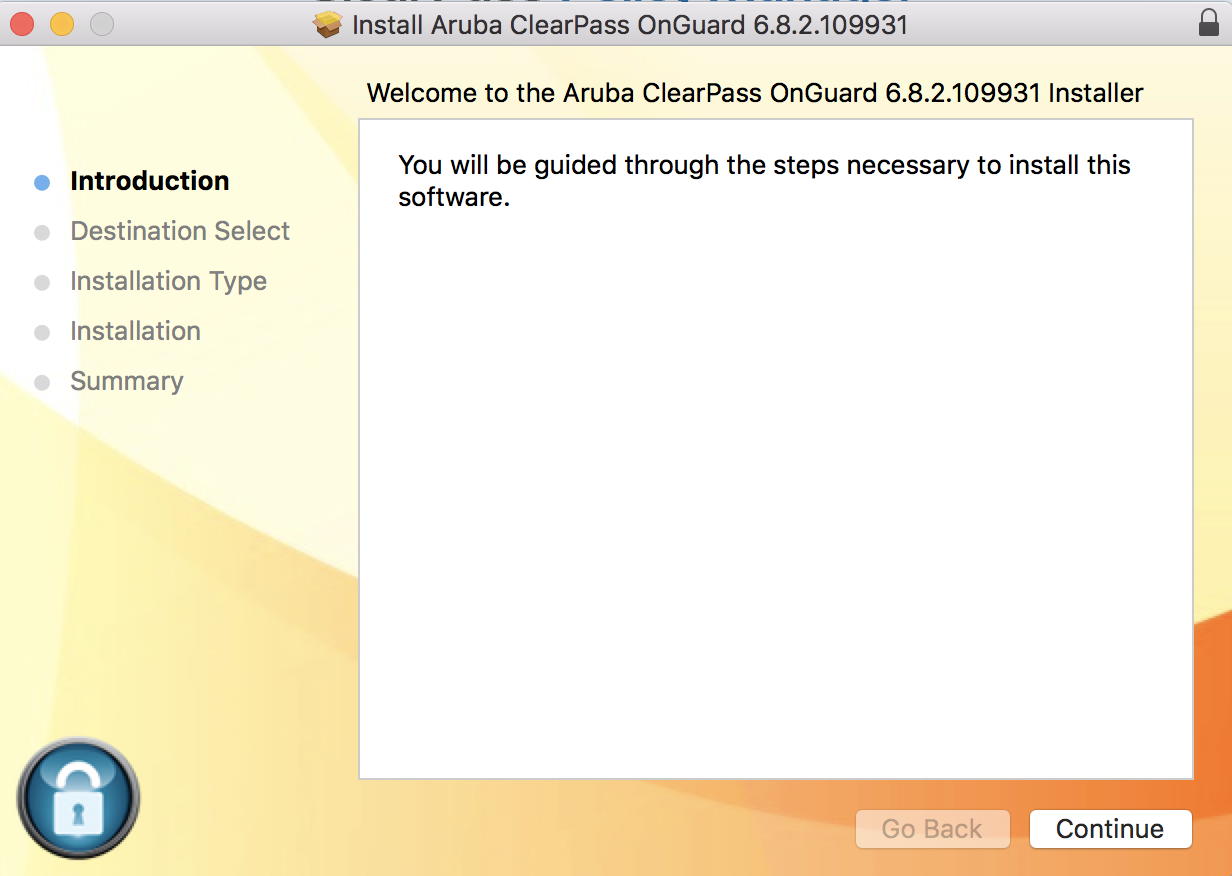
- When the window opens click on the box to install the package
- Click continue
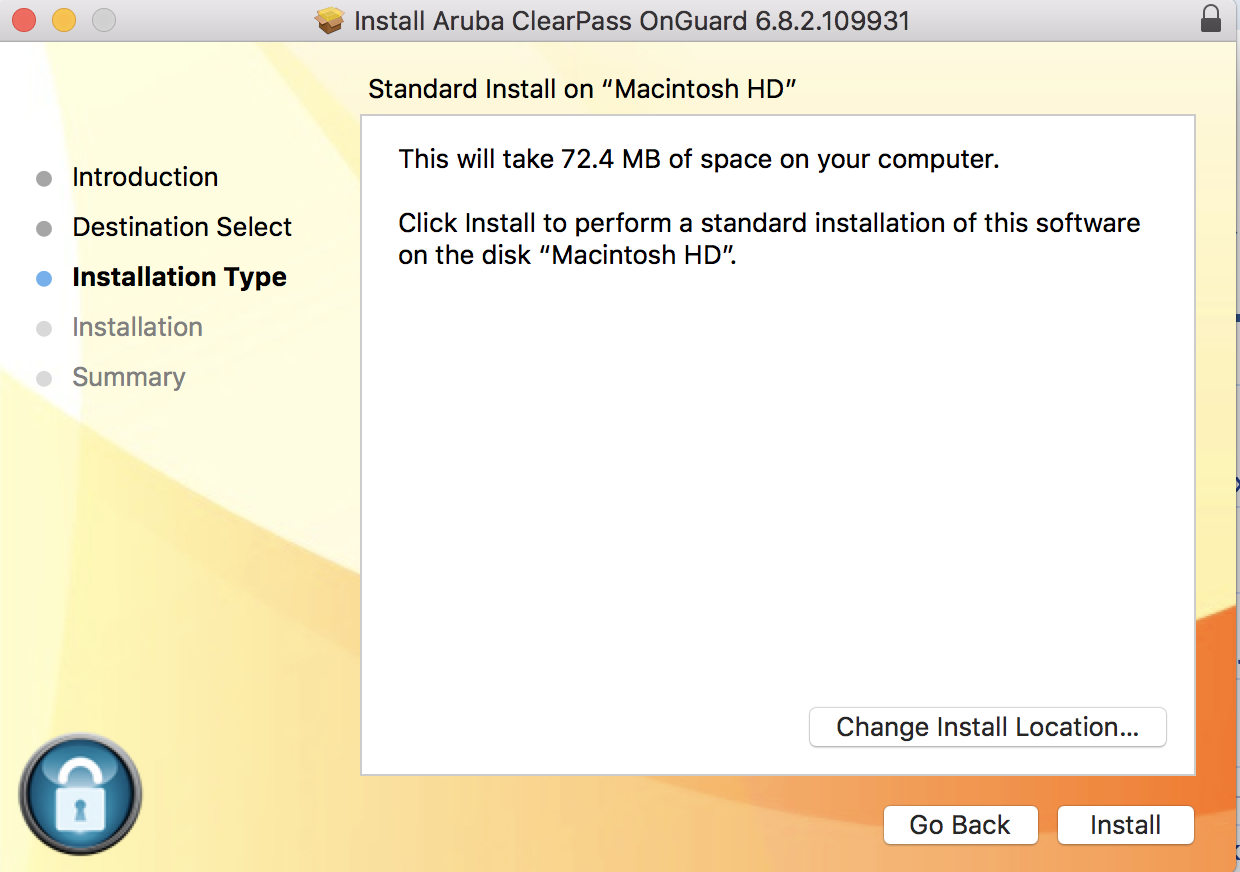
- Continue installing the software.
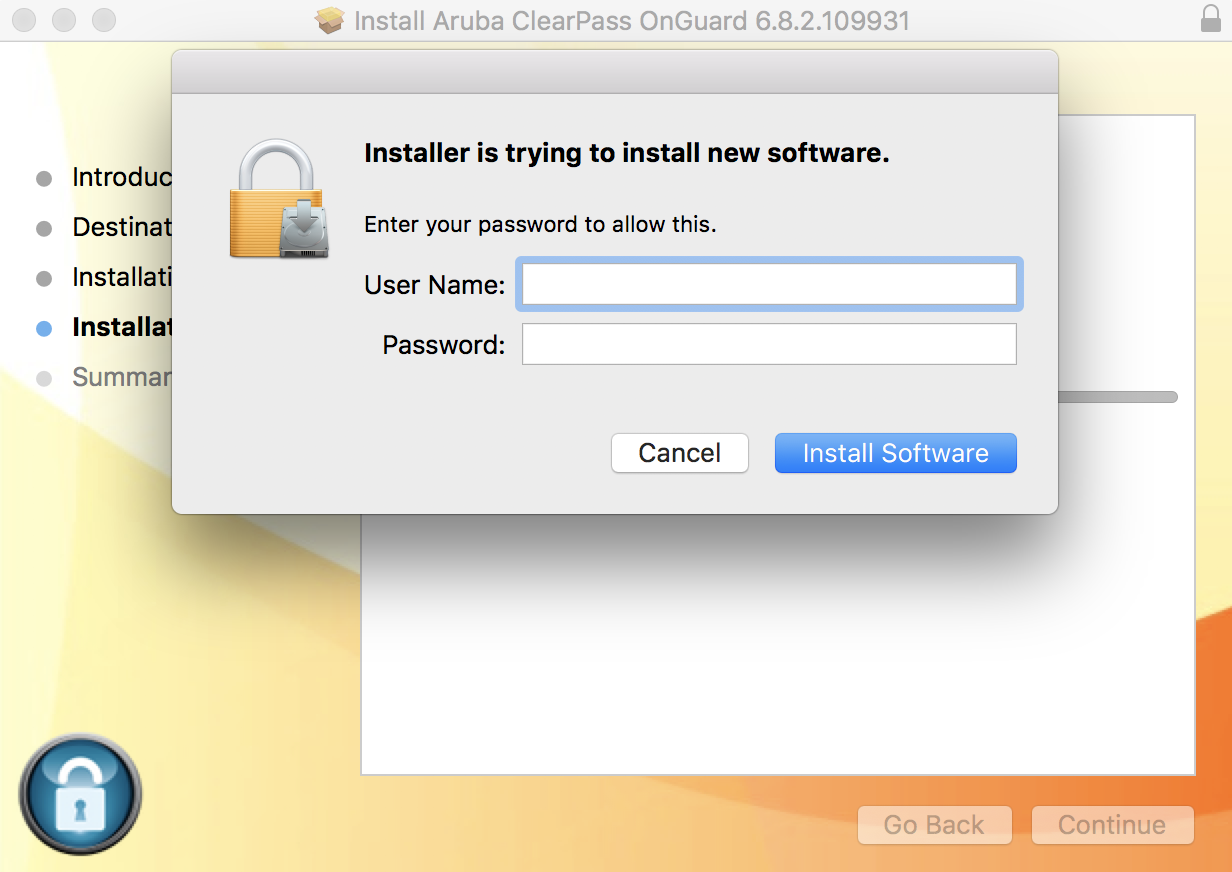
- Enter your username and password. This is typically the credentials you use to log into your device.
- Installation is now complete!
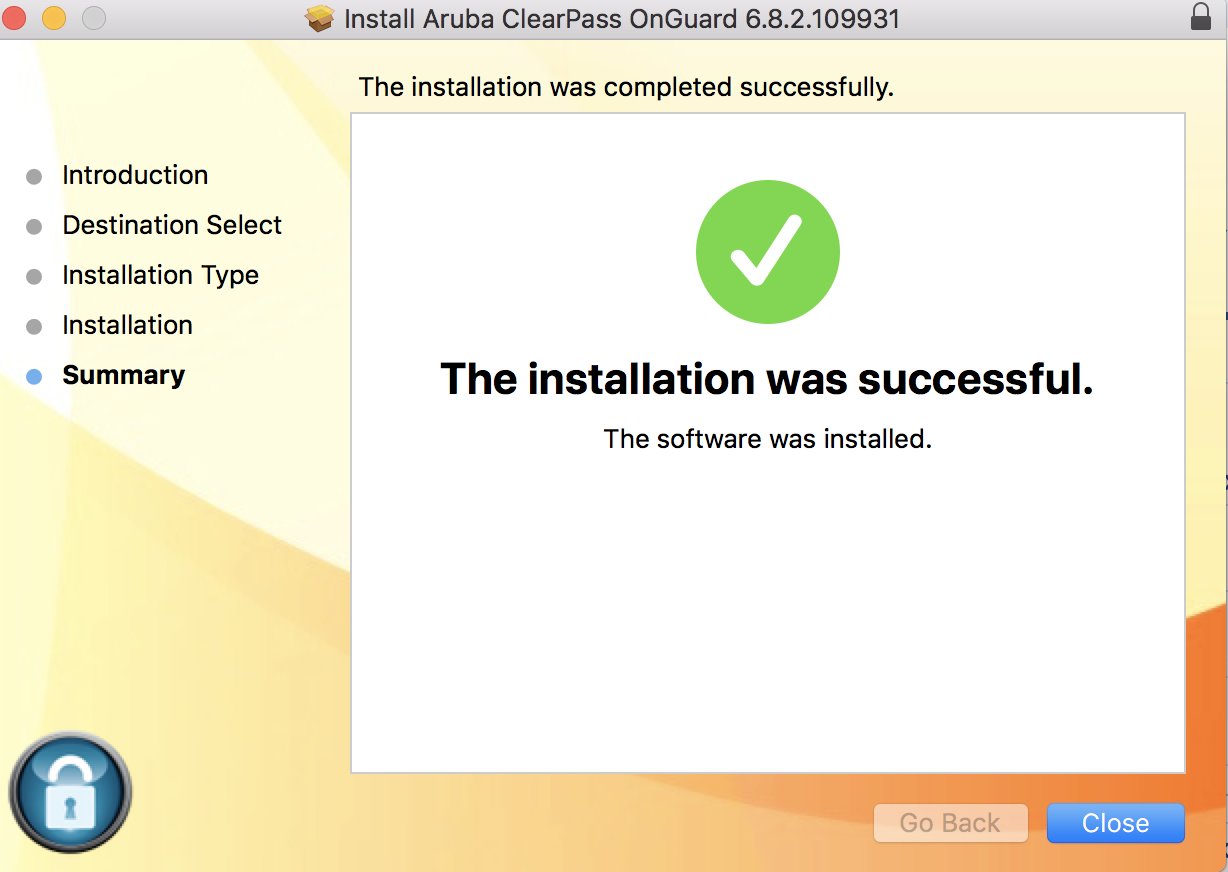
- The Clearpass Icon will appear in the menu bar.
Healthy Unhealthy Scanning


- Once scanning is complete, your icon will turn green or red. If it is green, you will have access to the network. If it is red, please contact the Help Desk at 215-400-5555.
- At this point, you will be presented with the Network Login screen. You can log into this screen with your credentials and get the appropriate access (not just guest access). After 20 minutes, you can log out of the local account and log back in to be presented with the Network Login again for a new user. This workflow is to accommodate students logging in after each period of class.