iPlug2 containerized WAM development
Oli Larkin, November 2020
These instructions describe how to do “containerized development” with iPlug2 and use github’s cloud services to automate builds. We can edit the C++ code for an iPlug2 project inside a container where we can build a Web Audio Module using the emscripten toolchain, which is preinstalled. We run a script to build and host the WAM in the container using a local web server and the ports are forwarded so that we can access the web server in a browser on our machine. When we are happy with the changes to our C++ code, we commit the changes using git version control, and push those changes to github. Using the included CI/CD[1] scripts github’s servers will then publish our WAM to a github pages website (e.g. https://iplug2.github.io/iPlug2OOS). There are also CI/CD scripts to build native VST3 and Audiounit versions of the iPlug2 project which will be published to the “releases page” of the github repository.
Throughout this document when you see PROJECT_NAME, that should be replaced with whatever you want to call your project, e.g. MySynthesiser. It should be a single word, no spaces, and not beginning with a number.
Prerequisites:
Please install the following software. You should have:
- A Mac, Windows or Linux machine
- A github account https://github.com
- Visual Studio Code https://code.visualstudio.com
- Docker Desktop https://www.docker.com/products/docker-desktop
- A Web Browser (preferably Chrome or Firefox)
Steps:
Use the iPlug2OOS template repository to create a new github repo
- Visit https://github.com/iPlug2/iPlug2OOS
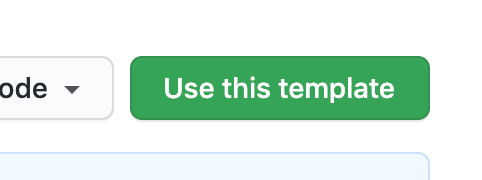
- Click the Use this template button and input a new name for your project. This will be the name that is used in your WAM URL when published by github pages, e.g. https://YOUR_GITHUB_USERNAME/PROJECT_NAME.github.io . In the following examples the new repo is also called iPlug2OOS, but I suggest changing it to the name of your project.
Set up Visual Studio Code for containerized development
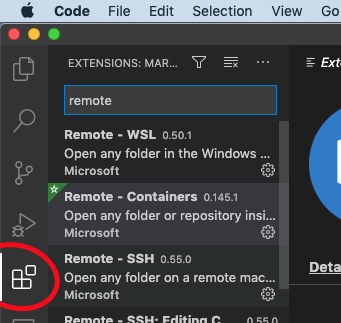
- Open the extensions panel and using the search functionality install the “Remote - Containers” Extension.
Create the container
- Open the VSCode “Command Palette” and run the command called “remote-containers: clone repository in container volume”
- Enter the URL of your new repo, e.g. https://github.com/olilarkin/iPlug2OOS or sign in with github and select the URL from the list.

- Select “create a new volume”
- Wait a little while while the container is built …
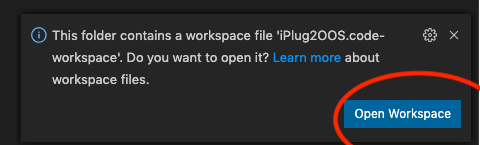
- Open the iPlug2OOS.code-workspace
Set up the repository
Now we have a container set up in VSCode, which contains a git submodule for the iPlug2 source code, alongside a template folder for our project “TemplateProject”. The container initialization script checks out the iPlug2 submodule and downloads the iPlug2 SDK dependencies (e.g. the WAM SDK) into iPlug2/Dependencies. Now we want to rename the template project:
- Open a new terminal. Right click the top level “iPlug2OOS” folder in the workspace explorer and select “Open in integrated terminal ...”. There is a python script at the top level of the iPlug2OOS repo called duplicate.py which you can use to rename the template project “TemplateProject” with your own PROJECT_NAME and also specify your MANUFACTURER_NAME.
Type...
./duplicate.py PROJECT_NAME MANUFACTURER_NAME
into the terminal and press enter
Now you should see code in the “iPlug2” subfolder and a new folder PROJECT_NAME in place of TemplateProject.
Build the WAM
- Navigate to the folder scripts inside the TemplateProject subfolder and launch a terminal there.
- Now you can execute the makedist-web.sh script with the argument container. The argument is required because we are running the script inside a headless container machine where we don’t have a web browser.
./makedist-web.sh container - When it is built, it runs a web server. Click “Open in Browser”, to open the forwarded ports in your web browser.


Congratulations! You should now have built a WAM. Since the command in 5.2 is the default Build Task in the VSCode workspace, you can also launch it from the command palette or via the keyboard shortcut CMD/CTRL-SHIFT-B.
Edit the code
- Kill the web server by pressing CTRL-C in the terminal.
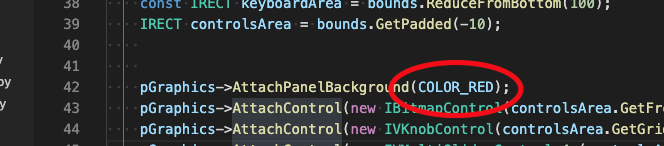
- Locate the file PROJECT_NAME/PROJECT_NAME.cpp, and edit the background color, and save the file…
- Now you can repeat step 5.2, to rebuild the WAM with makedist-web.sh . If you made any mistakes in your C++ code, the emscripten compiler will tell you!
Commit changes and publish in the cloud
When you are happy with the changes, we need to commit them to version control, and push to github in order to trigger a build.
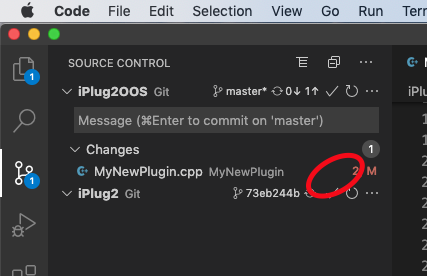
- You can commit them either using the command line terminal, or the VSCode Source Control pane.
- There is a script in the iPlug2OOS root folder bump_version.py which you can use to tag a new version of your project, and push to github in order to trigger a build. Navigate to the iPlug2OOS root folder and type…
./bump_version.py minor
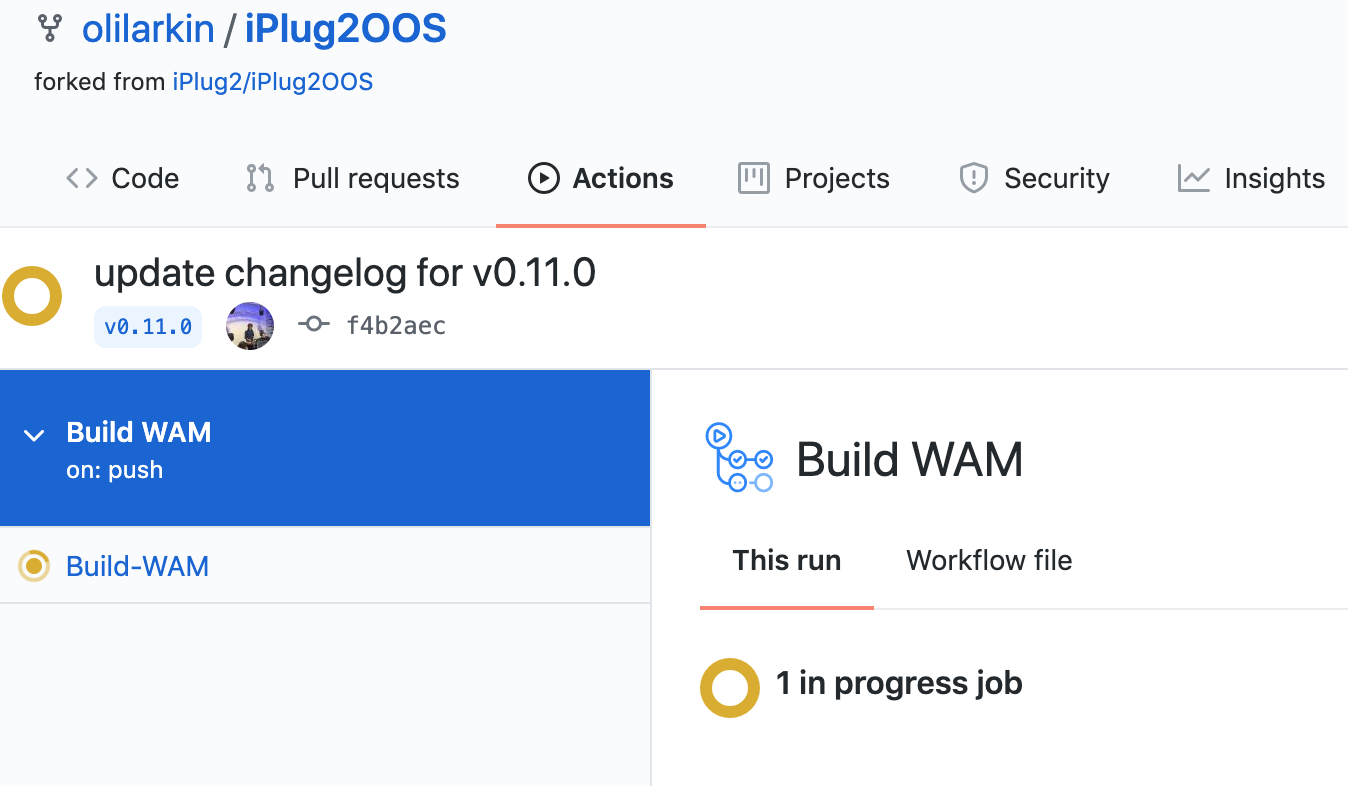
Follow the instructions. You’ll need to use VIM when prompted for a commit message, and if you want to edit the changelog. Vim is a command line text editor which is notoriously confusing! All you need to know is that you start in command mode. Press the key i to enter insert mode. Now you can edit the text file. When you are happy, press the escape key to exit insert mode. Now type :wq, which is the command for “write and quit”. After quitting vim the script completes its tasks. When everything has been pushed to the cloud it should trigger a build on your github project, which you can see by visiting the Actions page:
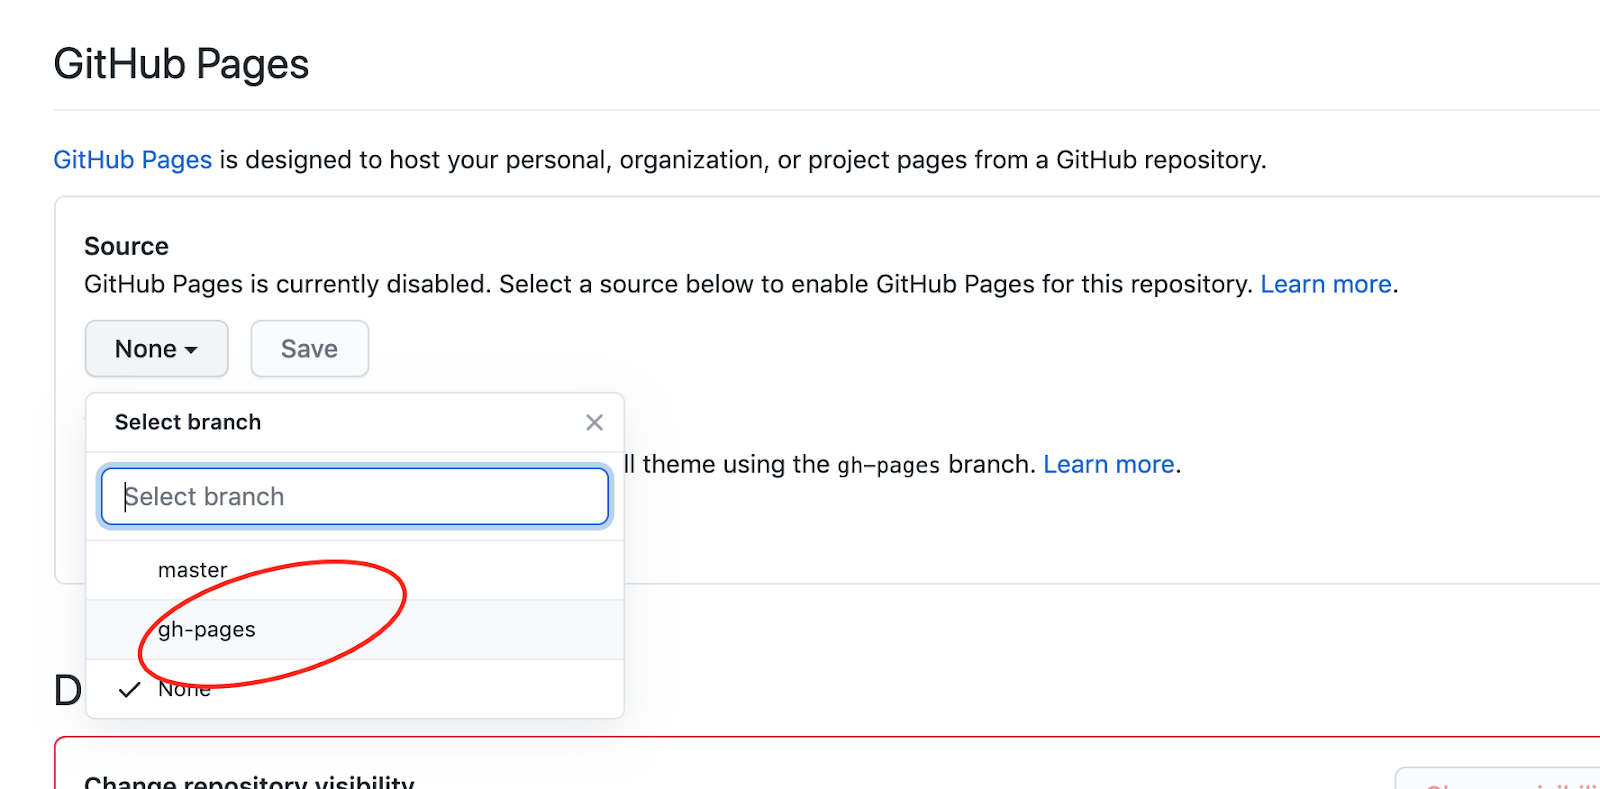
- Once the Build WAM action has completed, enable Github Pages on your repo, making it point to the new gh-pages branch.
- Wait a little while for github pages to be updated. Now your new project should be hosted at
https://YOUR_GITHUB_USERNAME.github.io/PROJECT_NAME/
[1] continuous integration/deployment