Editing Automatic Captions in YouTube
Once you upload your video to YouTube and it finishes processing, the program will automatically create captions for you - after some period of time. Once captions are created by the YouTube tool, they must be proof-read and edited.
Here's how you can review automatic captions and make changes, if needed:
- There are several ways to find it: click your account photo in the top right, then the Creator Studio button > Video Manager > Videos; or click the Menu icon in upper left > My channel > Video Manager.

- Locate the video, click the drop-down menu next to the Edit button.
- Select Subtitles/CC.
- If automatic captions are available, you'll see English (Automatic) in the "Published" section to the right of the video.

- Select the Published (English) Automatic captions bar.
- The edit view user interface will open
- Select the blue EDIT button to activate the feature

- Review automatic captions both by reading and listening to the audio in each segment. Update the text by clicking your mouse into each panel and typing.

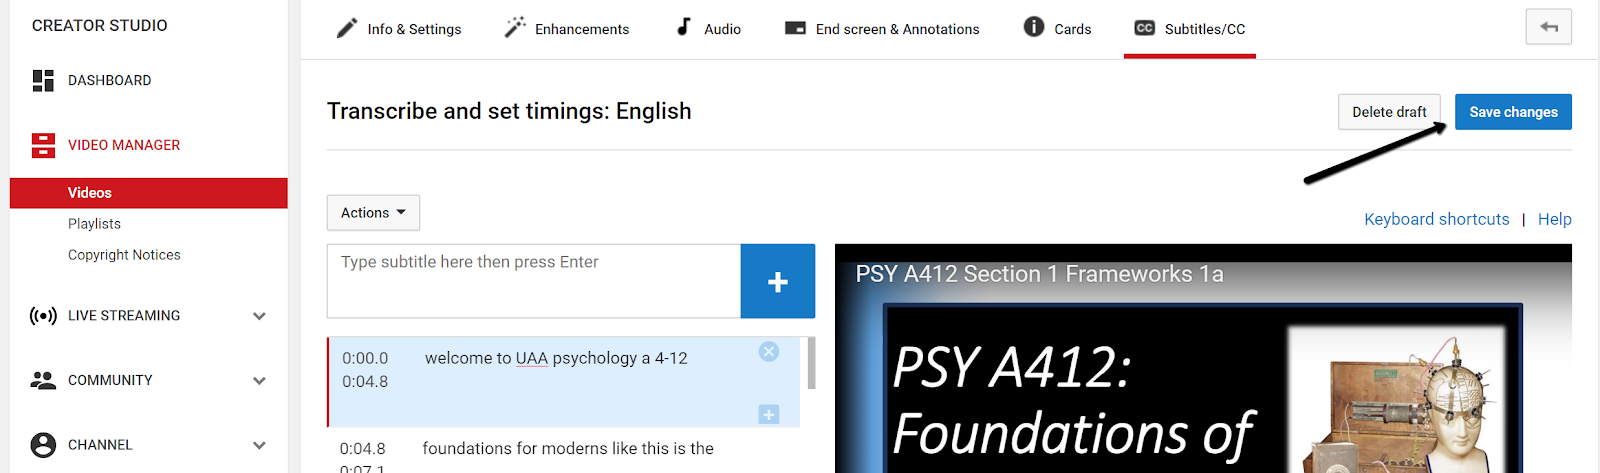
Image Note 1: Click here to type and edit text per slide
Image Note 2: Save Changes when you are done
Image Note 3: You can also click and type here, and use the timing bars to adjust the length of time each caption shows on the video
10. When you have edited the captions, select Save Changes
11. The system will ask if you want to override other changes, and publish.
For additional instruction on how to use these tools in YouTube: Instructions to edit.