Logging into Q ParentConnection
How to Update Your Information
How to Update Your Student’s Contact Information
How to get Email Notifications
Logging into Q ParentConnection
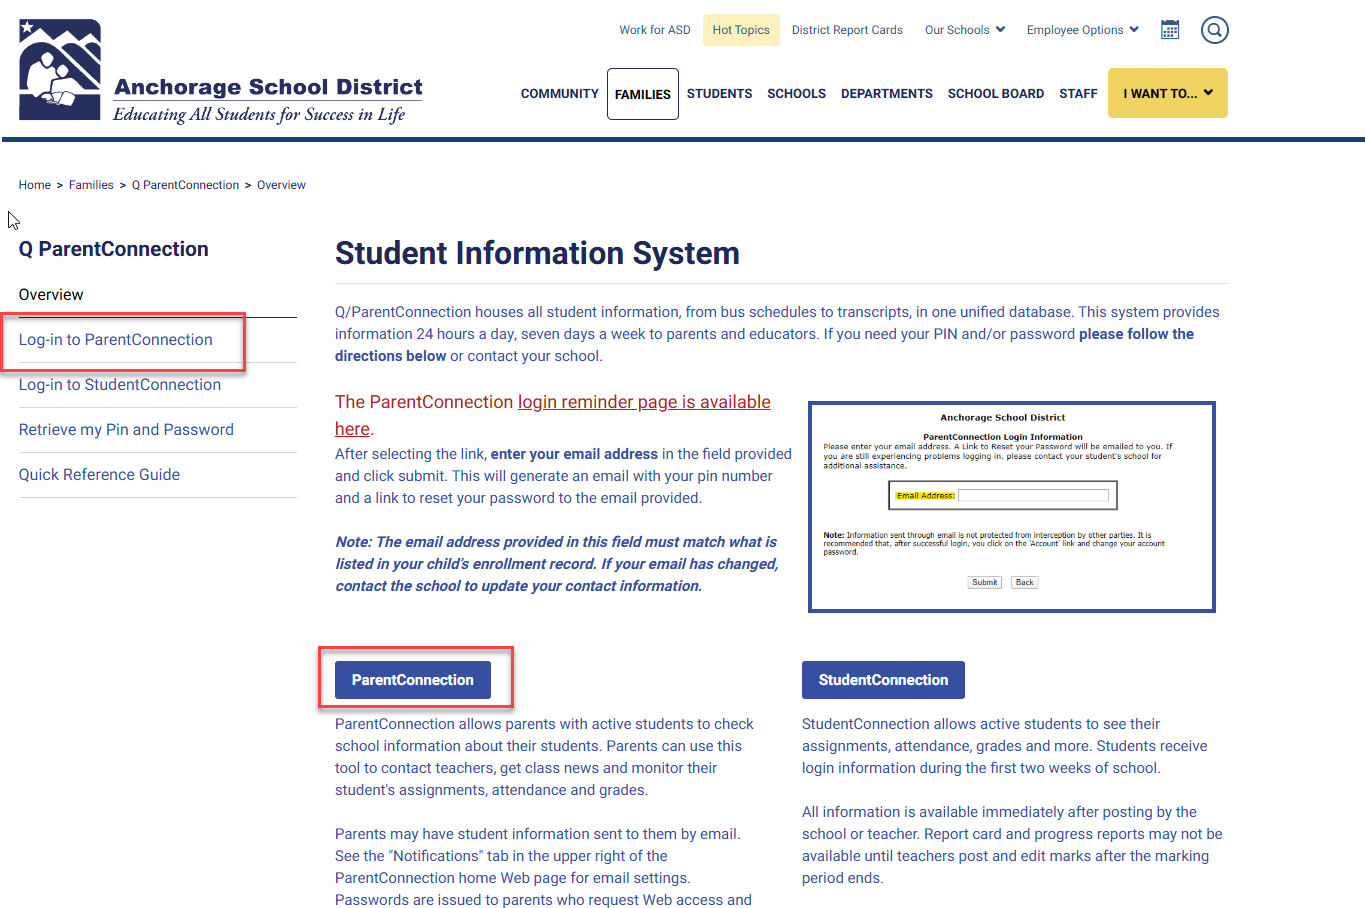
- Q ParentConnection can be found by going to the main ASD website, clicking on the I Want To button and selecting Access Q/Parent Connection.
- Click on the blue ParentConnection button on the Student Information System page. You can also click on the Log-in to ParentConnection link on the left-hand side.
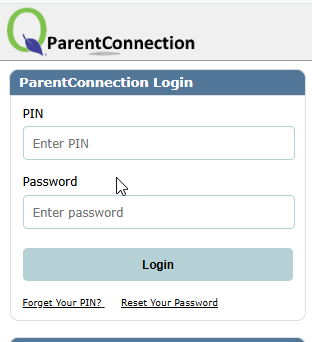
- Enter your Q ParentConnection Pin and Password. If you do not remember your PIN or password, use the Forgot Your PIN or Reset Your Password links located beneath the login button.
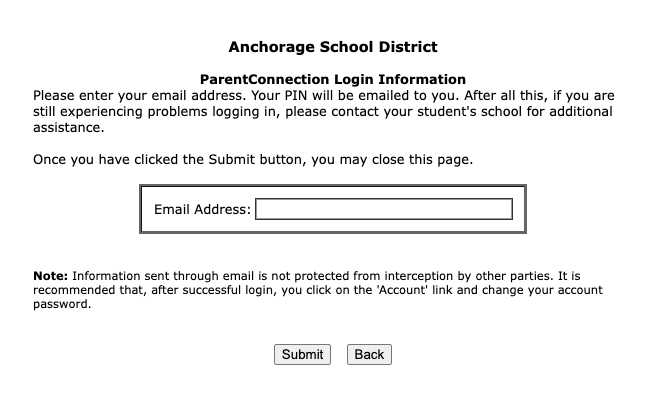
- You will be prompted to enter your email address. A unique email associated with your Parent Connection Portal is required to retrieve your PIN and/or reset your password. If you do not receive an email, please contact your student’s school.

Navigating Q ParentConnection
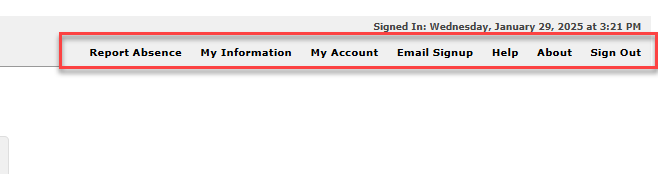
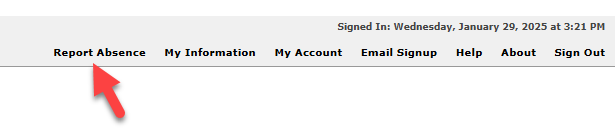
When you login to QParentConnection you should see the following options on the upper right-hand corner of the screen. These options will be available for each student you are viewing.
Available Options
- Report Absence: Click Report Absence to report an absence for your student. More information on how to Report an Absence can be found in the Report Absence section of this guide.
- My Information: Click My Information to view and change your contact information.
- My Account: Click My Account to update your password.
- Email Signup: Click Email Signup to set your email preferences. More information on updating your email notifications can be found in the Email Notifications section of this guide.
- Help: Click Help to view help information created by the Q vendor.
- About: Clicking About will display copyright and version information.
- Sign Out: Click Sign Out to logout of your Q ParentConnection account.
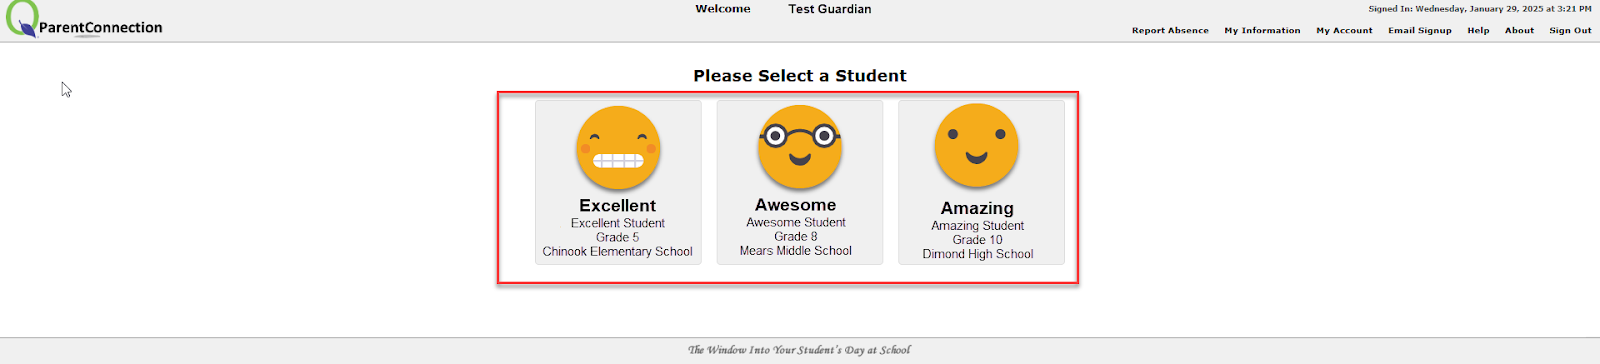
In the middle of your screen you will see a square that includes the picture, name, grade level and school for your student(s). To view information for your student(s) click on the tile with the student name.
Dashboard
The dashboard will highlight information such as:
- Classes, Marks and Attendance - This section will display your student's current schedule, teachers, absences, tardies, missing assignments and overall grade in each course. Click on schedule, attendance or the grade will take you to that section within ParentConnection.
- Upcoming Assignments and Events - This section will display upcoming assignments and events.
If you have questions about the information in these sections, please contact your student’s school or teacher.
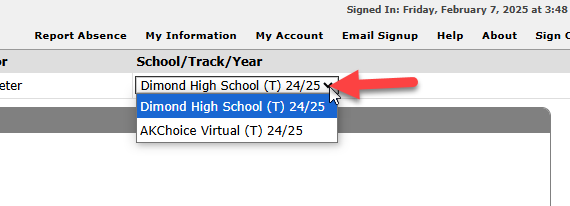
If your student is enrolled in more than one school, you can change the school by clicking the School/Track/Year dropdown and selecting the school you wish to view information for.

Menu
After you have selected your student you will be able to view a menu on the right-hand side of your screen. The menu can be opened or closed by clicking the < icon to the right of Menu.

Each of the sections within the menu can also be opened or closed by clicking the plus sign icon (to open) or the minus sign icon (to close).

Helpful Hint: Click the “Show All” checkboxes to see additional information!

Information Available
The following sections may be available:
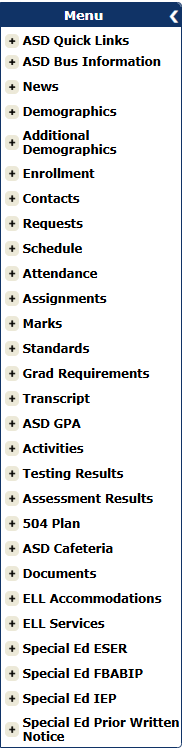
- ASD Quick Links: Links to Online Lottery, Online Registration, Online Payments, and Clever.
- ASD Bus Information: Student bussing information including bus numbers, pick-up and drop-off times.
- News: View school news and important dates on the school calendar.
- Demographics: View your student’s personal information. If changes are required, please contact your student’s school.
- Additional Demographics: Lists Student Pronouns and Library Card Number.
- Enrollment: Lists enrollment history for your child.
- Contacts: View the primary and emergency contacts listed for your student.
- Requests: View the course requests made by your student. This will only be available for students entering or currently enrolled in middle or high school.
- Schedule: View your student’s schedule. Clicking on an underlined teacher’s name will link to an email.
- Attendance: View your student’s attendance for the current school year.
- Assignments: View your student’s current assignments, current grade, current grade percentage, and view/print your student’s progress report.
- Marks: View your student’s posted progress, quarter, and semester marks.
- Standards: View your student’s standards information.
- Grad Requirements: View your high school student’s progress toward graduation.
- Transcript: View your student’s unofficial transcript. For an official transcript, please contact your student’s school.
- ASD GPA: View your high school student’s GPA information.
- Activities: View your student’s activity information.
- Testing Results: View your student’s state testing scores.
- Assessment results: View your student’s assessment results.
- 504 Plan: View information on your student’s 504 plan (if applicable).
- ASD Cafeteria: View student’s current lunch balance.
- Documents: Parent/Guardians can upload certain documents into Q Parent Connection. The type of documents include: Birth Certificates, Immunization Records, Non-ASD Transcripts, Proof of Anchorage Residency, other Legal Documents. Please visit that: Q ParentConnect Parent Document Upload Guide for more information.
- ELL Accommodations: View information about your student's English Language Learner (ELL) Accommodations (if applicable).
- ELL Services: View information about ELL Services available in ASD (if applicable).
- Special Ed ESER, Special Ed FBABIP, Special Ed IEP, Special Ed Prior Written Notice: Special education documents are available to parents/guardians through Parent Connection. This includes the current IEP and ESER, as well as the FBA/BIP if there is one. Effective April 2020 parent/guardians will also be able to view Prior Written Notices (PWN) from the current school year. Parents/guardians can access their student’s full special education file by contacting Special Education Records. The documents remain confidential and secure, as they have in the past. Principals and school counselors can access the IEP and FBA/BIP for all students in their school. General education teachers can access the IEP and FBA/BIP only for students who are enrolled in the courses they teach.
How to view another Student
If you have multiple students, you can view another student by clicking the house icon located in the upper left-hand corner.
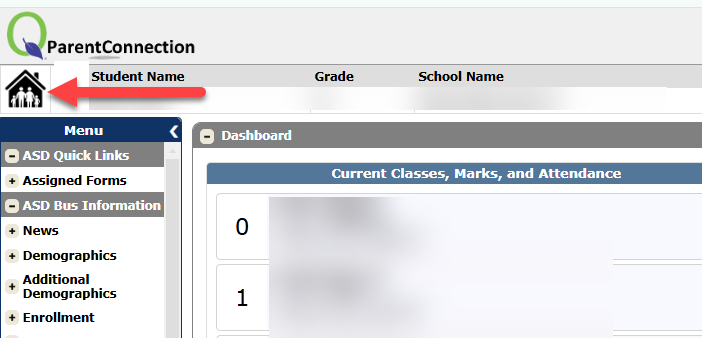
Clicking this icon will return you to the home page where you can select another student.
How to Update Your Information
Parents/Guardians can update their contact information within Q ParentConnect. Please contact your student's school to update other information.
- Click the My Information option, located on the right-hand side of your screen.
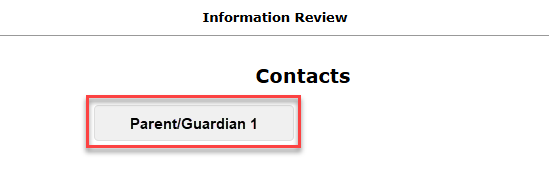
- Click your name under Contacts.
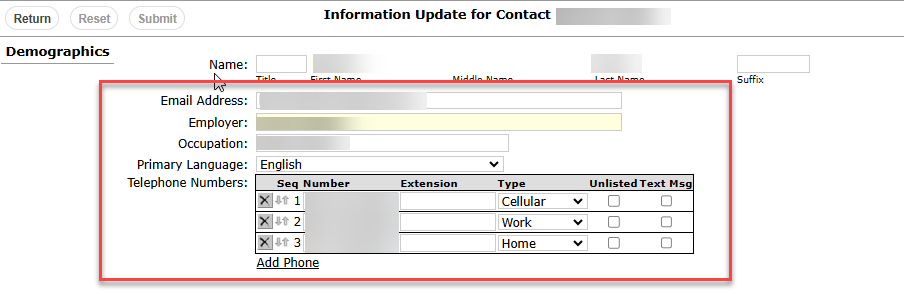
- Email address, employer, occupation, primary language of the parent and phone numbers can be updated. Please contact your student's school to update other information.
- Don’t forget to click submit to save your changes.


How to Update Your Student’s Contact Information
Parents/Guardians can update their student’s contact information within Q ParentConnect. Please contact your student's school to update other information.
- Click the My Information option, located on the right-hand side of your screen.
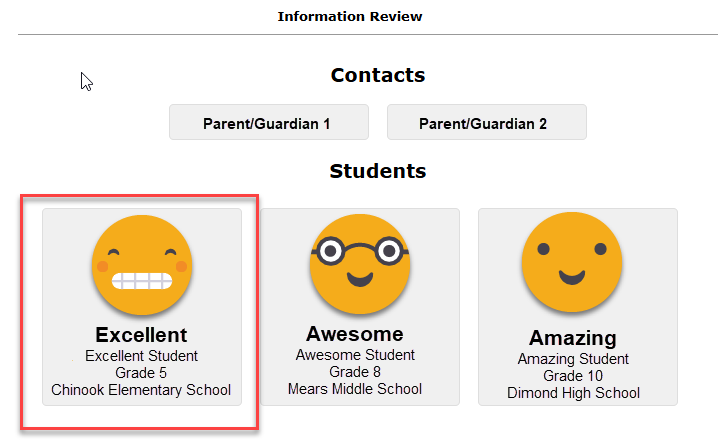
- Click your student’s name.
- The student’s primary phone number, additional phone numbers and email may be edited. Please contact your student's school to update other information.
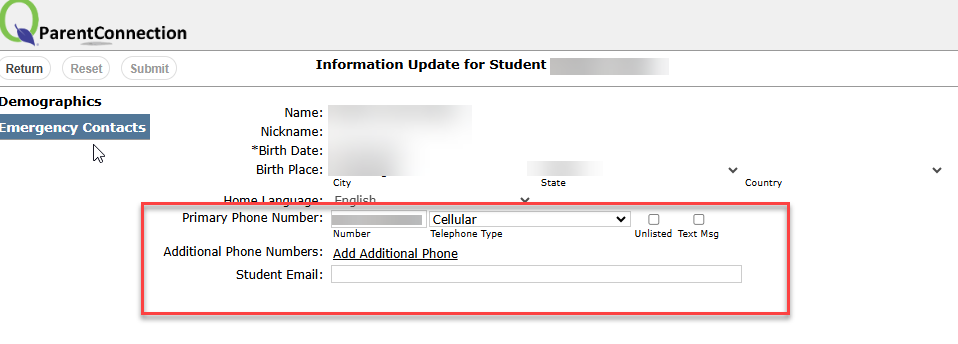
- Don’t forget to click submit to save your changes.
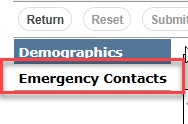
- Parents/Guardians can also update emergency contacts. Click the Emergency Contacts tab located on the upper left hand corner.
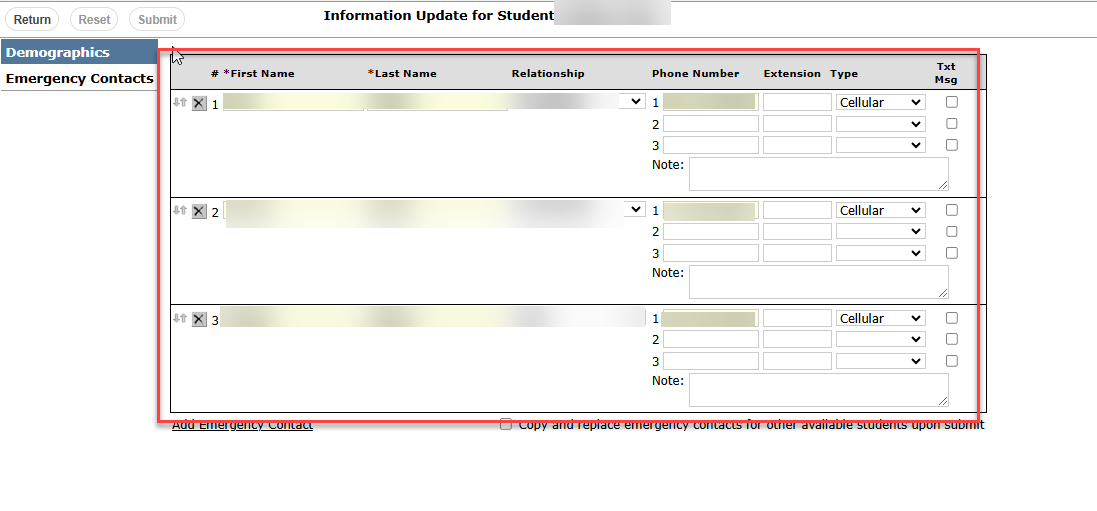
- Parents/Guardians may update the Emergency Contact information as needed by typing the updated information in the text boxes.
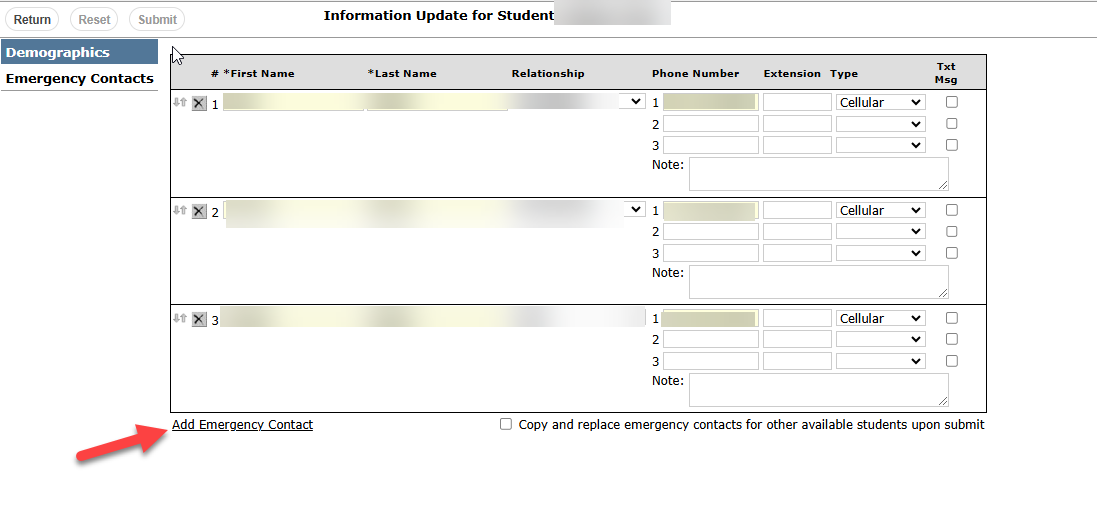
- If you need to add a new Emergency Contact, click Add Emergency Contact.
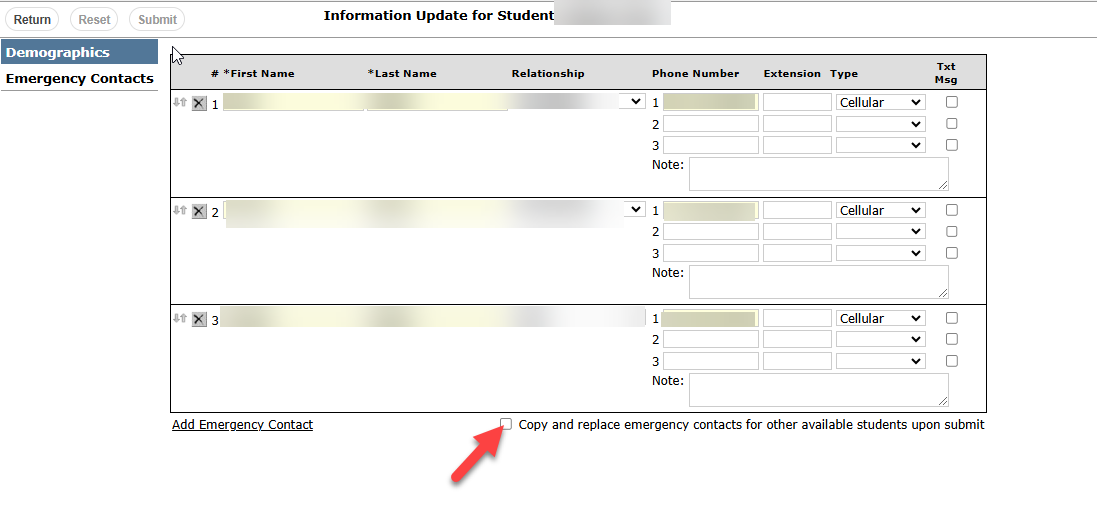
- You can click the Copy and replace emergency contacts for other available students upon submit checkbox if you have more than one student who should have the same emergency contacts.
- Don’t forget to click submit to save your changes.
Report an Absence
Parents/Guardians can report an absence for their student in Q ParentConnect.
- Click the Report Absence option, located on the right-hand side of your screen.
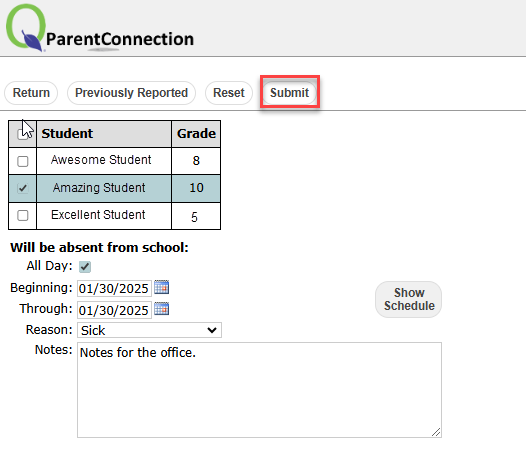
- To report an absence for your student(s), click the checkbox next to the name of the student(s) who will be absent.
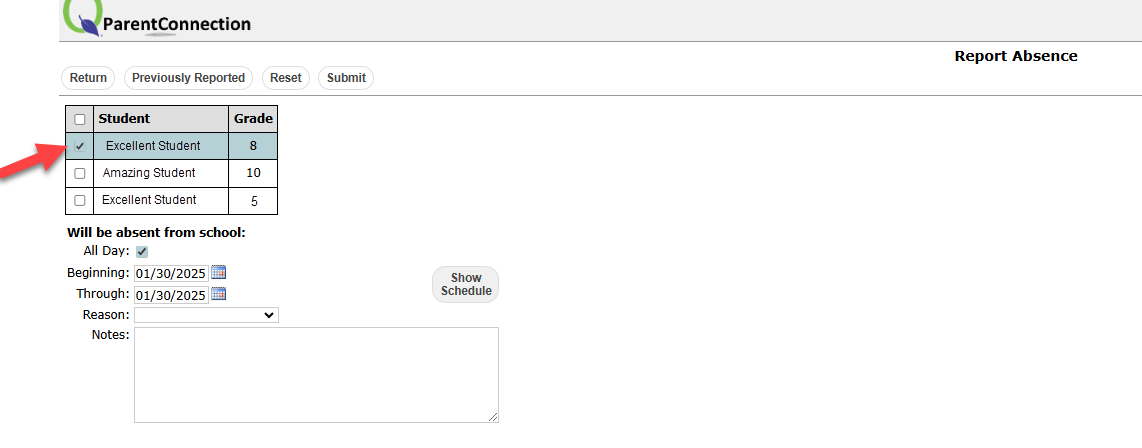
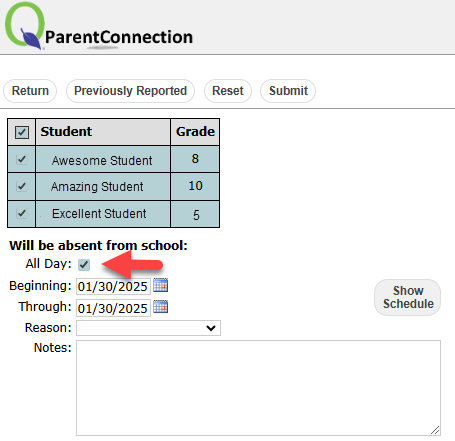
- If you wish to report all of your students as absent, click the checkbox at the top of the table next to the word Student.

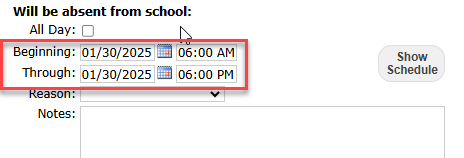
- If your student(s) will be absent for the full day, the All Day checkbox should remain checked. If your student(s) will not be absent for the full day, un-check the All Day checkbox.
- If your student will only be absent for part of the day, uncheck the All Day checkbox. You can then enter the time frame that the student will be missing school in the spaces provided.
- Click the Show Schedule button if you would like to view your students schedule.
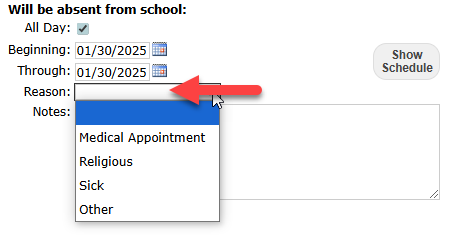
- Click the Reason dropdown to select the reason for the absence.
- If you have a reason other than what is listed in this dropdown, please contact your student’s school. Vacations may not be reported using this method.
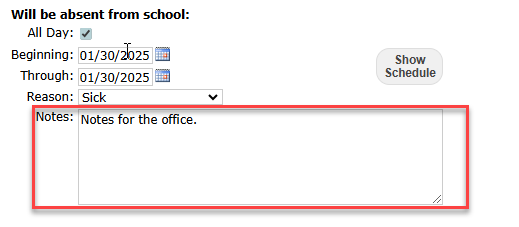
- If there is a note that you would like to leave for the Front Office staff, you may enter those notes into the space provided.
- When you are ready, click the Submit button located at the top of the page.
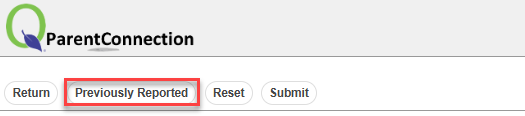
- If you would like to view previously reported absences, click the Previously Reported button located at the top of the page.
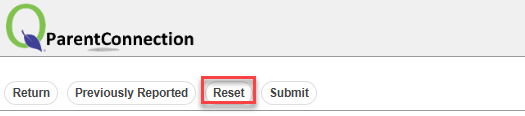
- Clicking the Reset button will clear all entered information.
How to get Email Notifications
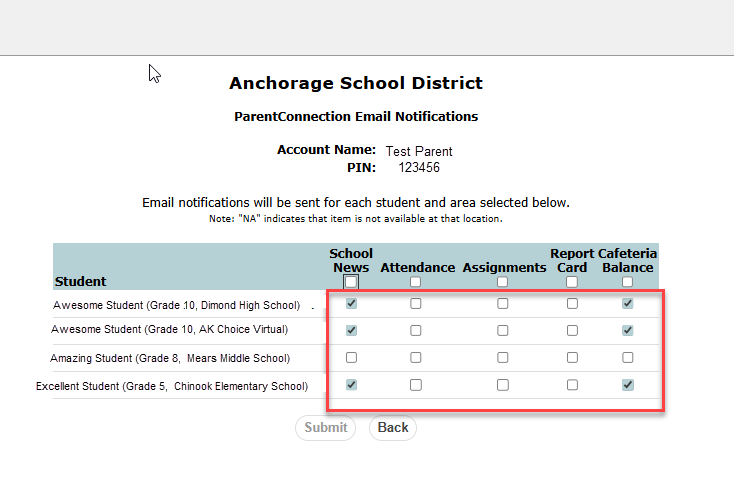
You can sign up to receive daily emails with your student’s school news, attendance, assignments, marks (report card) and cafeteria balance.
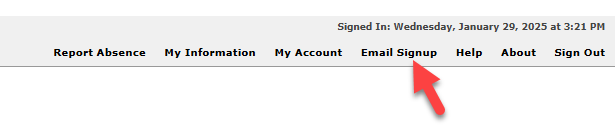
- Click the Email Signup option, located on the right-hand side of your screen.
- Check the boxes for the notifications you wish to receive for each student, click submit. Note: Checking the top checkbox will select all.
How to make Online Payments
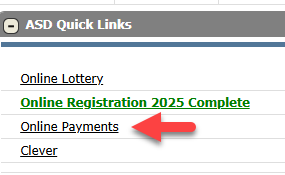
- Under ASD Quick Links click on Online Payments.
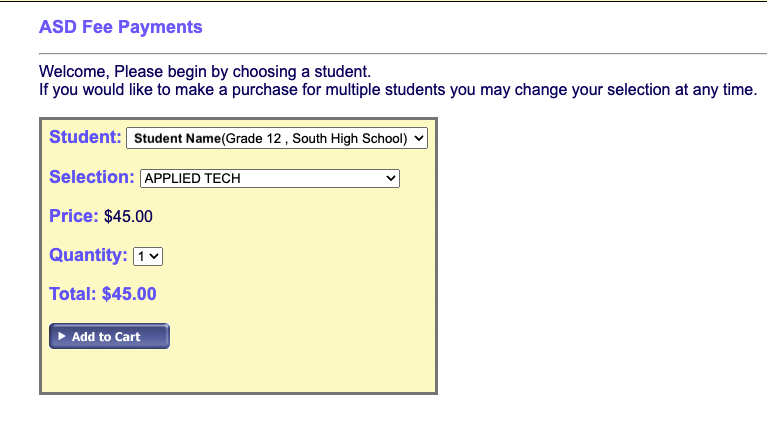
- In the ASD Fee Payments window click the Student dropdown to select your student. Click the Selection dropdown to select the fee. Click the Add to Cart button.
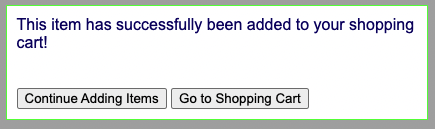
- A notification will pop up that the item has been successfully added. Click Continue Adding Items if more fees are needed or Go to Shopping Cart if there is nothing more to add.
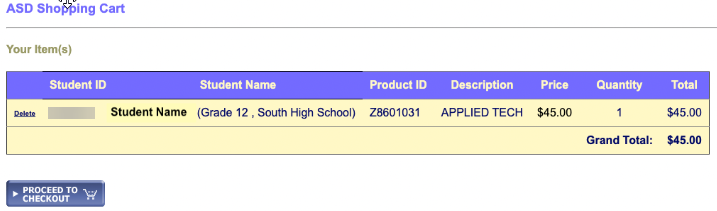
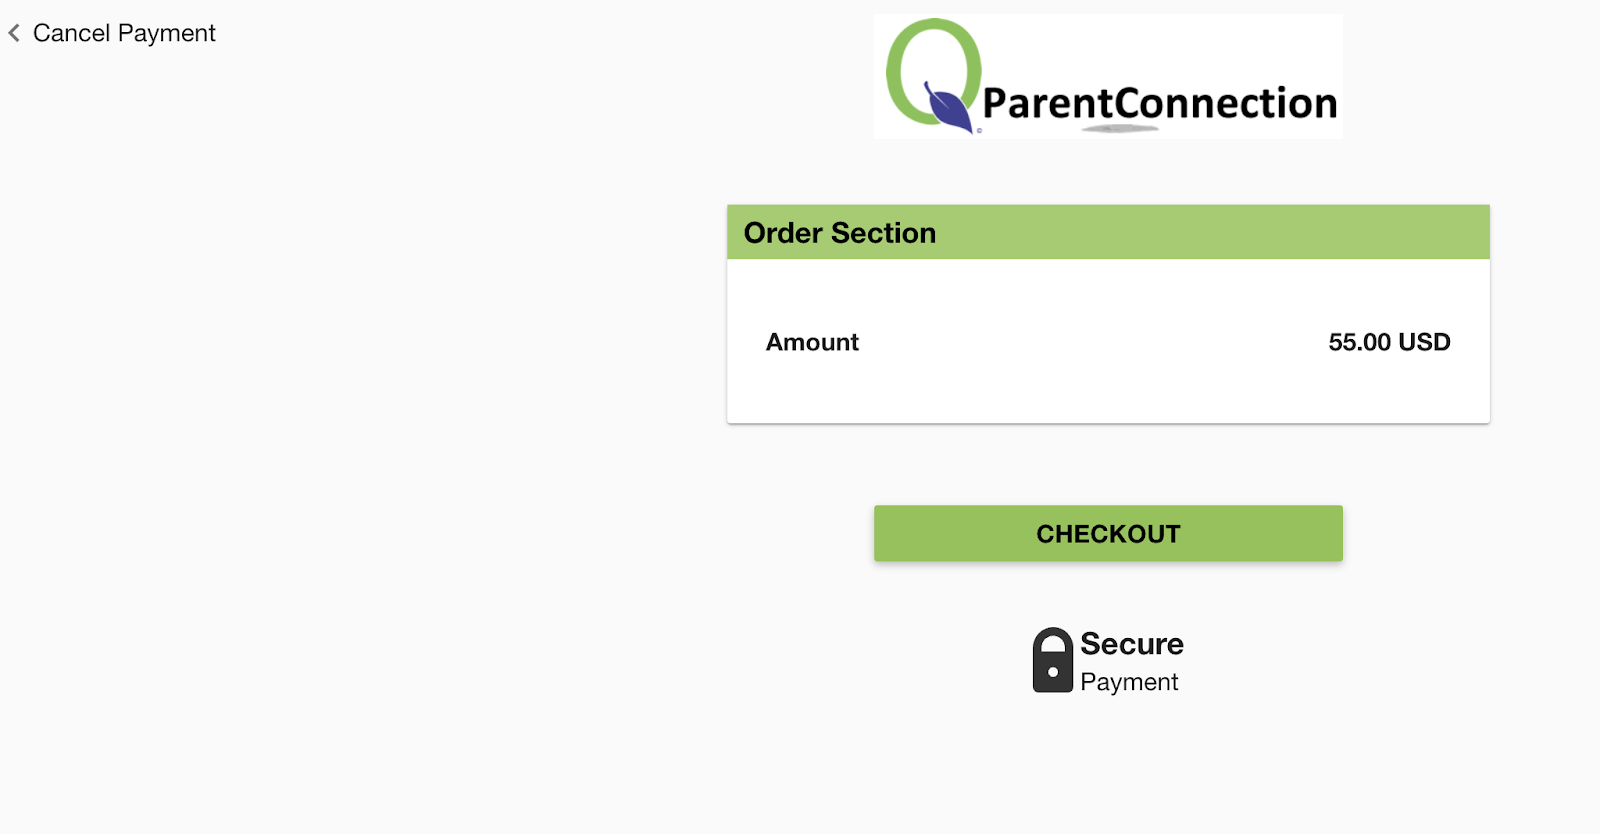
- Click the Proceed to Checkout button.
- In the next window click the green Checkout button to proceed to the secure checkout section.
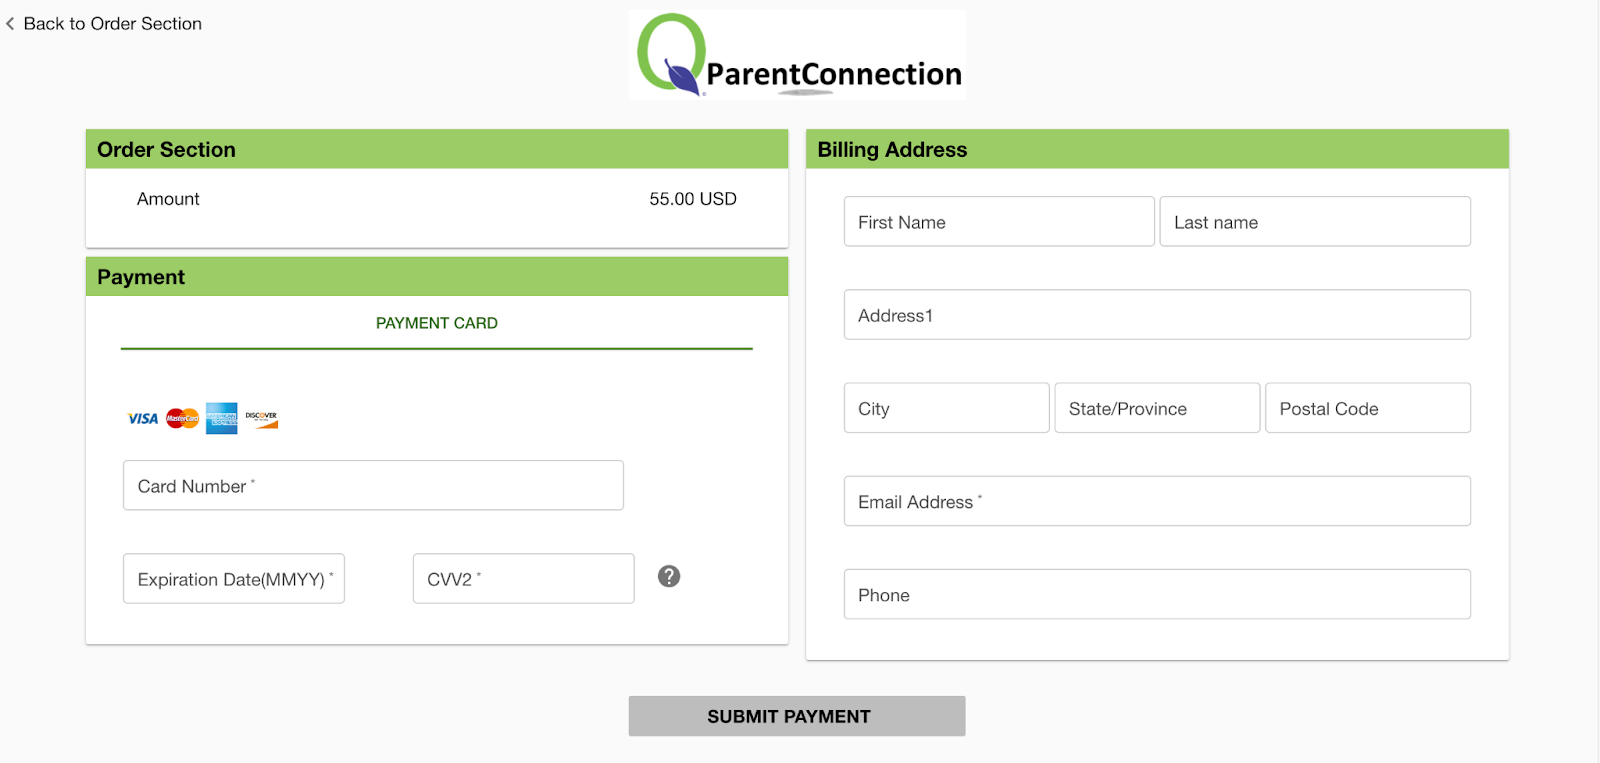
- Add the Credit Card Information and Billing Address, then click the Submit Payment button at the bottom.
| Page
updated 2/18/2025