UI
Thursday, November 12, 2015
5:25 PM
Since 4.7, Unity has been utilizing a new UI system which is referred to as Canvas. It's an extremely user friendly, easy to understand system that allows for high quality UI with only a few clicks of a button. Integrating it into code is equally easy!
Understanding Canvas
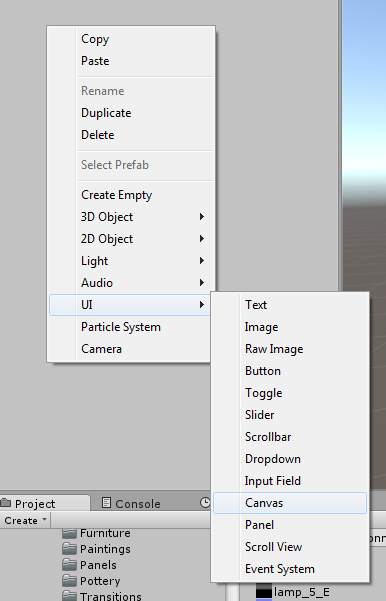
All UI elements in Unity must exist as a child of a canvas. A canvas will manage how the UI elements appear in the scene, how they will scale, and so on. You can create a canvas by right clicking in the hierarchy and selecting UI => Canvas, or by navigating to the same options via the Create button in the hierarchy.
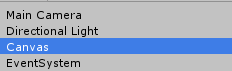
This will create a Canvas and event system object in your hierarchy. The canvas will be visible in your scene view.
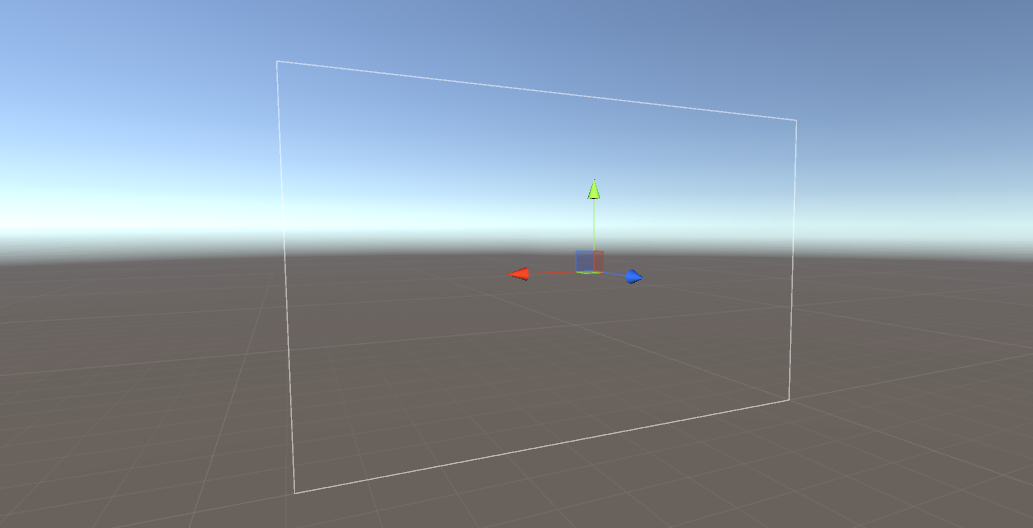
If you have other objects in your scene, you may notice that the canvas is extremely large in comparison. Don't worry about this--By default, the canvas remains relative to the scale of your camera settings. We'll get to this in a moment.
Setting up your camera
As previously mentioned, your canvas scale is relative to your camera, so before we move further let's set it up properly.
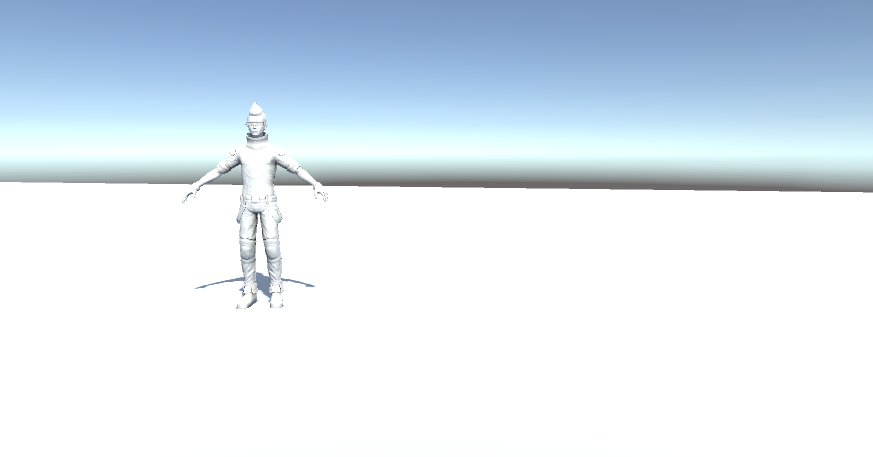
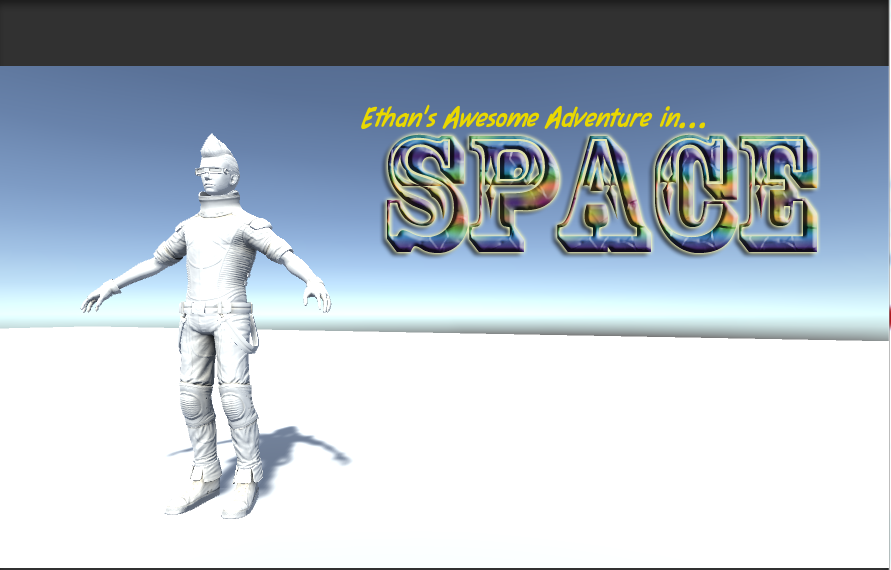
I created a ground plane from a cube and imported Unity's default character Ethan in just for something to look at.
To quickly and easily focus your camera precisely where you want it, move to where you would like your camera to be in the scene, and then select the camera from the hierarchy. Hold CTRL SHIFT and F to frame your camera. (Note: This works on any object you have selected!)
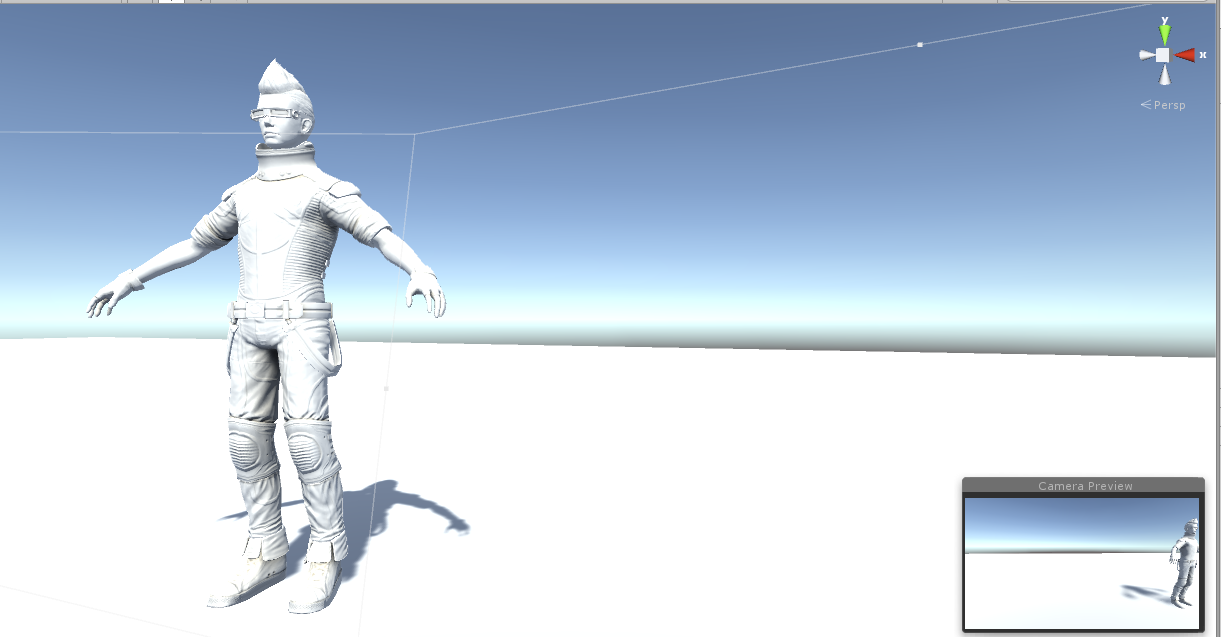
(Here I have my scene framed how I like, but you can see that my camera is set improperly. So I hold CTRL SHIFT F….)
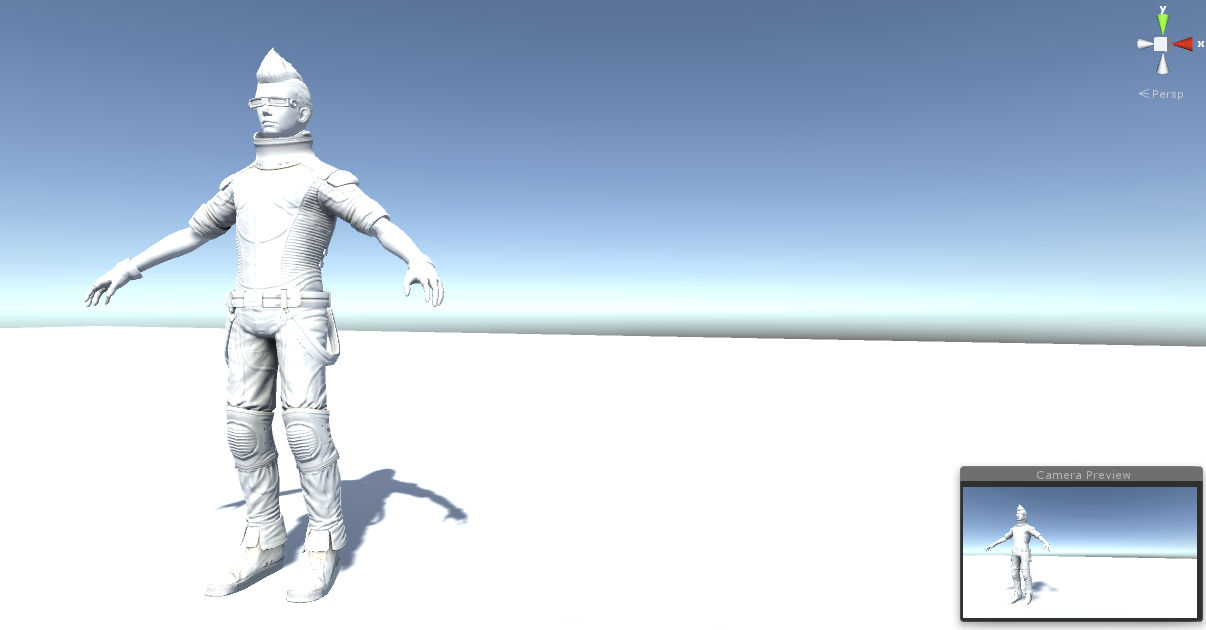
(And everything is framed!)
Now that our camera is framed, we need to decide how large our render view is going to be. This will play a huge role in UI, but also the game as a whole, so it's something that should be decided on early on.
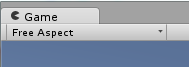
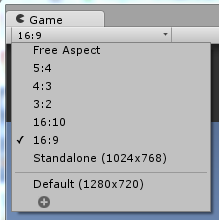
Click over to your Game tab, and you'll notice that there's a dropdown directly underneath the tab. It will say Free Aspect by default.
This is where you select your game's aspect ratio. If you click on the dropdown you can find several presets, along with a place for you to create your own. For the sake of this tutorial, let's choose 16:9.
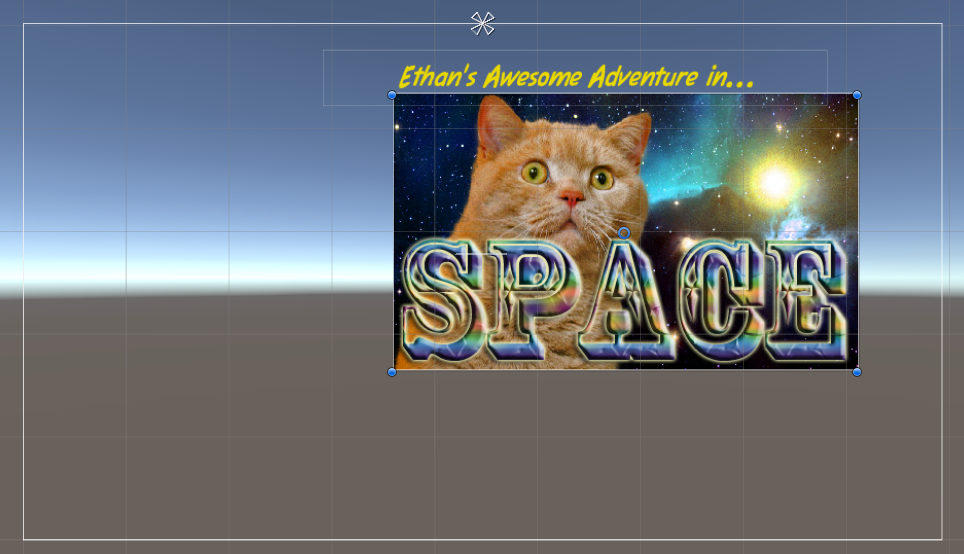
Now, let's illustrate how the canvas is tied to the camera. Undock your game view and go to 2D mode in your scene view. Select your canvas and hit F to focus on it. Drag one corner of your game view window in to scale it down, and watch as your canvas mirrors this change.
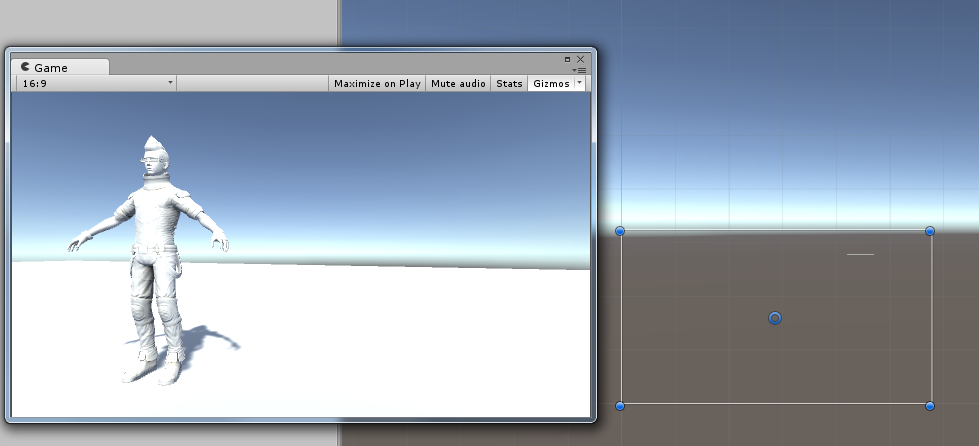
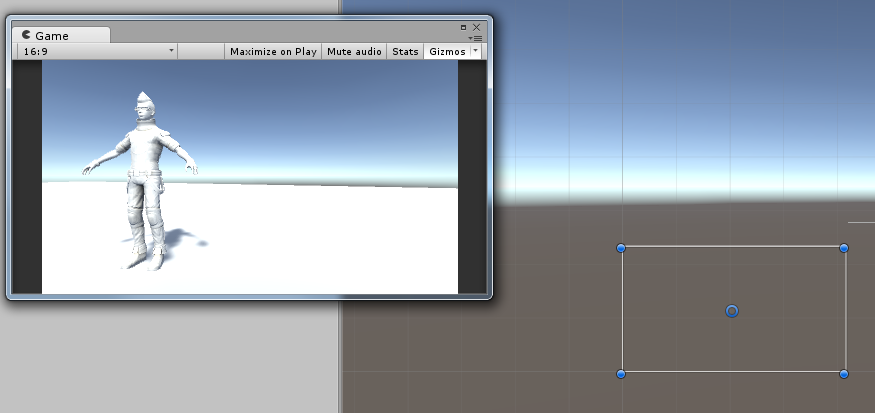
What this means for the designer is that Unity's canvas system dynamically scales with the screen size. Therefore, if the UI design is carefully planned, only one UI system has to be created! In the past, this would be an element that would have to be made for practically every variant system the game was designed to run on (An iOS app for example, would have to have a different UI design for the iPhone4, 6, iPad, iPadmini, and so on). This saves a great deal of time and effort on the development end!
Adding UI elements
Unity has a nice variety of UI elements that are ready to be used out of the box, and can easily be made fully custom with some added fonts, textures, and colors. UI elements can also be animated for some pretty neat effects. While we explore the different elements, we'll be working in Screen Space => Overlay, and in 2D Mode.
Text
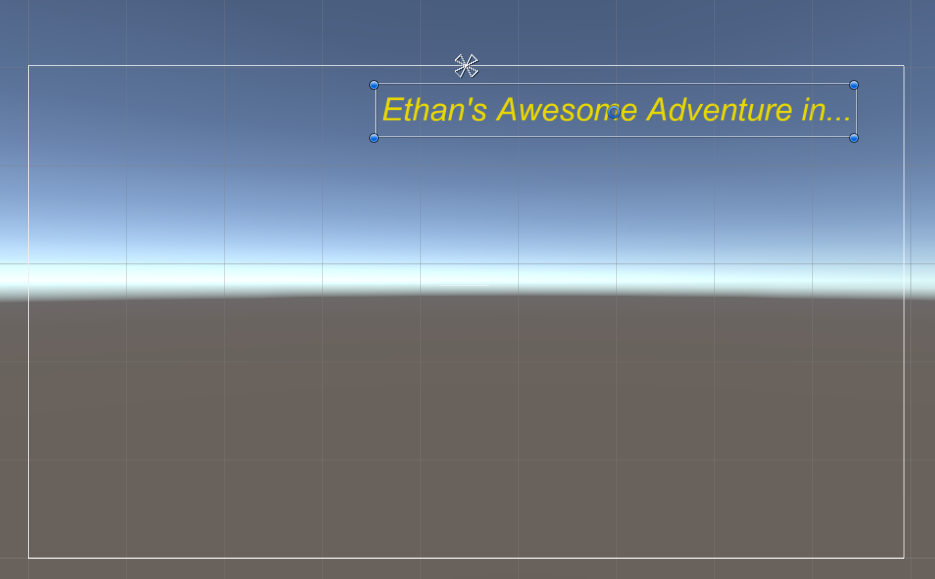
Right click over the canvas in the hierarchy, and choose UI => Text. A 'New Text' text box will appear in your UI.
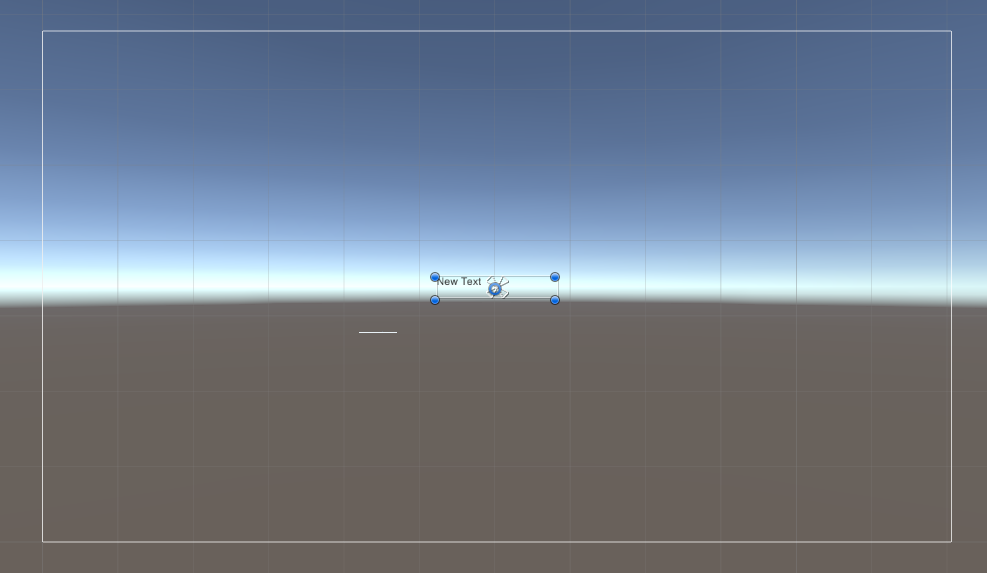
By default all new UI elements will be added to the center of your canvas, but can be freely moved. Note that I’m using the 2D tool widget (T on the keyboard) to edit UI elements.
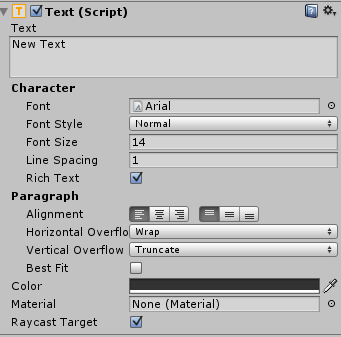
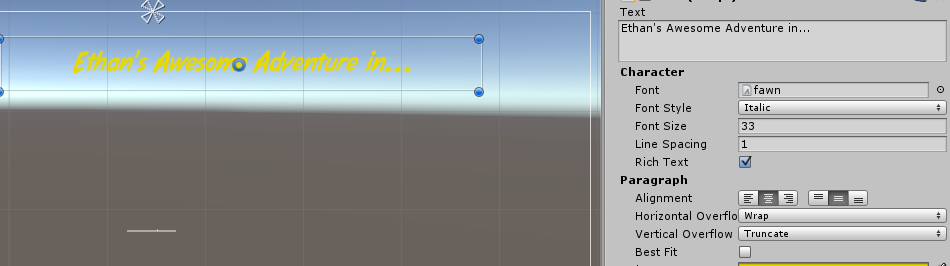
The text values are very similar to what you would see in any text editing program, and require little overview. The only thing worth mentioning is that if your text becomes too big for the bounding box, it will appear to be cut off or disappear entirely.

To fix this, simply rescale the text box in the scene view to show the entire message.

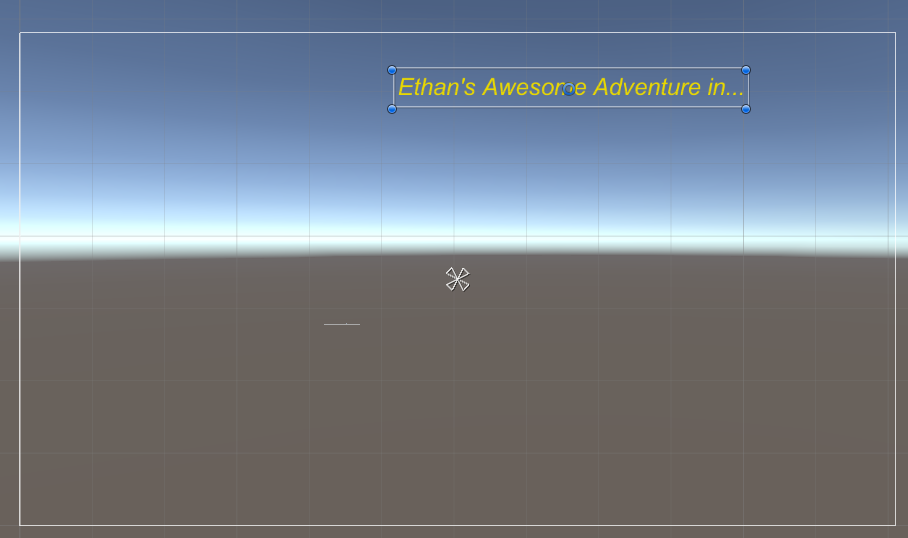
Adjust your text and move it to where you'd like to see it appear on the canvas. You'll notice that while you're able to freely move the text box itself, it leaves something behind…

This is the text box's anchor. By default it will appear in the center of the canvas, but we want to move it. The anchor ties back to the awesome scaling ability that the canvas has. The anchor will be used to tell the canvas where we want our text object to be relative to if the canvas scales.
If our anchor point is left in the center of the canvas and its scaled down…
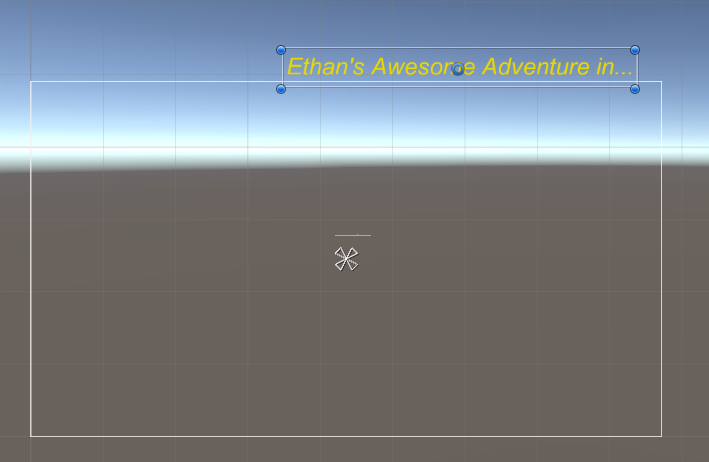
The distance between the anchor and the text box is maintained, but the text box ends up leaving the canvas bounds, meaning it wont be visible on the screen!
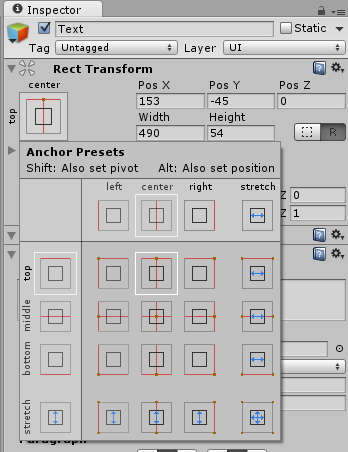
So, we need to move the anchor. You can do so by clicking on the anchor itself and dragging it where you want it, or use the preset positions box in the Rect Transform section in the inspector:
If we move the anchor so the text box scales relative to the top edge of the canvas…
It will maintain its position much more accurately!
When it comes to setting anchors, remember: Scale your UI element, place it appropriately, then decide where the anchor makes the most sense!
Bringing in custom fonts
You probably noticed that there's a slot where you can bring in your own font. Unity allows you to import and use any TTF that you have at your disposal. Just be sure that you have the right to use the font in a game!
To set up your font, simply import the font file like any other asset (in the project view, right click => Import New Asset, or just drag and drop it in your project).

Once the font is in your project, you can simply drag and drop it into any font slot
And the font will be automatically updated!
Adding images
Right click over the canvas again and choose UI => Image. A white box will appear on your canvas.
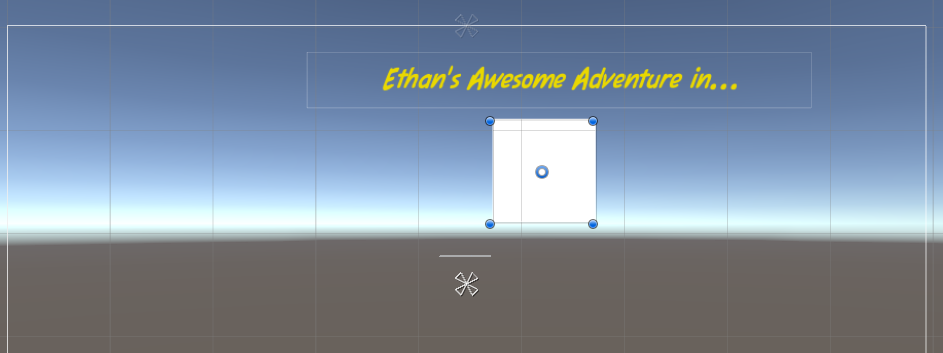
If you look at the inspector, you'll see that the image is required to be set as a sprite.
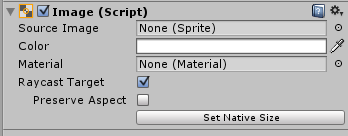
Import the image that you wish to use with your UI, and in the inspector, set its texture type Sprite (2D and UI).
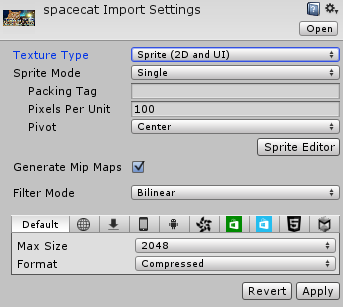
The image is now ready to be used. Simply drag and drop it into the source image slot in the inspector. You may notice that the image will small and out of its original aspect ratio. Simply tick the preserve aspect box in the inspector, and press the Set Native Size button. From there, scale and set the image appropriately, then set its anchor.
Note that if you would like your images to be transparent, simply save them as pngs!
Creating buttons
Right click over your canvas and choose Ui => Button

Buttons are actually comprised of two parts: The button background and the text. If you do not want to have text on your buttons you can delete that part. The text behaves exactly the same as all text elements, so we'll just focus on the button part.
Buttons come preset and ready to receive input. The Event System that was added with your canvas actually does all the work of checking to see if there's any input from the player for the UI. So, all you have to do is set your button up to display as you'd like it. By default, buttons are set to shift colors when interacted with, but you can also have them swap sprites or animate.
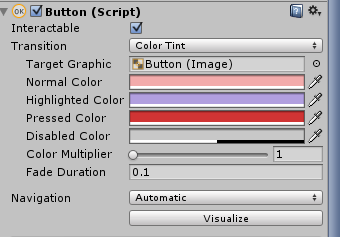
The transition dropdown is where you select your buttons interactable inputs. By default its set to color tint. Notice that there are color swatches for different modes your button can be in. Set the colors and test the button in play mode. You should see the button colors change when you interact with it!
Canvas Render Modes
By default, the canvas is set to Screen Space-Overlay. In Screen Space-Overlay, your UI elements will always be rendered on top of everything else in the game, like any traditional old-school UI (think Mario). However, Unity allows you to break out of the 2D system and bring your UI into the game environment, either based on a camera, or physically existing in the game world.
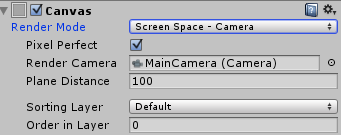
The first mode is Screen Space-Camera. This mode works exactly the same as Screen Space-Overlay, except that it is tied to a specific camera. This allows you to give a sense of depth to your UI, and give it the appearance of living in the 3D world. An example of this would be the UI in Dead Space.
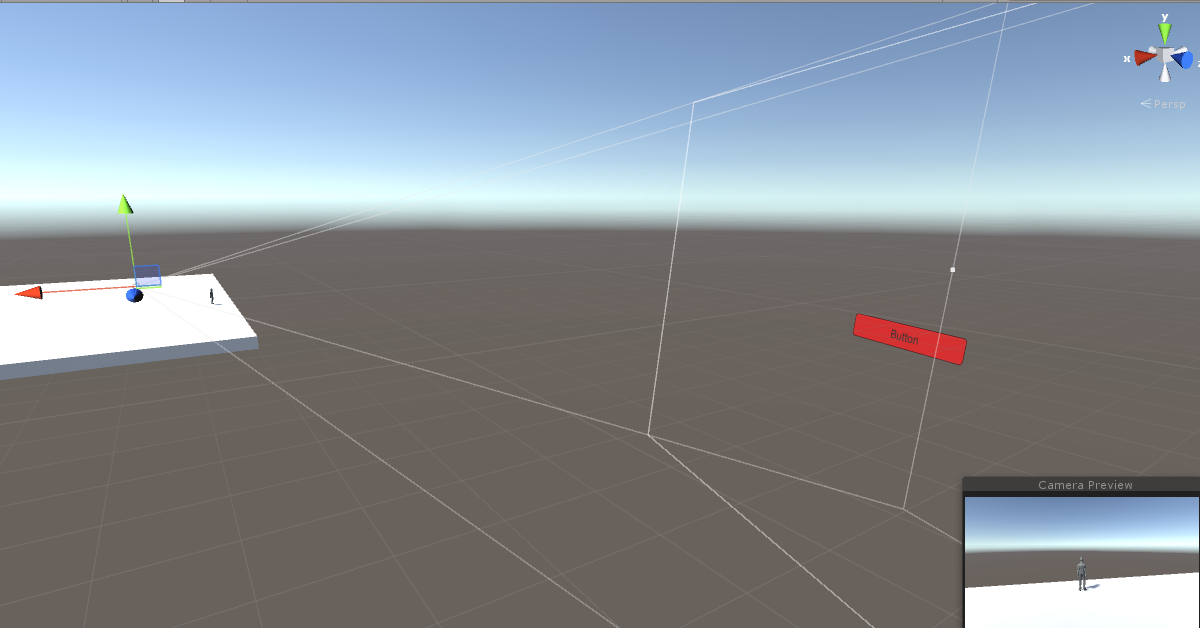
The canvas will be tied to the selected camera's frustum.
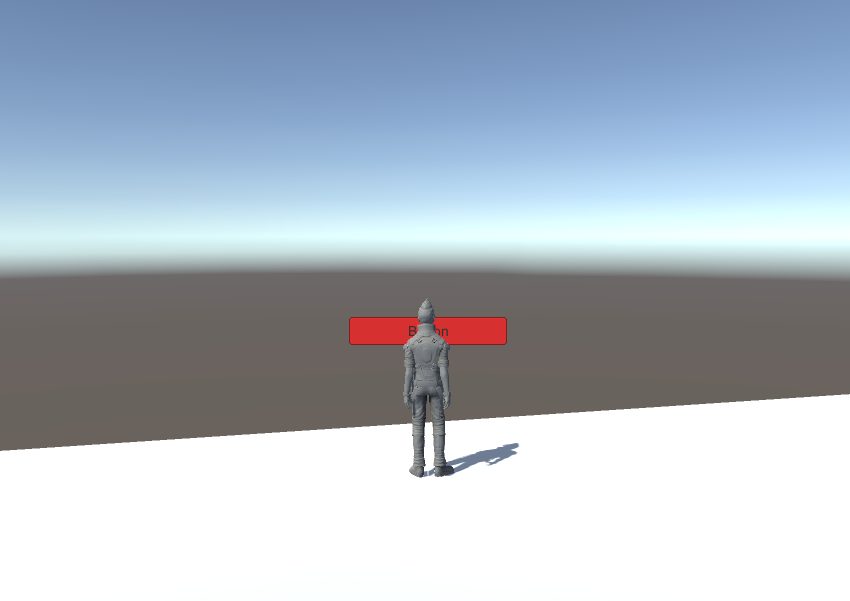
Anything that appears between the UI elements and the camera will render on top of the UI! This distance can be adjusted via the canvas plane distance, which can be found underneath where you declared what camera to render the UI from.

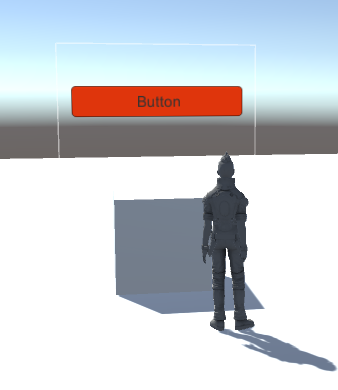
The final render mode is World Space.

Notice that it too requires a camera, albeit for a different purpose. When a UI is set to World Space, you are able to place it freely anywhere in your game environment. The Event Camera in this case would be which camera should be used to interact with the UI. This should be whatever camera is tied to your character.
A world space canvas is considered to be just another 3D object in many ways. You'll notice that after you've set your canvas to world space, it remains quite large--unlike the other canvas modes, world space mode requires us to actually scale our canvas down to the desired size.
There are two elements to keep in mind when adjusting canvas scale: Width and Height, and actual scale.
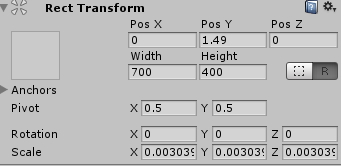
In this mode, the canvas Rect Transform (essentially a 2D transform equivalent) is available to us. The Width and Height are best thought of as the canvas aspect ratio. These values will not change regardless of what scale we set the canvas to be. To scale the canvas itself, you can either input a new value in the Scale value of the Rect transform, or simply scale it with the 3D scale tool.
Now you can freely place your canvas wherever you want in the game world, and create elements as normal. So long as you've plugged in the correct Event Camera, UI elements will still be fully usable!