Guide to obtain the credentials to automate Calendly
In this guide you will learn the steps to obtain the credentials of your Calendly account and with which you can automate tasks that are activated when creating or canceling events.
First of all we will get a token from Calendly and finally we will connect it to Botize.
Obtain a Calendly
token The token or access key is obtained from the Calendly website itself.
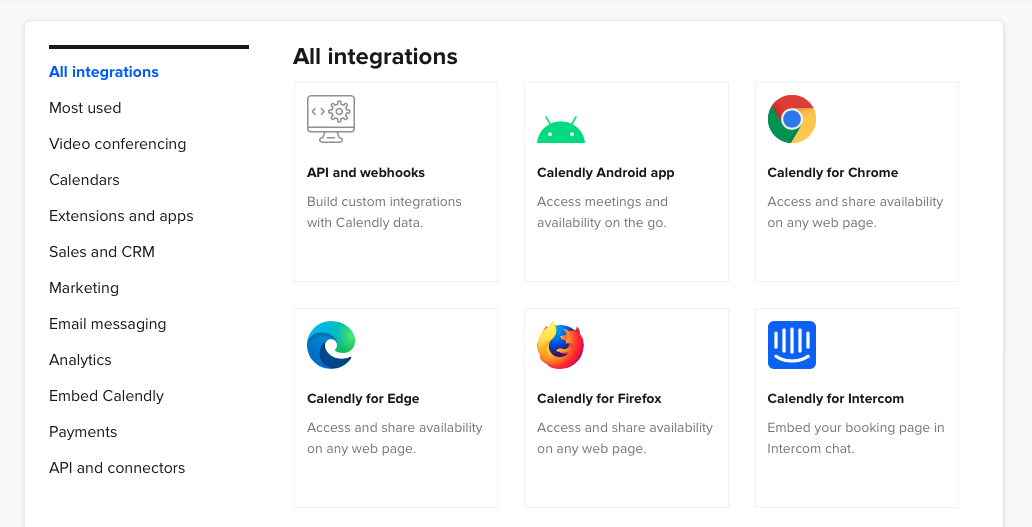
Sign in with your Calendly account and click on the "Integrations" section of the main menu.

In the left column select the option "API and connectors".
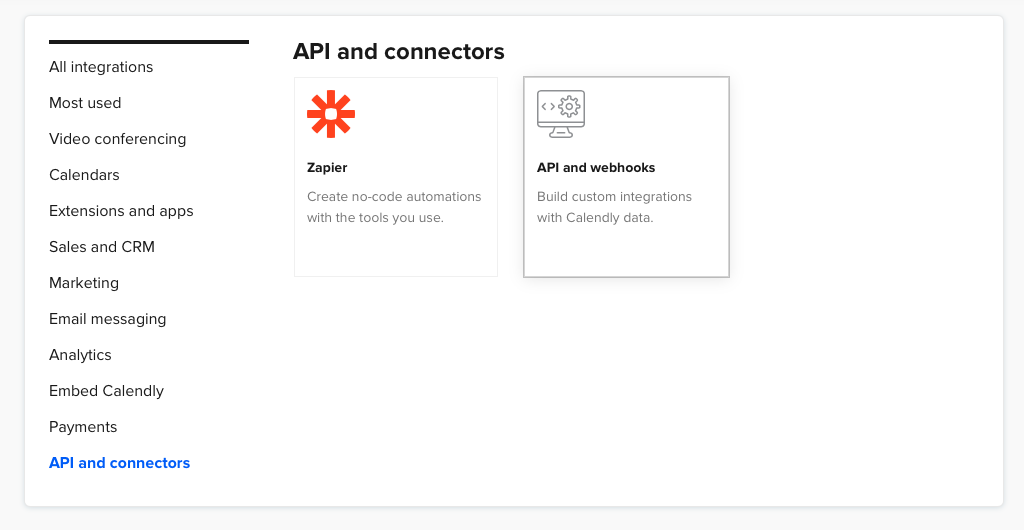
From the various connectors displayed by Calendly, select "API and webhooks".
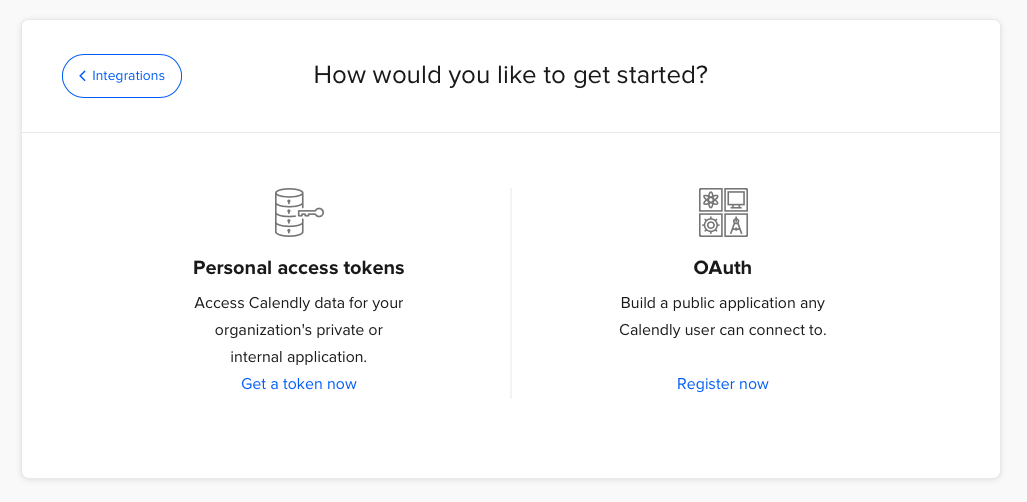
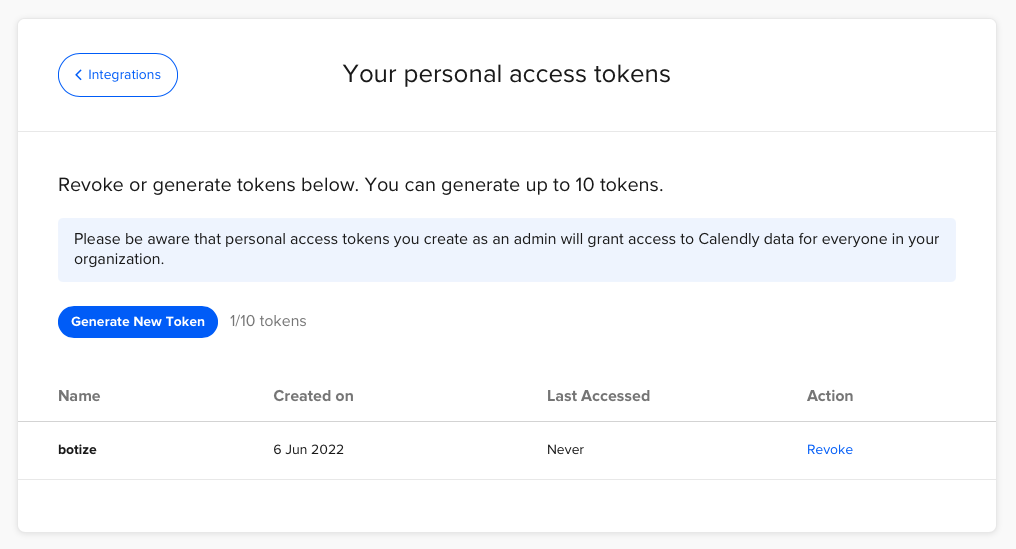
Now click on the "Get a token now" link in the "Personal access tokens" section.
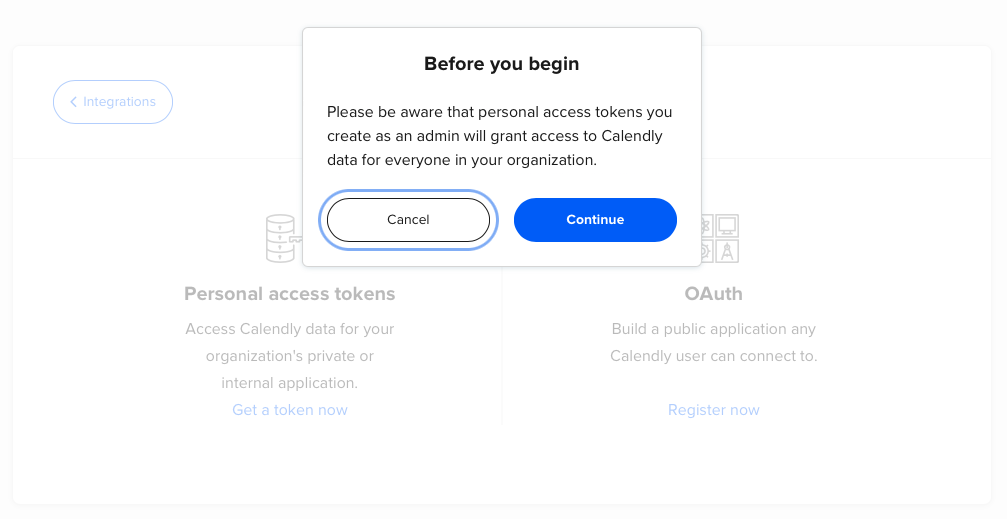
Press the "Continue" button.
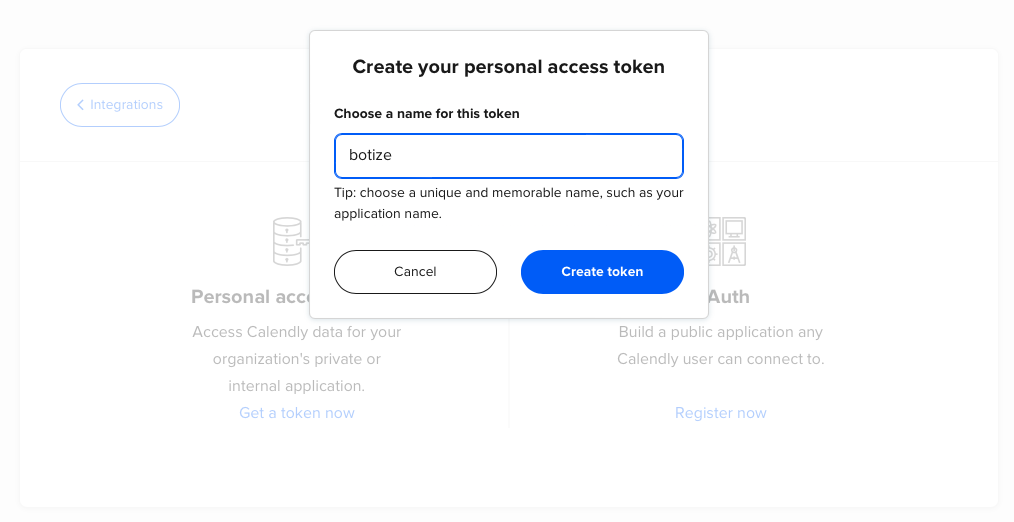
Give your token a name, for example "botize" and press the "Create token" button.
Hit the "Copy token" button to copy your new token and paste it somewhere safe.
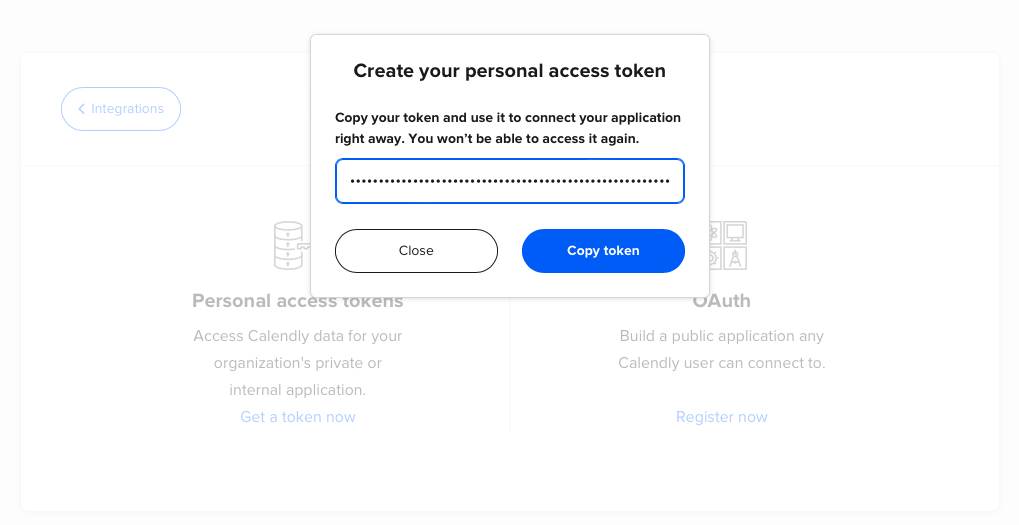
As a result, an access token will have been generated for Botize.
Connect your Calendly account with Botize
Go to the Botize Apps section and enter the Calendly app. You can do it from this link:
https://botize.com/en/app/calendly
Once inside, click on Start using it now. A form like the following will appear.
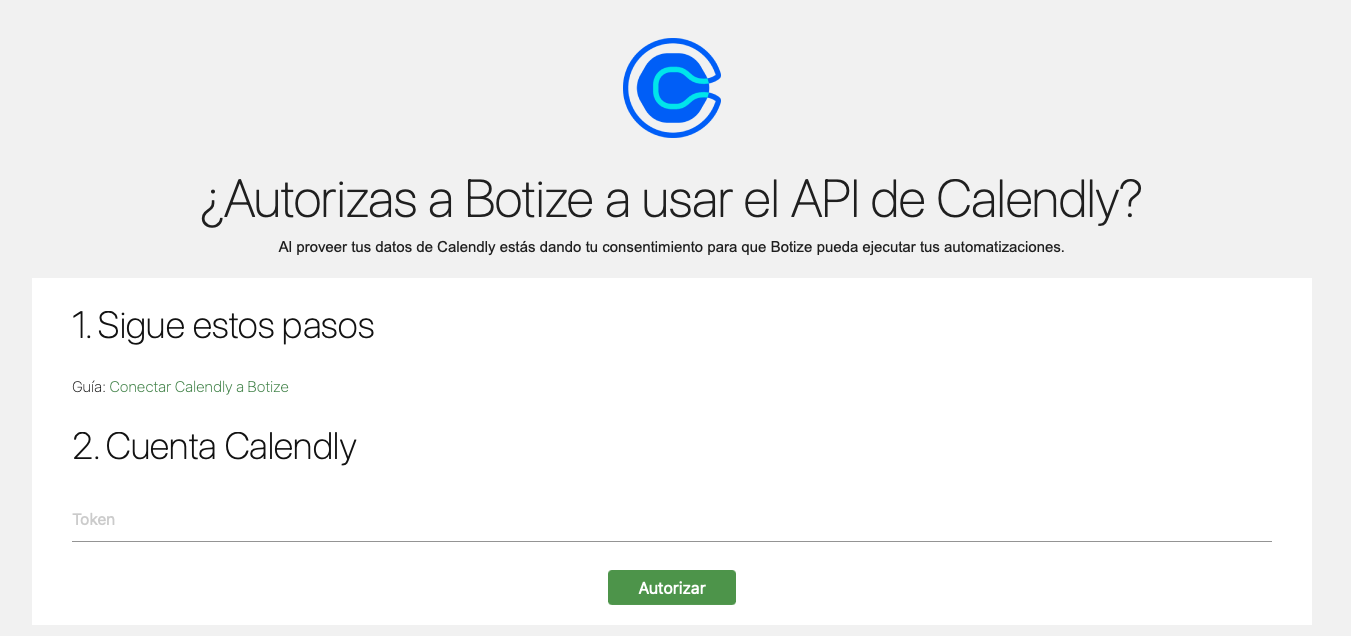
Indicate in the countryside "Token" the token you generated in the previous step.
Click the "Authorize" button.
Create your first task
You can now set up automations by connecting your Calendly account, for example with this formula to notify you via Telegram of each new event.
https://botize.com/en/task/5691
Congratulations! You've now set up your first task with Calendly!