Berkeley|Student Information Systems |
SIS Job Aids #1154
Special Enrollment Petition (SEP): In-Absentia Enrollment
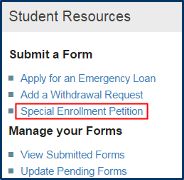
Student navigation: CalCentral > Student Resources > Special Enrollment Petition link
Advisors: Click a link in an email or CalCentral > Student Lookup > Student Overview > Advising Resources > eForms WorkCenter
The Special Enrollment Petition form is used by students to request a special enrollment status. The three types are:
- Filing Fee Status: Intended for students who have completed all degree requirements and are in the very last phase of thesis or dissertation completion and filing process.
- In-Absentia Enrollment: Intended for students who are involved in research or coursework away from campus and outside of California. Reduced tuition and fees are charged during in-absentia enrollment.
- Parental Leave status: Intended for students who wish to take a leave of absence due to childbirth and/ or substantial parenting responsibilities such as, care of a newborn or newly adopted young child, the serious illness of a child, and other exceptional circumstances relating to a child. The child may be the student’s child or that of a spouse or domestic partner.
Depending on the request and whether any exceptions are needed, advisors will then review the request and approve, deny or escalate the form.
In this example, we will go over how a student submits a request for In-Absentia Enrollment and how an advisor should approve this request.
Student Request
Log in to CalCentral. In the Student Resources section, click the Special Enrollment Petition link.
The Special Enrollment Petition form appears.
Click the drop-down list to select the desired petition.
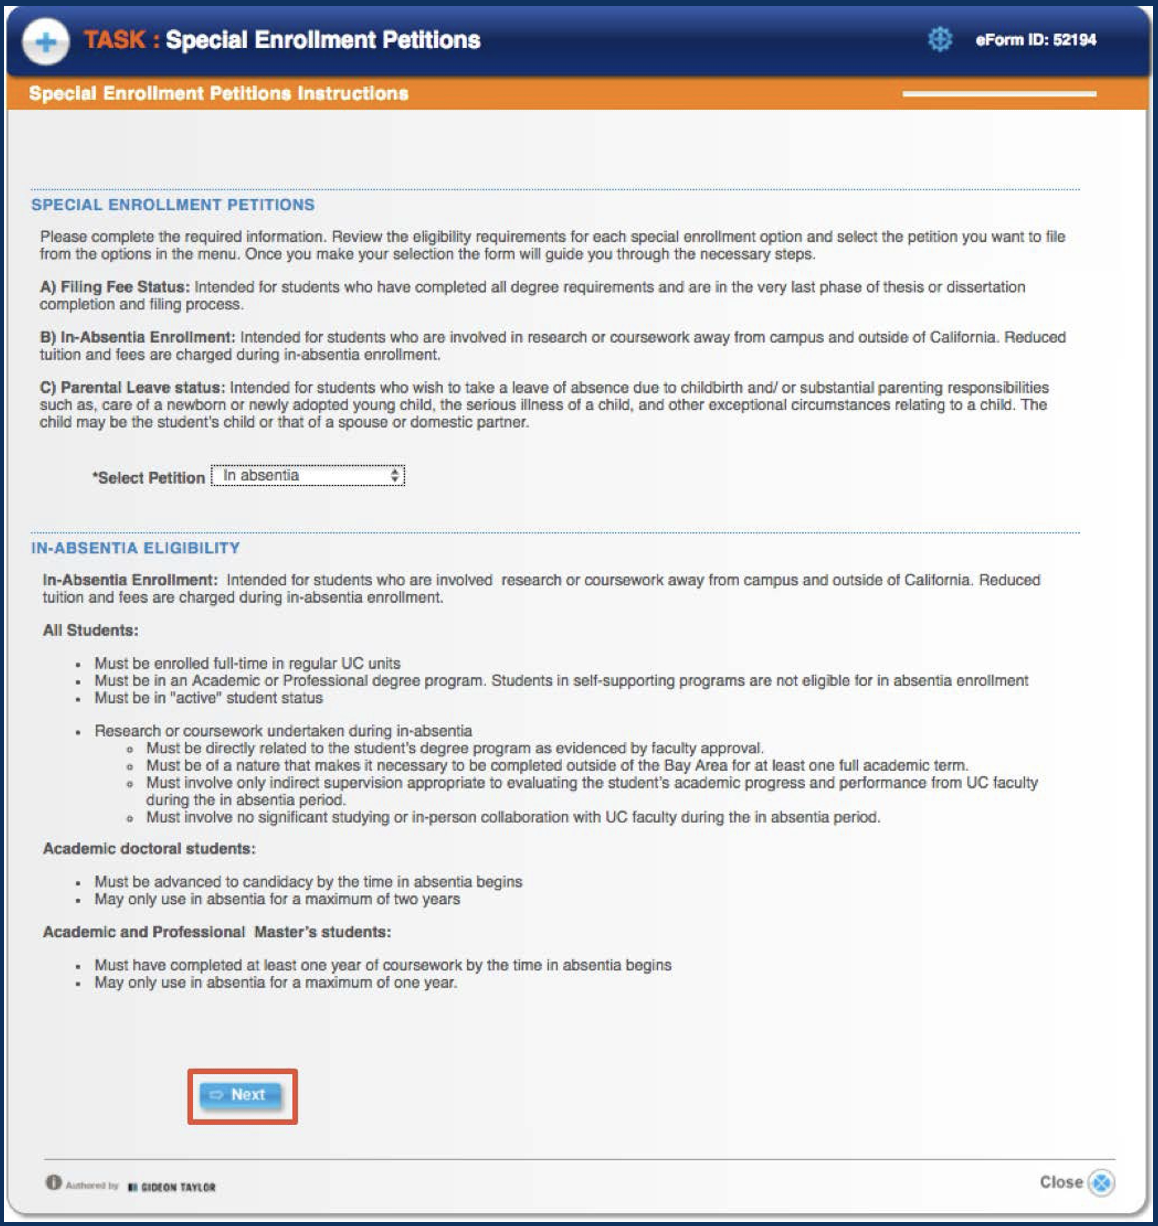
Click the Next button.
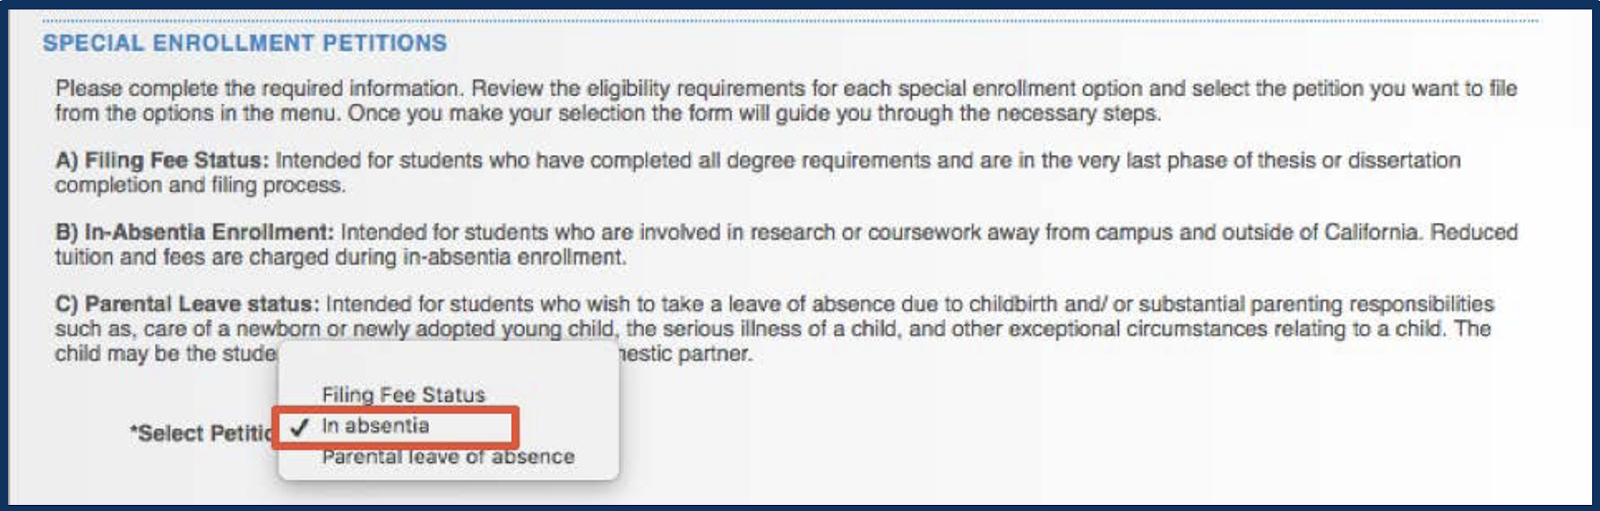
In this example, we have selected In Absentia.
Eligibility information is displayed in the lower half of the page.
If the eligibility requirements are met, click the Next button.
Note: the eForm ID# is in the top right corner.
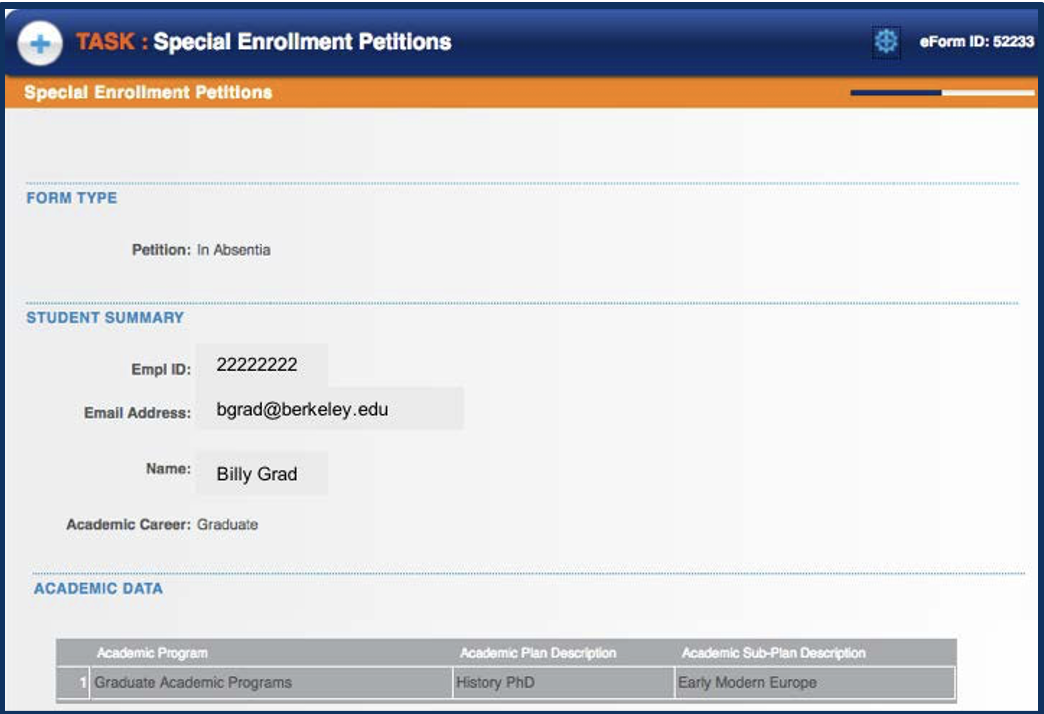
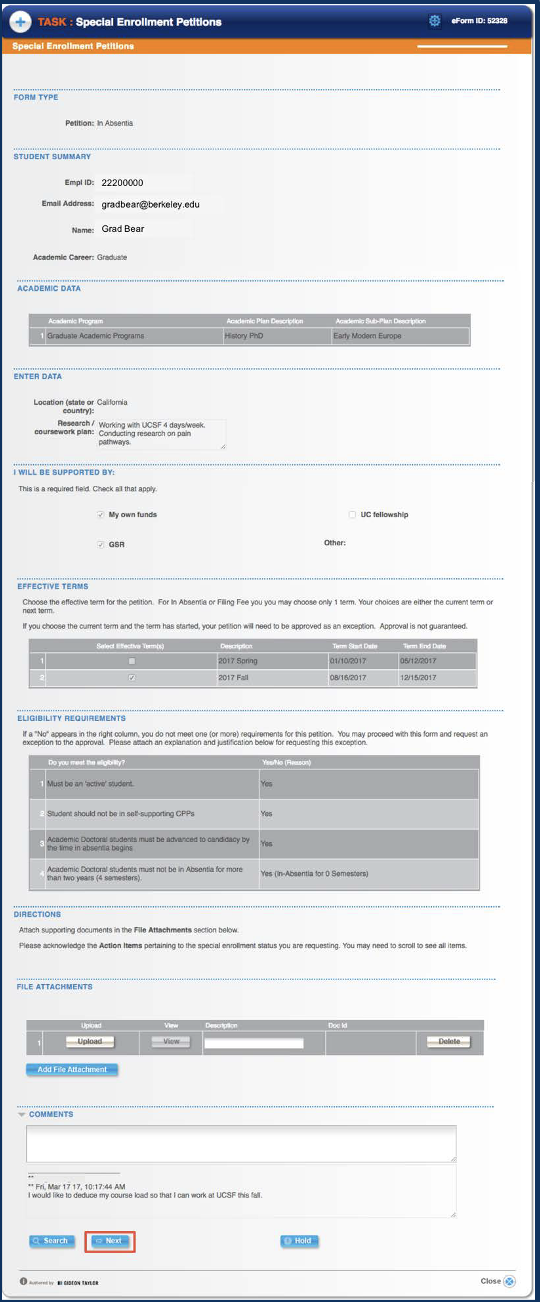
The In Absentia form will display.
The top part of the form includes the Form Type, a Student Summary, and Academic Data (the student’s current academic program(s)).
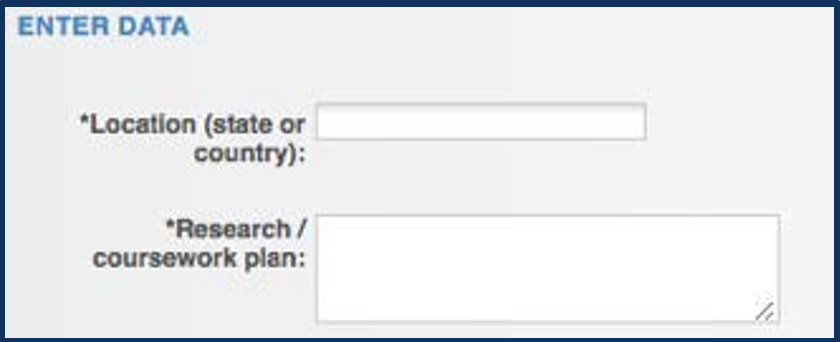
Fill out the form.
- Input the location of the research or outside coursework that you are doing as well as a description of the research/coursework plan.
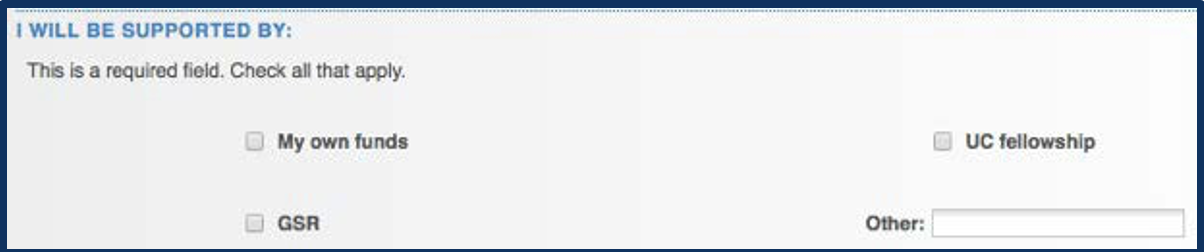
- Select your funding support.
- Select the Effective Term. Only 1 semester at a time can be chosen.
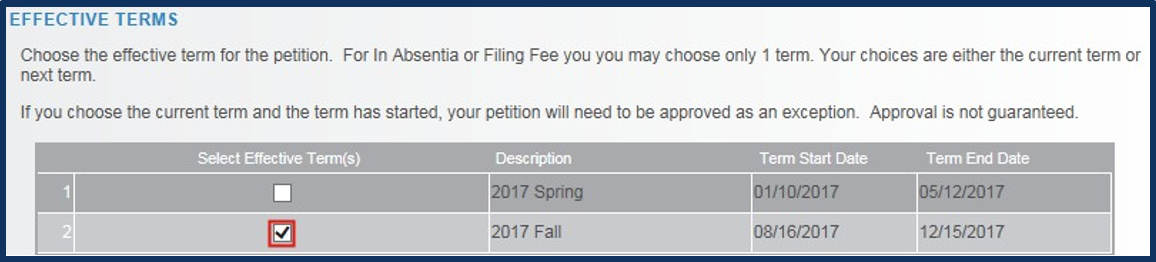
Note: If the current term is selected and has already begun, the petition will need to be approved as an exception.
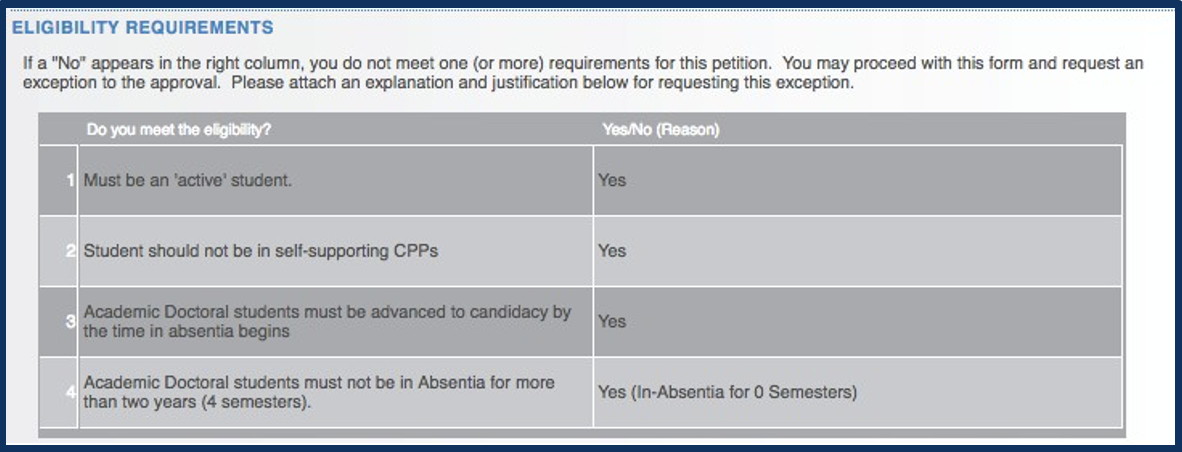
- Review the Eligibility Requirements.
If No appears in any of the right colulmns, the student may not be eligible. The student can proceed and request an exception.
- If the student has any documentation (such as a letter requesting an exception), that can be uploaded here.
Click the Add File Attachment button to add additional documents.

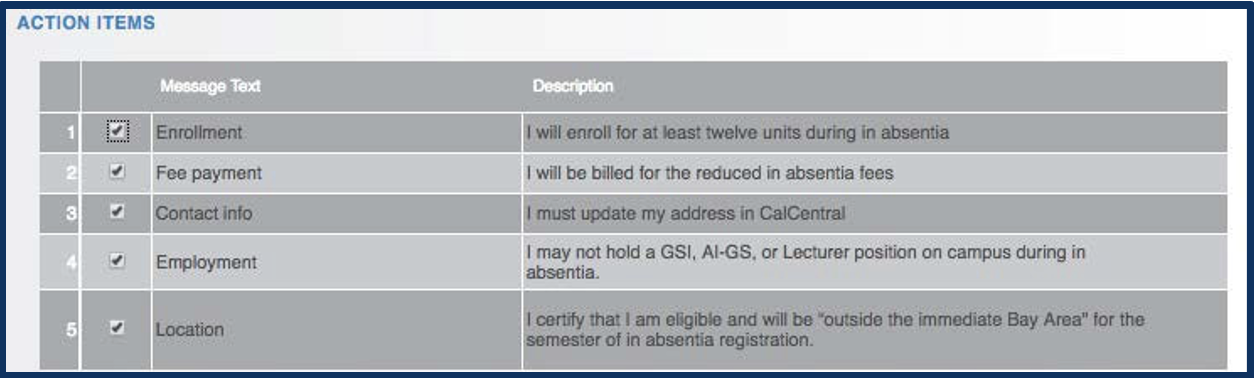
- Read through and acknowldege the Action Items by clicking the checkboxes.
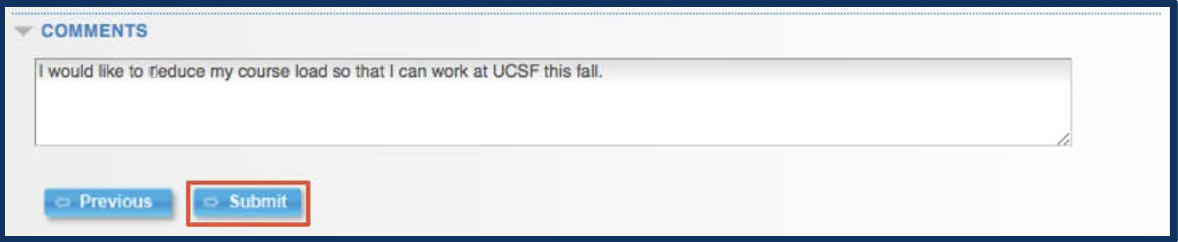
- To leave Comments, click to expand the Comments section.

- When finished with the form, click the Submit button.
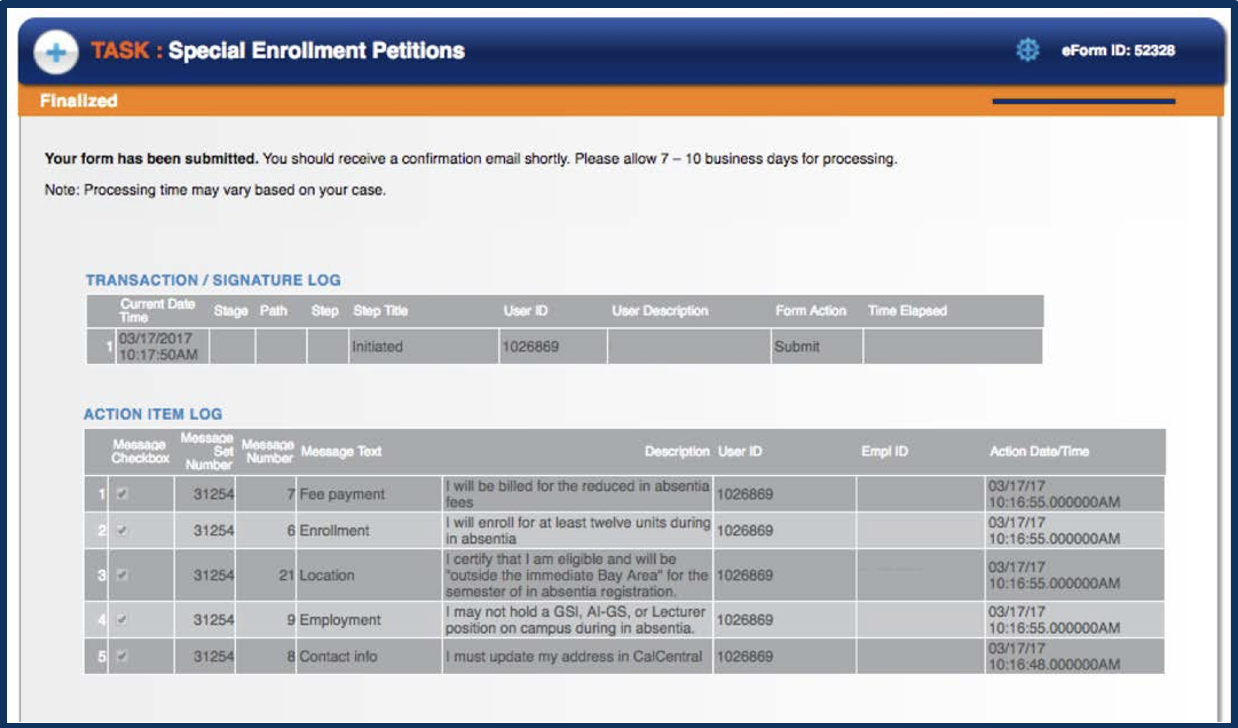
- A confirmation page will display.
Advisor Review
After a student submits a Special Enrollment Petition (SEP) form that needs to be reviewed, their advisor receives an email. It’s recommended to click the link in the email to access the pending request, it is more direct.

Alternatively, advisors can log into CalCentral to find pending petitions in the eForms WorkCenter. In this example, we will look up a pending form via CalCentral.
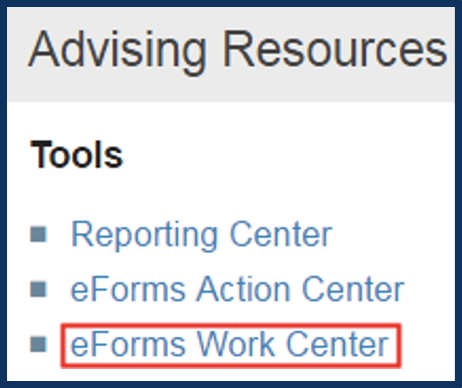
In CalCentral, in the Advising Resources section, click the eForms Work Center link.
Click Evaluate a Student eForm.
NOTE: You may need to scroll to find the Evaluate a Student eForm link.
TIP: Hide the left hand menu by clicking the double arrows. Click the symbol again to see the menu.

Search for a student’s form by entering a specific Student ID (aka, eForm ID or Form Status).
Or leave the search fields blank and click Search to see all forms that have been routed to you for approval.
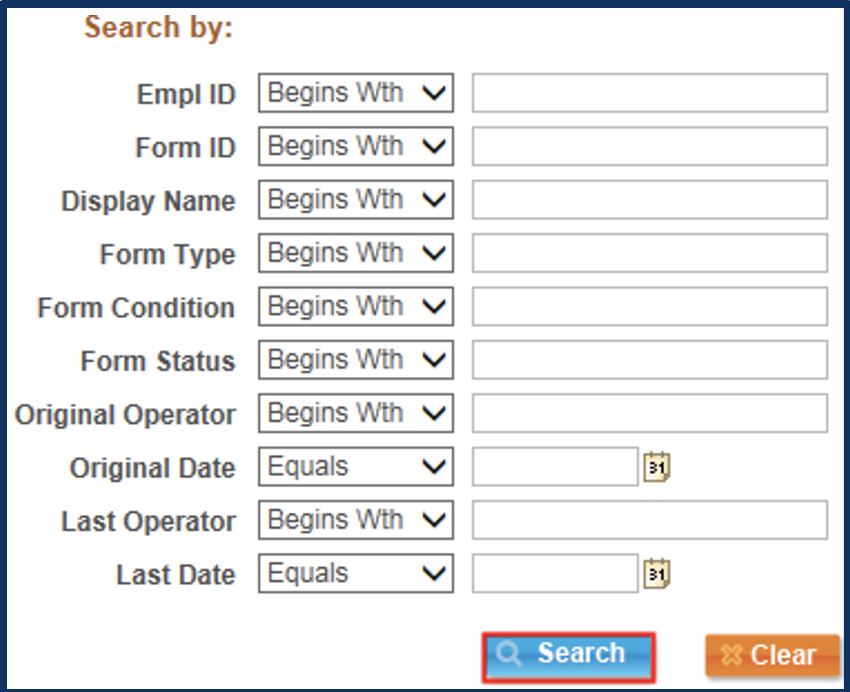
Search results display below. In this example, we see 2 Pending forms. Click anywhere on a line to see the form.

The form displays.
Tip: Clicking the email link goes directly to this page!
1. Review the following information: Effective Term, Eligibility, any Attachments, and Comments.
2. Add additional commments as needed.
3. Click the Next button at the bottom of the page to proceed.
The Approvals page displays.
4. As appropriate, click the Approve or Deny button.
If the request has been approved, it will move to the next person listed for review and approval. If needed, an additional approver can be inserted using the green plus buttons.
Do NOT use the Start New Path link. This will affect the approvals path.
SIS Job Aid #1154 Page of