Laser Scarecrow 2018 Kit Update
July 9, 2018 `(David H. Brown)
Problem: Air temperature inside the black bucket in full sun on a hot (for Rhode Island) day can reach somewhere around 50°C (120°F). The plastic holding the motor pulley to the stepper motor softened[1] and was unable to hold the set screw against the motor flat, so the motor spun without turning the pulley. A second failure mode has also been observed where the tension bolt can no longer hold, presumably because the loose-fitting threads of the bolt and/or motor base have softened and bent away from each other.
Present remedies: 1) Reprint motor pulley, motor base, motor clamps, and a tighter-fitting tension bolt in ABS which handles higher temperatures better. This was insufficient for the motor pulley which still slipped eventually.[2] 2) Replace the set screw mounting in the motor pulley with an aluminum hub (https://www.pololu.com/product/1998) secured to the pulley with four screws. This proved secure even when the temperature was raised to around 70°C using a heat gun. 3) Install a wooden shim to support the motor bolt, taking pressure off its threads. 4) Add reflective insulation to the bucket lid to reduce solar heating. 5) Add a heat sink to the microcontroller chip of the Arduino unit, just in case.
Parts supplied in update
- Motor pulley (ABS) with aluminum hub
- Motor base (ABS)
- Motor clamps (ABS) (2)
- Motor bolt (ABS)
- M3 6mm set screw with 1.5mm hex key
- Wooden block and assorted shims
- Small aluminum heat sink
- Reflective insulation with mounting tape
Instructions
These instructions presume that you are retrofitting an assembled kit. If your kit is not yet assembled, discard the original motor pulley, motor base, motor clamps, and tension bolt and substitute these parts.
Disassembly of original kit parts
- Loosen and remove the belt from the pulleys. It can be moved back over the shaft pulley; doesn’t have to come completely off.
- Unscrew and remove the motor base with the tension bolt
- Retain the screws, but the PLA-printed base and bolt may be discarded
- Slide the motor out of the base
- Remove the set screw(s) from the motor pulley (it may be useful as a spare)
- Remove the motor pulley from the motor (discard)
- Unscrew the motor clamps (discard)
Assembly of update parts
Install the replacement motor clamps, motor base, and tension bolt according to the original kit instructions (“Drivetrain Assembly”).
Motor pulley
The aluminum hub has already been secured to the motor pulley. The pulley shaft is not keyed to the flat of the motor shaft. It is important that the set screw is aligned with the motor flat.
- Insert the set screw (in a bag, already prepared with some Loctite “stick” threadlocker) into the hub until it is just barely protruding through the hub into the shaft area
- Align the motor pulley with the motor shaft, ensuring that the set screw is aligned with the flat in the shaft
- The top of the pulley is marked with a line showing the location of the set screw.
- May be easier to leave the hex key in the set screw rather than try to find the socket blind
- Push the pulley down onto the shaft until the top of the shaft is about flush with the top of the pulley
- Confirm that the line drawn on the pulley is pointing to the flat of the shaft
- Tighten the set screw securely.
Wood block and shims
- Orient the wood block so that the cut-out will go around the pulley shaft.
- There should be space on the side with the tilt switch
- If you need to move the tilt switch out of the way, unscrew it and replace when done
- Rotate the block so that the flat side faces the motor bolt
- Add pairs of shims from opposite sides to support the motor bolt against the pulley shaft
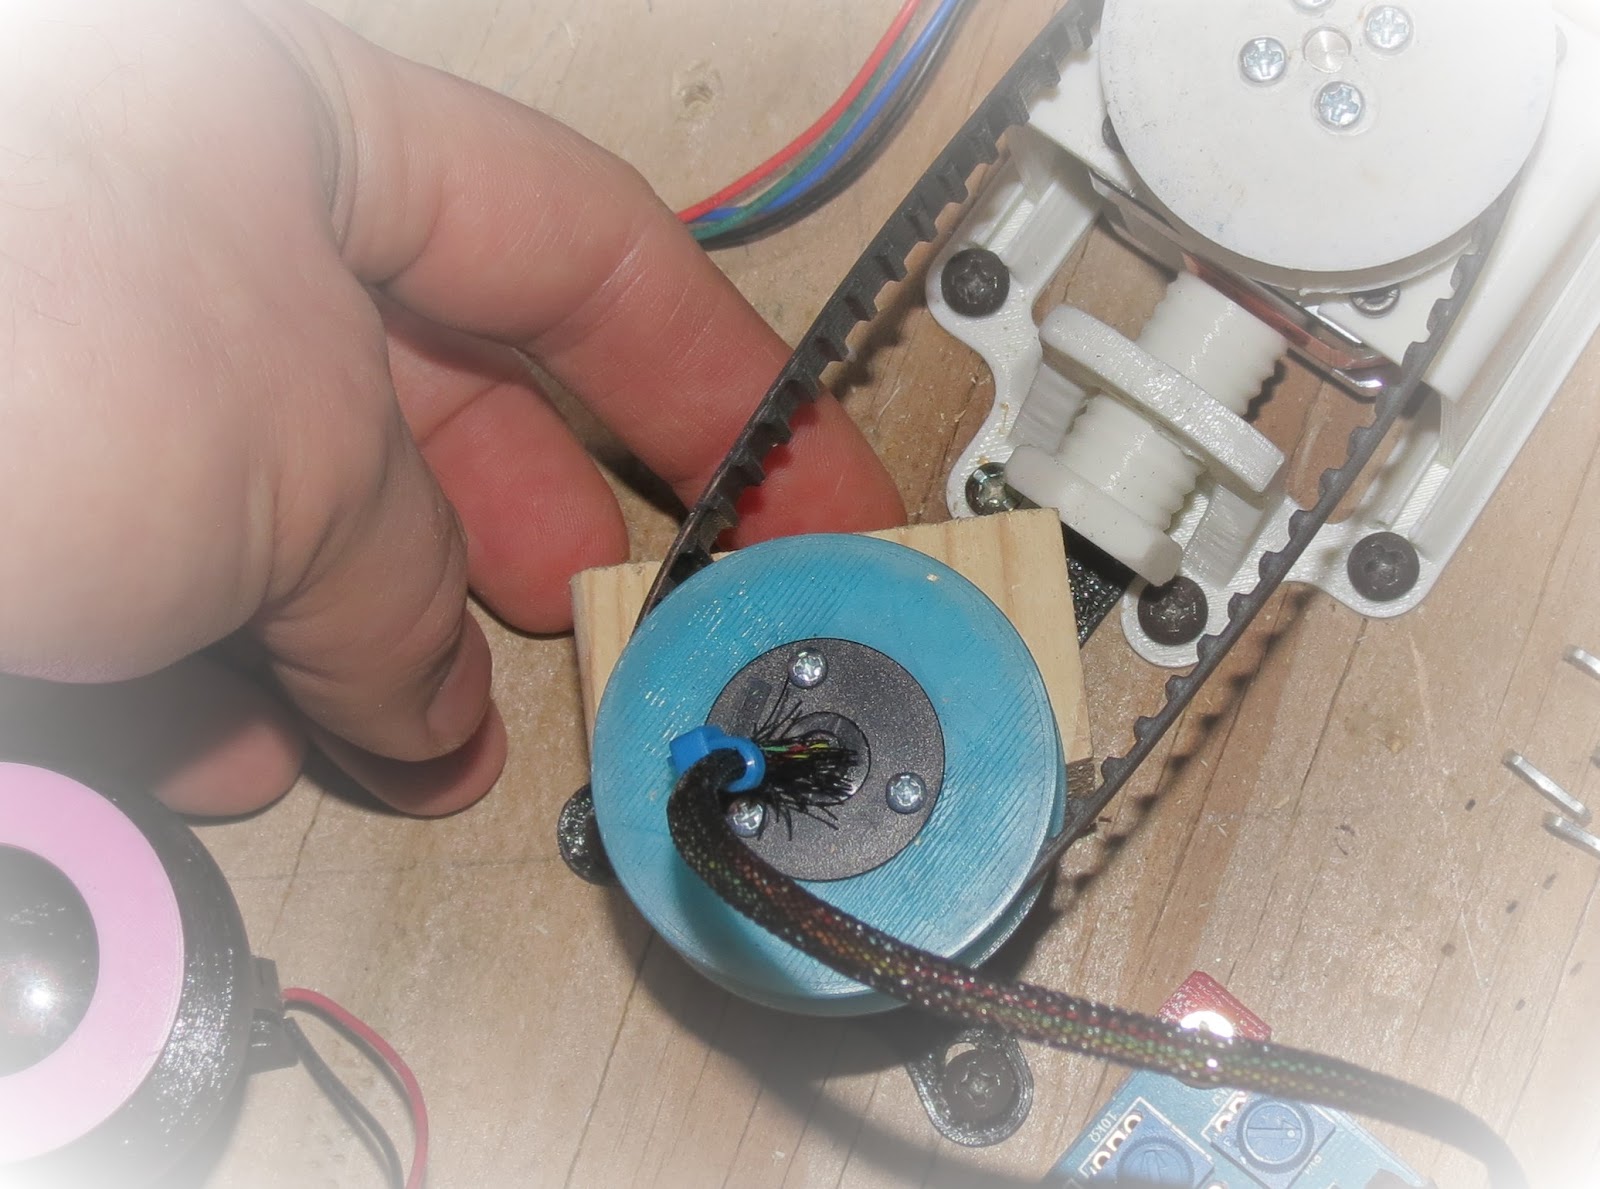
- Opposite pairs help maintain orientation of wood block
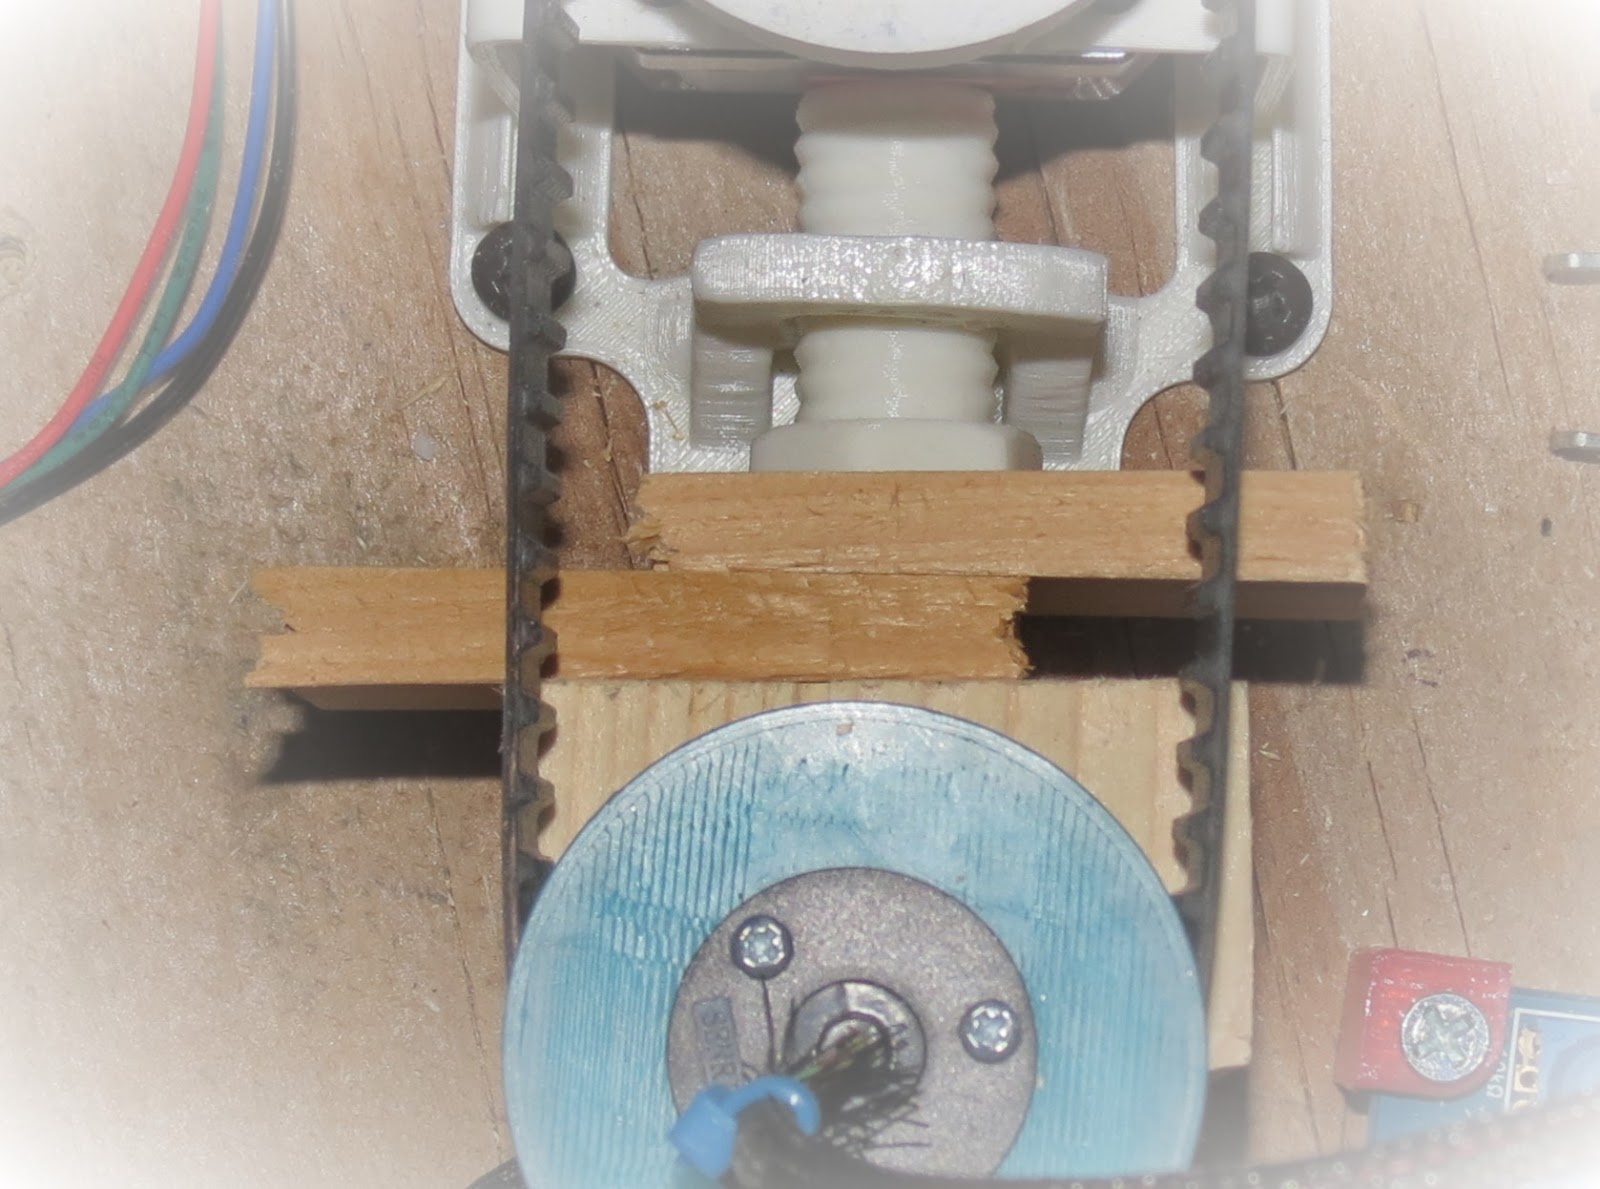
- Select shim thicknesses such that the shims can be pushed all the way together (as seen in next photo; photo above shows half-insertion)
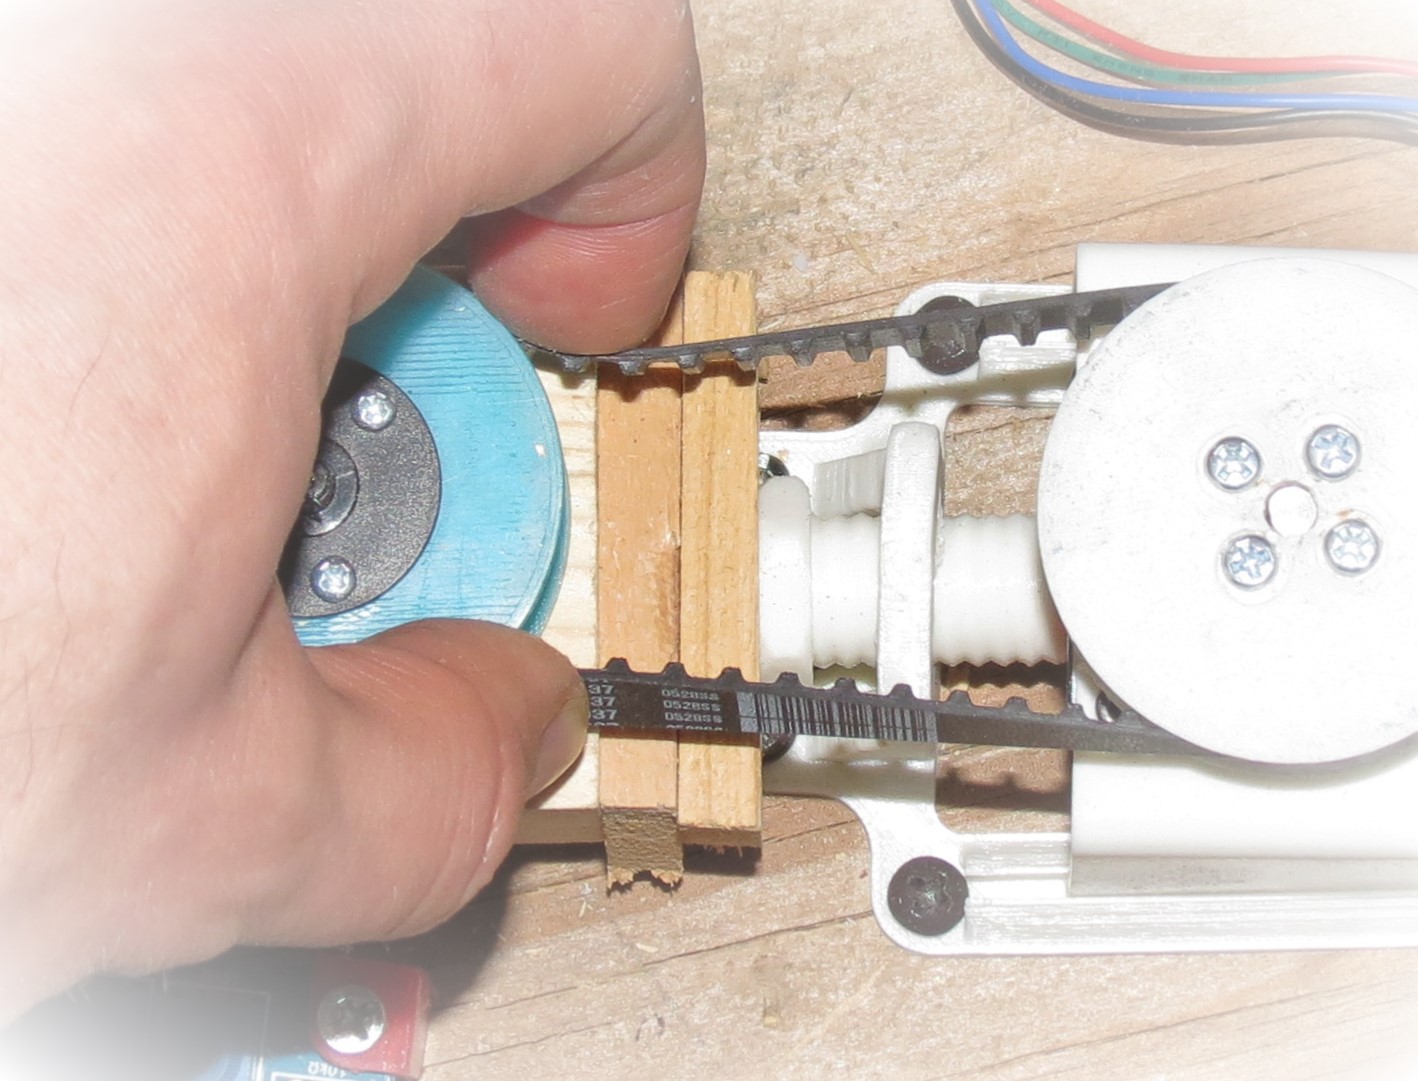
- Gently pinch the belt to check that there is still some slack, but no more than this:
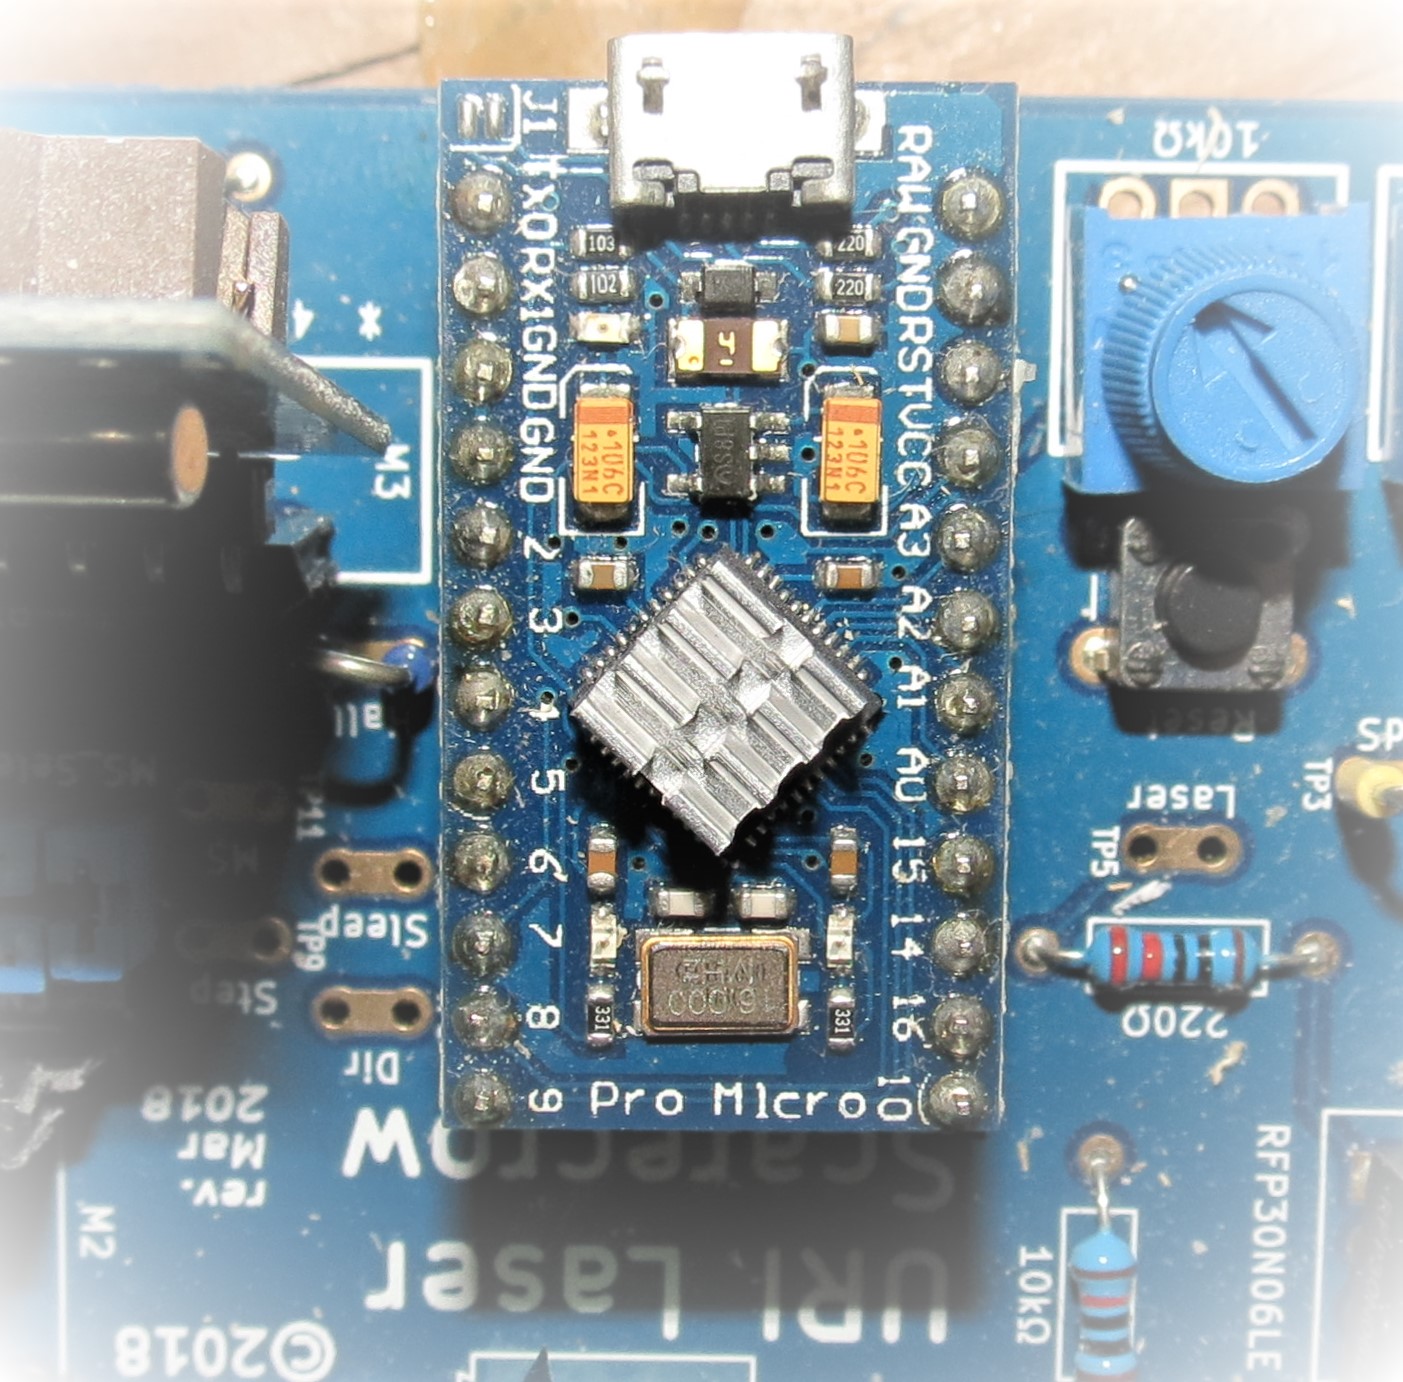
Arduino heat sink
Remove the backing paper from the heat sink to reveal a black thermal adhesive pad. Press the heat sink firmly onto the microcontroller chip of the Arduino module as shown:
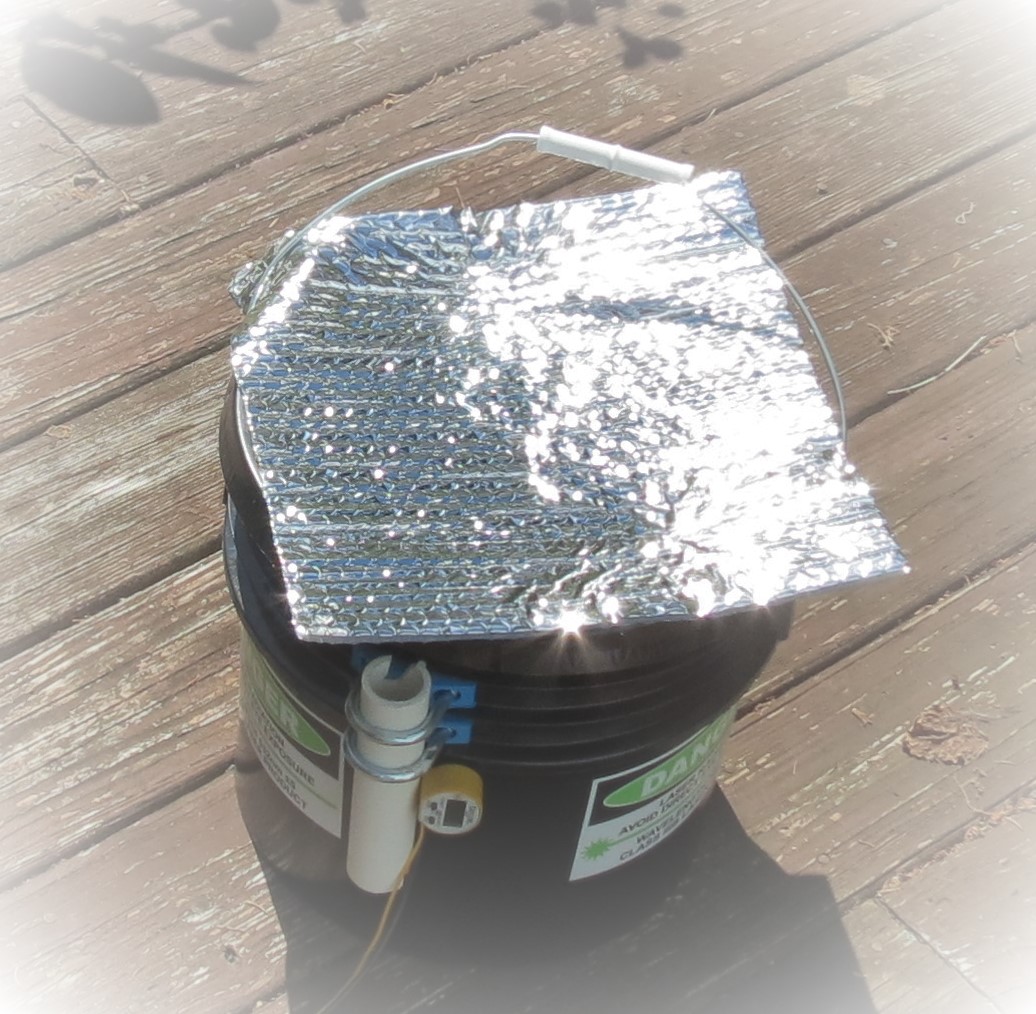
Bucket lid insulation
Ensure the bucket lid is clean and dry. Remove the backing from the three squares of mounting tape. Stick the insulation onto the bucket lid:
(end of July 9 update)
[1] The softening point (glass transition temperature) of PLA plastic used to print parts is 60°C–65°C, only about 10 degrees higher than observed temperatures. The alternative material, ABS, has a glass transition of 105°C which is about 50 degrees higher than observed temperatures.
[2] My test unit has an low-rated 0.4A stepper motor vs. the 2.0A motors used in the kits. (We bought a few of these by mistake.) When run at the 1A current the kit drivers have been set to use, this motor gets very hot and some of this heat is conducted through the shaft which probably contributed to this failure, but we’ll go with the aluminum hub anyway.