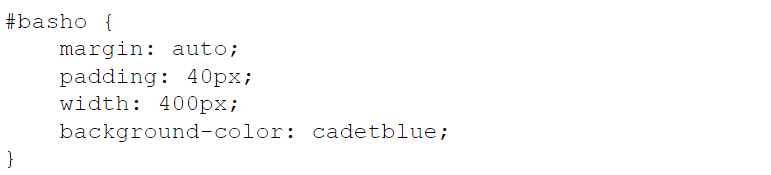
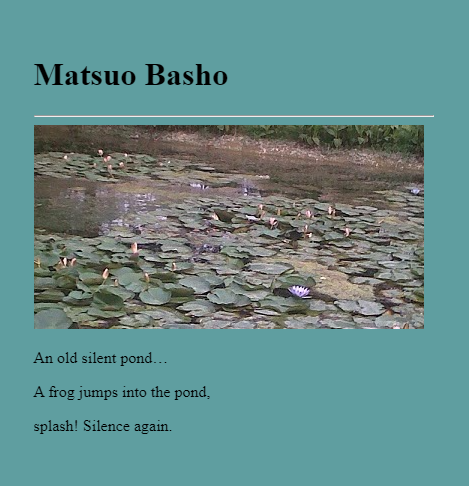
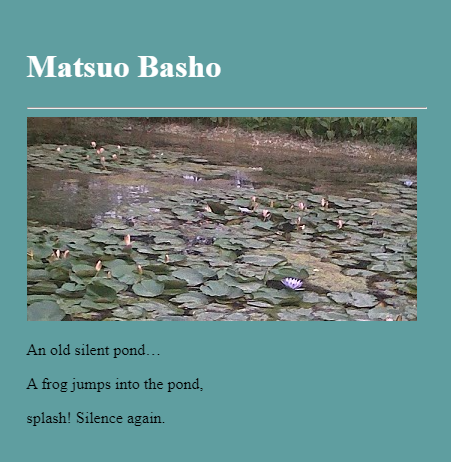
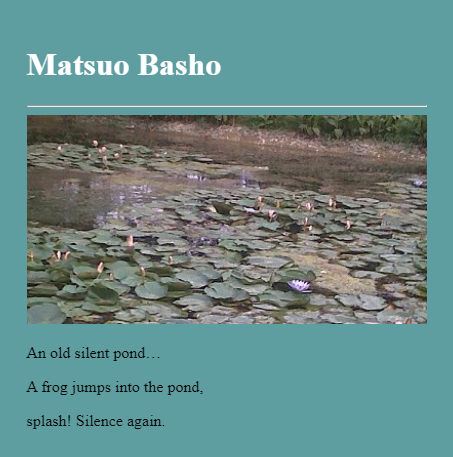
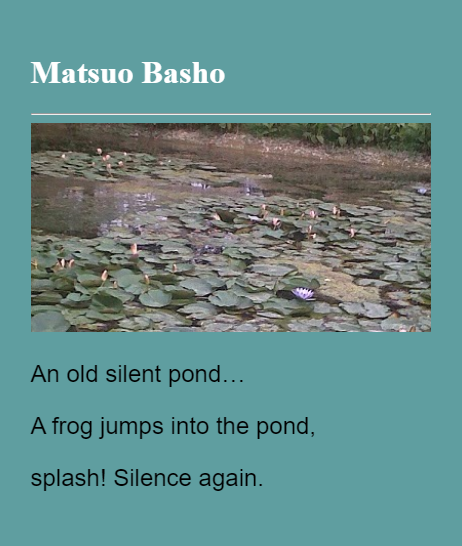
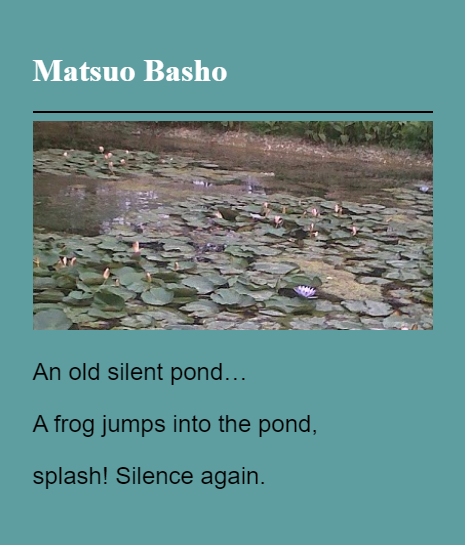
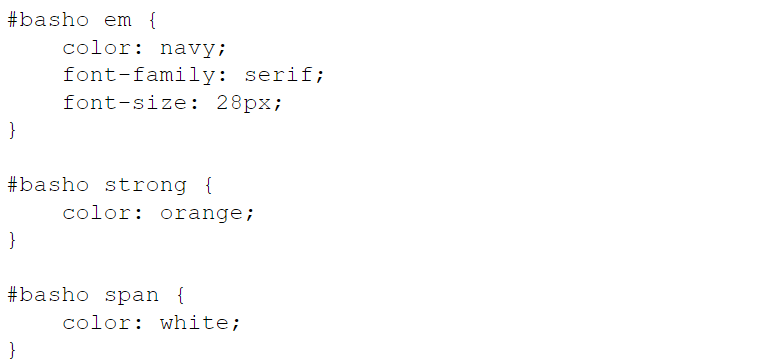
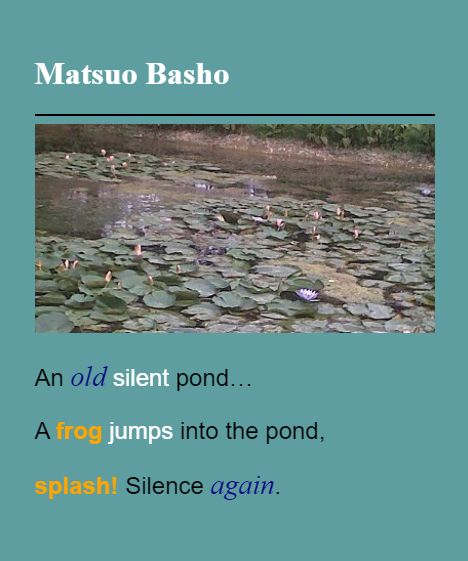
Dimension, Pictures, and Color Prerequisite: Previously you wrote some code that looked like this: And of course once you got it working you ended up with a result that looked boring, black, and white like this: Introduction: The web is a lot more interesting with pictures, colors, and dimension. Not only does it bring attention to your content, it allows us to logically separate content sections. It would certainly be a lot more interesting if you could add some colors, dimension, and a picture like this: Instructions: First, grab a picture to match your haiku. On a PC, you will need to save the image to your computer, then drag and drop it onto the Repl files to upload it. On an iPad, you need to save an image to camera roll, then upload the image through the Repl interface using the vertical triple dots in the Files section. In the screenshot you can see that I've uploaded pond.jpg to the project. Now, I can use it in my code with the <img> tag like so: The src attribute of the image tag stands for "source" is set equal to the name of the image in quotes. Next, we are going to weave some colors, dimensions, and fonts to the page by adding some new code to the cascading style sheet, style.css and some additional hypertext markup to the index.html file. Let's start with some basic coloring: In style.css, write a style that targets your own id which should probably be your last name or last name hyphen first name. I will use the original author's last name as that is how the id was written in the first example at the top of this document. Let's make the header 1 a different color: This means target any h1 that is inside of another element with id basho. Make your image fit perfectly to its parent element. It is possible for width and max-width to calculate different values. This covers edge cases and forces an image to fit the width of its parent element. Let's mess with the font family and size of our paragraphs. We can even change the color of the horizontal rule. Okay, let's stop there, and let's bring in some more HTML tags. <em> emphasis, used for italic text <strong> strong emphasis, used for bold text <span> no particular emphasis, just an inline wrapper Assignment: Wrap your main haiku text in a variety of the above tags and color them accordingly. Following is an example of how I mixed the tags into index.html followed by styles I used to target the different tags in CSS. index.html style.css |