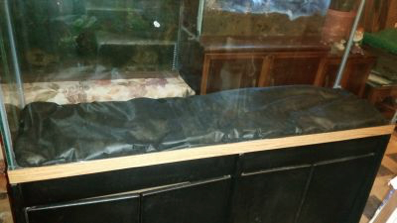
Here is my step by step setup of a 55 gallon drilled tank. It includes a putting in a false bottom and insulating. Please ignore the mess in the background, I made a huge mess during this project. It was a cramped space so some pictures are from an angle.
Supply Lists:
False bottom:
*Clean river rocks, enough to cover the bottom of your tank.
*Sheet of plastic crafter’s mesh.
*Weed barrier (like what you would use for a flower bed).
*Plastic or rubber tubing that will fit into the drilled holes, one for each hole. Long enough to reach from the bottom of the tank into the bucket.
*A bucket.
*Aquarium safe silicone.
Insulation:
*Heavy duty aluminum foil.
*Bubble wrap.
*Silver ducting tape.
*Scotch tape.
False Bottom
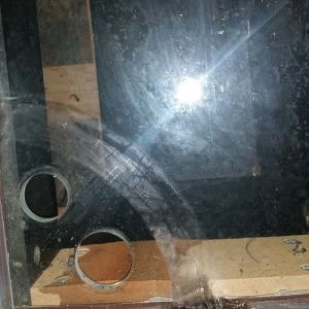
This is the drilled holes on the bottom of the tank. It still had the filter pieces siliconed in I had to remove, so there is still some silicone residue on the glass.
Step 1
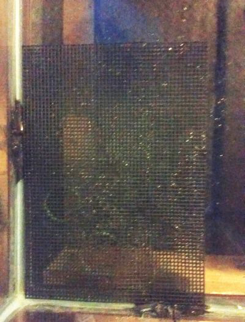
Cut a piece of crafter’s mesh to cover the holes. Silicone the mesh down with an aquarium safe silicone. Follow the instructions on the silicone tube for curing time before adding the sand mix.
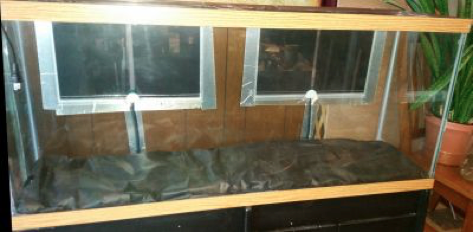
Step 2
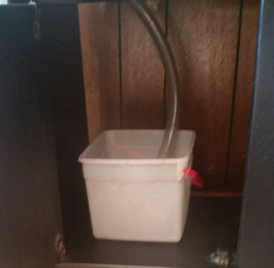
For silicon curing purposes do this step at the same time as step 1. Put the tube(s) into the holes on the bottom of the tank and silicone them into place. Place the tube(s) into the bucket.
Step 3

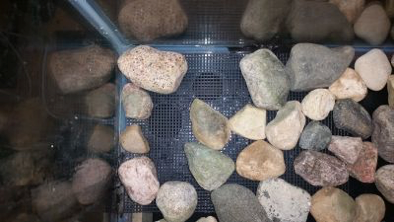
Put a layer of river rocks covering all of the bottom except for the holes.
Step 4
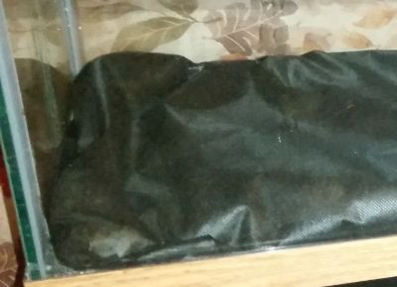
Cut the weed barrier to fit the bottom plus 2 to 3 inches extra on all sides. Lay the barrier down over the rocks and wrap the extra around the rocks along the edges.
Tank Insulation
Step 1
Using the silver heat duct tape attach the heater(s) to the back and/or side of the tank.
Step 2
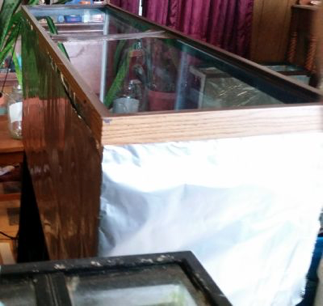
Wrap the aluminum foil around the tank, holding it in place with scotch tape (this is temporary so just use enough to keep it from falling). Trim it so it is just on the glass so you have space on the tank trim for the permanent taping. With my last tank I did the back and sides and hated that I couldn’t see through the side, so this time I decided to do the back and one side. If I have problems keeping the temp I will insulate the other side too.
Step 3
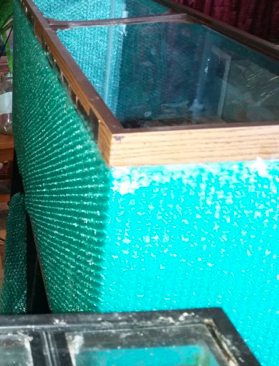
Wrap 2 layers of bubble wrap around the tank, again holding it in place with scotch tape. Trim it so it just covers the glass.
Step 4
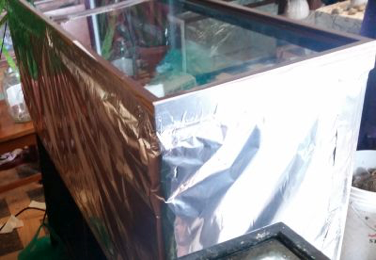
Wrap another layer of aluminum foil around the tank, again holding it in place with scotch tape.
Step 5
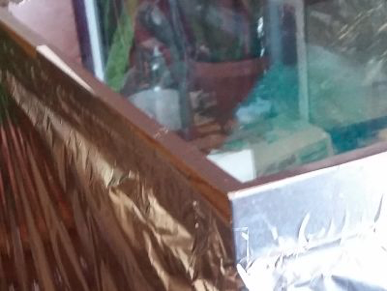

Now using the silver heat duct tape, tape across the top, down the sides and across the bottom. Make sure half the tape is on the tank trim and half is on the foil. I use smaller pieces so it is easier to handle.
You’re done! :) Time for the sub.