By: @infinityFG
Send me a message on twitter if you have any suggestions/notice any mistakes!
If your internet is slow/you’re using data, you can click here for the image-less version of the guide.
However, the images are extremely helpful in helping to visualize the practical applications of the information in this guide, so I would recommend reading with the images there!
This guide is aimed at people who want to dive deeper into the GRD war aspect of Under Night In-Birth. Some experience with the game and/or other fighting games (especially anime games) is expected and will make concepts easier to grasp.
Most of the screenshots are from UNIEL, but they still work to illustrate concepts in UNIST.
(NOTE: If you are at all interested in Under Night and don’t know how GRD or Vorpal work, please read this entire guide as the entire game revolves around these system mechanics. Understanding of these concepts is incredibly important to play this game at a high level. Most of the time in a match, your primary goal is to win Vorpal! It's that important.)
What is GRD and Vorpal?
What is GRD?
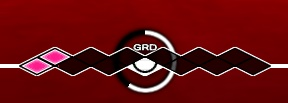
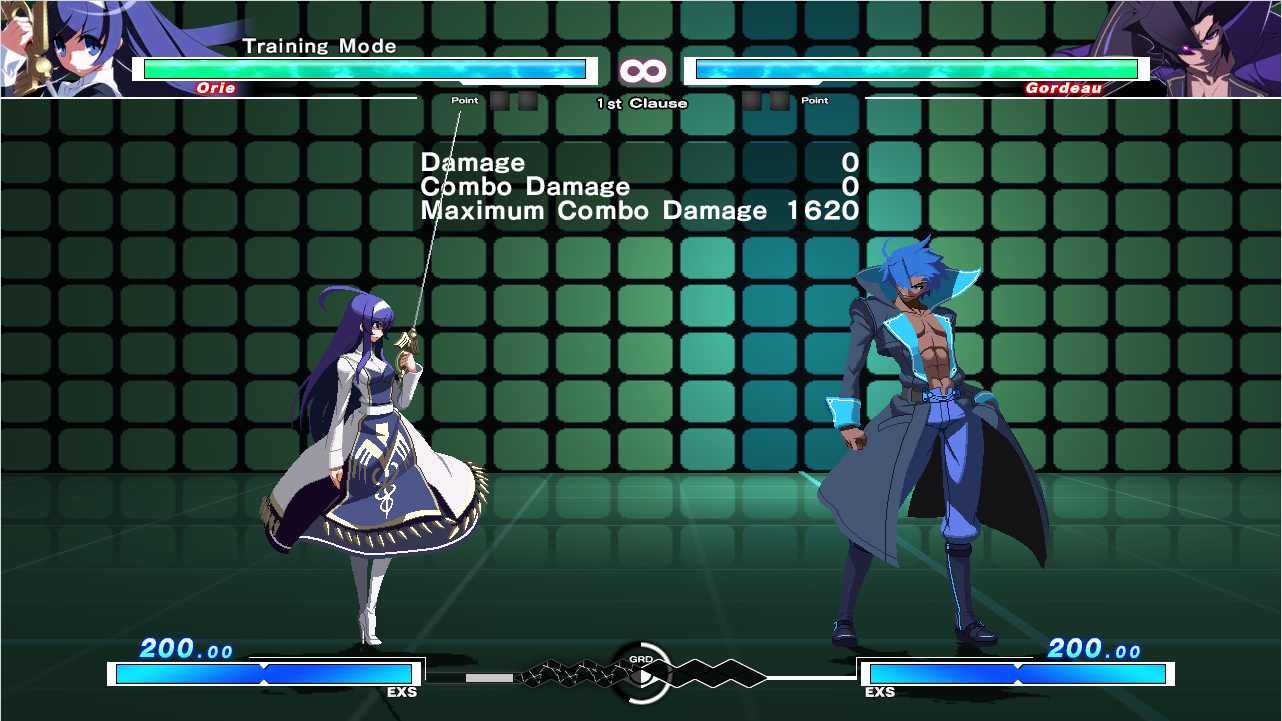
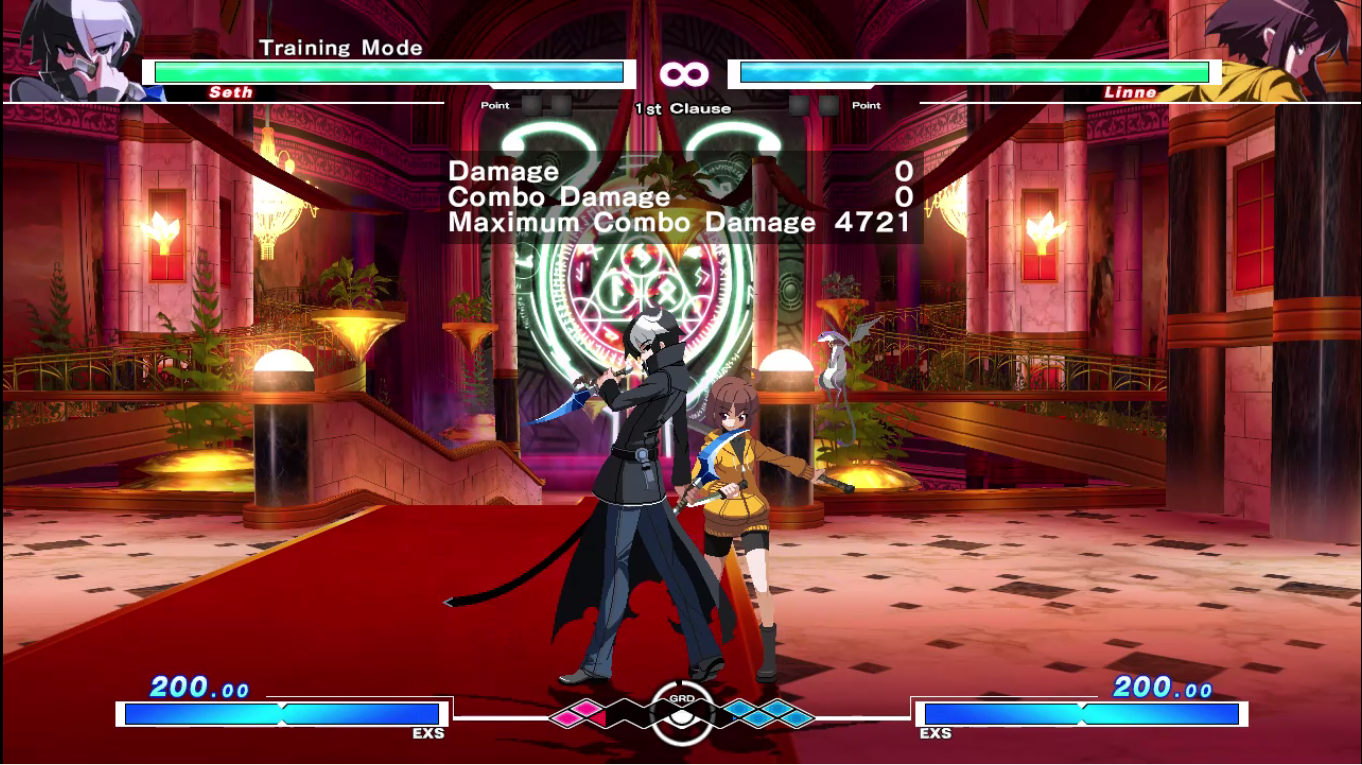
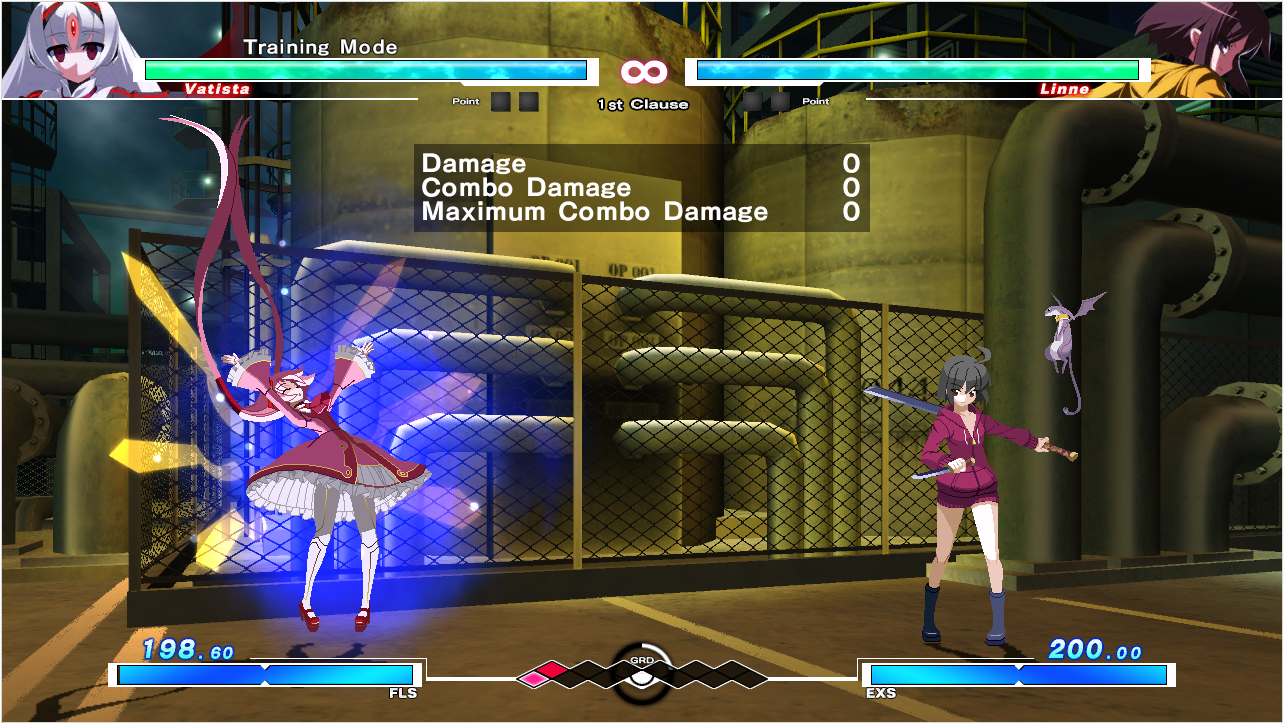
GRD is a tug-of-war meter mechanic between the two players in Under Night In-Birth. GRD is represented in blocks, with the max amount of GRD a player can have at a time being 12 blocks. Winning the GRD war will award the winner a special state called Vorpal.
What is Vorpal?
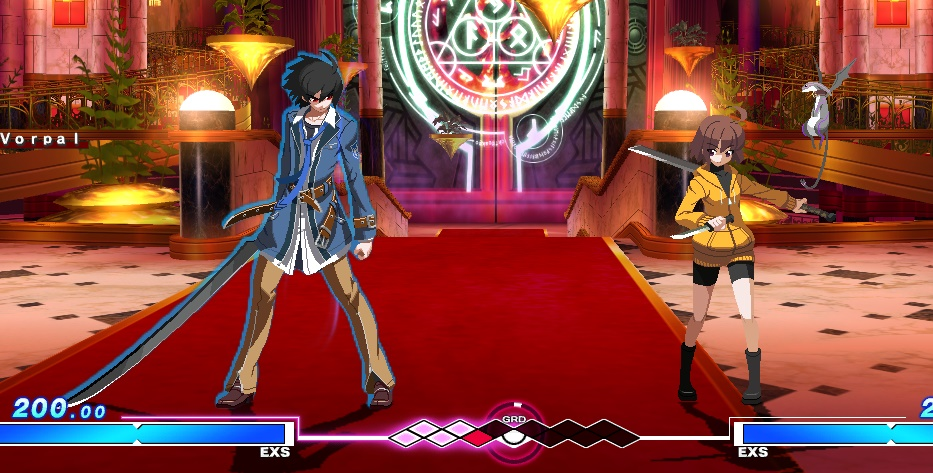
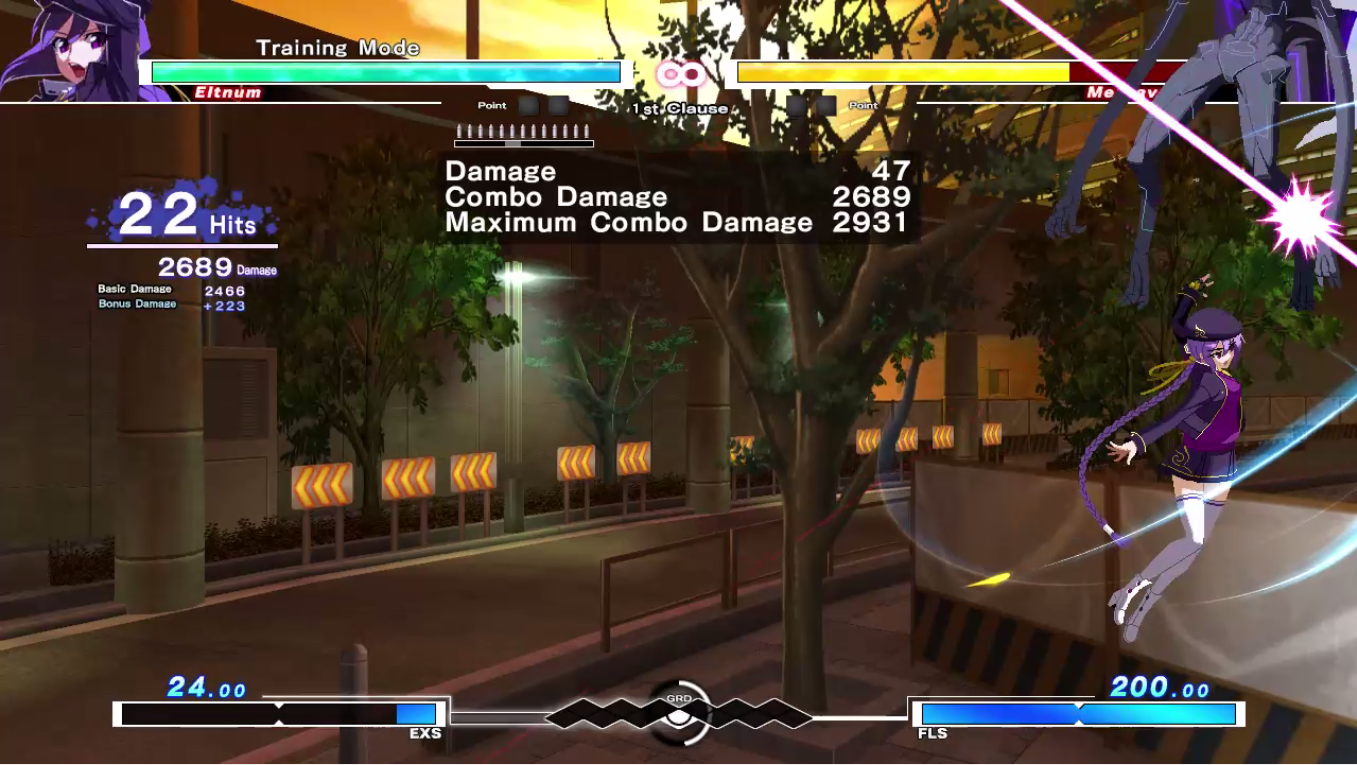
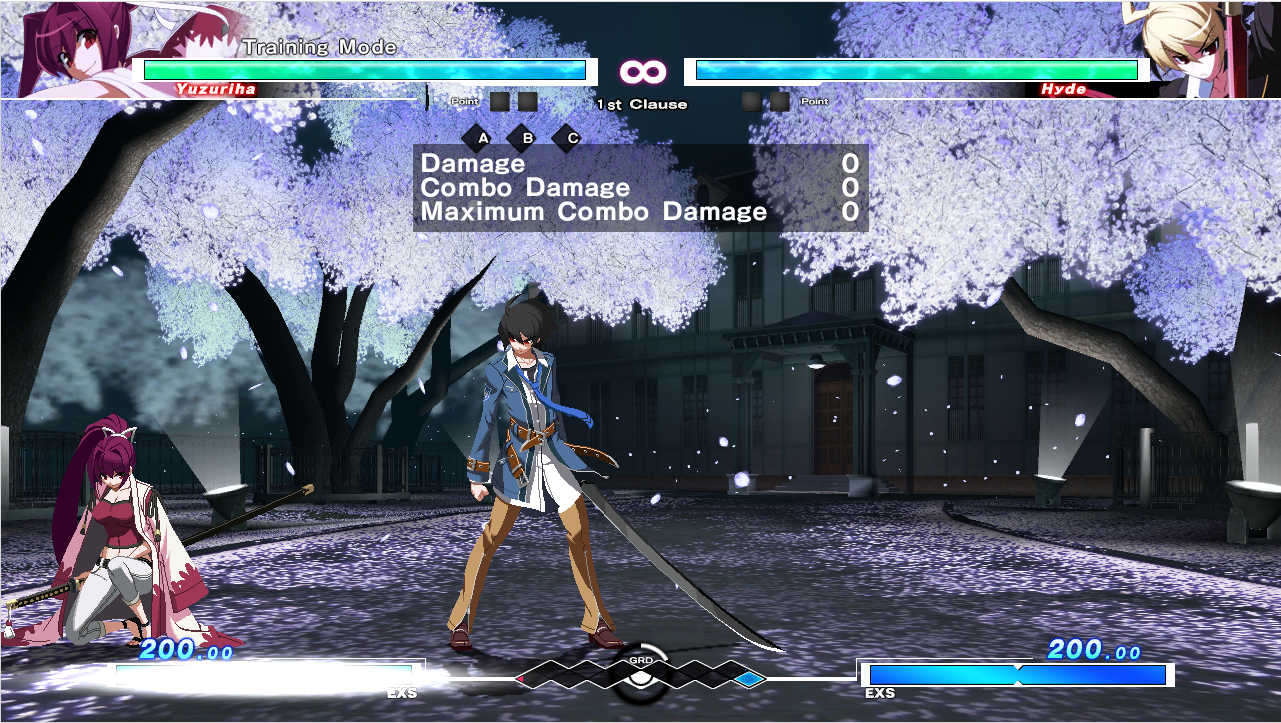
Vorpal is a state that makes a character more powerful, similarly to “High Emotion” in Aquapazza or “Active Flow” in BlazBlue. Every 17 seconds, (this time will vary slightly as the timer slows down when someone is getting comboed) the white ring at the center of the GRD gauge makes a complete revolution, giving the player with the most GRD blocks Vorpal. This is denoted by a blue aura around the character and a flashing GRD gauge.
In the case of a rare tie, both players will receive Vorpal.
Vorpal State
- While in Vorpal state, the player with Vorpal gains an extra 10% damage on all of their moves.
- Characters in Vorpal state have free access to using Guard Thrust (214D). (Under Night's alpha counter/dead angle mechanic) at the cost of the player's Vorpal state and current GRD blocks. Normally this costs 100 meter, and places the user into a GRD break state.
- Characters have special Vorpal only traits:
- In general, most characters Force Functions will receive either damage and/or frame data improvements in Vorpal.
- Hyde:
- Force Function chip damage increased
- Force Function recovery speed increased
- [Increased] Force Function startup speed increased
- Linne:
- Force Function recovery speed increased
- Force Function invuln duration decreased
- Waldstein:
- Force Function startup speed increased
- Force Function recovery speed increased
- Force Function projectile wallbounces
- Force Function projectile will destroy opponent projectiles, without being destroyed itself
- Carmine:
- Dissolve self damage reduced
- Force Function startup speed increased
- Orie:
- Force Function startup speed increased
- Force function can be cancelled into aerial version
- Gordeau:
- Force Function startup speed increased
- Force Function range increased
- Force Function damage increased
- Merkava:
- Force Function damage increased
- Force Function untech increased
- Worms no longer die when blocking attacks
- Vatista:
- Can cancel laser into EX laser without charge
- Seth:
- Teleport activation range increased (ie. Fast Fall Kick)
- Yuzuriha:
- Force Function startup speed increased
- [Increased] Force Function startup speed increased
- Aerial Force Function damage increased
- Chaos:
- Ahzi death no longer reduces HP
- Ahzi fully invulnerable during 623A/B
- Ahzi specials can be cancelled on whiff
- Nanase:
- Force Function can be cancelled into aerial version
- Aerial mobility increased for 3C jump cancel and Air/Ground Force Function
- Byakuya:
- 214x Web grd steal increased
- 214x Web chip damage increased
- Hilda:
- EX moves will refund a set amount of meter
- Ground teleport > air teleport possible
- Phonon:
- Force Function startup speed increased
- Force Function head invuln occurs earlier
- Mika:
- None
- Wagner:
- 22A/B recovery speed increased
- Enchanted sword chip damage increased
- Enkidu:
- HAVOC hitstun increased
- Sion:
- 2A/5A whiff cancelable
- Special cancelable moves are able to be cancelled into backdash
- Akatsuki:
- Force Function proration reduced
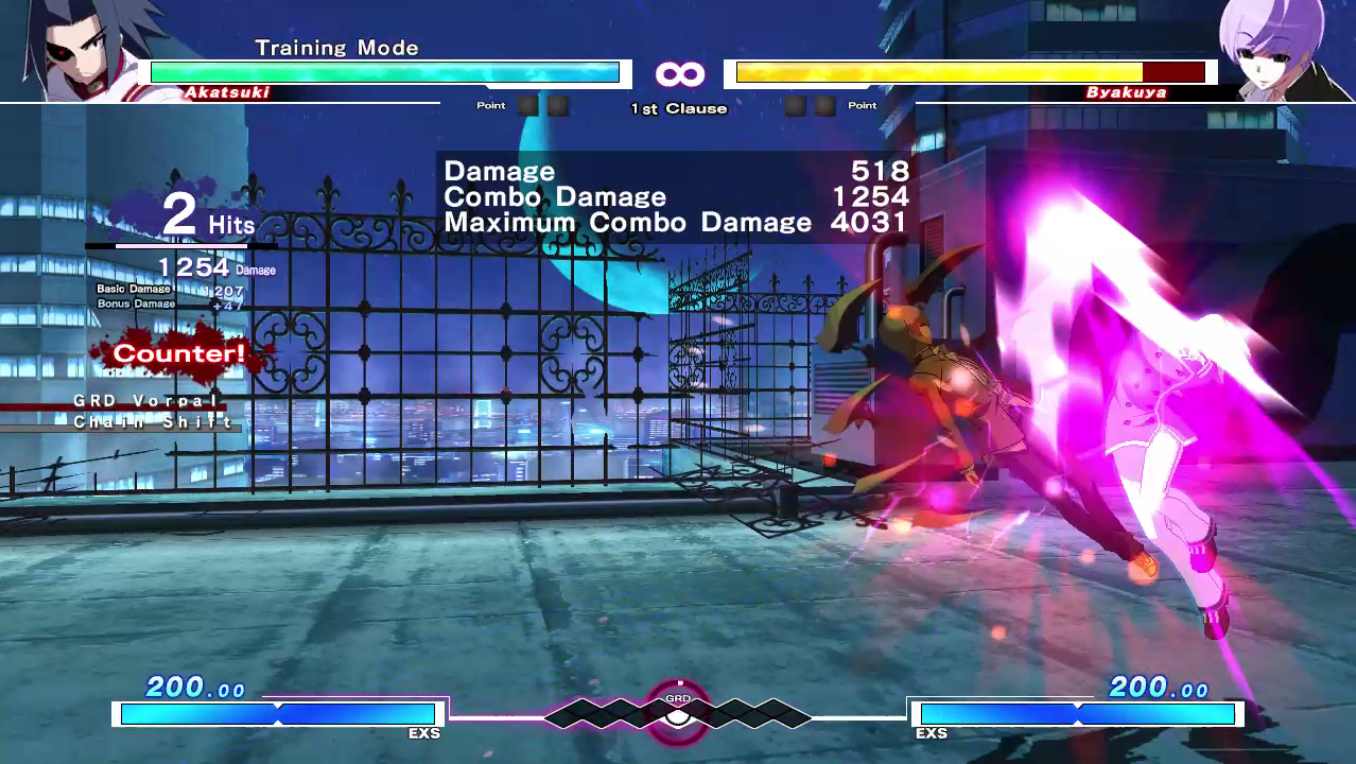
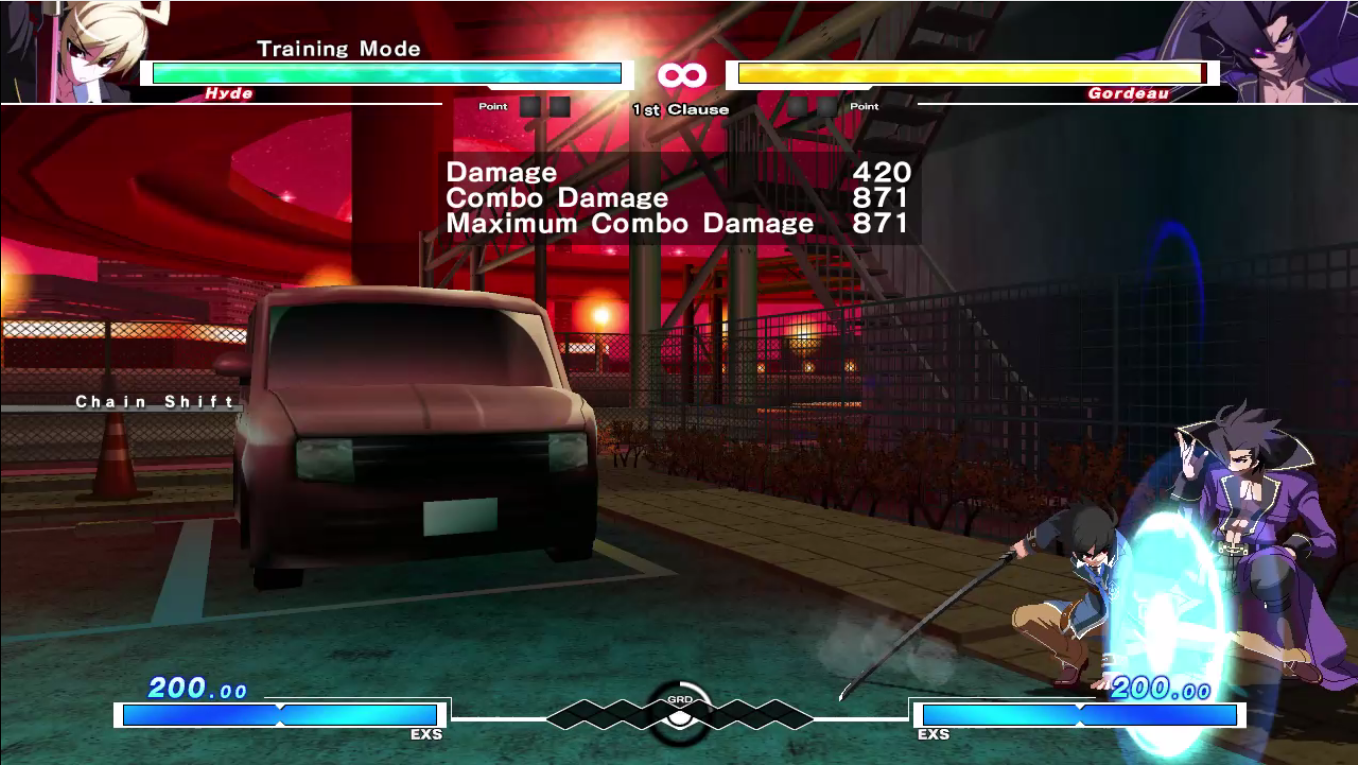
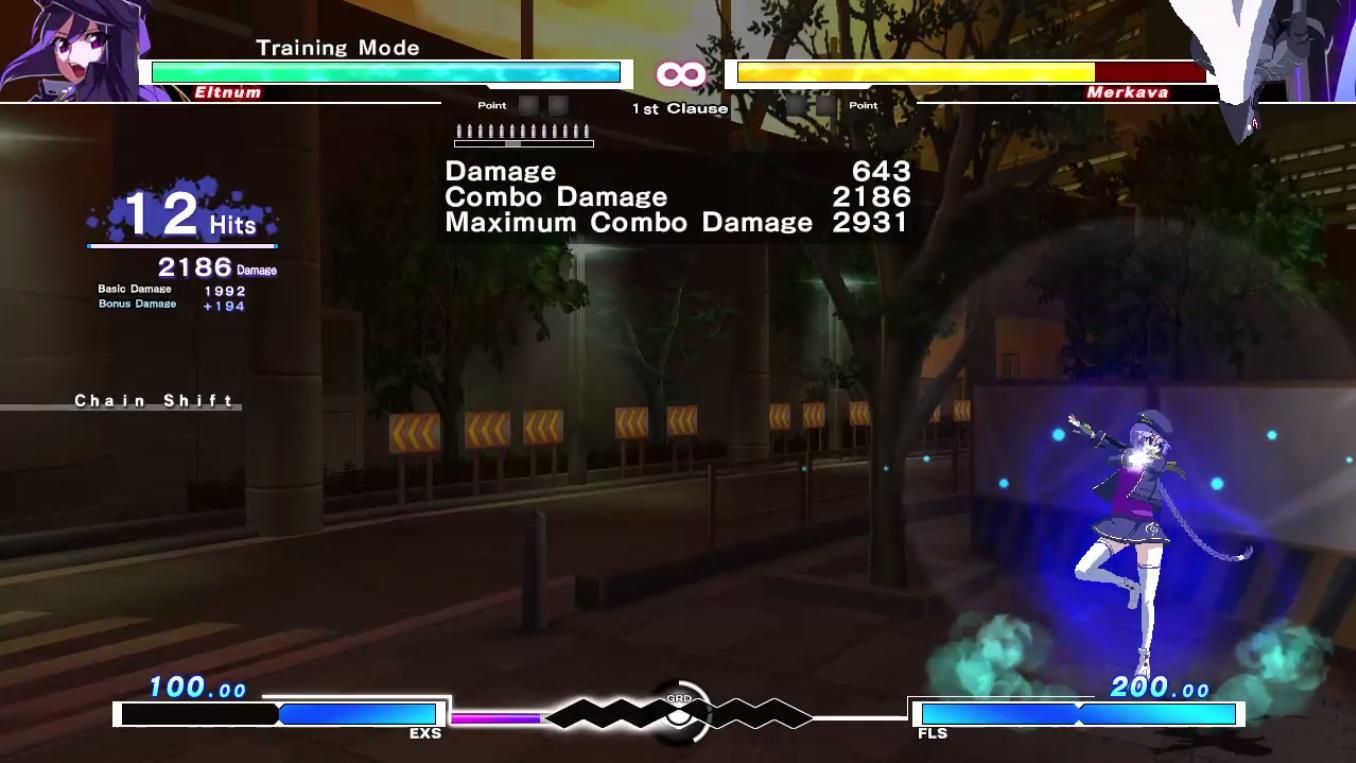
Chain Shift
Most importantly:
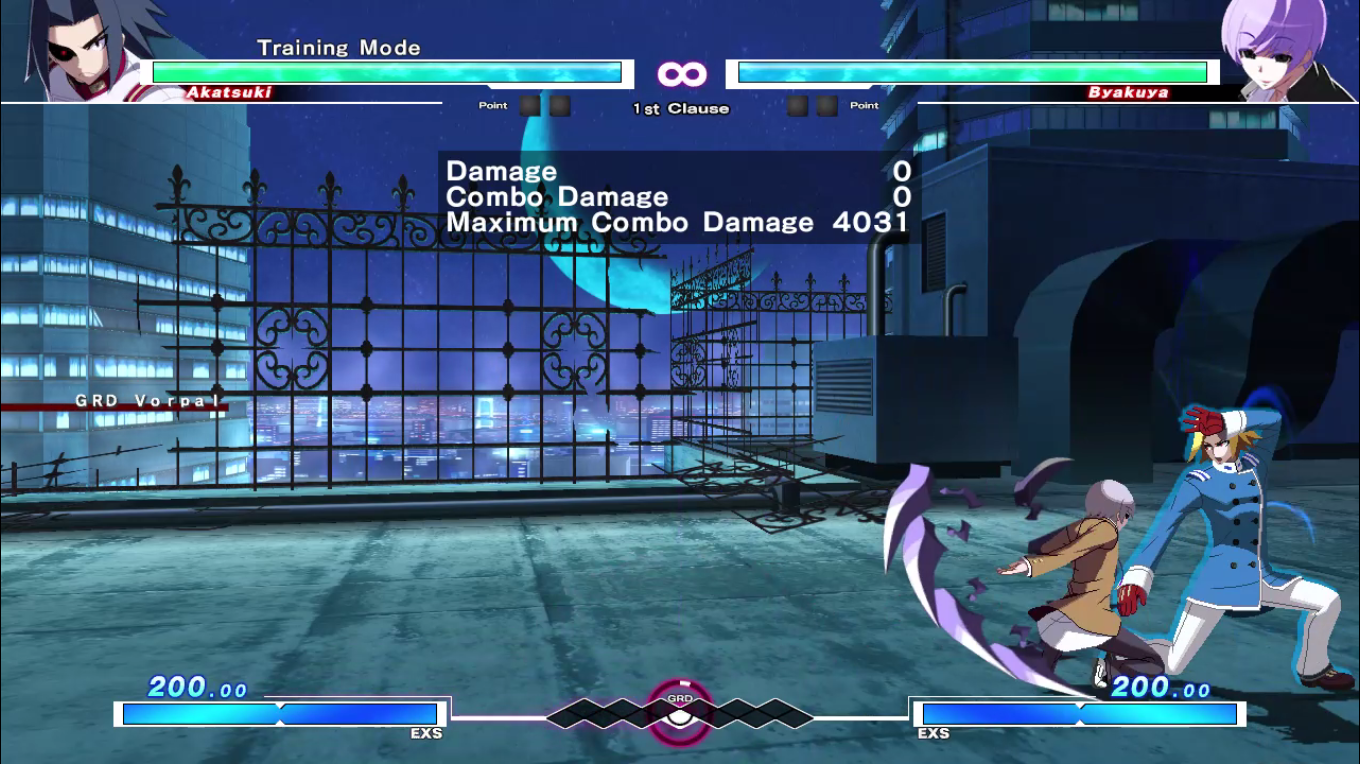
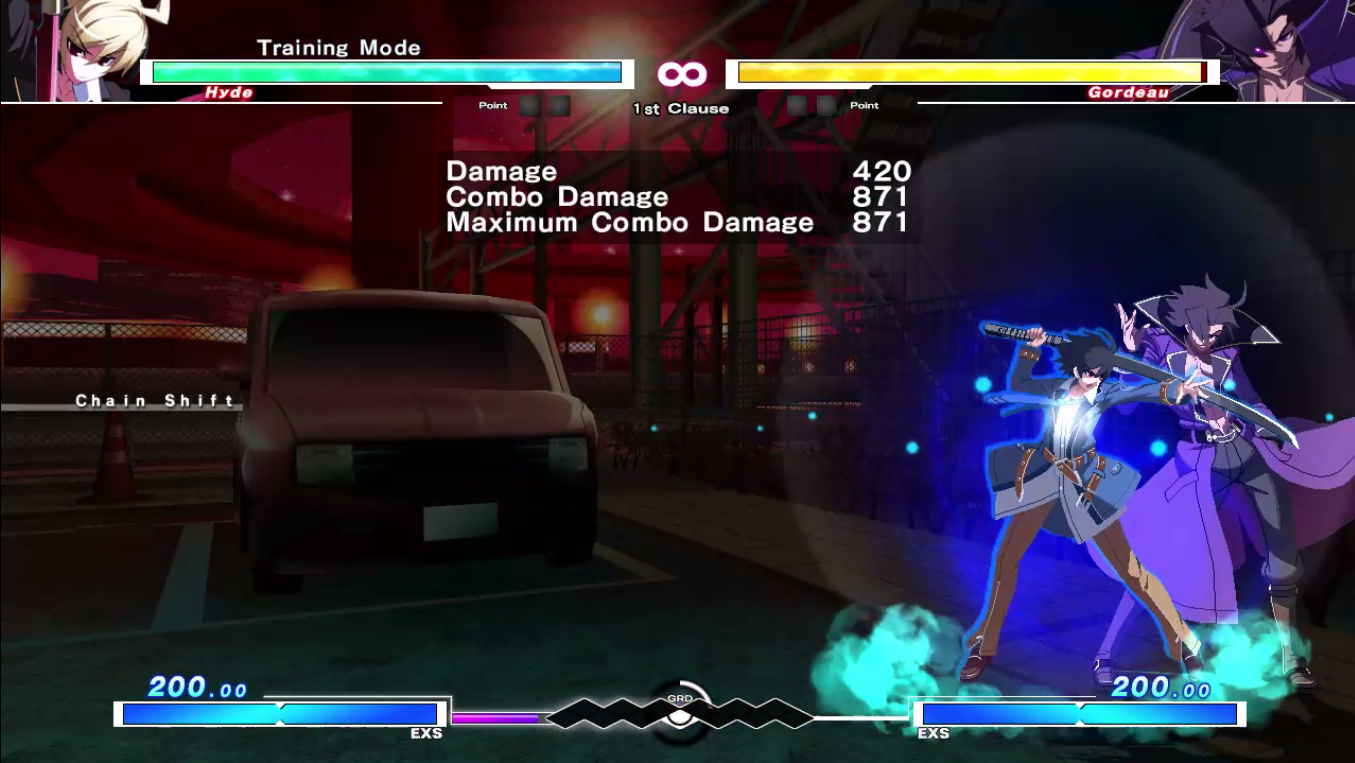
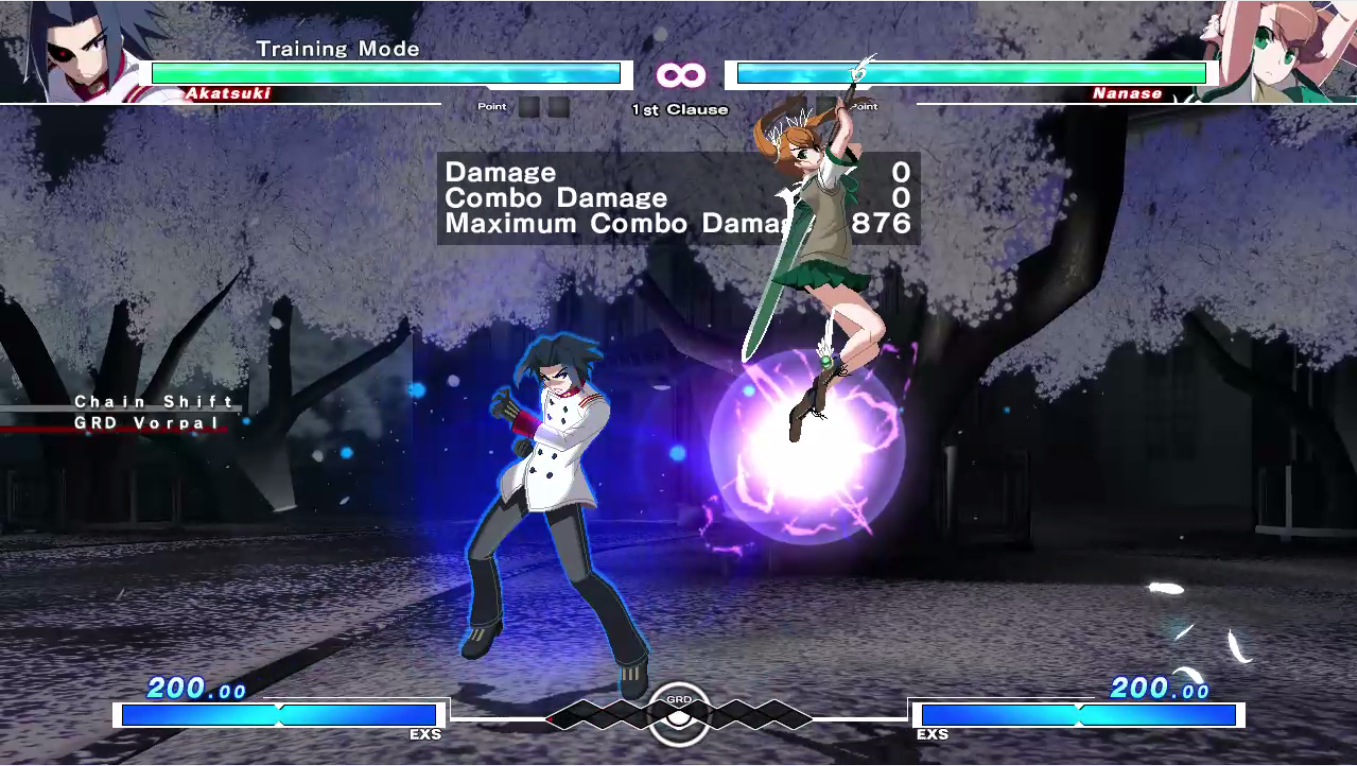
The player with Vorpal gains access to Chain Shift (Doubletap D) which:
- Gives the player meter depending on the number of GRD blocks the player has when they use Chain Shift. (Neutral CS gives 20 meter per GRD block, while using CS to cancel a move would give less meter.)
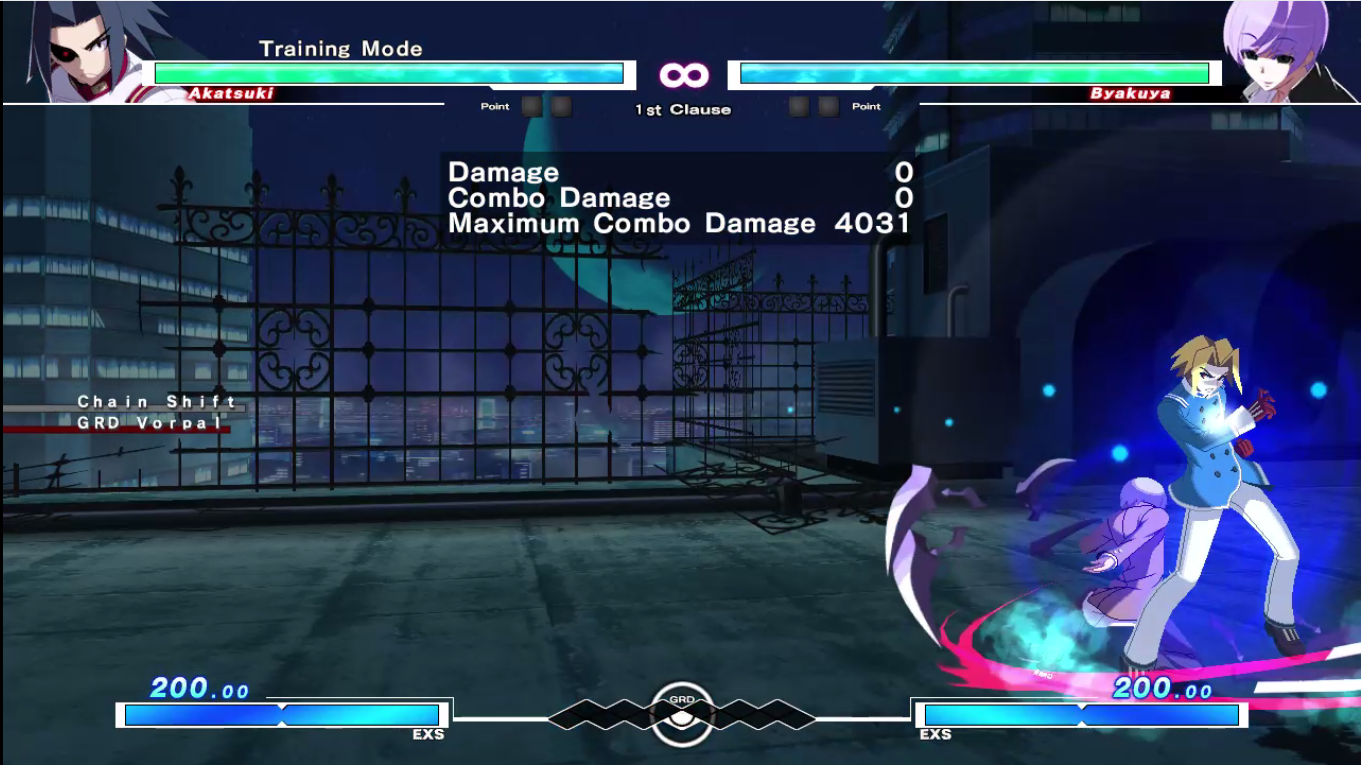
- Freezes the screen for 40f, giving the player 1f of invul during this freeze and placing the character back into a neutral state.

This allows you to judge the situation and potentially counter whatever your opponent is doing. One primary example of this is to Chain Shift and then see if your opponent is pressing a button. This will allow you to use an invul move such as a DP to counter your opponent!
- Allows the player to cancel moves on hit or block or even some special moves on whiff, allowing the player to either
- Continue pressure:
- Extend combos for damage:
- Make a move safe:

- Gives access to 1AD~AD throw OS: https://streamable.com/g21x1
- This is a strong throw OS that beats frame traps, assaults, backdash baits, and more! It only loses to TRM (where you throw a few frames after you think your opponent is pressing AD) and a well-timed throw to hit the 2F of Shield that occurs before the Chain Shift happens.
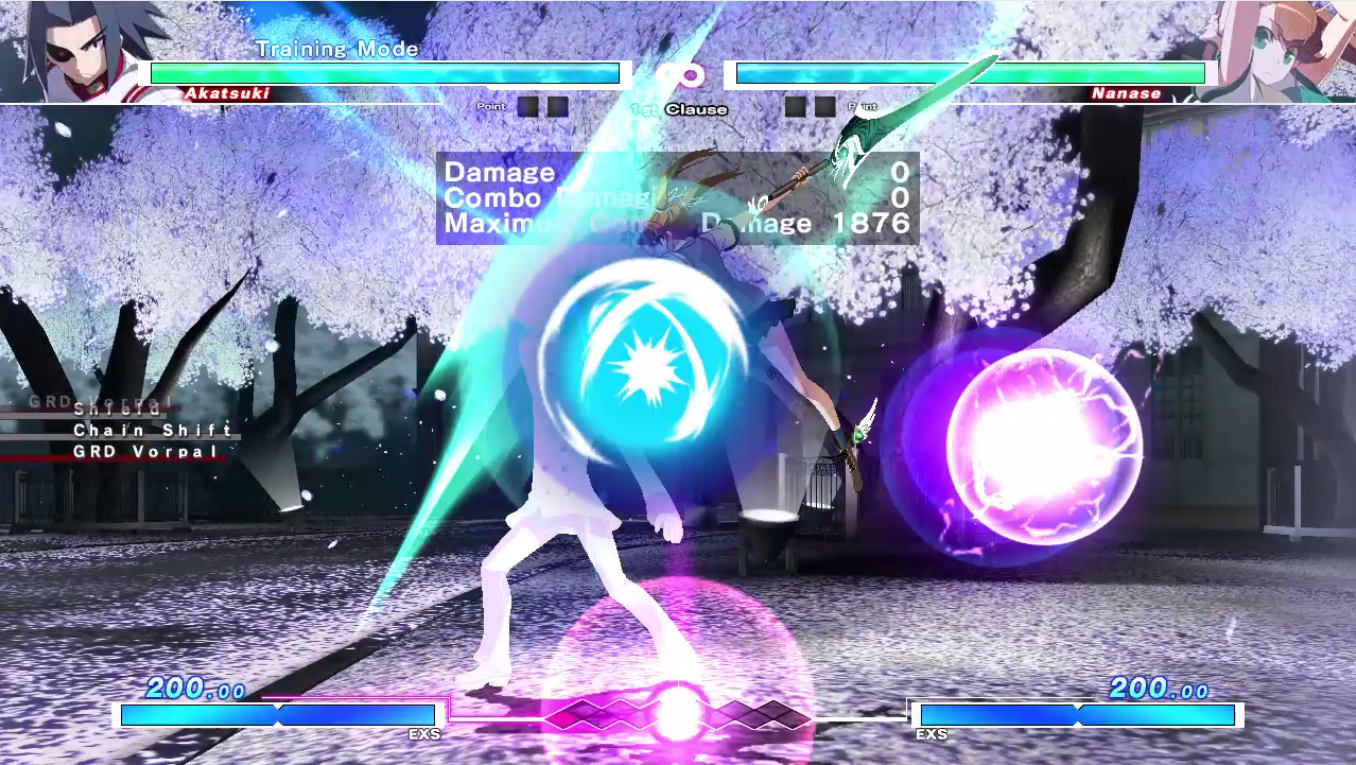
Crosscast Veil Off:
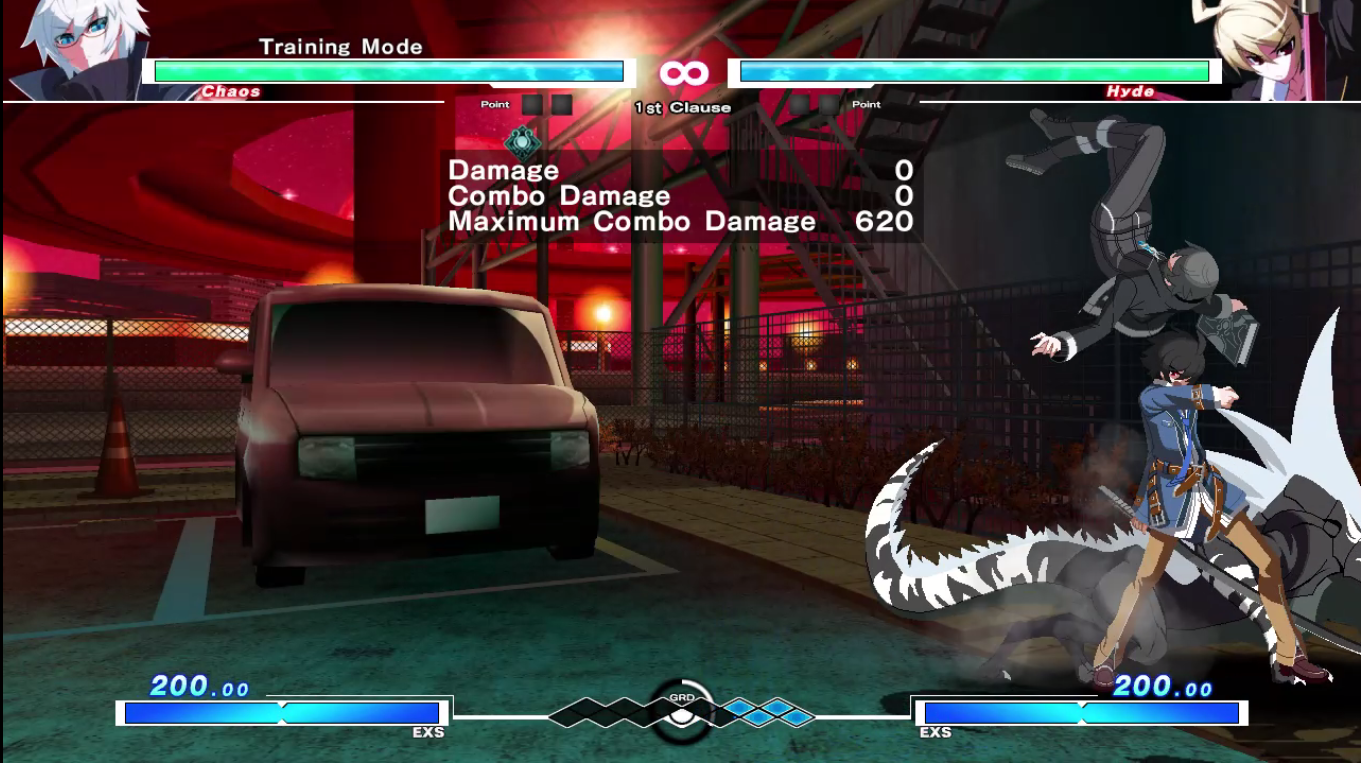
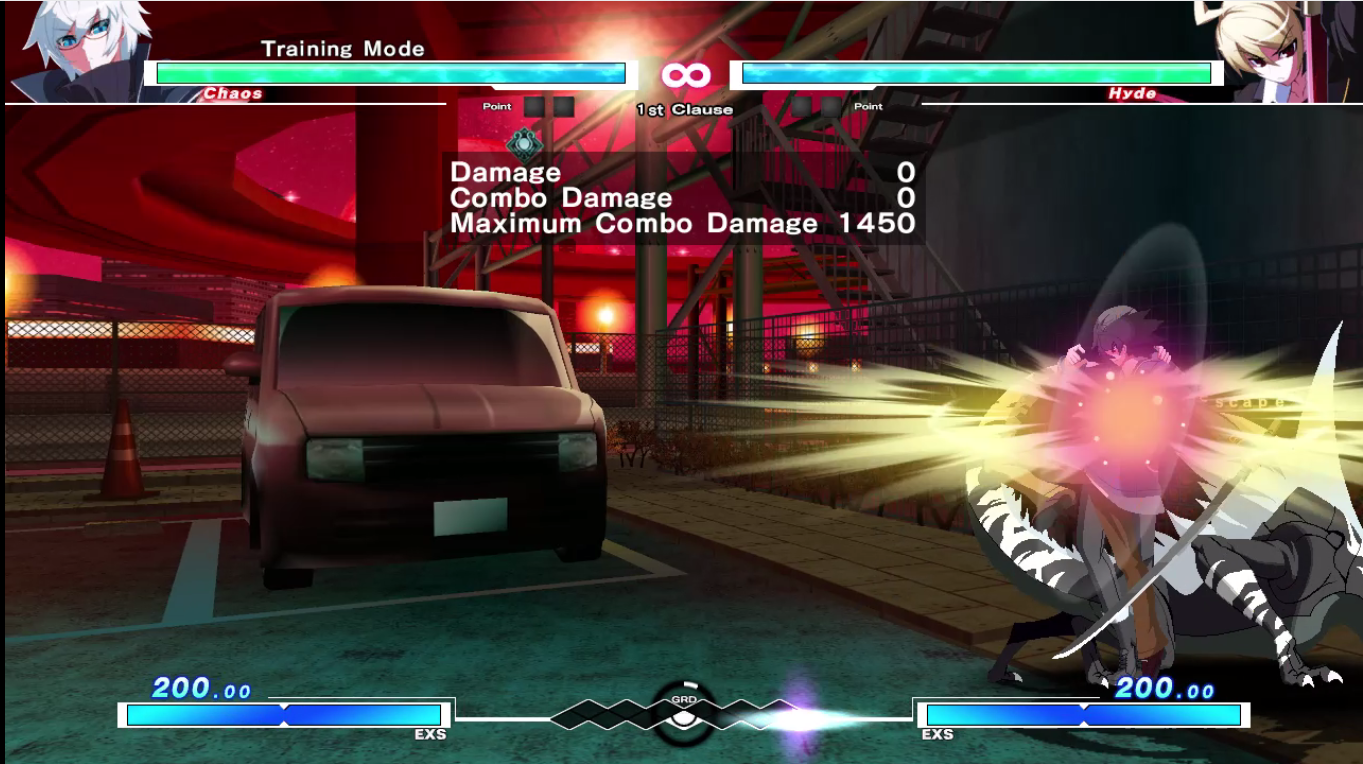
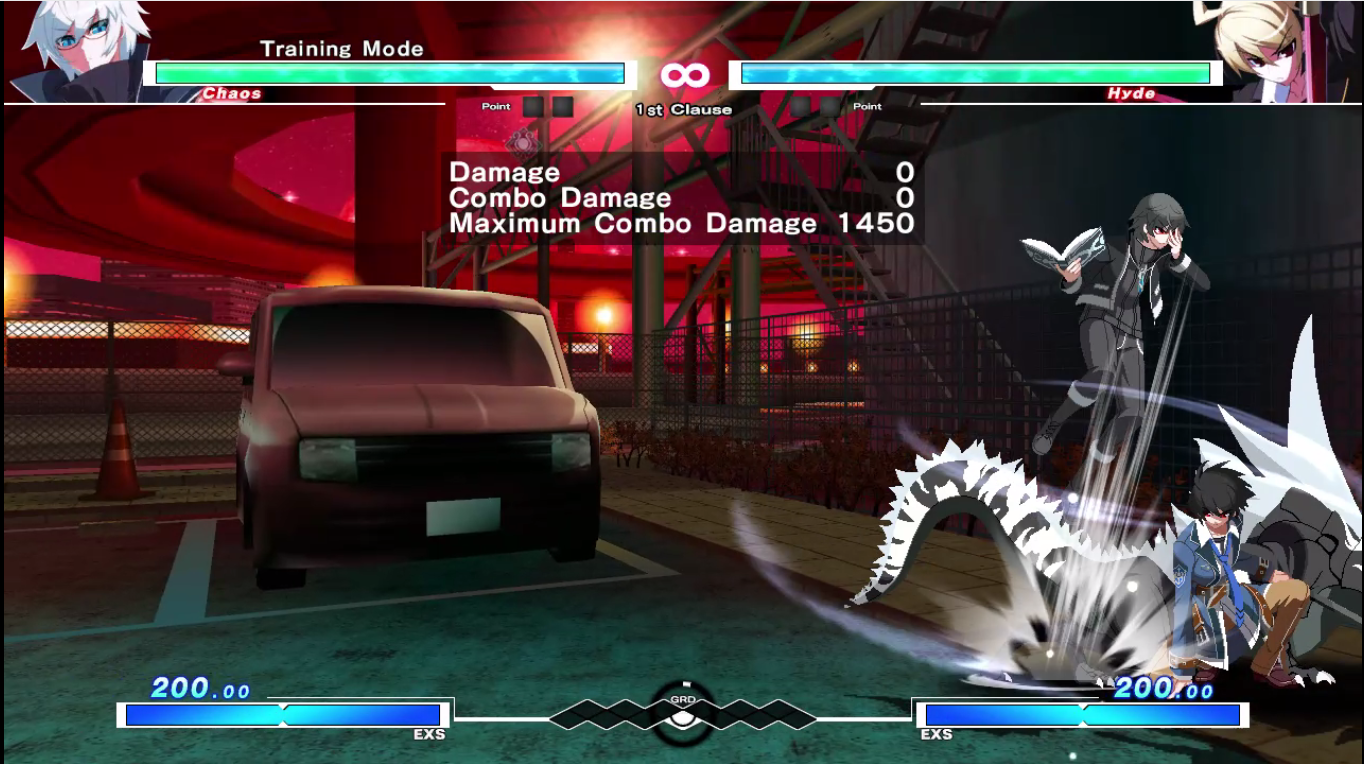
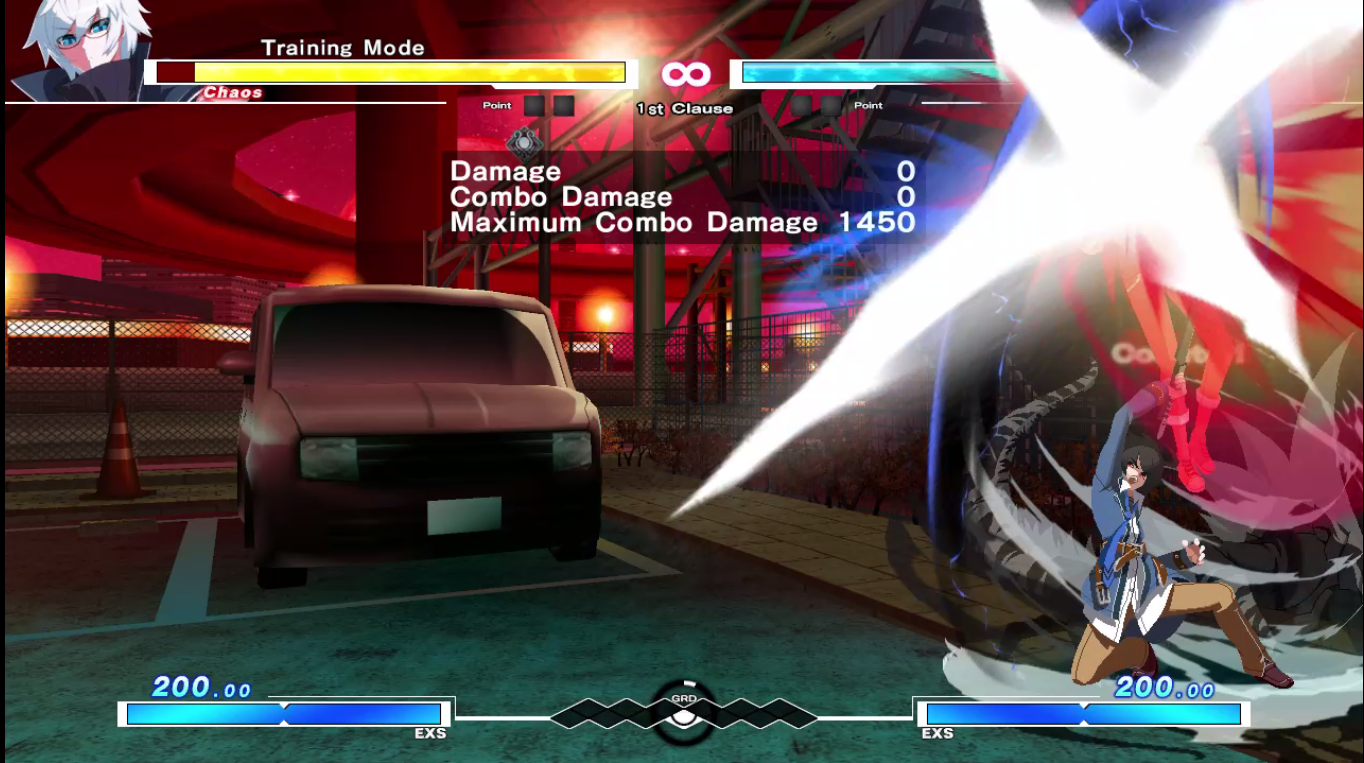
- Activates when you use Veil Off (A+B+C) while in the middle of an animation for a move (Like an EX cancel). Costs 100+ meter and Vorpal and drains all of your GRD blocks!
- Using CVO will pop up your opponent and also reset the ground and wall bounce counter. Additionally, EX moves will become cancellable into each other or into IW or IWEX. This generally will allow you to end the combo with an EX move -> IW.
- Using CVO is a great way to increase the damage on your combo by a large amount! However, the cost of it is quite large, so generally you only want to use it if you know the ensuing combo extension will kill.
Because of all of these advantages, winning Vorpal is incredibly important! Vorpal gives you damage, a free invul pause button, and lots of potential meter, so not only do you want to win Vorpal to give these advantages to yourself, you also want to deny your opponent access to these advantages.
This is especially important as Chain Shift, especially for characters with invul moves, significantly buffs a character's defense. At any point if your opponent thinks you're about to press a button, they can Chain Shift and then counter.
Even if you can’t get an outright punish due to not having an invul move, Chain Shifting smartly can allow you to safely determine if your opponent is minus or not on block, significantly reducing the threat of your opponent attempting to reset pressure.
This forces the player that does not have Vorpal to play more respectfully, or risk losing pressure or even taking a hit.
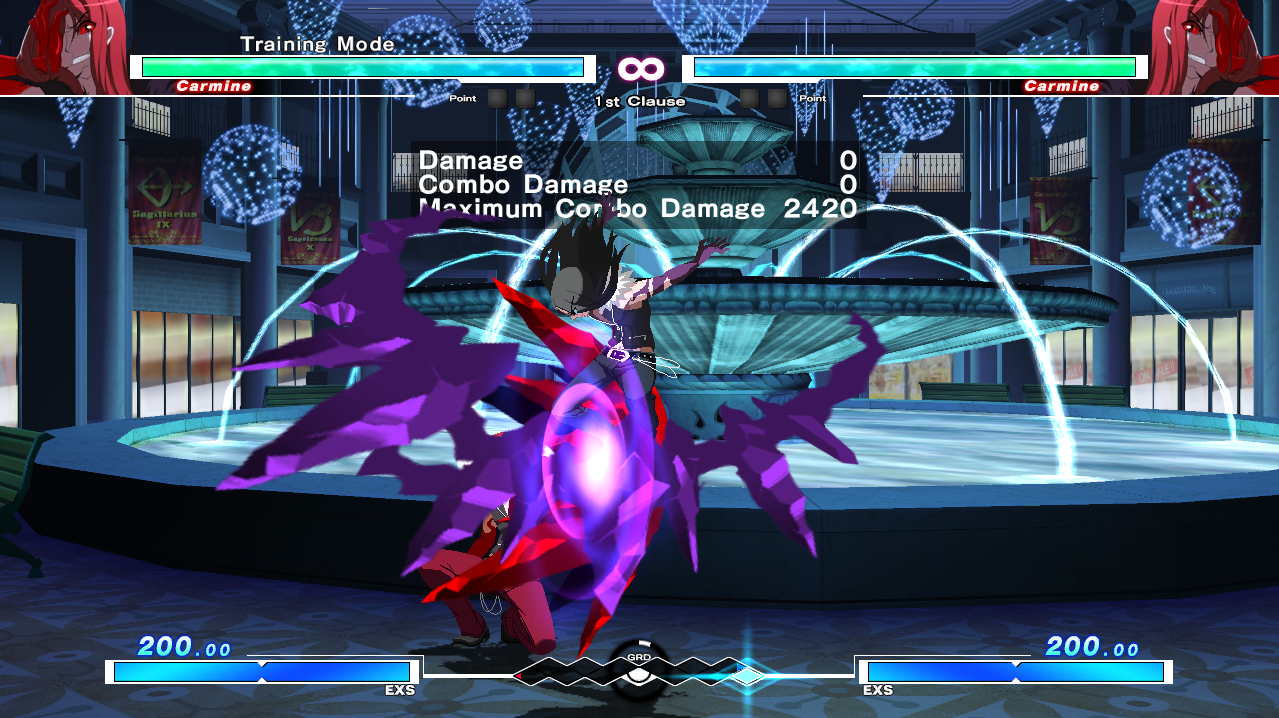
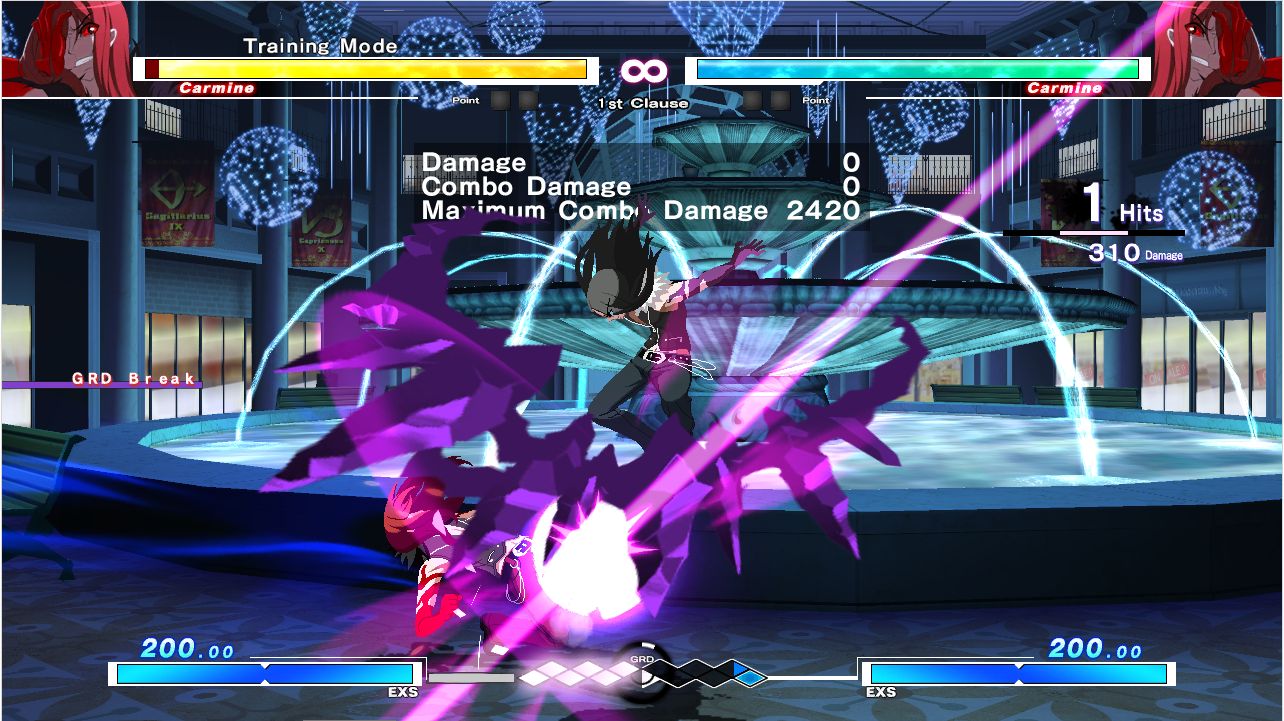
What is GRD Break?
“GRD Break” is a state in Under Night where you suffer a large amount of negative penalties. This state is denoted by your side of the GRD gauge appearing cracked and broken. While “GRD Broken”, you cannot gain any GRD blocks, and you will automatically lose the GRD war when the GRD timer runs out. Additionally, you cannot use any actions that require only the D button, such as Shield, Concentration, and Assault.
There are various ways you can get GRD broken, such as your opponent throwing your Shield, or getting hit by a Veil Off in neutral for example. The amount of time you are GRD broken for is determined by the small white bar near the GRD gauge, and blocking will actually accelerate this bar.
Additionally, the amount of base time you are GRD broken depends on how exactly you are GRD Broken. For example, getting GRD broken by a 2a while Shielding does not last as long as getting GRD broken by a throw.
What gets you GRD?
-Standing still will generate GRD slowly, depending on how far away you are from the corner. (The farther away, the more GRD you gain.)
-Forwards movement (walking, dashing, jumping forward, even forward teching in the air!)
-Assault (Generates ½ of a GRD block)
-Successful blocking when you don’t currently have vorpal.
-A successful Shield. (Generates 1 GRD block)
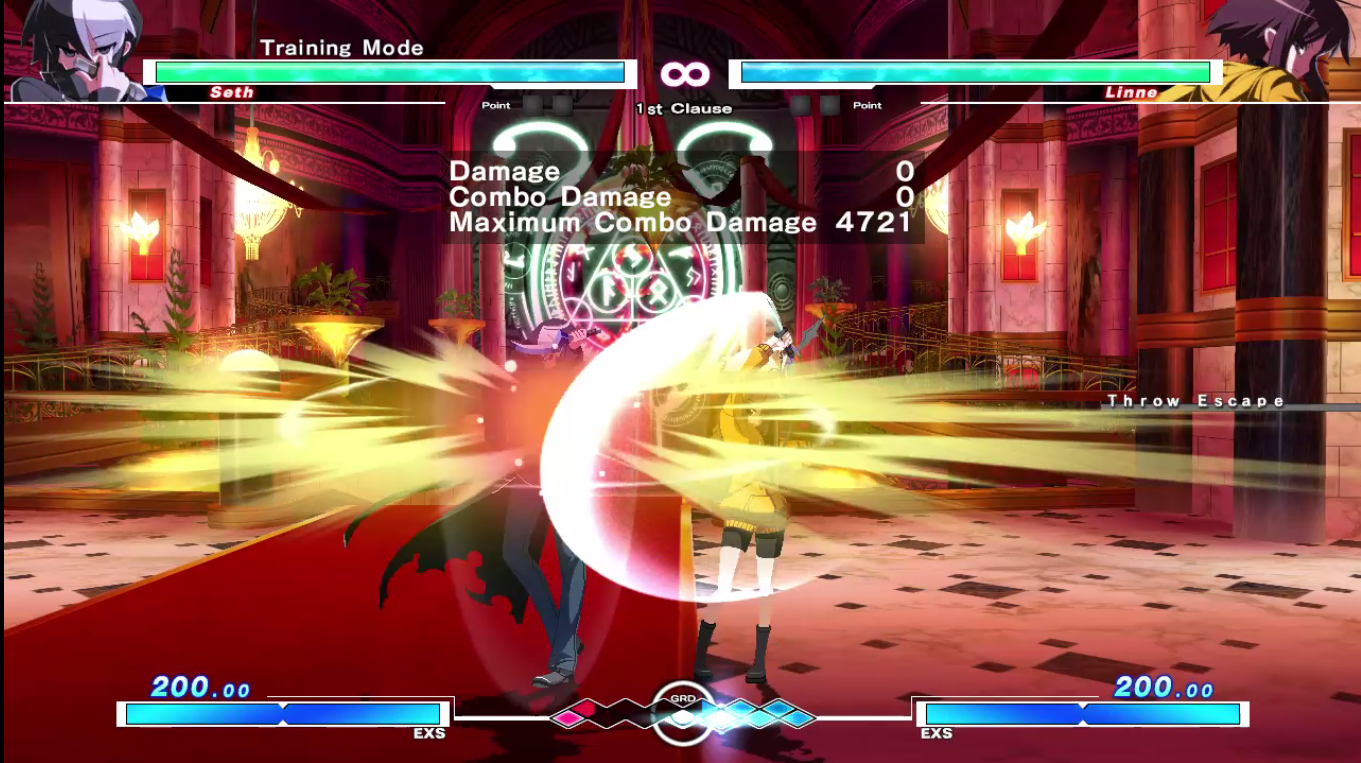
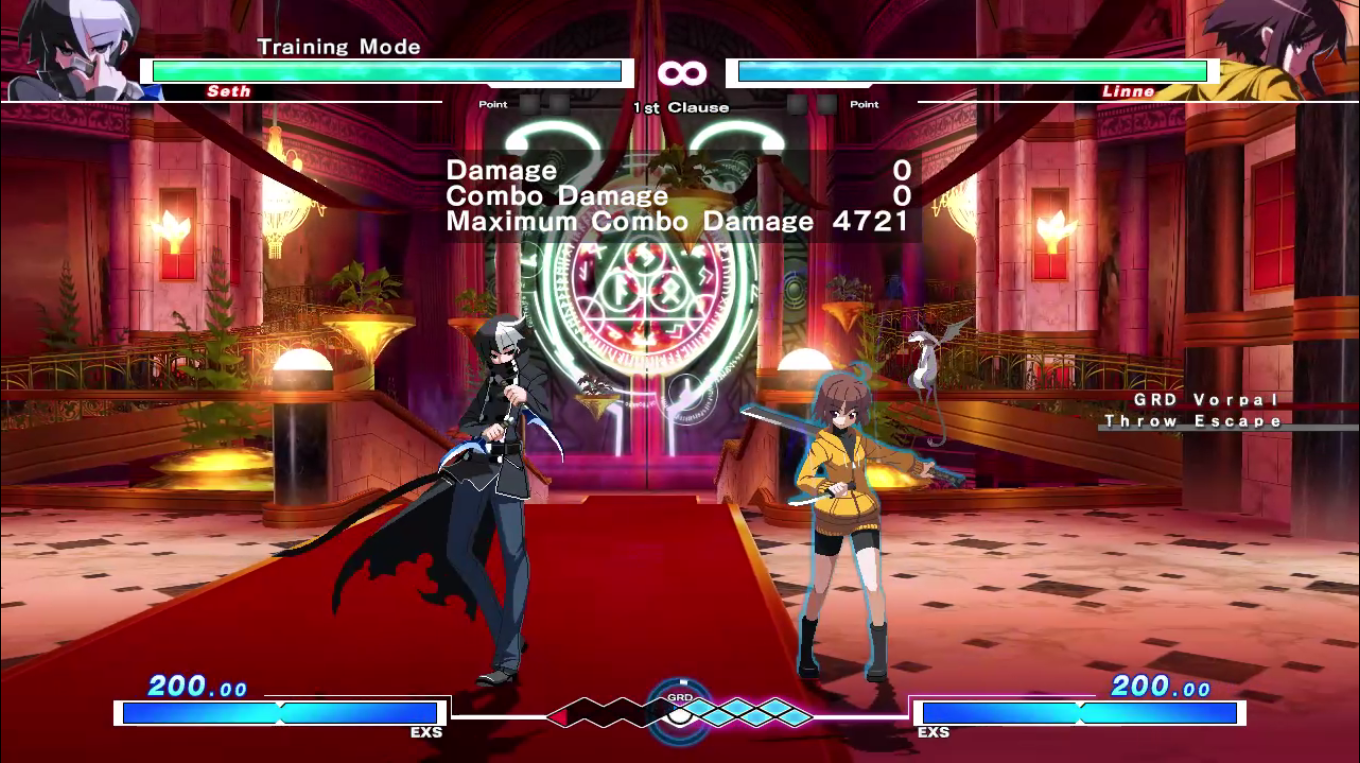
-A successful throw tech. (Generates 2 GRD blocks)
-Opponent moving backwards.
-Using Concentration (5D)
-Using VO (Generates 1 GRD block and also removes GRD break status!)
-Holding down Shield for more than 30f will begin generating GRD at a decent rate.
-Being comboed for an extended amount of time will generate you some GRD (Up to two GRD blocks)
What loses you GRD?
-Backwards movement. (Backdashes will cost 1 entire GRD block when opponent is not in hitstun)
-Getting hit. (Costs 1 GRD block)
-Blocking when you currently have vorpal.
-Having your attack Shielded. (Costs 2 GRD blocks)
-Having your throw teched. (Costs 2 GRD blocks)
-Failing to tech a throw. (Costs 2 GRD blocks)
-Whiffing a throw. (Costs 1 GRD block)
-Attempting to Green/Guard Shield and having it whiff. (Costs 1 and ½ GRD blocks)
-Back Teching (Costs 1 GRD block)
-Using Force Function (costs 1 GRD block)
-Opponent moving forwards.
-The opponent using Concentration (5D) for 30 or more frames.
How to Win the GRD War?
So as stated before, every 17 seconds or so the player who has the most GRD blocks wins Vorpal, so figuring out how to win the GRD war within this period is important.
As a general rule of thumb, decisions made in the last 4-6 seconds generally will determine who wins GRD, so you can make more risky decisions in terms of GRD control at the start of the Vorpal cycle. Do note however that when the Vorpal cycle enters the 4-6 second ending “phase”, the person with more GRD will have an obvious advantage in winning the GRD war.
Generally, winning the GRD war comes down to a few important scenarios.
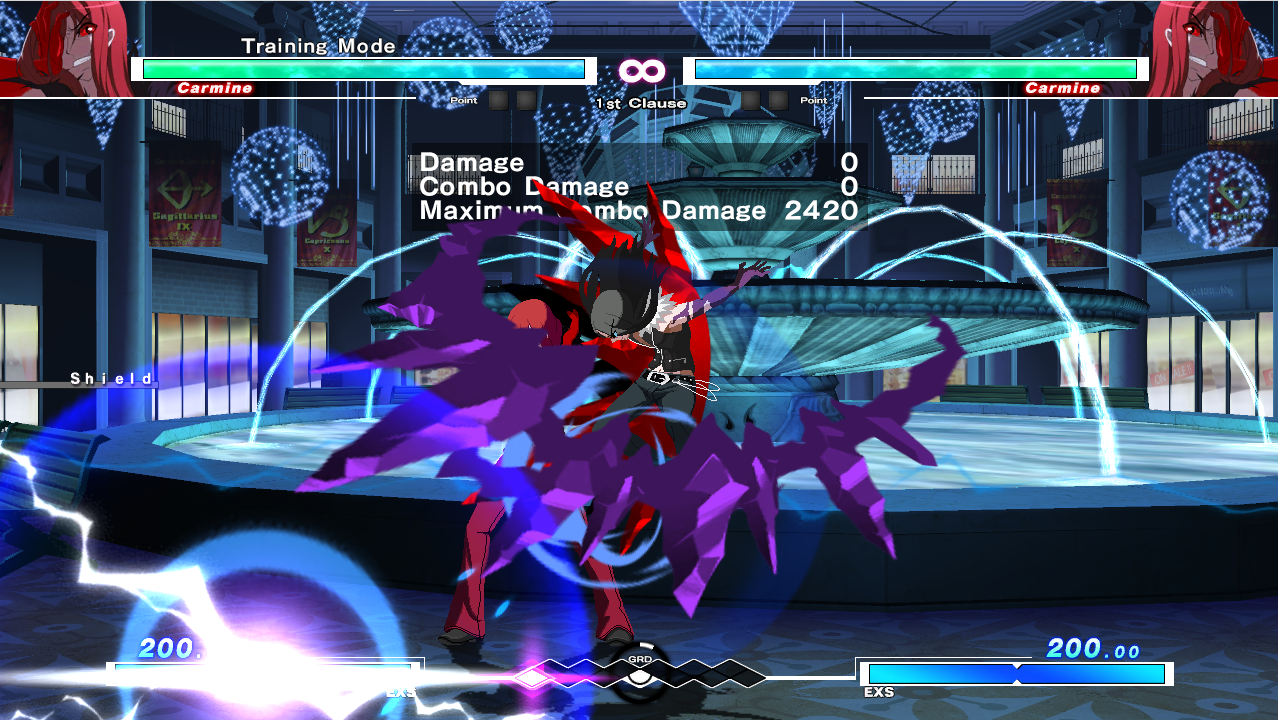
Use Shield on Defense!
A Shield in UNI is activated by pressing or holding down 4D or 1D. There are actually two different kinds of Shield in UNI:
- Neutral/Purple Shield. (Activated when pressing or holding Shield in neutral..) If you hold shield for more than 30F, it will begin to drain your meter in return for GRD gain.
- Green/Guard Shield (Activated when pressing Shield while in blockstun) Costs 10 meter, but won’t cost anything if you have 0 meter.
Regardless of which Shield you use, you will be put into a state of blockstun and if you successfully block the next attack while in this Shielding state, you will generate 1 block of GRD, while your opponent will lose 2 GRD blocks. This essentially means you swing the GRD war by 3 whole GRD blocks in your favor! Additionally, you will reduce your own blockstun by 3 frames, potentially giving you an opportunity to abare out or to punish your opponent’s move. A successful Shield is incredibly rewarding!
However, choosing to Shield carries a great amount of risk. If you fail to block the next attack correctly, or if your opponent throws you, you will be GRD Broken for some time.
Neutral Shielding is especially dangerous, as you cannot switch your block state (between low to high or vice versa) while Neutral Shielding. With Green Shielding however, you are actually allowed to switch blocks.
As a result, it’s incredibly important to be right while Shielding on defense, and it is also important for the person doing pressure to find ways to deal with Shielding to avoid losing the GRD war.
Typically it is rather easy to deal with both kinds of Shield if you are pressuring while up close to the opponent. Overheads such as Eltnum 6B or an Assault attack will easily GRD Break Neutral Shields, while Throw is a universal way to GRD Break both Neutral or Green Shields. Therefore, it is really risky to choose to Shield while your opponent is next to you.
Additionally, attempting to Neutral Shield pressure from further away is risky as well, as it opens you up to run up grab or an Assault attack.

However, it is rather difficult and sometimes impossible to punish Green Shielding directly from far away, as the opponent can switch blocks freely and usually will be out of the Green Shield state by the time a run up grab connects. So how do you deal with this option?
The answer is through making your opponent’s Green Shield whiff. If your opponent attempts to Green Shield, but does not actually block any attack during the Green Shield state, they will actually lose 1 and ½ blocks of GRD in addition to using up the 10 meter for the Green Shield! This is generally done by rebeating, which is a mechanic in Under Night that allows you to freely cancel your normals into any other normal. In this case, most characters can bait Green Shield whifs by rebeating into an A normal.
So when attempting to win the GRD War at these farther distances as the player on offense, it is important to read when your opponent wants to Green Shield, and then make them whiff it in order to gain the GRD advantage. Additionally, successfully baiting a Green Shield will allow you to either continue pressure or close distance by dashing in due to the forced blockstun of Green Shielding.
Shielding is incredibly important in UNI, and choosing when to Shield and when not to Shield often times is a very player versus player aspect of the game. When using Shield in an attempt to win the GRD war, try to aim for guaranteed Shields such as Green Shielding multi-hit moves (eg. Gordeau 236A/B or Mortal Slide) or do so only while weighing the risks and rewards of Shielding in whatever situation you are in.
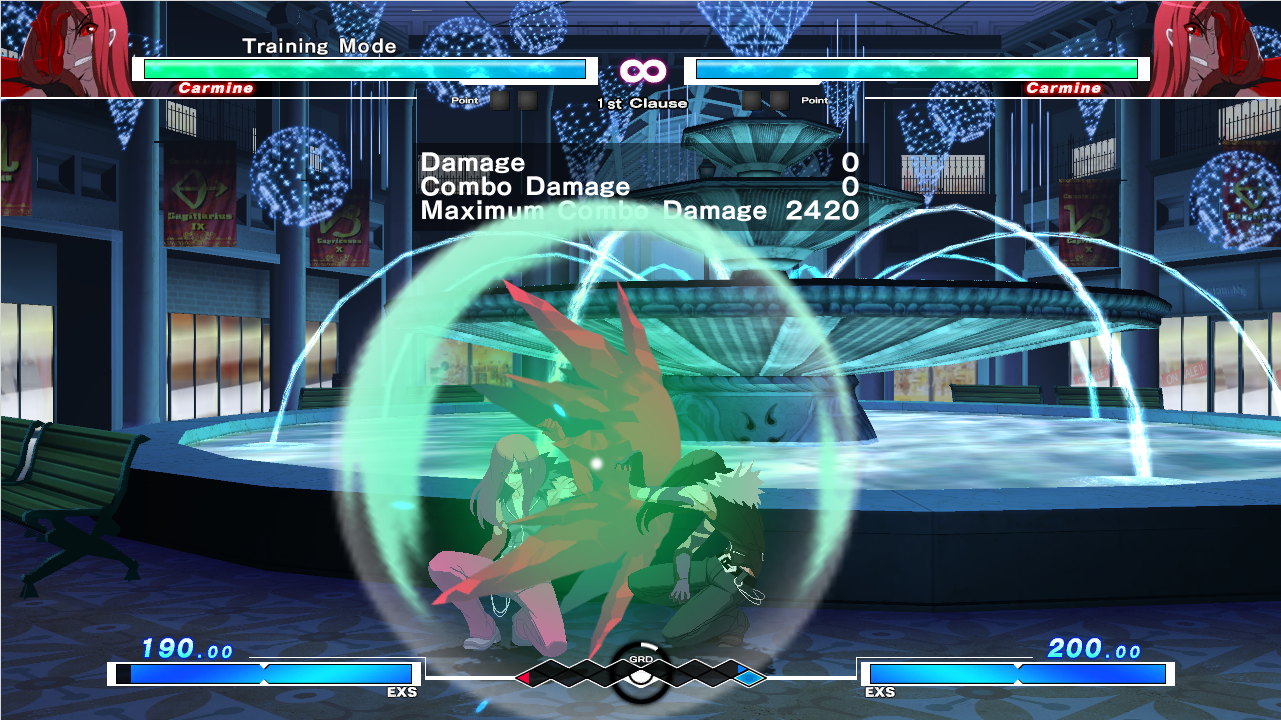
Attempt Throw Mixups on Offense!
Throws are performed by pressing A+D (in either direction), and have 4F of startup and a 14F tech window. (28F is it’s a gold throw)
If you’re the one pressuring your opponent, but you are at a GRD disadvantage, going for a throw mixup will be able to put you in the lead once the timer ticks down, but only if you’re right!
A throw in UNI may not be too rewarding in terms of damage generally, but its reward in turning the tides in a GRD war is immense. On a successful throw, your opponent will lose 2 blocks of GRD, which often times will give you the GRD lead! If your opponent chose to Shield when you go for a throw, the reward is even higher, as your throw will do more damage and will also GRD Break the opponent, ensuring that you will most likely win Vorpal.
However, just like Shielding, getting your throw teched or whiffing your throw will be costly. If your opponent successfully techs your throw, not only will they gain 2 GRD blocks, but you will also lose 2 GRD blocks. This is a total net loss of 4 GRD - a massive amount. Also, your opponent will have around 8 frames of advantage after a throw tech, allowing them to start up pressure!
Of course, throw teching isn’t an infallible answer to throws. A good universal way to crush throw techs is actually through the use of Assault (6D). An Assault attack will crush both a standing throw tech (5AD) and a crouching throw tech (1AD). Not only does an Assault generate ½ of a GRD block, earning a hit will also take away 1 GRD block. In addition, if the opponent standing throw techs, they will whiff a throw and lose 1 GRD block, and if they crouch throw tech, they will get GRD Broken!

Assault may seem like a strong option to beat opponents who want to throw tech, but pretty much every character can counter assaults while also option selecting a throw by doing an Anti-Air Throw Tech Option Select (AD + the anti-air move). A good example of this is Hyde doing 3CAD.
If they try to throw you:

If they try to Assault against you:
Getting hit by an anti-air in UNI generally leads into big damage for the opponent, so this throw OS mitigates some of the effectiveness of Assault attacks. However, choosing to Anti-Air Throw OS is also risky, as it is relatively easy to bait and punish through frame traps and backdash shimmies.
For a more indepth guide on the various Throw OS’s in the game, check out this guide written by @foulu_skyo and translated by @jasepi_iidx:
ENG Under Night In-Birth Throw Tech Explanation
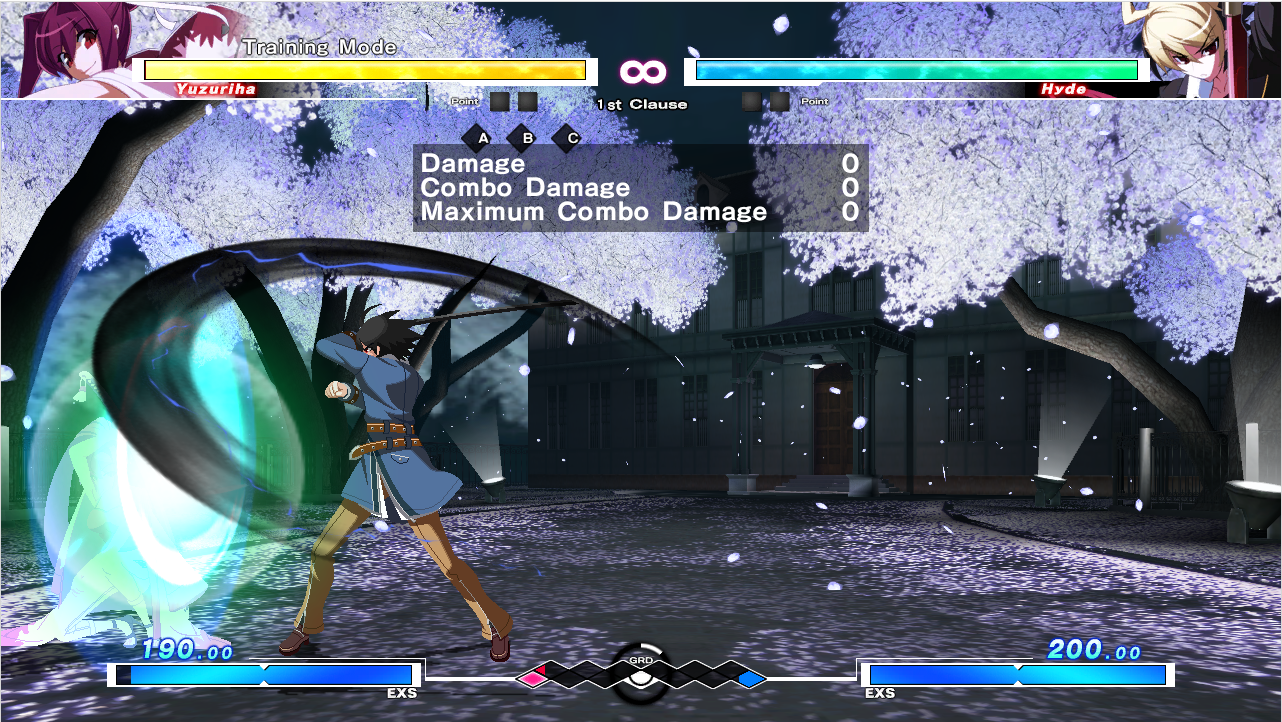
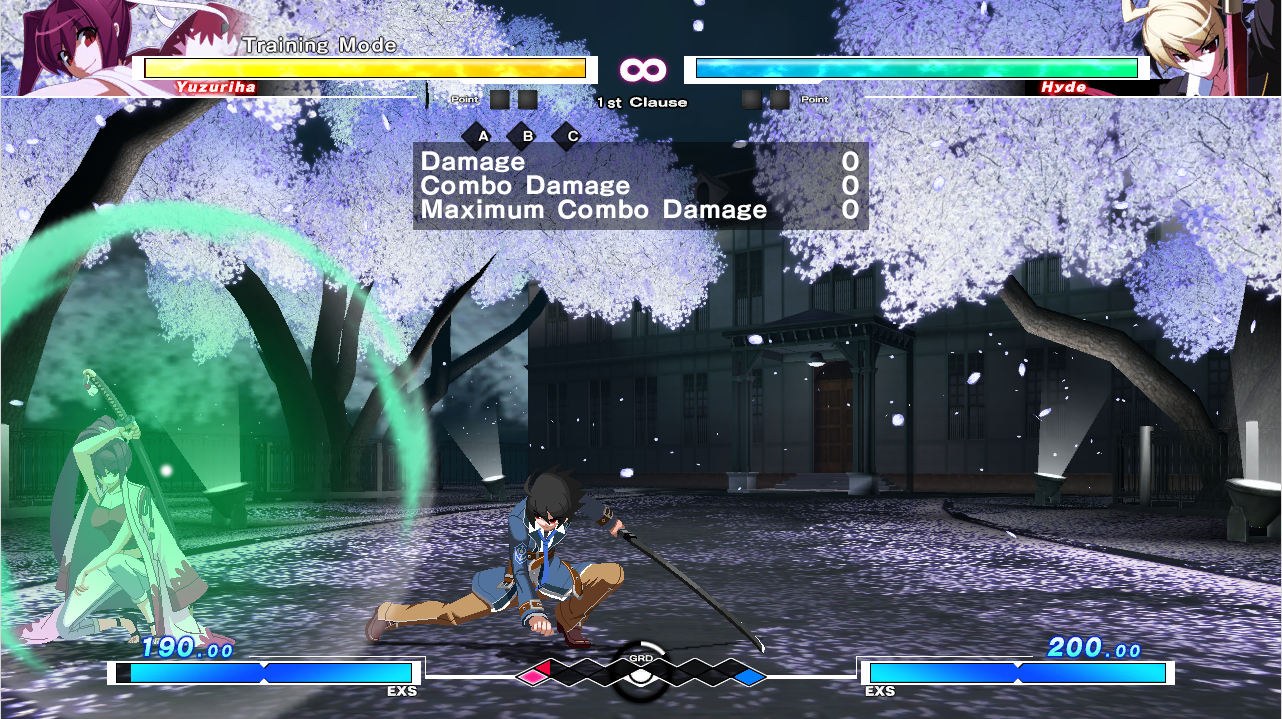
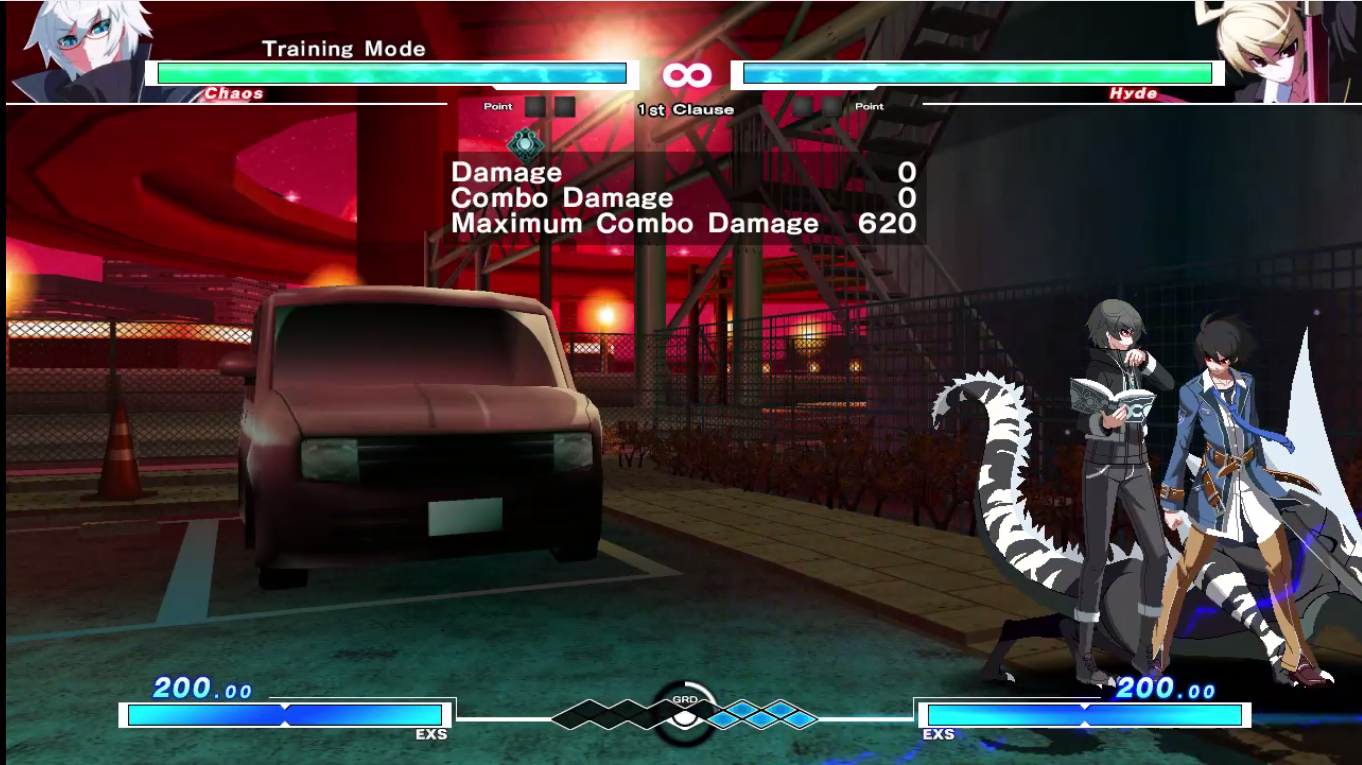
Use Concentration in Neutral!
Concentration(5D) is a universal option all characters have to generate GRD. As soon as you hit the D button, your character will start gaining GRD at a brisk rate, while also draining your opponent’s GRD! Additionally, if you hold Concentration for more than 30F, you will begin to expend meter to greatly increase this draining effect. (You can hold Concentration even without meter, but you will not get the faster drain effect.)
If the GRD clock is about to run out, it might be a good idea to start Concentrating in an effort to win the GRD war if you are out of your opponent’s effective attack range.
However, be aware that different characters have different GRD generation rates. If your opponent starts Concentrating back and has a higher Concentration rate than you, you may end up giving your opponent Vorpal for free. (UNIEL ONLY)
Here are each character’s Concentration GRD generation rates (The higher the number, the higher the generation/drain):
- 1x: Eltnum, Nanase
- 2x: Orie
- 3x: Yuzuriha, Seth, Gordeau, Carmine, Merkava, Hyde, Linne, Vatista, Byakuya, Akatsuki
- 4x: Waldstein
- 5x: Hilda, Chaos
However, in UNIST, GRD generation rates were made the same for all characters, so this no longer applies.
Concentration generally forces your opponent to respond in some way, whether by choosing to Concentrate back, attempting to hit you out of it, or running up to throw you. In this way, it’s a fairly powerful option in neutral to force a reaction out of your opponent lest they give up on the GRD war.
In neutral, doing an attack will usually result in loss of GRD, but will stop the opponent from running in at you. While choosing to Concentrate means that you are willing to give up that space in favor of generating GRD. Backwards movement will cause your opponent to whiff moves, but will also lose you GRD. And finally running forwards gets you GRD, but may let your opponent start up pressure if they do an attack. In Under Night, you always want to be considering these options in neutral, and choose what to do based on the current state of the GRD war!
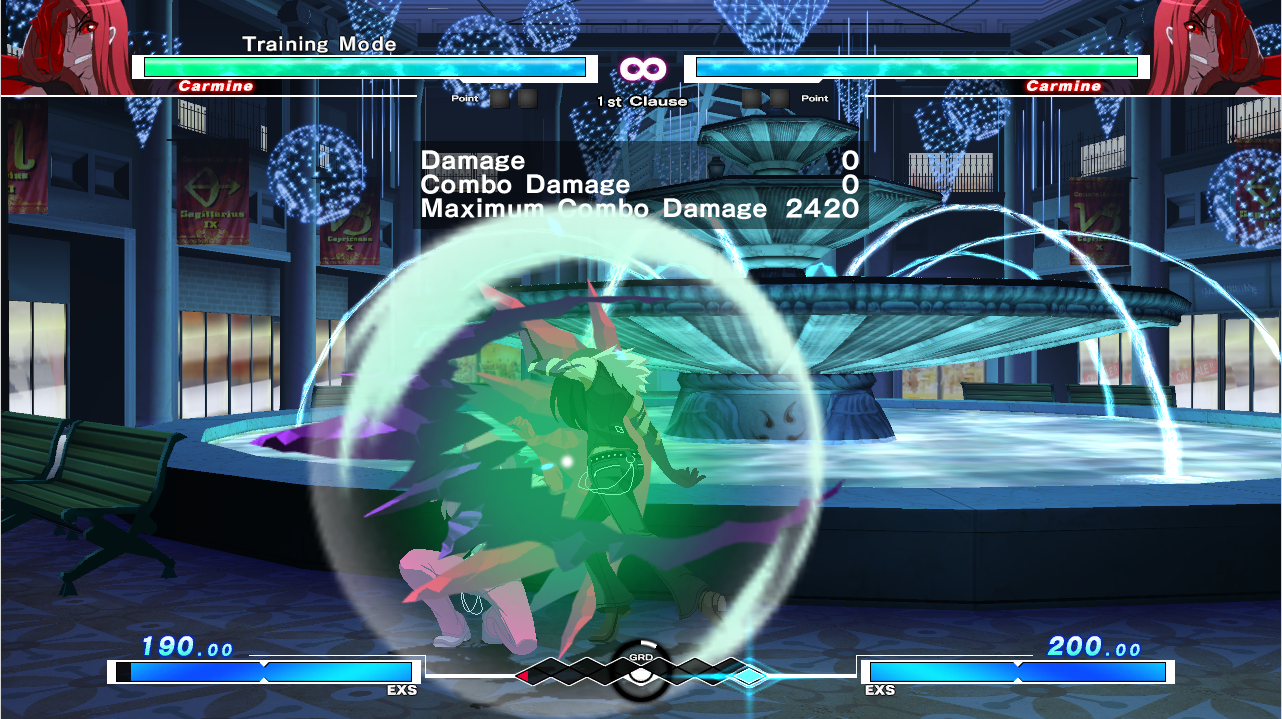
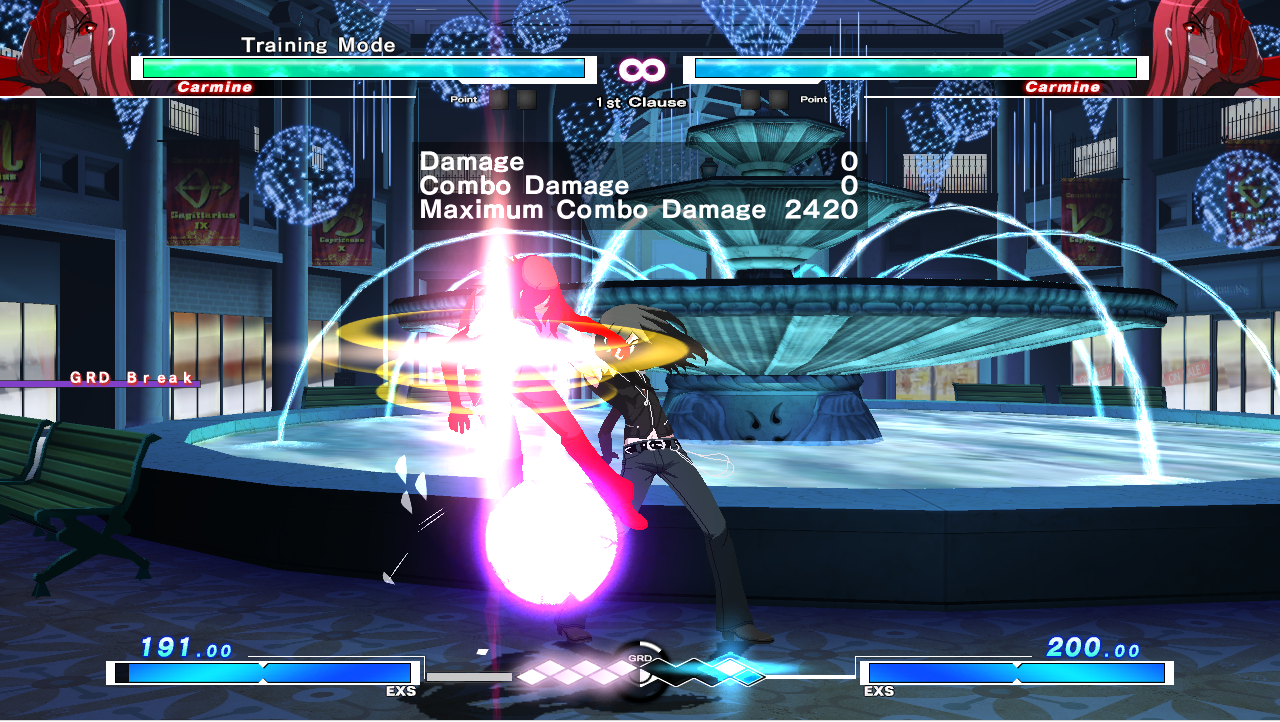
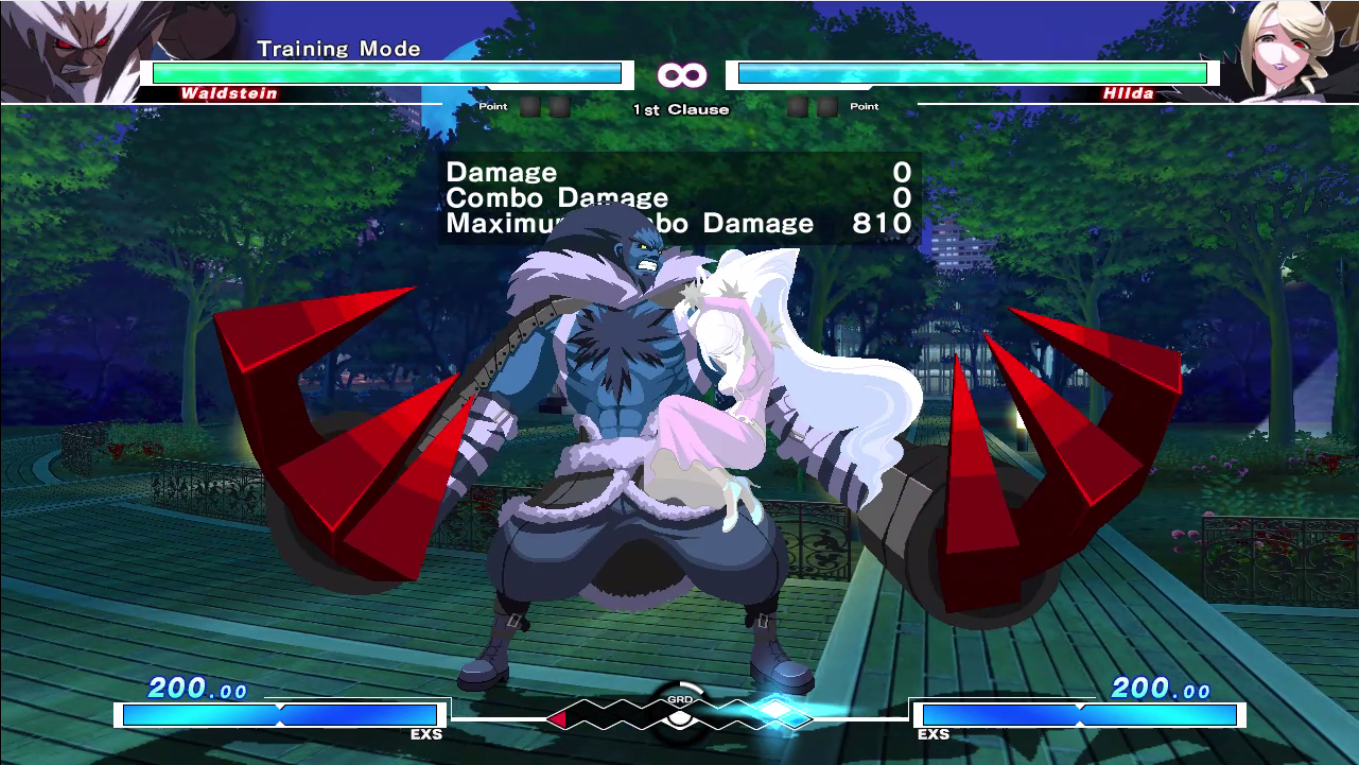
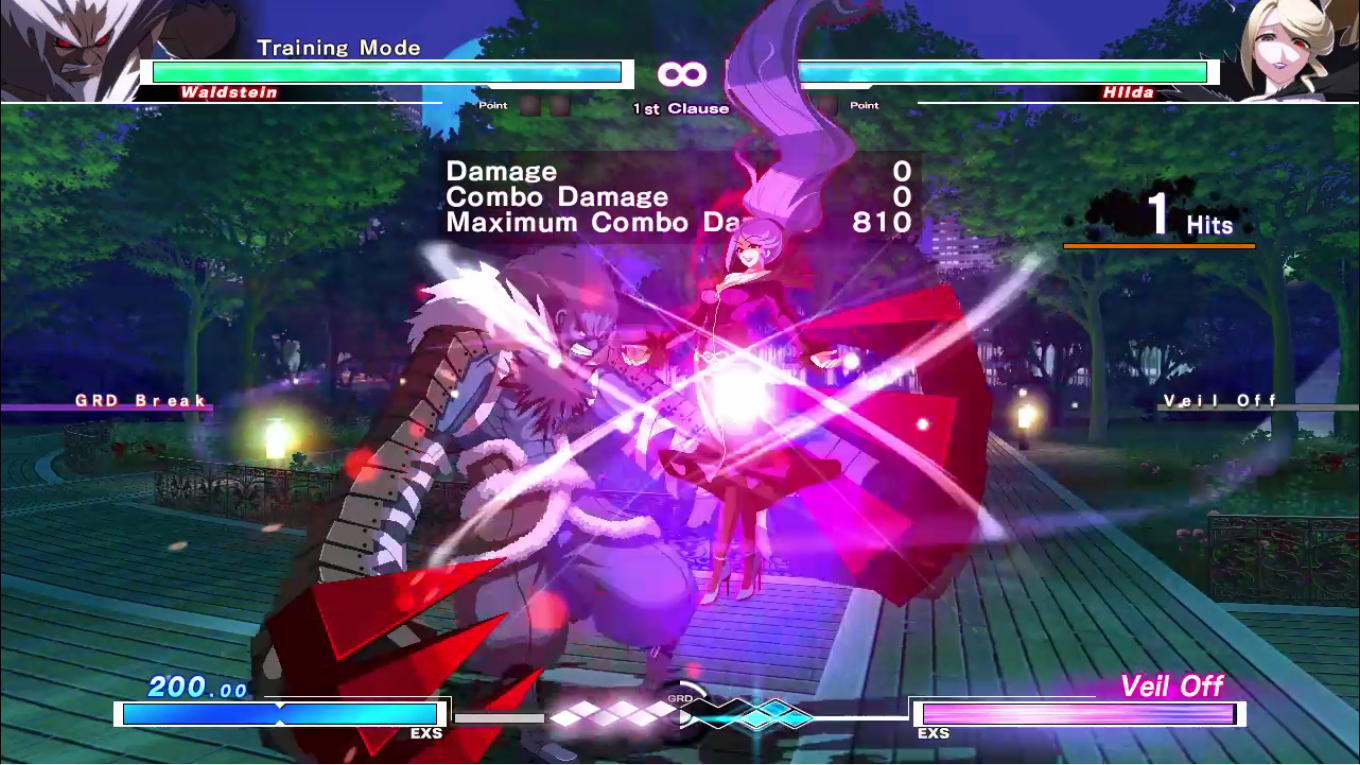
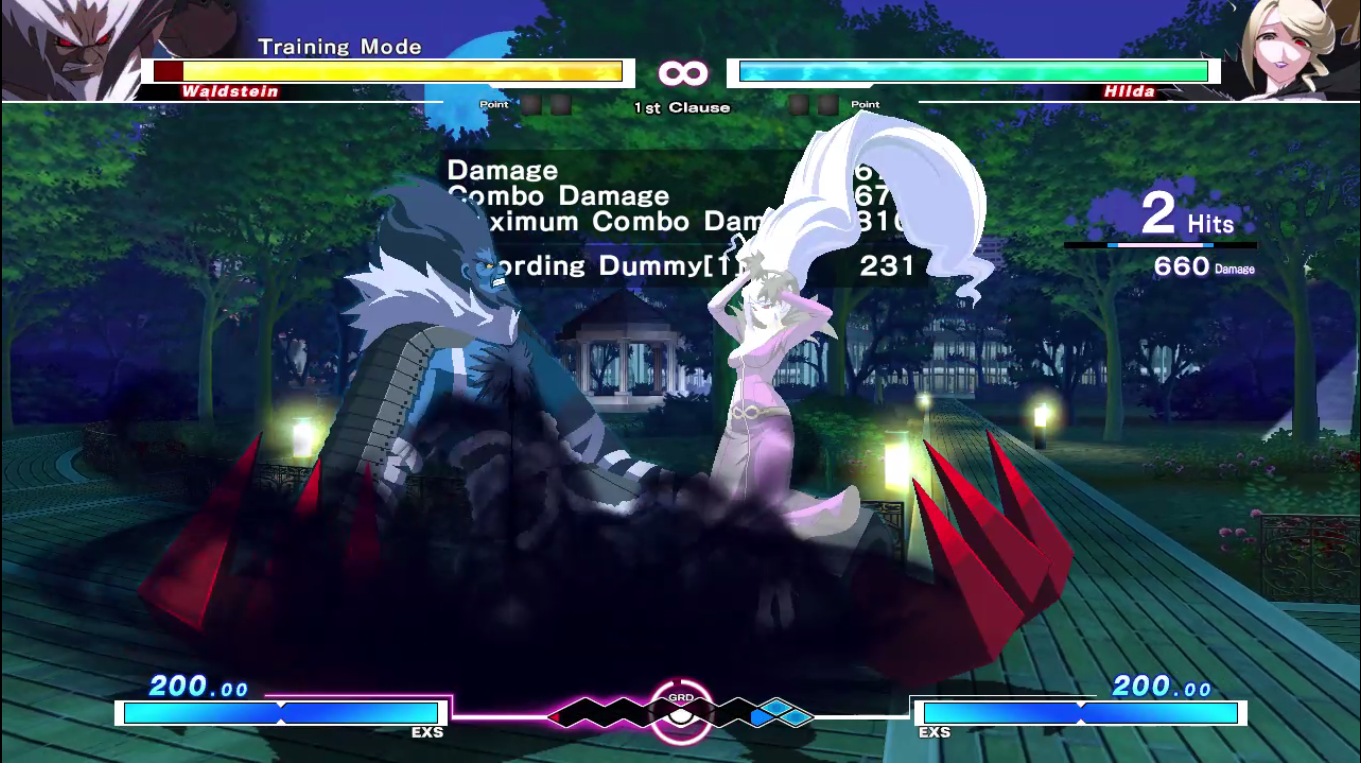
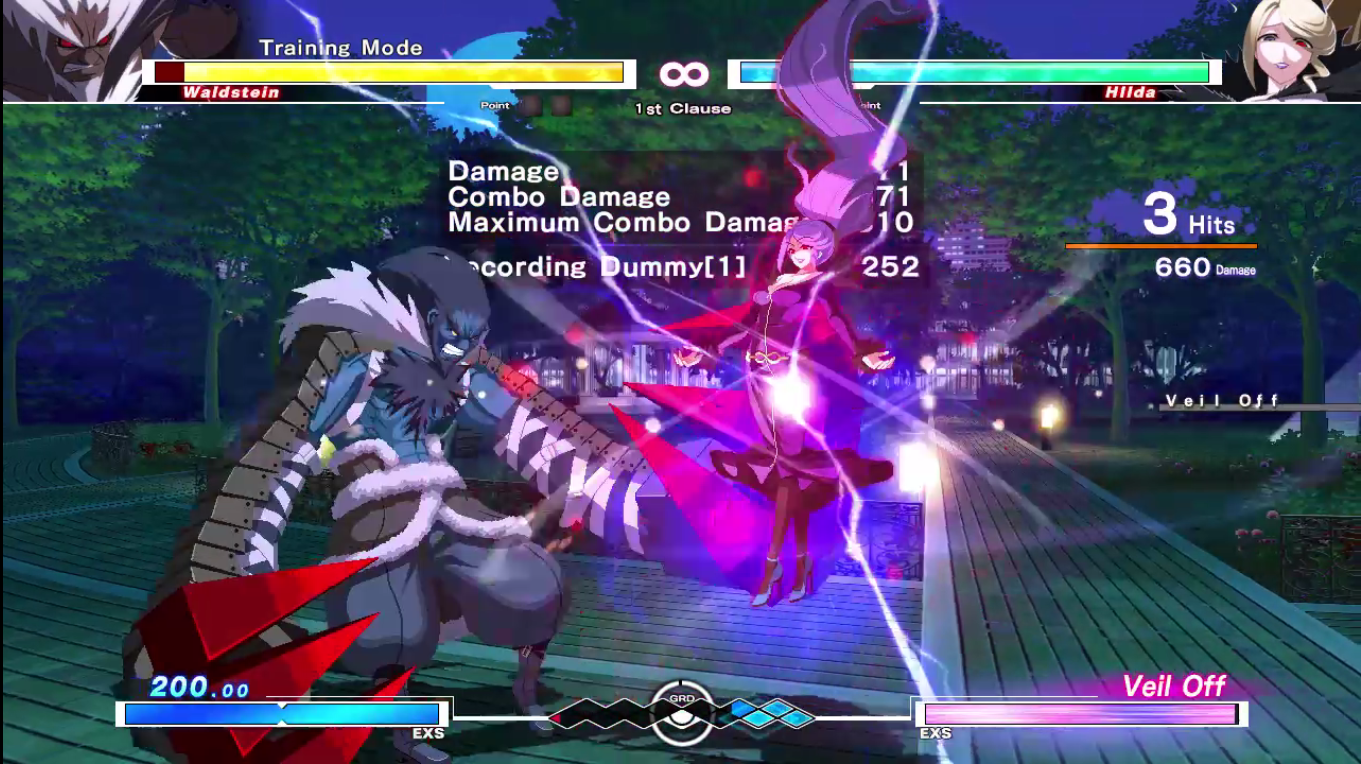
Veil Off
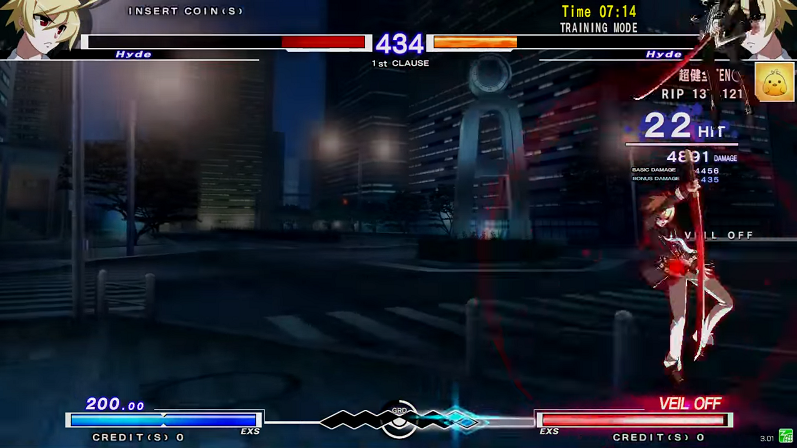
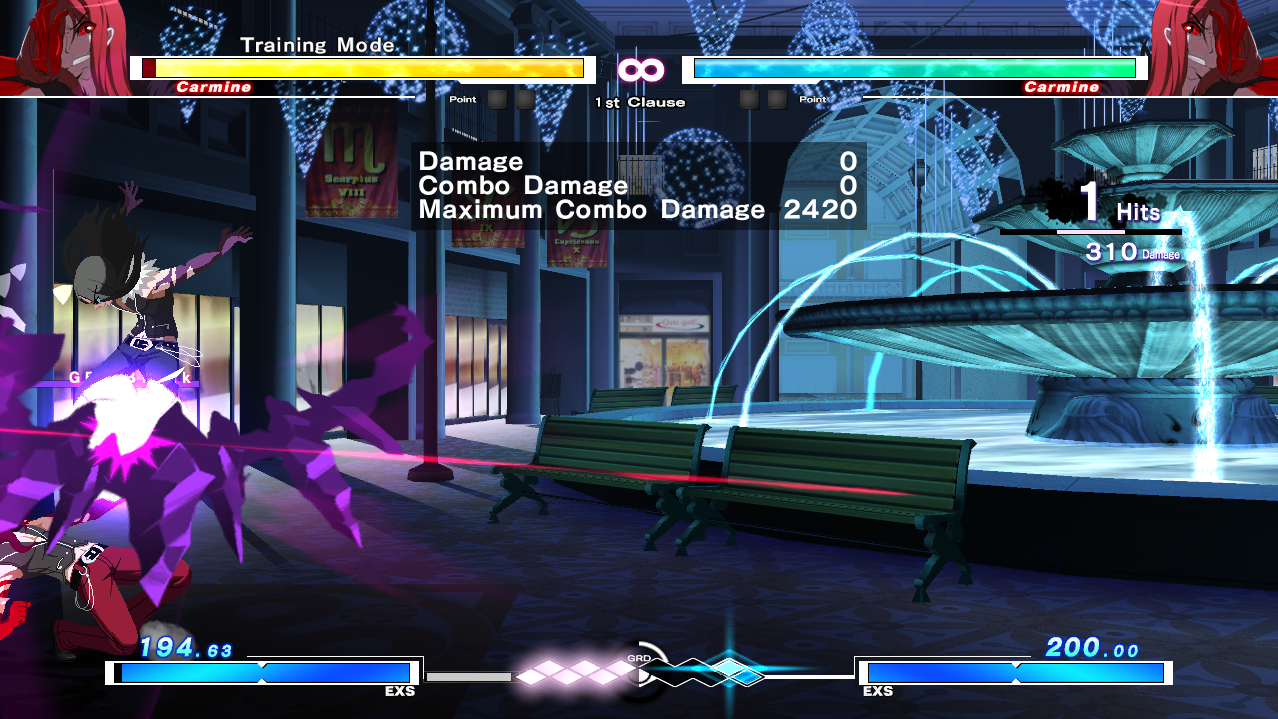
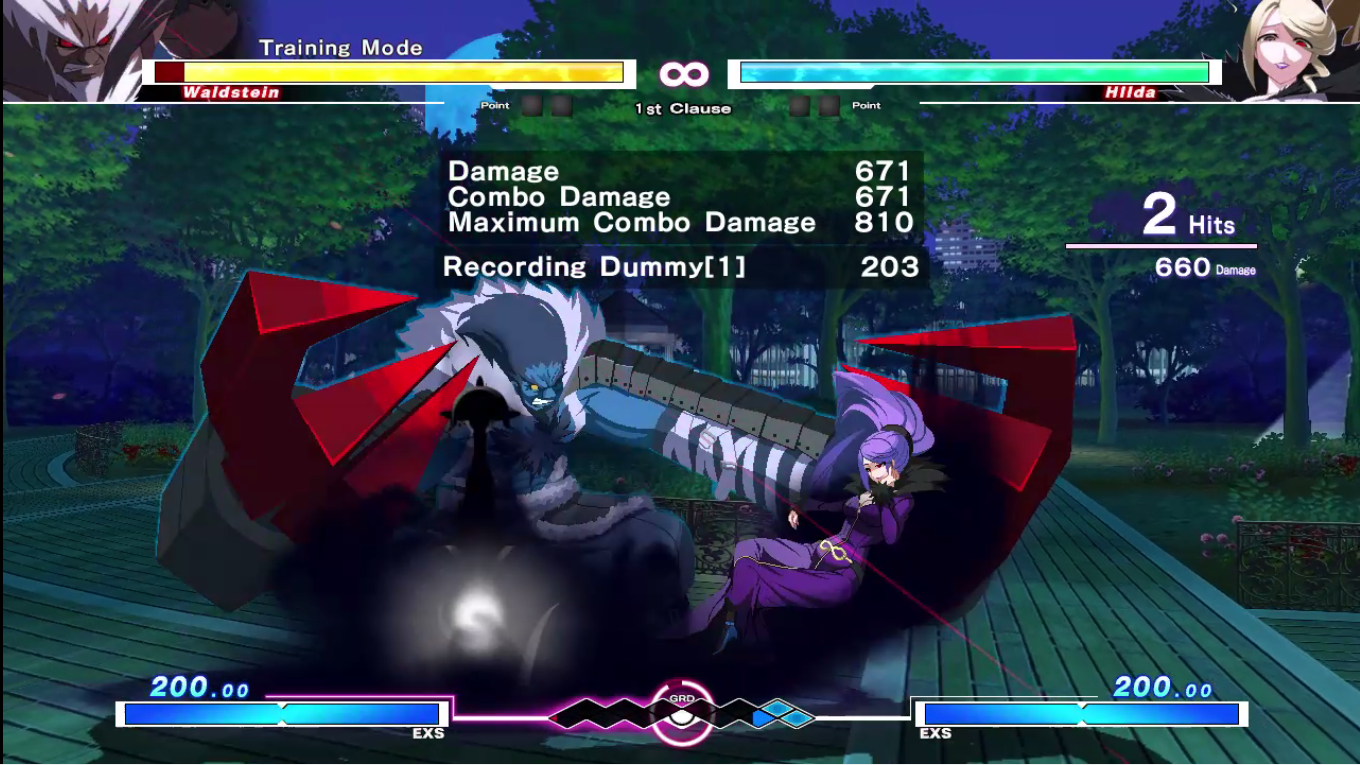
Veil Off is an interesting option in Under Night. It functions as a slow (20f of startup!) and unsafe universal invul reversal option, but with massive reward. Hitting your opponent with a Veil Off is a really rewarding way to swing the GRD war your way in a pinch! Not only will you get 20% more damage (stacks with Vorpal 10% dmg buff!) and the ability to use supers freely while in Veil Off mode, but hitting with it will automatically get you out of GRD break status if you’re in it, gives you 1 Block of GRD, and will also GRD break your opponent (removing Vorpal if they had it)! This practically will almost always make you win the next GRD cycle.
Comboing into a neutral Veil Off (not CVO) won’t GRD Break your opponent, but will still bring you out of GRD Break, give you the 1 Block of GRD, and also take away Vorpal from your opponent if they had it. This makes comboing into a VO useful in a variety of situations, whether if you want to bring yourself out of GRD Break, take away the option to Chain Shift from your opponent, or simply gain a better GRD advantage.
Remember that although Veil Off is really rewarding, it is still incredibly risky and also costly in terms of meter usage. Because of how slow Veil Off is, it is easy to bait and OS against, so only do so if you’re sure that it will hit!
More General GRD Management Tips:
-Forward movement generates GRD quite quickly, so it’s always important to try and take space through dash blocking not only for positioning, but also to get GRD.
-Additionally, forward movement during a combo will generate GRD as well, so the amount of GRD generated is worth considering when choosing a combo.
-Avoid using Force Function too much, as the GRD loss is quite costly. If you use Force Function in your combos, you probably want to opt for a FF-less combo route if the GRD timer is about to finish.
-Backdashing is strong in UNIEL for many characters, but be aware of its high GRD cost.
-Using Chain Shift will take away all of your GRD blocks, so be wary when using it near the end of the GRD cycle.
-Teching backwards loses you 1 GRD, so weigh whether it’s worth it to back tech or not before deciding to do so. Sometimes it might be better to just neutral tech and deal with the midscreen okizeme.
-It might be worth ending a combo early if the GRD cycle is about to end in order to begin using Concentration in an attempt to swing the GRD war your way. Giving up 1000 or so damage is easily worth it if you win Vorpal.
-If you have the GRD lead on defense, you don’t have to over commit with Shielding, and can either wait for a throw mixup situation from your opponent, or make a read and abare out when you think your opponent will attempt a throw mixup.
-Same thing on offense, if you have the GRD lead, don’t overcommit on staggering too often as that makes for easy Green Shields by your opponent. Also, it might not be worth going for a throw mixup if you have the lead near the end of the cycle as well.
-Spend meter to extend your combo when you have the GRD lead and the timer is about to end to make sure you win Vorpal!
-If you have enough time to Concentrate for a bit and still get a meaty when you knockdown your opponent, you should do so. Concentration begins building GRD on frame 1, and every little bit helps.
Conclusion
Under Night is a fighting game that revolves around its system mechanics. The GRD system is a really cool unique aspect of the game that in my opinion makes Under Night incredibly fun and rewarding to play and improve in. GRD makes it feel as if every decision has consequence, from movement to simply choosing to block and the cycle aspect of it makes for constantly changing risk/reward in decision making.
I hope that anyone reading this guide learned a lot about Under Night and has a better understanding of what kind of game it is!
Sources/Other Resources:
Here are some of the useful resources I got information from for this document, or just helpful resources in general for people wanting to dive deeper into UNI.
Basic UNI Notation by @Motakshi
ENG Under Night In-Birth Throw Tech Explanation by @foulu_skyo and translated by @jasepi_iidx:
UNIEL System Mechanics by @tarisbox
JP Frame Data for UNIST 3.10 by @foulu_skyo
ENG UNIEL HQ Beginner’s Workshop
Thanks:
Thanks to @Motakshi, @EtherliteAir, @Lolimaiko, @KaraFail, @squish2364, @Noir_RC, and @MikeLoafers for helping to peer reviewing the primer for me.
Also thanks to @foulu_skyo and @jasepi_iidx for making/translating the Throw Tech guide so I didn’t have to make one.
Finally thank you French Bread for making a really cool fighting game!