Instructions for running InfoMaker documents that are not in My Reports/Shared Reports listings.
Click on the additional reports link (looks like a bar graph) in Jenzabar One:
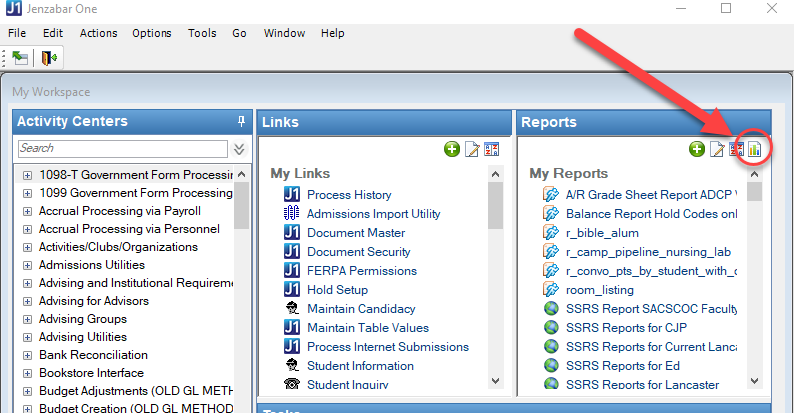
This pops open a listing of reports on the Z drive.
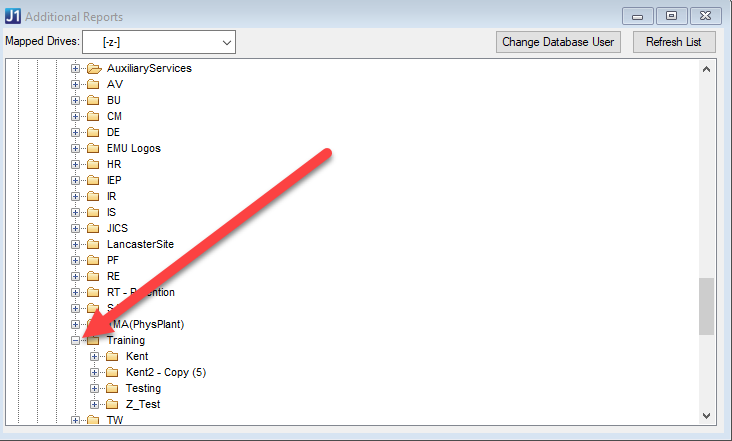
Select the department you are interested in:

AD = Admissions
AV = Advising
BU = Business office
CM = Common
DE = Development
…
For this example, I will assume I want a report in Training. So I click on plus sign beside the training folder to expand it
I then click on the plus sign beside the Testing folder to expand it. Then click on the plus sign beside monday.pbl that contains the report I want to run.
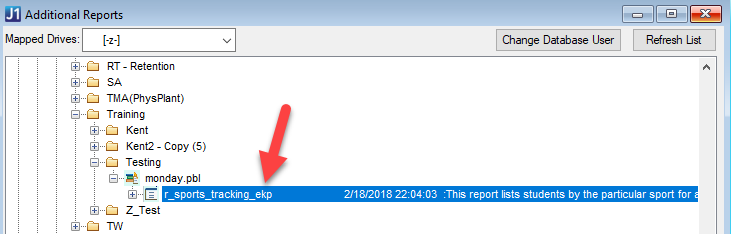
I double click on r_sports_tracking_ekp
I then click on retrieve.
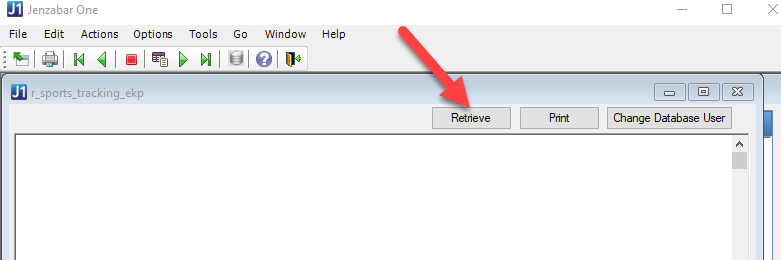
This displays the data in the report:

If all you wanted to do is view the data, you could click on the close box (The X in upper right corner).
If you wanted to print click on the Print button.
If you wanted to use the data in Excel, got to the file menu and select “Save Rows As”

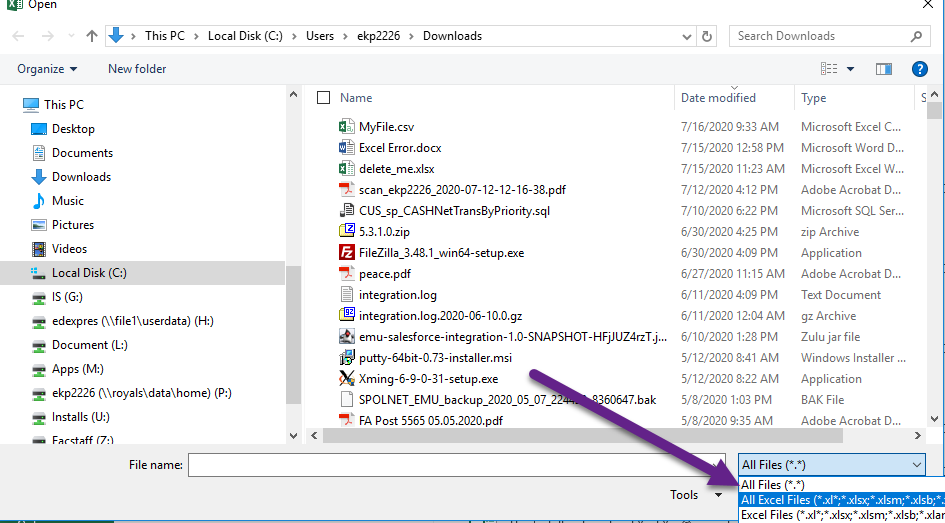
Then specify a file name and choose a type (CSV, CSV with headers, Excel, and Excel with headers seem to work best). Then click save.
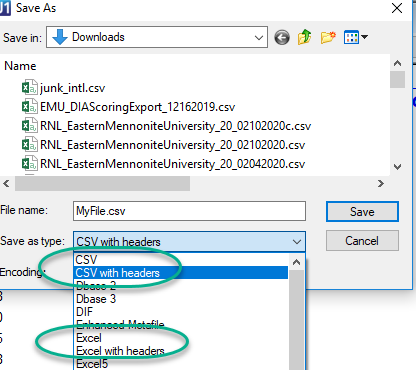
To open csv files, in Excel choose “All Files”