Pop-OS arm64 on Parallels Installation Guide
Preparation
- Download an Ubuntu server for ARM installer ISO (make sure to download the 22.04 build): https://ubuntu.com/download/server/arm
- Open Parallels and create a new VM, using the following settings:
- Select “Install Windows or another OS from a DVD or image file”
- Select the Ubuntu Server arm64 iso downloaded previously (you might need to click “Choose Manually”)
- Give the new virtual machine a name, and optionally enable “Customize settings before installation” to tweak the amount of memory, CPU cores, and storage that will be assigned to the VM
Installing Ubuntu Server
Note: these steps may change if the Ubuntu Server installer is updated; follow the instructions displayed on the installer itself, rather than this guide, if something does not match
- Start the new VM and select the “Ubuntu Server” GRUB entry
- Note: during this section, you can safely ignore any “failed to unmount /cdrom” and/or “Firmware bug” errors, if they appear
- Select your desired language from the list
- If prompted, select “update to the new installer”
- Select your device’s keyboard layout
- Select “Done” to install the non-minimized Ubuntu Server build
- Select “Done” to accept the default network configuration shown
- Select “Done” to skip setting up a network proxy
- Select “Done” to accept the default Ubuntu mirror
- Select “Done” to install to the entire virtual disk
- Select “Done” to accept the default partition layout
- Select “Continue” to begin installing Ubuntu Server
- Enter a username and password for your user
- If you want SSH access to the virtual machine, enable “Install OpenSSH server”
- Having SSH access will make later parts of this guide easier, as it will allow you to copy-paste commands into the terminal, rather than having to type them manually
- Select “Done” to skip installing any server-specific packages
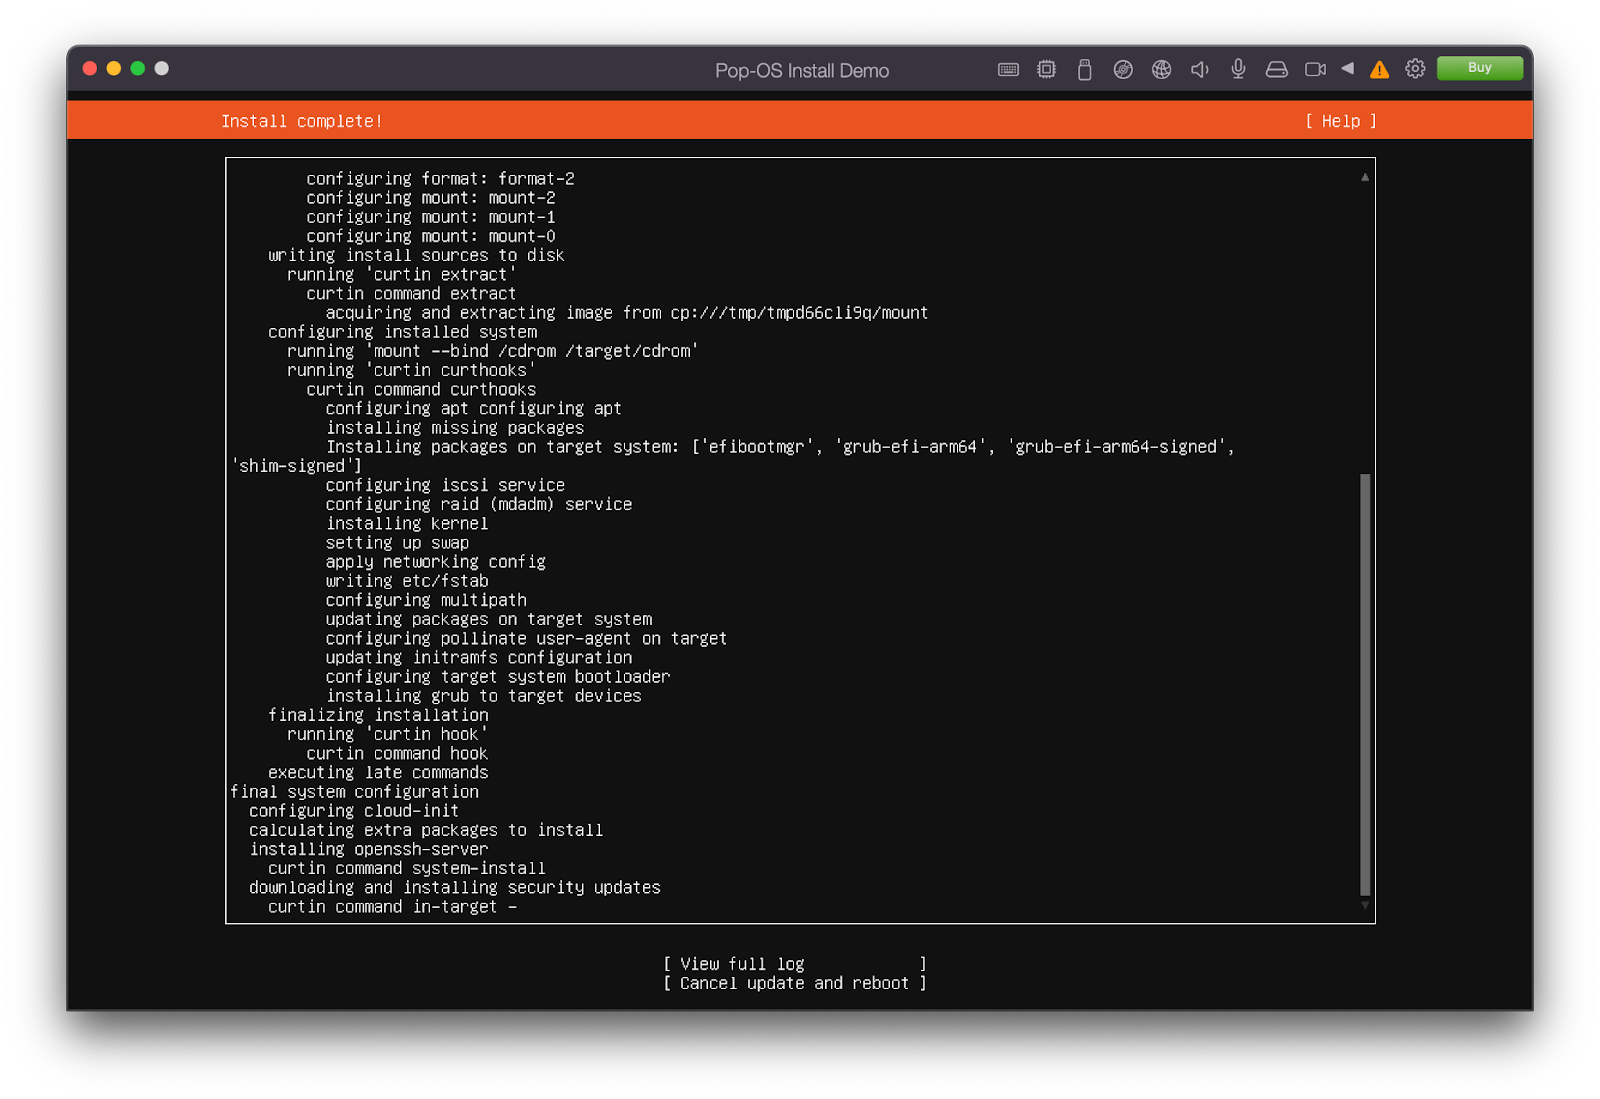
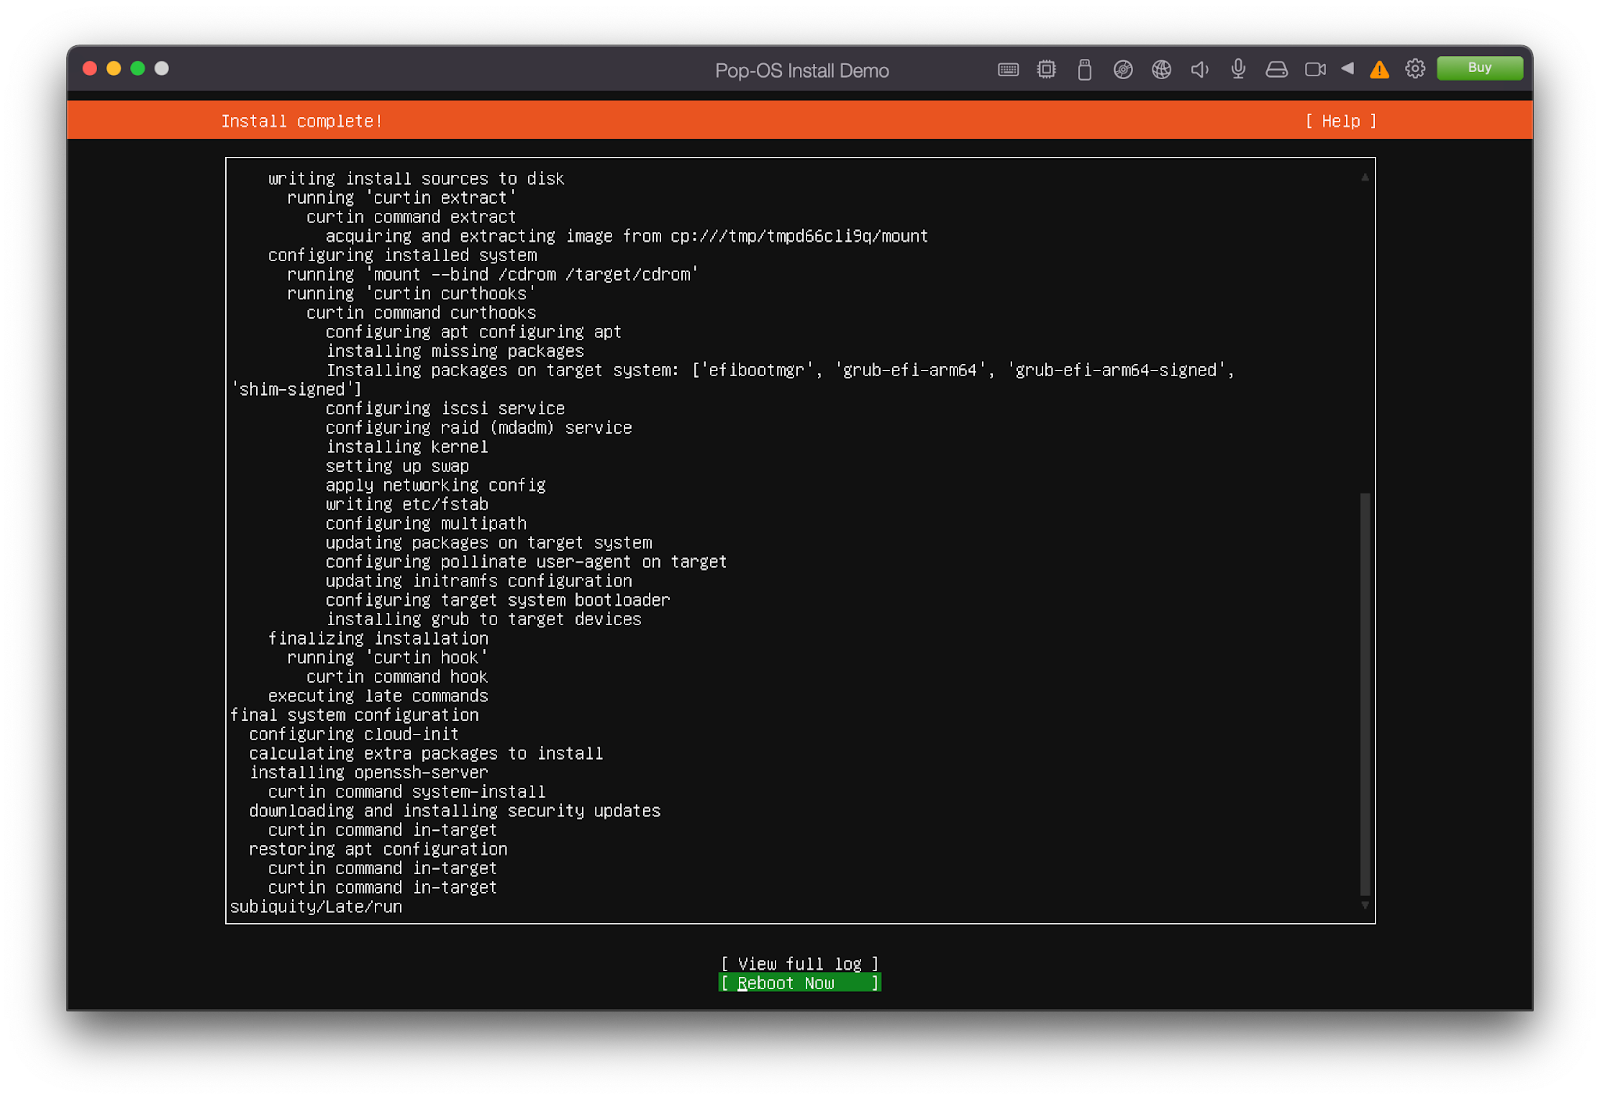
- Wait until the installation is complete (including updates), then select “Reboot Now”
The base OS has been installed, but the updates The installation has completed, including
have not yet finished installing; do not reboot yet all updates; you can reboot now
- Press “Enter” when prompted to remove the installation medium
Installing Pop OS on top of Ubuntu Server
- Your virtual machine should have rebooted into a terminal login prompt
- If you chose to install an SSH server, you can connect to the VM via ssh (short external guide)
- Otherwise, sign in using the username and password entered previously
- You may need to press Enter once if an “Ubuntu 21.10” header, but no login prompt, is shown
- Remove unnecessary Ubuntu Server-specific packages
sudo apt purge --autoremove ubuntu-server -y
- Add the Pop OS ISO signing key
sudo apt-key adv --keyserver keyserver.ubuntu.com --recv-keys 63C46DF0140D738961429F4E204DD8AEC33A7AFF
- If typing the command manually, the following may be easier to enter:
sudo apt-key adv --keyserver keyserver.ubuntu.com --recv-keys $(curl https://pastebin.com/raw/VnMJigvn)
- Add the Pop OS APT repositories
sudo add-apt-repository "deb http://apt.pop-os.org/release $(lsb_release -cs) main" -y
sudo add-apt-repository "deb http://apt.pop-os.org/staging/master $(lsb_release -cs) main" -y
sudo apt update -y && sudo apt full-upgrade -y
- Install the Pop-OS desktop environment
sudo apt install pop-desktop-raspi -y
- Uninstall the Raspberry Pi-specific kernel installed by the previous step
sudo apt purge --autoremove linux*-raspi* -y
- This will make Pop-OS use the standard Ubuntu Server kernel; not running this command will cause the VM to not boot, as it will attempt to use the incompatible Pi kernel instead
- Fix the Pop-OS APT sources
sudo sed -i 's/Enabled: yes/Enabled: no/g' /etc/apt/sources.list.d/system.sources /etc/apt/sources.list.d/pop-os-apps.sources
Or, alternatively, edit the files /etc/apt/sources.list.d/system.sources and /etc/apt/sources.list.d/pop-os-apps.sources, and replace Enabled: yes with Enabled: no in both
- Ensure all packages are up to date
sudo apt update -y && sudo apt full-upgrade -y
- Enter reboot to restart the virtual machine
- Log in to Pop-OS and complete the setup questions
The Pop-OS installation is now complete!
There are a few tweaks we can do to improve the overall experience, however:
- Installing Parallels Tools (will allow you to transfer files and copy-paste into the VM, among other features)
- Select Actions → Install Parallels Tools in the menu bar
- Open the Files application
- Select the “Parallels Tools” CD volume
- Double-click on install-gui
- Click “restart” when prompted
- Fixing the screen resolution
- Select Actions → Configure in the menu bar
- Open the Hardware → Graphics tab
- Set the resolution to “More space”
- In the virtual machine, open the Settings application
- Select the Displays tab
- Set the Scale option to 200% and click apply
Note: you may need to repeat steps iv. - vi. after resizing the VM window
- Fixing the network status indicator (source)
- Open a Terminal instance, and run sudo rm /etc/netplan/*.yaml
- Run sudo nano /etc/netplan/01-network-manager-all.yaml
- Paste the following into the file, then save and exit the editor
# Let NetworkManager manage all devices on this system
network:
version: 2
renderer: NetworkManager
- Run sudo netplan generate && sudo netplan apply
- Reboot; the network indicator in the menu bar and in the Pop!_Shop should now work correctly
- Setting a desktop wallpaper
- Open the Settings application
- Select the Background tab
- Select a wallpaper