Creating App Inventor Template Repositories
Note: This document is still in draft and is being edited by Ralph Morelli
Introduction
The repository builder tool will guide you through the steps needed to create a repository that contains one or more App Inventor projects -- called templates because they are usually incomplete and intended as a starting point for a tutorial or lesson. The repository and individual templates must be stored on a server that supports cross origin resource sharing (CORS). This is a feature that allows one server (App Inventor) to share files with another server (the templates repository).
Interactively Accessing a Templates Repository
Individual projects from a repository or the entire repository can be accessed and imported interactively through the Projects Menu.

The Templates Wizard enables you to select a repository from the pull-down list. The selected project will be opened in the Designer and added to the Projects list. The Wizard also lets you specify a Url for a new repository:

Accessing a Templates Repository at App Inventor Start Up
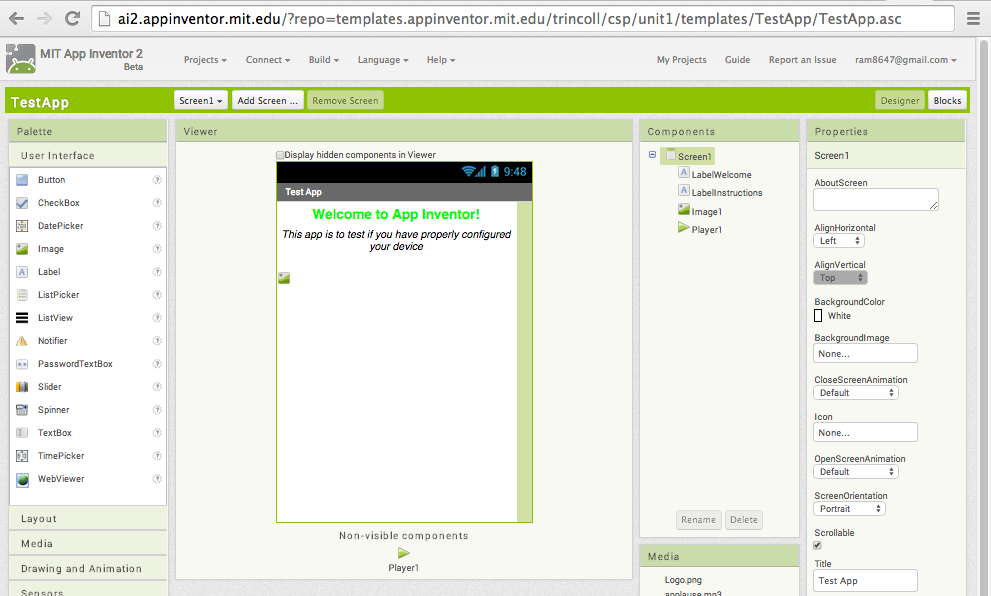
Directly Importing an App Inventor Project. A project or a repository can also be imported when App Inventor is started, by specifying its URL as the value of the ?repo parameter. For example, the following link will start a new session of App Inventor and import and open the TestApp project:
http://ai2.appinventor.mit.edu/?repo=templates.appinventor.mit.edu/trincoll/csp/unit1/templates/TestApp/TestApp.asc
In this case, the TestApp project will be opened in the Designer. TestApp.asc is an ASCII (Base 64 encoded) version of the TestApp.aia file.
Directly Opening a Templates Repository. It is also possible to open an entire template repository, in which case the Templates Wizard will be displayed. The following link will start a new session of App Inventor and open the Wizard and display the templates contained in the unit1 folder:
http://ai2.appinventor.mit.edu/?repo=templates.appinventor.mit.edu/trincoll/csp/unit1/

As you can see, the Templates Dialog provides a summary of each template:
- A thumbnail image.
- A screenshot
- A Title and Subtitle
- A description that contains a hyperlink to additional documentation
- An App Inventor source file (not visible)
The Structure of a Templates Repository
This table describes the structure of a templates repository. Note the naming conventions.
Folder | Description |
templates/ | A templates repository is contained in a templates/ folder. |
templates/.htaccess | CORS-compliant .htaccess file, e.g., <IfModule mod_headers.c> |
templates/templates.json | JSON description of the templates in this repository. Note that the zip (.aia) has the same name as the template. Note also that the link is automatically added to the end of the description. [ {"name":"HelloPurr", |
templates/HelloPurr/ | Folder for the HelloPurr template. |
templates/HelloPurr/android.jpg | File for the thumbnail image. |
templates/HelloPurr/kitty.png | File for the screenshot image. |
templates/HelloPurr/HelloPurr.aia | The App Inventor project for this template. |
templates/HelloPurr/HelloPurr.asc | A Base-64 encoded version of the .aia file. |
Some important points about the organization of a templates repository:
- In this example there is only one template project in the repository, named HelloPurr. Each template (i.e., project) in the repository would have its own folder. Note that the name of the template’s folder (HelloPurr) must also be the name of its source file, both the HelloPurr.aia and the HelloPurr.asc.
- The .htaccess file is needed to support CORS file sharing between App Inventor and the templates server.
- The templates.json file contains a JSON array with one JSON object per template.
- Each JSON object must contain key/value pairs for the following properties: name, subtitle, description, link, thumbnail, screenshot, and zip. If the project does not include an element, its value would simply be the empty string "".
- The HelloPurr.asc file is a base-64 encoded version of the App Inventor .aia file. This is the file that the Templates Wizard reads when importing a template.
- The HelloPurr.aia file is the template’s source code. It is not used by the Wizard but should be stored here.
Templates Repository Builder
The repository builder tool can be used to interactively create a templates repository. It outputs a CORS-compliant .zip file that contains all the necessary elements. It supports the Chrome, Firefox, and Safari browsers. (Chrome downloads a file named download.zip. Firefox downloads a file with a weird name, such as 0MN20ASb.zip. Safari names its download Unknown.)

Although it will usually be the case that data will be provided for all template elements, notice that the only required elements are the template’s name and description. Here is how the optional elements are handled:
- Subtitle, Link: These elements will just be left blank if not supplied.
- Thumbnail, screenshot: The Wizard will provide default images for these when the template is imported.
- Source code (.aia): If no source file is provided, the Wizard will create a blank project.
The builder tool can display a preview of the template as it is being built:

Serving the Template Repository
The downloaded zip must be moved onto a CORS-compliant server and unzipped. If the server is named myserver and the templates folder is placed inside a folder named mytemplates, then the URL for the repository would be: http://myserver/mytemplates/.
Creating the Repository By Hand
To create a templates repository by hand, you must create a templates/ folder that follows the conventions described in the table above, including converting your .aia file into ASCII.
Here is a Python script that converts .aia into .asc. To run it type ‘python convertToAsc.py filename’ where filename is the name of a filename.aia file -- note that the suffix (.aia) is not used when specifying the file. This will create filename.asc.