How to Install Multiple ZH Mods
A Tutorial by Zeke
Updated 9/5/21
Hey you! Yes you! Have you ever wondered if a ZH mod can be played with another ZH mod? Then this tutorial is for you!
There are multiple methods, but the one I’m going to show is, what I’ve determined to be, the safest and most efficient method. I call it the Copy ZH Folder Method™ or CZFM™ for short. Using this method it is possible to install any number of ZH mods at the same time.
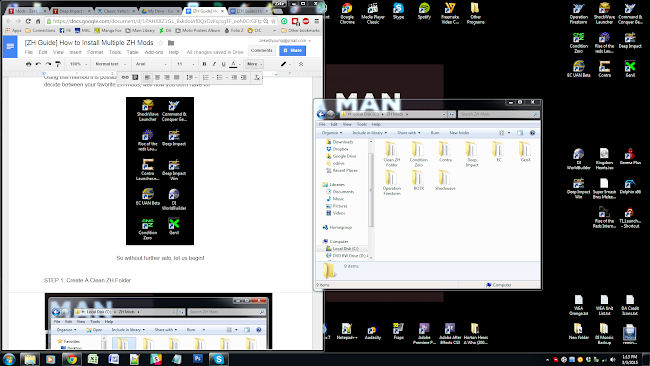
Can’t decide between your favorite ZH mods, well now you don’t have to!
NOTE: For Origin/Ultimate Collection users. Before doing anything: First disable Cloud Saves in Origin > Generals/ZH > Game Properties, then download GeneralsZH104EXE.zip and replace the Generals.exe in your ZH folder with the one in the .zip file.
It’s important to note though, that the Origin/Ultimate version has 2 ZH folders, so the whole path looks like this: Local Disk (C:) > Program Files(x86) > Origin Games > Command and Conquer Generals Zero Hour > Command and Conquer Generals Zero Hour. So make sure you have the right folder.
For everyone else, let us begin!
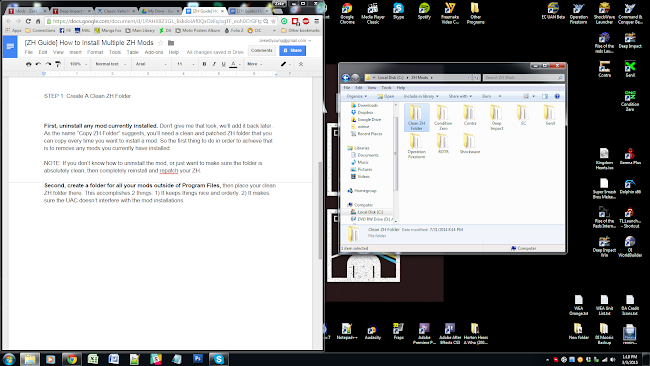
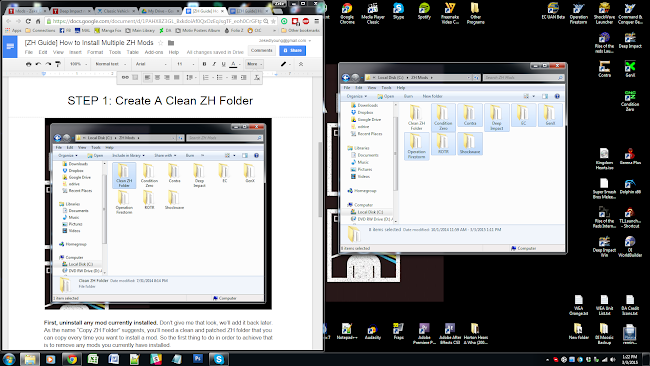
STEP 1: Create A Clean ZH Folder
First, uninstall any mod you have currently installed. Don’t give me that look, we’ll add it back later. As the name “Copy ZH Folder” suggests, you’ll need a clean and patched ZH folder that you can copy every time you want to install a mod. So the first thing to do in order to achieve that is to remove any mods you currently have installed.
NOTE: If you don’t know how to uninstall the mod, or just want to make sure the folder is absolutely clean, then completely reinstall and repatch your ZH.
Second, create a folder for all your mods outside of Program Files, then place your clean ZH folder there. This accomplishes 2 things: 1) It keeps things nice and orderly. 2) It makes sure the UAC doesn’t interfere with the mod’s installation.
STEP 2: Create The Mod’s Folder
First, copy your clean ZH folder, then rename it to the name of the mod. This will be the “Mod’s Folder”, the folder where you will install the mod.
Second, install the mod into the mod folder. Every mod’s installation process is different, make sure you read the mod’s ReadMe files to get the exact steps required.
But typically, mods come in 2 forms: a single .exe installer or a .zip/.rar archive with the mod files inside. For installers, all you have to do is run the installer, and change the install directory to your mod folder when prompted. For archives, open the .zip or .rar folder with a program like 7Zip or WinRAR, and “extract” the files inside, by selecting all the contents and dragging them to the mod folder.
STEP 3: Create The Mod’s Shortcut
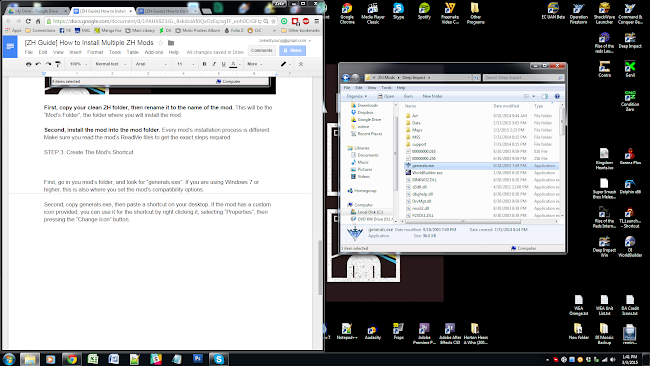
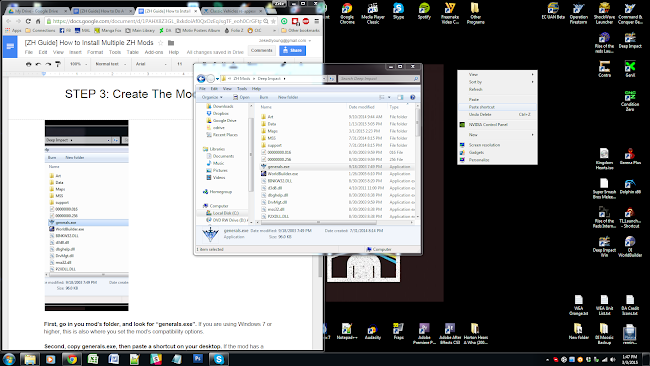
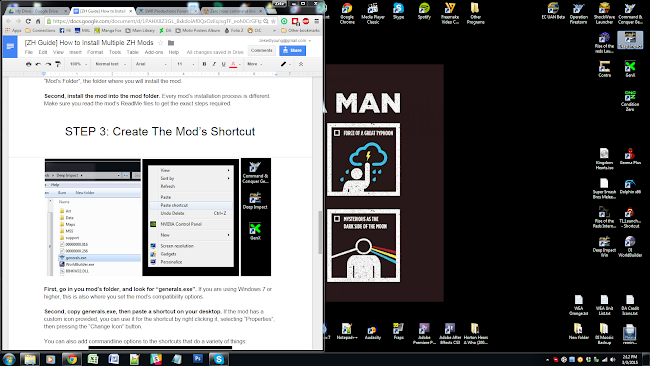
First, go in your mod’s folder, and look for “generals.exe”. If you are using Windows 7 or higher, this is also where you set the mod’s compatibility options.
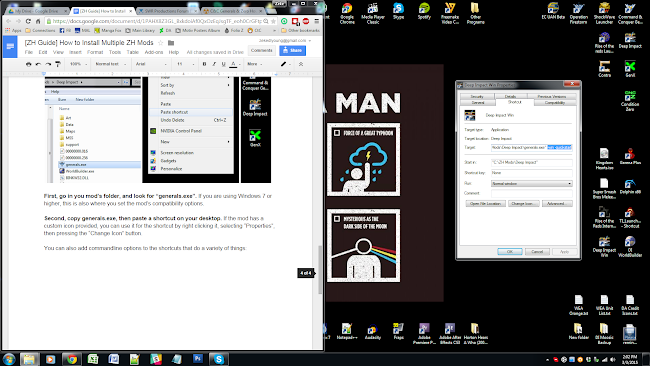
Second, copy generals.exe, then paste a shortcut on your desktop. If the mod has a custom icon provided, you can use it for the shortcut by right-clicking it, selecting “Properties”, then pressing the “Change Icon” button.
STEP 3.5: Add Commandline Options
You can also add commandline options to the shortcuts that do a variety of things:
-win
This will run Zero Hour in a window. The size of the window is dependant of the resolution the game is set to run at.
-quickstart
This will run Zero Hour without showing the Intro movies or using a shellmap.
-xres
Sets the game’s horizontal resolution.
-yres
Sets the game’s vertical resolution.
-mod
This will run a specific .big file saved in your zero hour data folder in your documents folder.
(ex. -mod “0DImpact.big”)
You can also create multiple shortcuts for the same mod each with different commandline options to get that launcher feeling.
STEP 4: Rinse And Repeat
Repeat the steps with as many mods as you want.
And that’s all there is to it. The only real limit is your hard disk space.
NOW GO OUT THERE
AND PLAY SOME MODS!