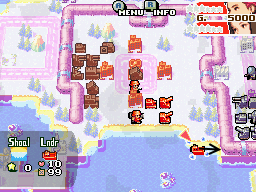
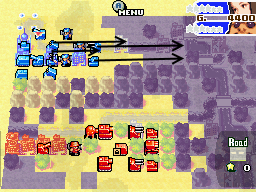
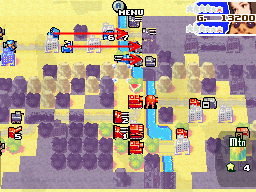
M10
OS: Max/Colin (no changes from previous mission)
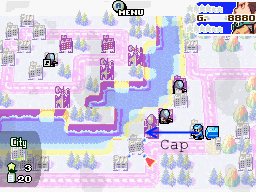
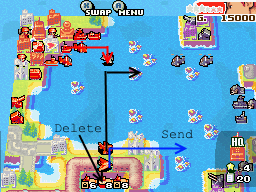
D1:
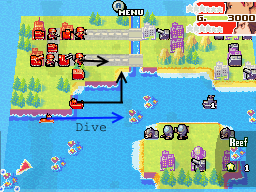

D2:
AA must be dropped S and Mech N!
D3:
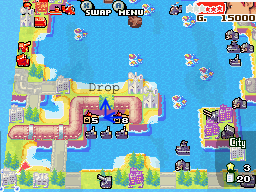
D4, D5:
Comments:
The HQ Art runs away if you drop a Tank or AA S. The NE corner of the island isn’t covered by a 6-move unit on the SW corner.
Don’t attack anything other than the Bship, otherwise Kindle will COP.
Diving the Sub causes the Black Boats to move less.
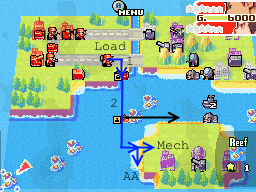
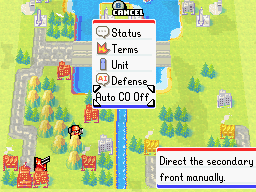
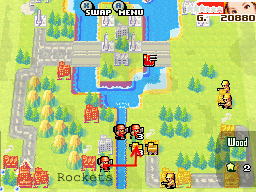
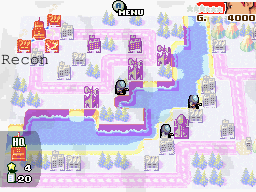
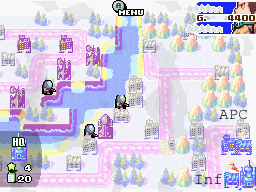
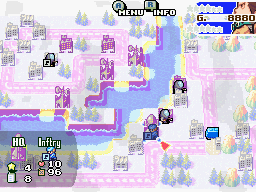
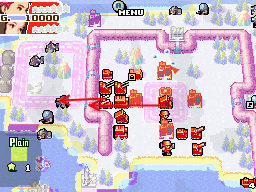
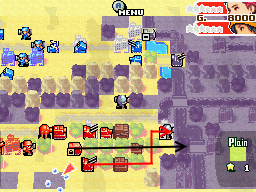
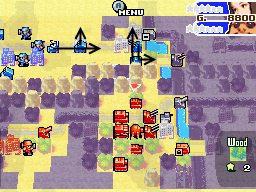
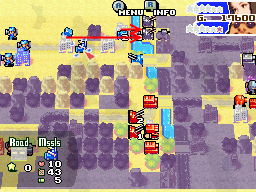
M12
OS: Rachel/Colin (no changes from previous mission)
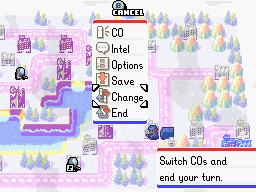
Set Auto CO off.
D1:
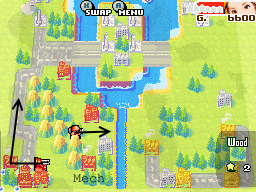
Tap AA, dialog.
D2:
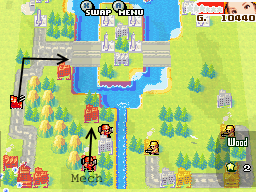
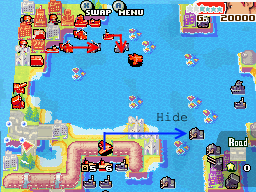
D3:
D4:
Top D4:
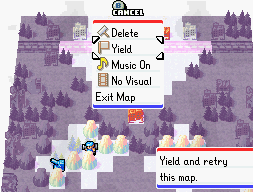
Yield.
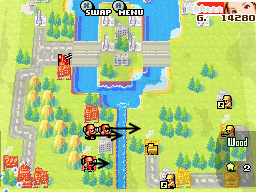
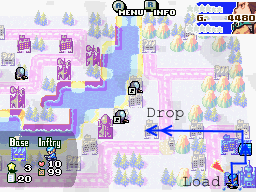
D5:
Then destroy the Inf with your Mech.
Comments:
You need an attack/defense skill to ensure a KO on the base Recon.
Rachel tells you to send the AA to the second front, which is pretty bad advice :p.
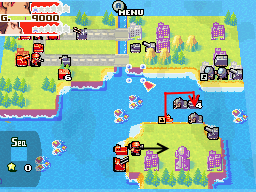
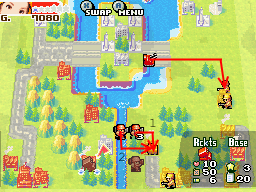
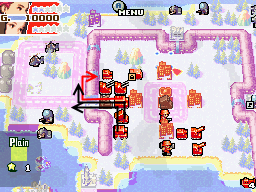
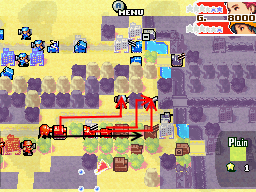
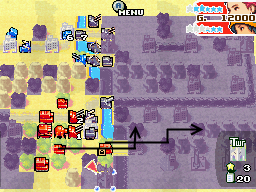
M13
OS: Max/anyone (skills have already been changed in M9)
BM: Colin/Sensei (Colin’s skills have already been changed in M9)
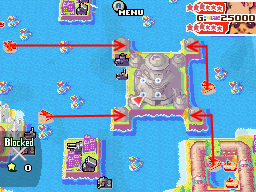
D1:
If BH doesn’t capture the S base, go to D2A.
Otherwise, go to D2B.
D2A:

OS yields. You can delete the Recon to yield, but the cursor will be in delete mode on BM’s turn!
D3A:
D4A:
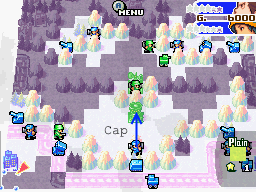
Cap HQ.
D2B:
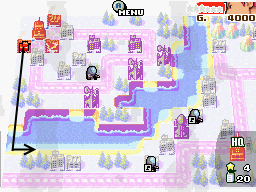
D3B:
D4B:
Cap HQ.
Comments:
If the AI captures both bases on D1, it takes longer because OS has to provide support for BM. Otherwise OS can just yield.
Kindle’s Inf deals 42-51% to a HQ Inf with 100 Def, so you need +2 capture and either +1 capture or +8/12% direct defense.
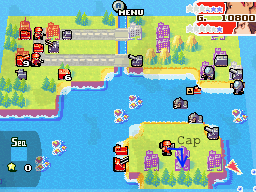
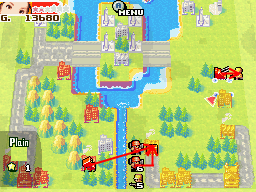
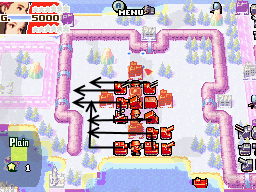
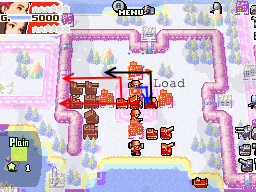
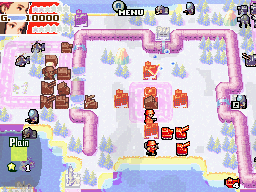
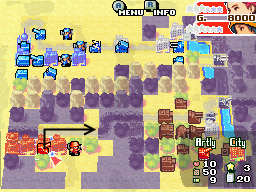
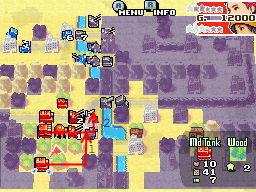
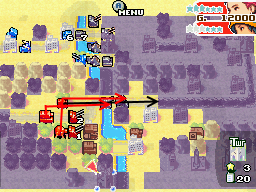
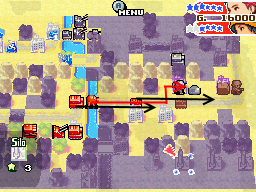
M15
OS: Anyone/anyone
BM: Colin/anyone
(no changes from previous mission)
D1:
Yield or delete both units.
D2:
D3, D4:
Comments:
The NE Rockets has to move 1E so that the AI Mechs near the HQ move well.
The NE Art moves to avoid charging the AI’s stars too much and causing an extra switch.
M16
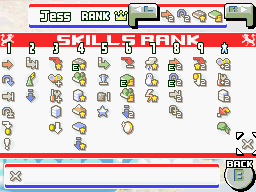
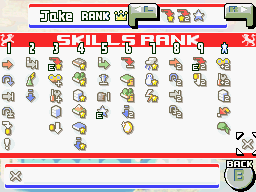
OS: Jess/anyone except Rachel or Sasha. In the screenshots I used Sasha - don’t do it.
D1:
D2:

D3:
Comments:
The other CO doesn’t need Star Power now, but he’ll need it for M19.
With the selected skills, Jess has 181 Att on her Md Tanks and Rockets during SCOP, which deals just enough damage to destroy the Minicannons (99%).
M18
OS: Max/Grimm
AI setting: General (no change)
D1:


SE Fighter 3S.
Lead N Fighter: move to 1S 1W of the island, other Fighter right behind it.
Tap Carrier, dialog. Another dialog after dropping Stealth.
D2:
Fighters 4E, send.
Tap Stealth, dialog.
D3:

Pay attention to Jugger’s stars. If he has less than 3 charged by the end of the turn, you can skip the BCop attacks next turn.
D4:
D5:
Comments:
The top front is actually Sea tiles all over.
With the selected skills, Max has 143 Att and his Stealth does 100% damage to Minicannons.
If you can avoid having a Stealth drop below 31 fuel, you can skip Colin's "uh-oh!" dialog. Note that if the last move you make is to destroy a Minicannon with a Stealth while the Stealth simultaneously falls below 31 fuel, the dialog will still be displayed.
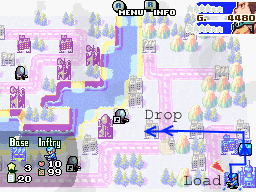
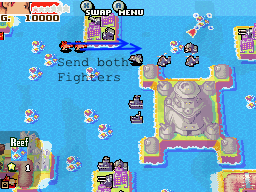
M19
OS: Jess/the CO from M16. He should have +13 partner attack and Star Power. I used Jake in the screenshots below.
BM: Sasha/anyone (no skills)
D1:
APC moves 6 (max - 1) spaces.
AI D1:
Oozium spotted, dialog.
D2:

Missiles moves 3 (max - 1) spaces.
D3:
D4:
If the Oozium is not on the Mountain, go to D4A.
If it is, go to D4B.
D4A:
D5A:
Attack the Neo/Md with your Neo if your Tag isn’t fully charged.
Tag, cap HQ.
D4B:
(BM doesn’t need to attack the Tank with its Rockets.)
D5B:
Attack the Oozium with your Neo/Md to charge Tag.
Tag, cap HQ.
Comments:
Don't give Jake +10% partner defense - you want Jess to take more damage, so both COs' stars charge faster.
Part 3: https://docs.google.com/document/d/18aO2mws9fNcv7sdBOFq2RHQDefnE_MJnZTPppT7yAQc/pub