101-Installing the Eclipse ADT Bundle
-
1) This tutorial is based on:
1.1) http://developer.android.com/sdk/installing/index.html?pkg=adt
1.2) http://developer.android.com/tools/devices/index.html
2) The Integrated Development Software used for this tutorial (ADT) is downloadable from http://developer.android.com/sdk/index.html#download (32 bit edition).
ADT is not available on Android Official page anymore. |
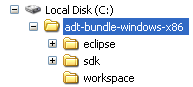
3) Download and extract the ADT software at the step (2). The top-level directory is as shown below:
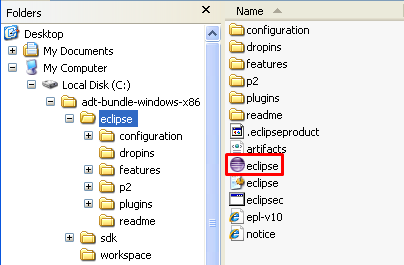
4) Go into eclipse directory and locate Eclipse executable file.
4.1) Double-click eclipse icon to run the program.
4.2) Right-click the icon and select “Pin to Start menu” to create a short-cut.
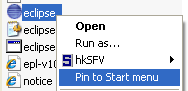
4.3) Next time, you can just click Windows START Menu and then click the short-cut to run the program.

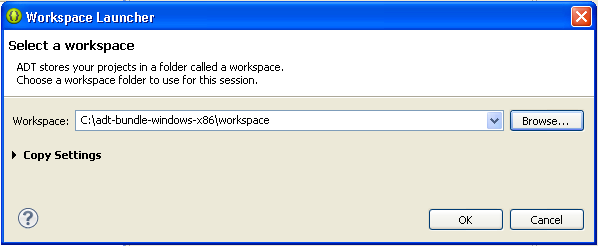
5) When you run eclipse.exe, an ADT Splash Screen pops up.

6) Select a workspace
6.1) Set your workspace folder.
6.2) Tick “Use this as the default and do not ask again”
7) Click Menu/Help/About ADT.
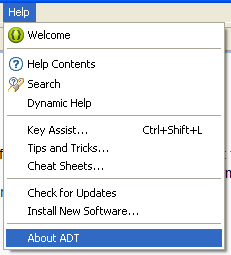
8) The About ADT window pops up.
A number of installed components are shown as icons. The green icons are those related to Android Development kit.
Click OK.

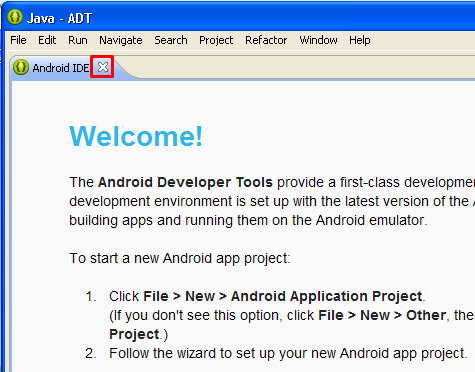
If you run ADT for the first time, you may see the Welcome Screen. Close the screen by clicking the close button. |
-