Piezonuclear Experiment
Angela Savela
10 July 2013
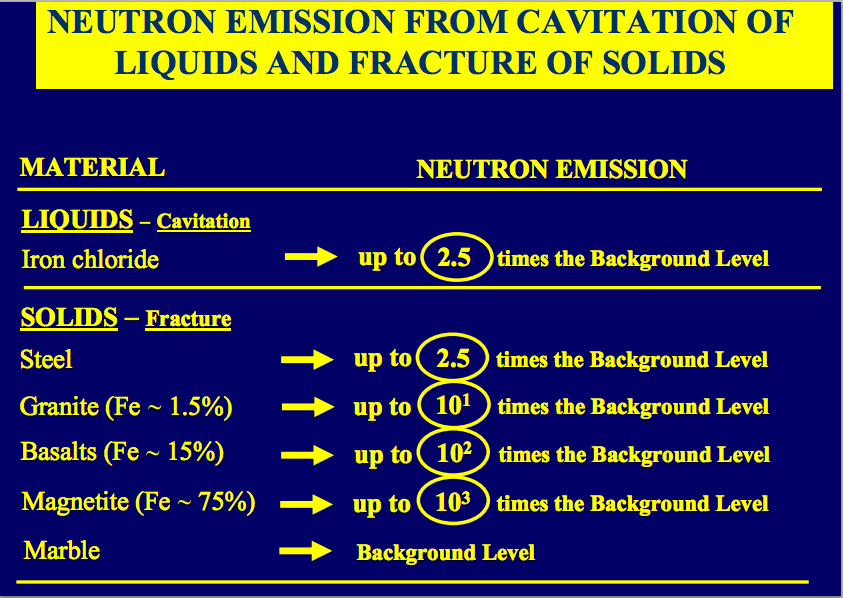
After much deliberation I am looking at doing a replication of Carpinteri’s research. Alberto Carpinteri is an Italian professor and researcher at the University of Torino, Italy, who has focused on piezonuclear “fission”. The basic idea behind piezonuclear fission suggests when brittle rocks are subjected to high pressure and temperatures they undergo a fission reaction and release neutrons. He uses this as an explanation for the elemental distribution in the makeup of the Earth’s crust. The experiment he conducted in Italy used a hydraulic press to apply a force to a rock sample until failure. He claims to have found evidence of neutron emission as well as transmutation on the rock surface. I plan on testing this myself by creating a similar setup, however I will not be looking for transmutations. I plan on keeping a control sample of each type of stone for comparison later if the equipment to analyse the stone for transmutations becomes available.
Links to Blog Updates
http://www.quantumheat.org/index.php/en/follow/general-updates/303-new-hug-experiments
http://www.quantumheat.org/index.php/en/follow/general-updates/312-intern-experiments-taking-shape
Materials List:
- Stone Samples - My Rock Collection (pictures of rock samples before crushing)
- local suppliers
- examples of samples used by Carpinteri
- Luserna Granite
- Carrara Marble
- Basalts
- Magnetite
- we have a wet saw to cut scraps into neat blocks for testing.
- Rocks from around the area
- Piezoelectric Rocks, White Quartz
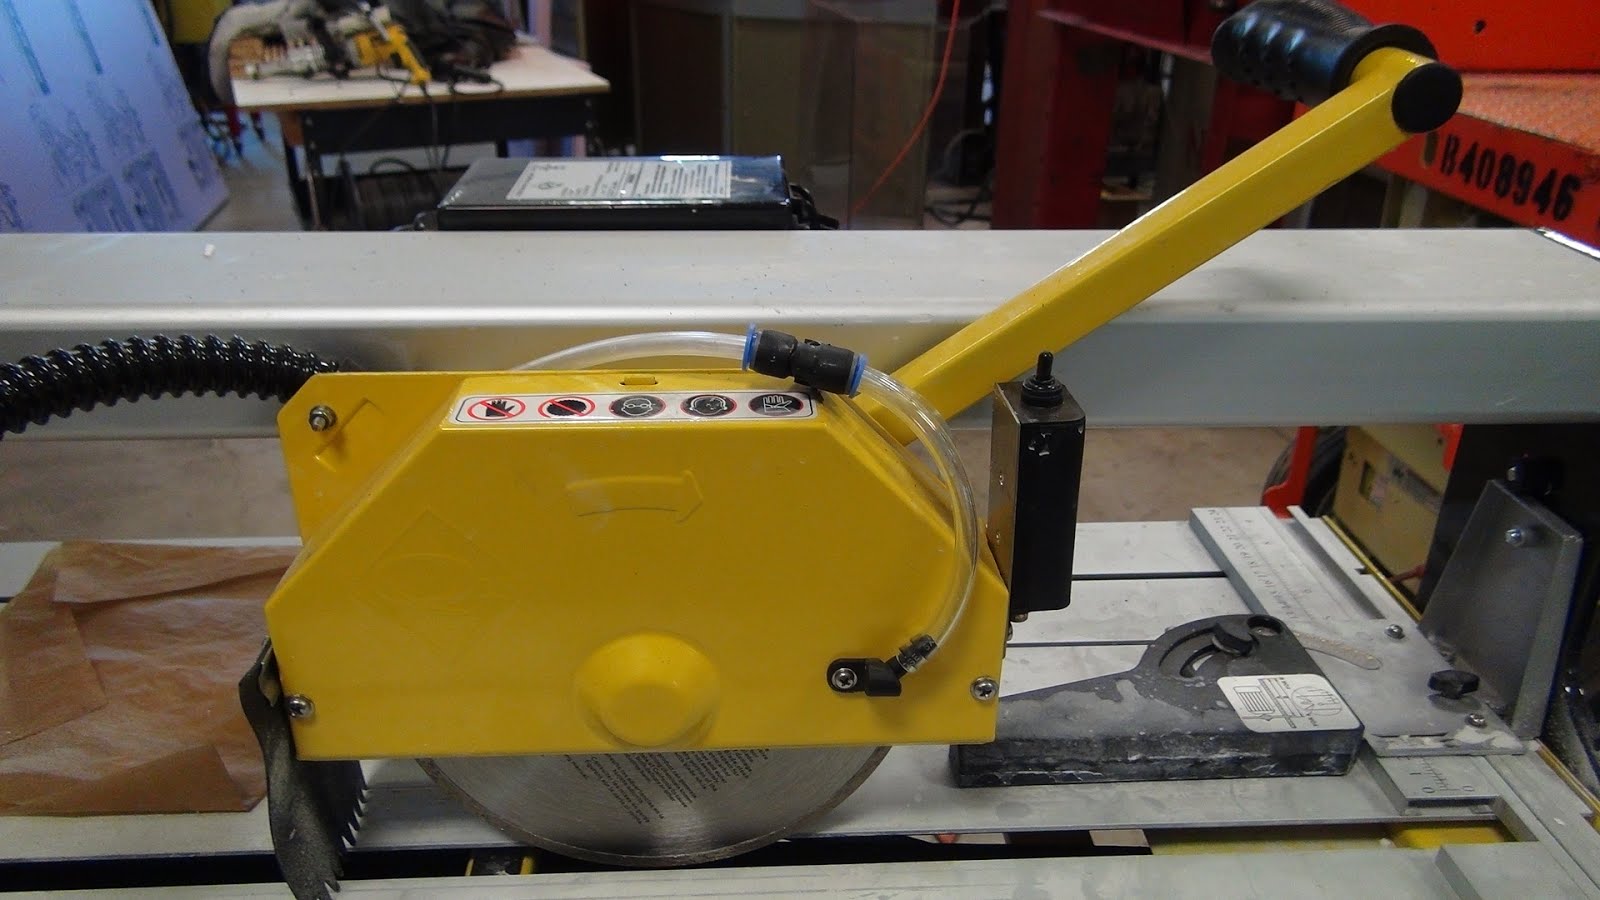
- Wet saw to shape rock samples
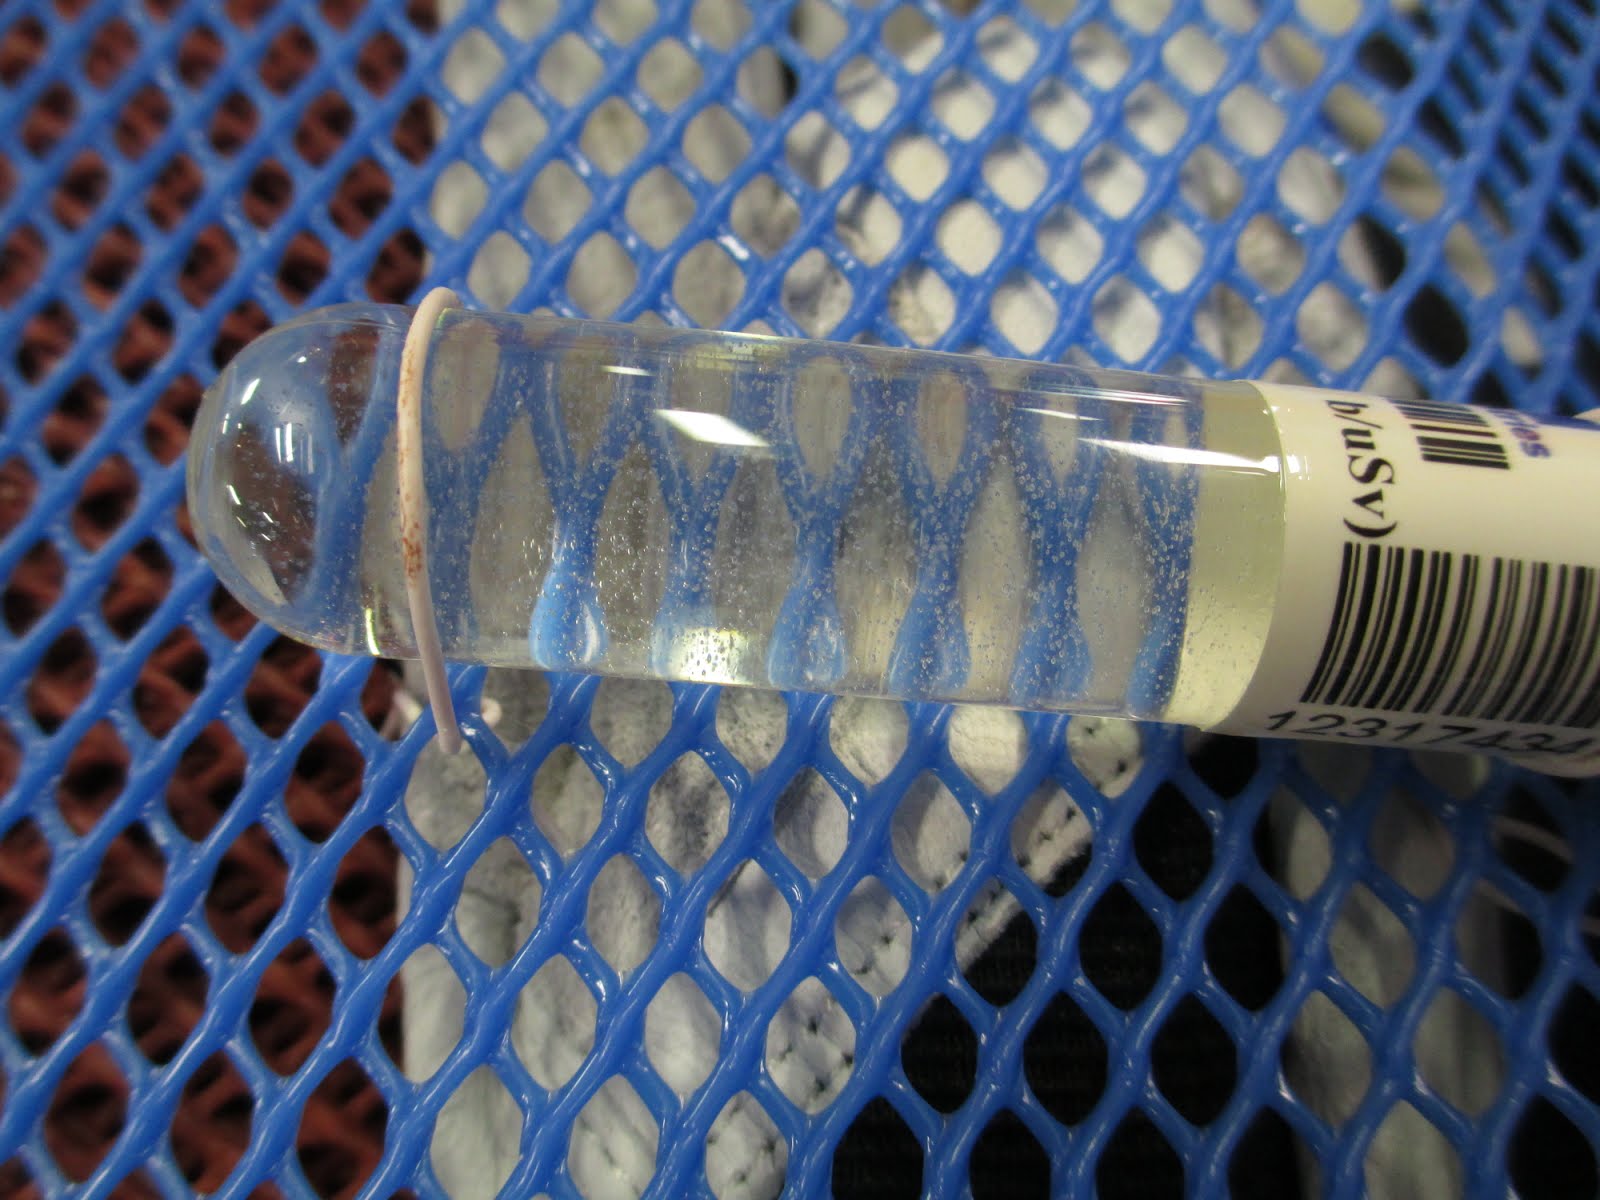
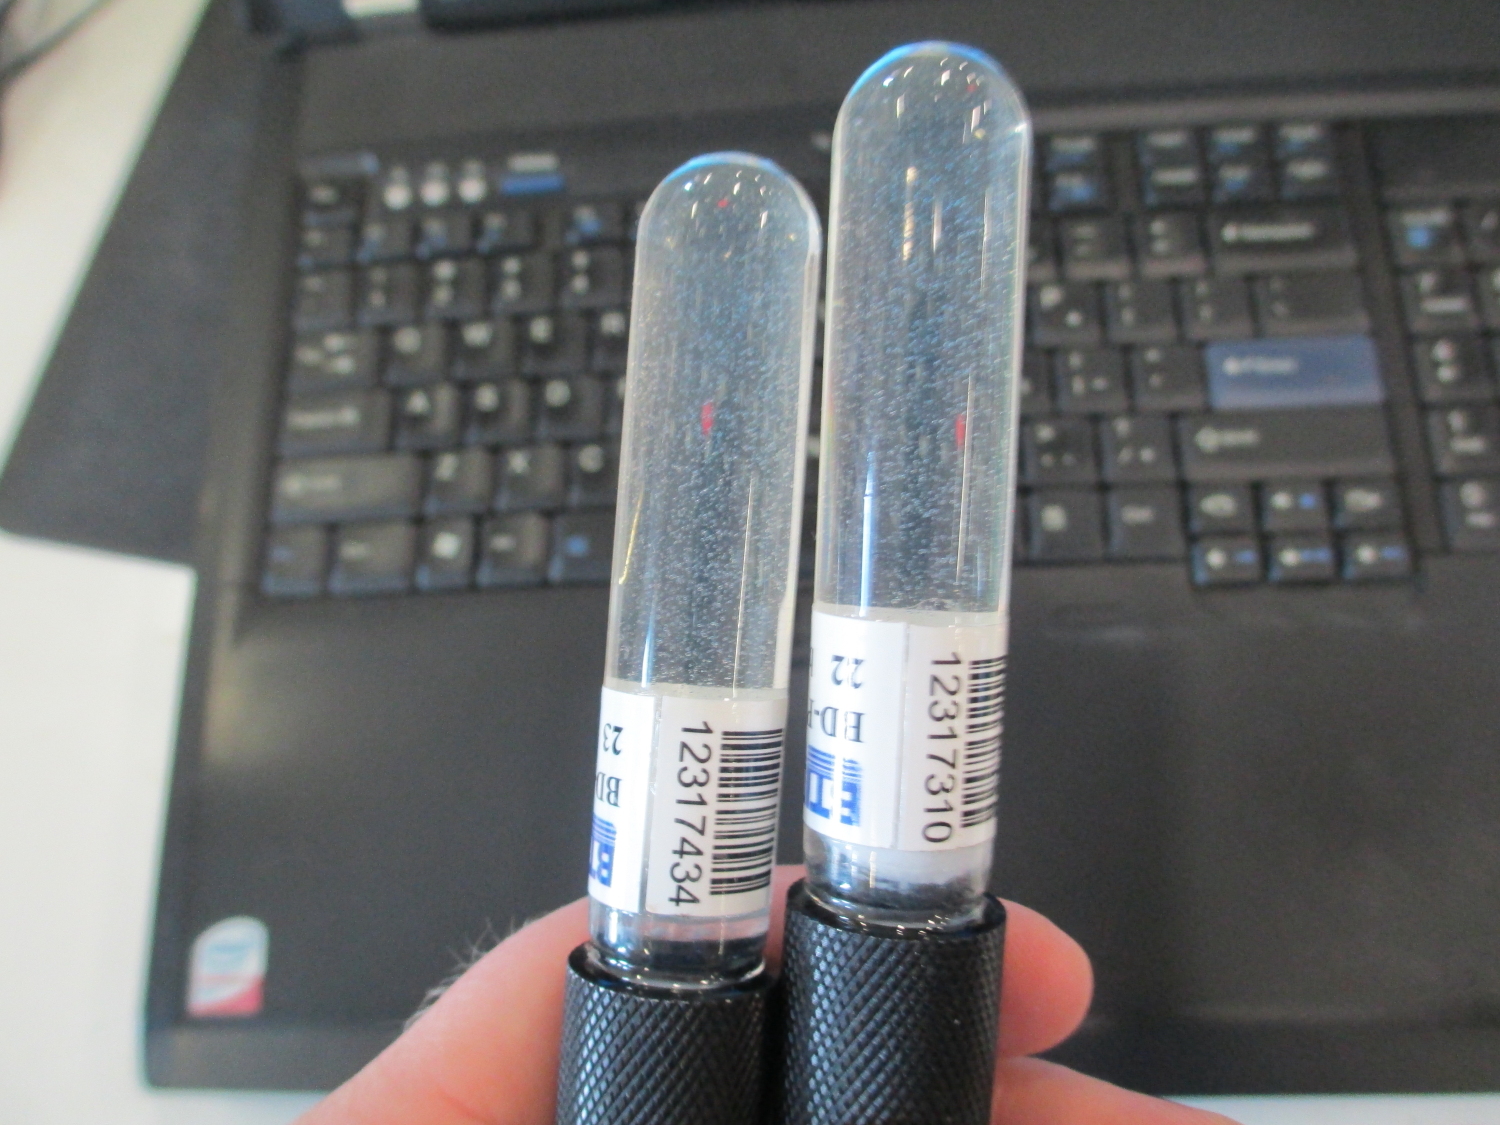
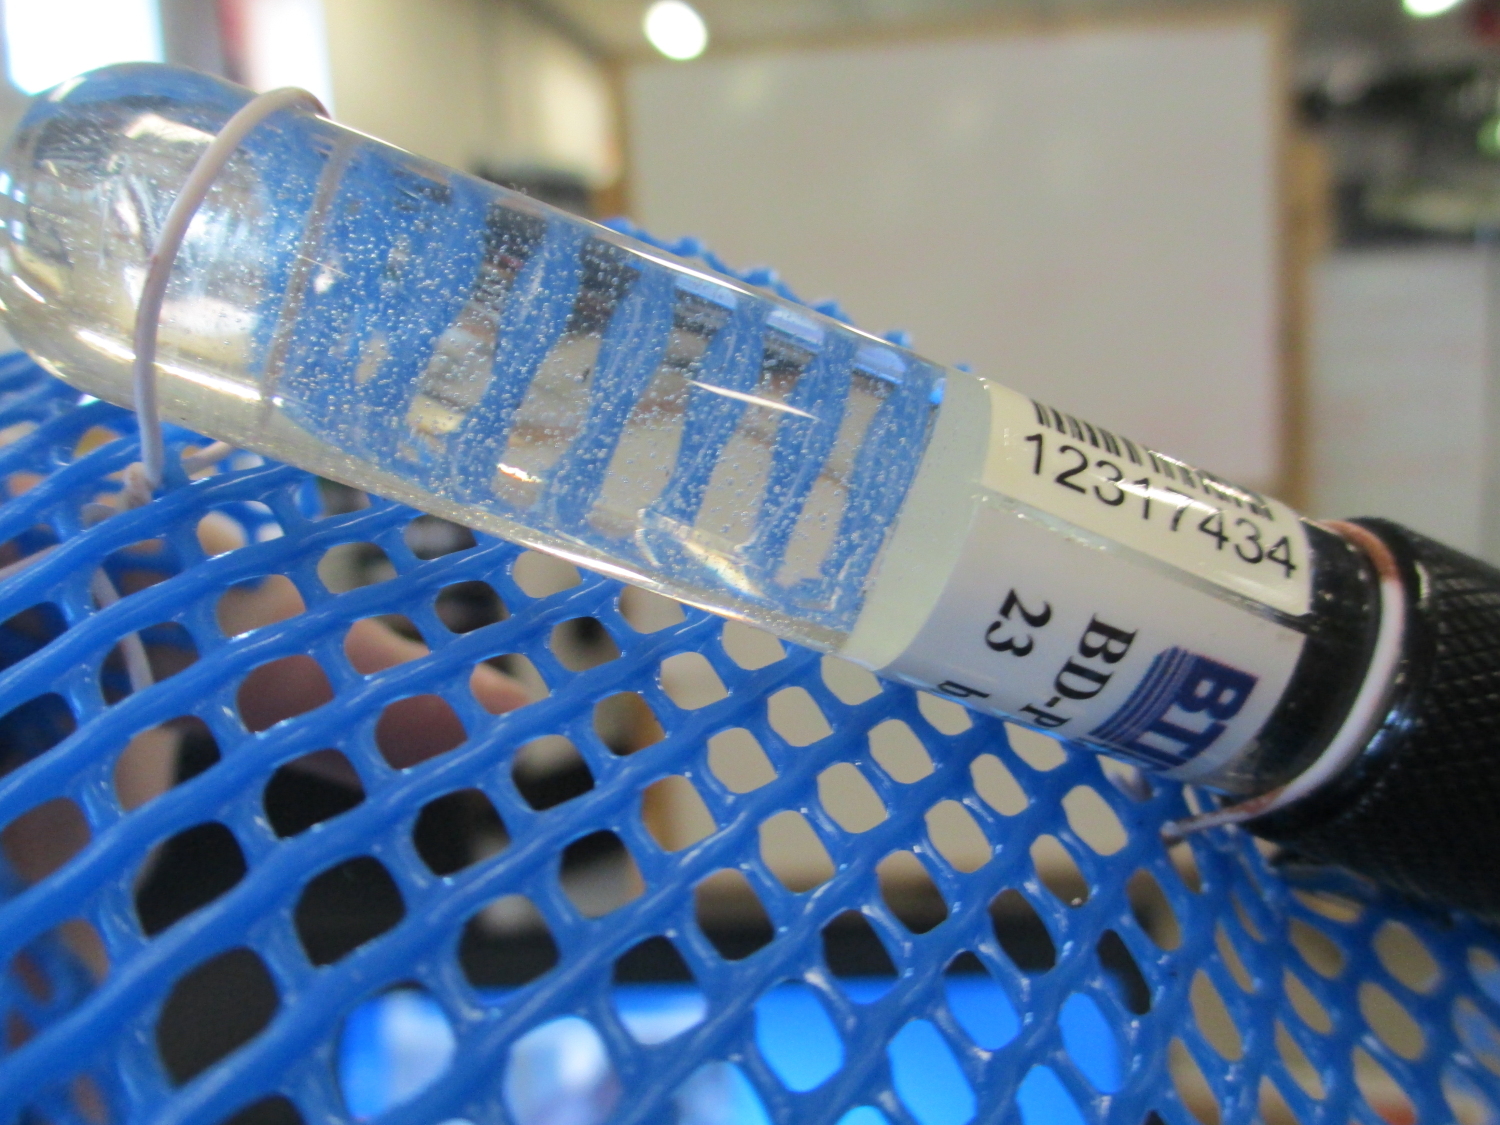
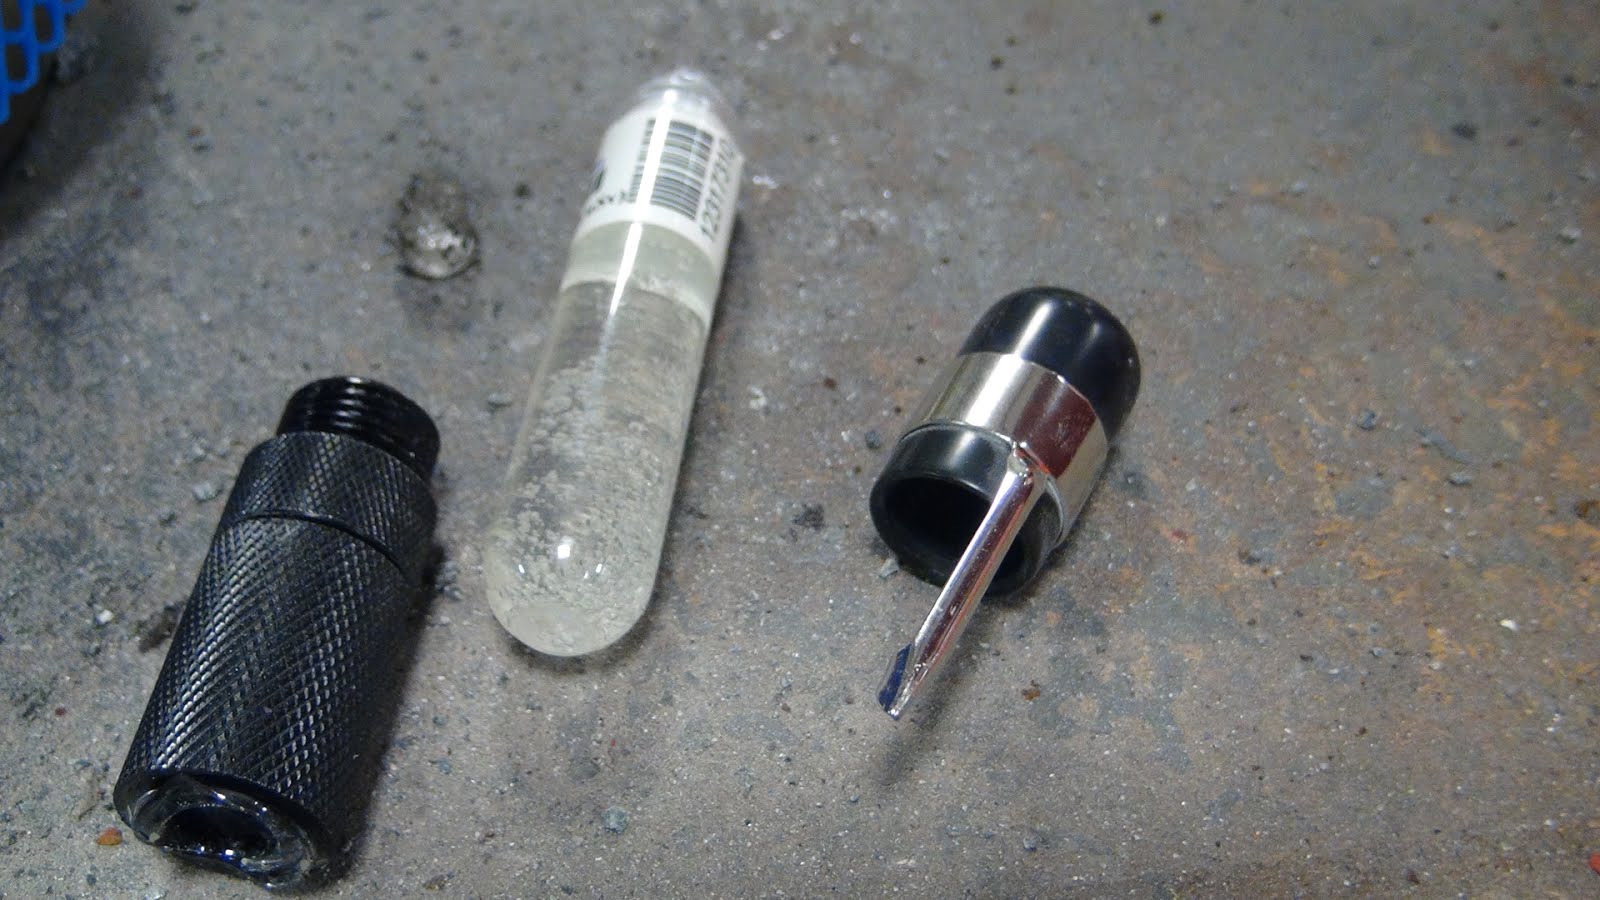
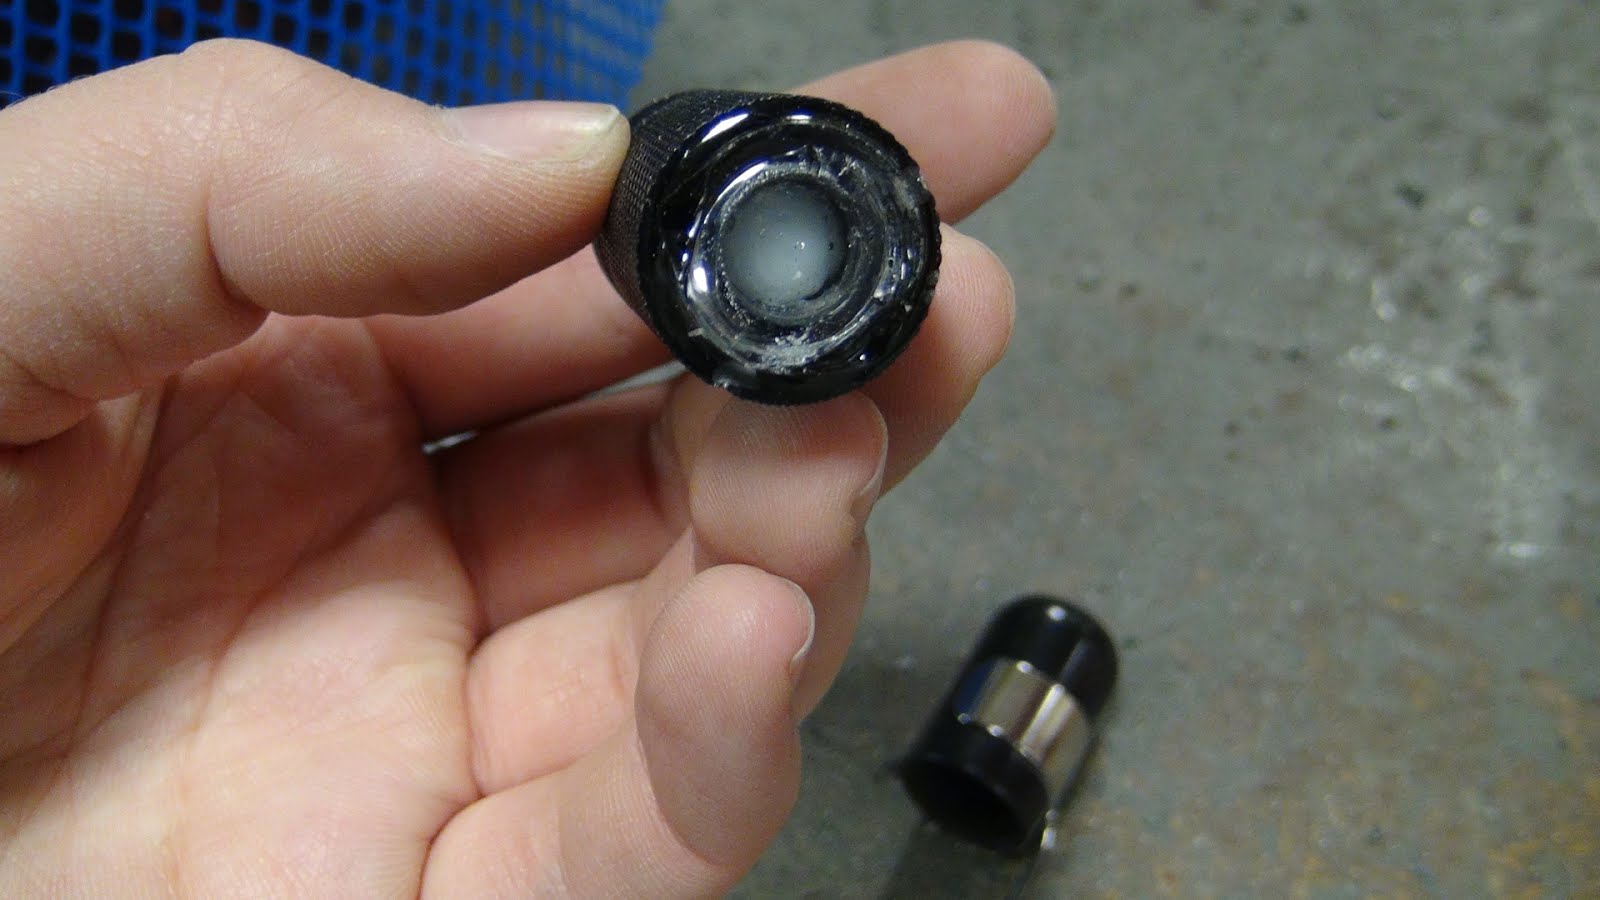
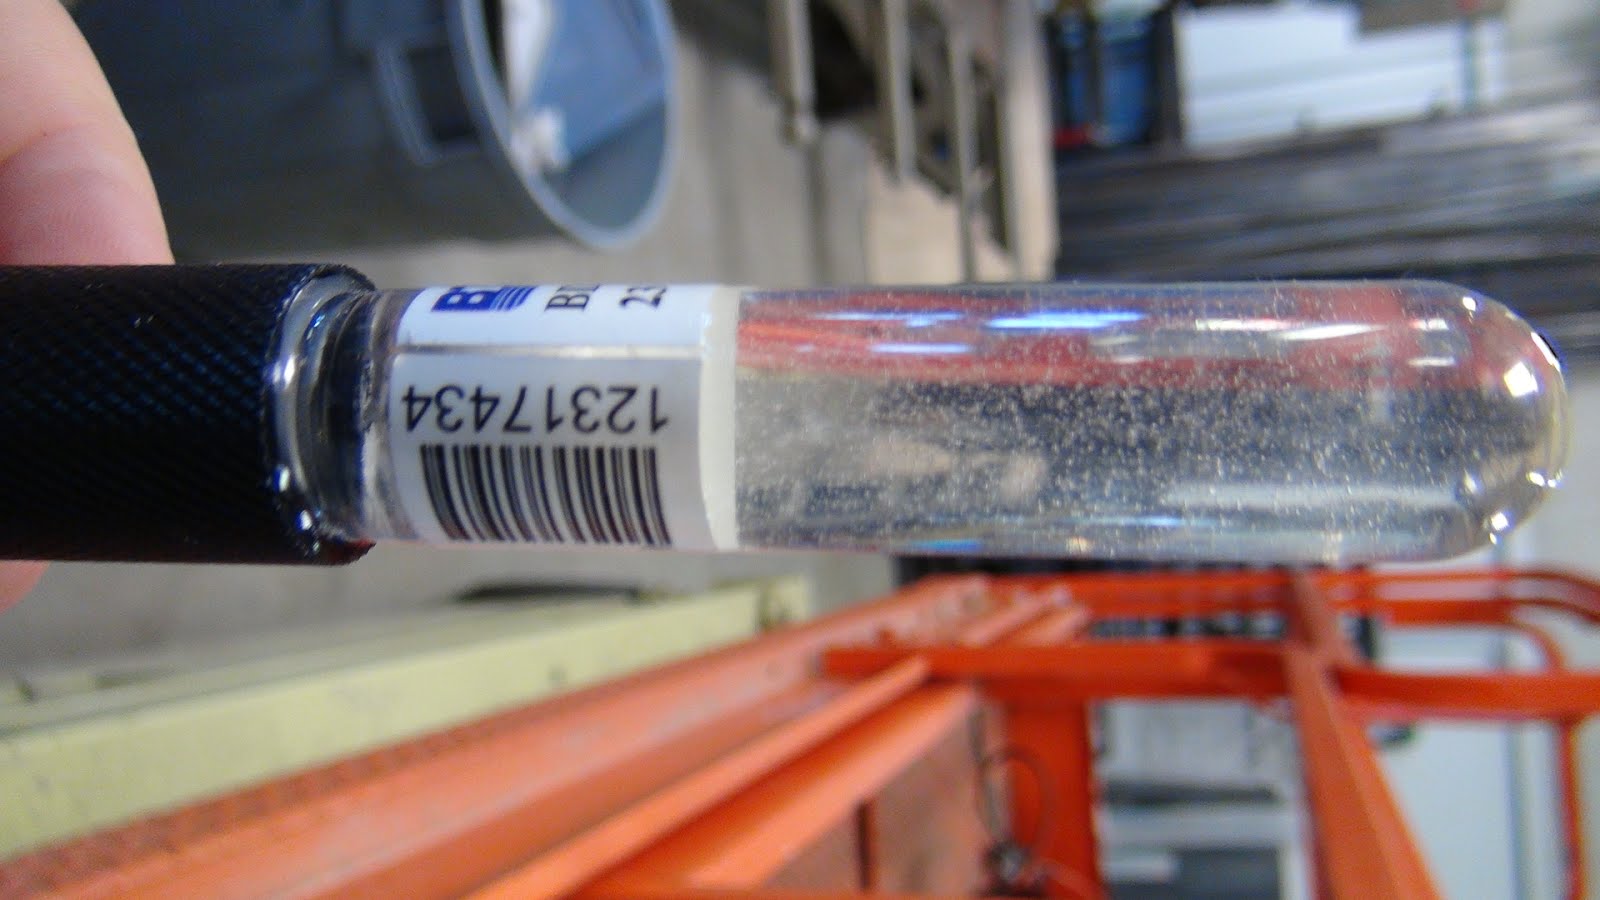
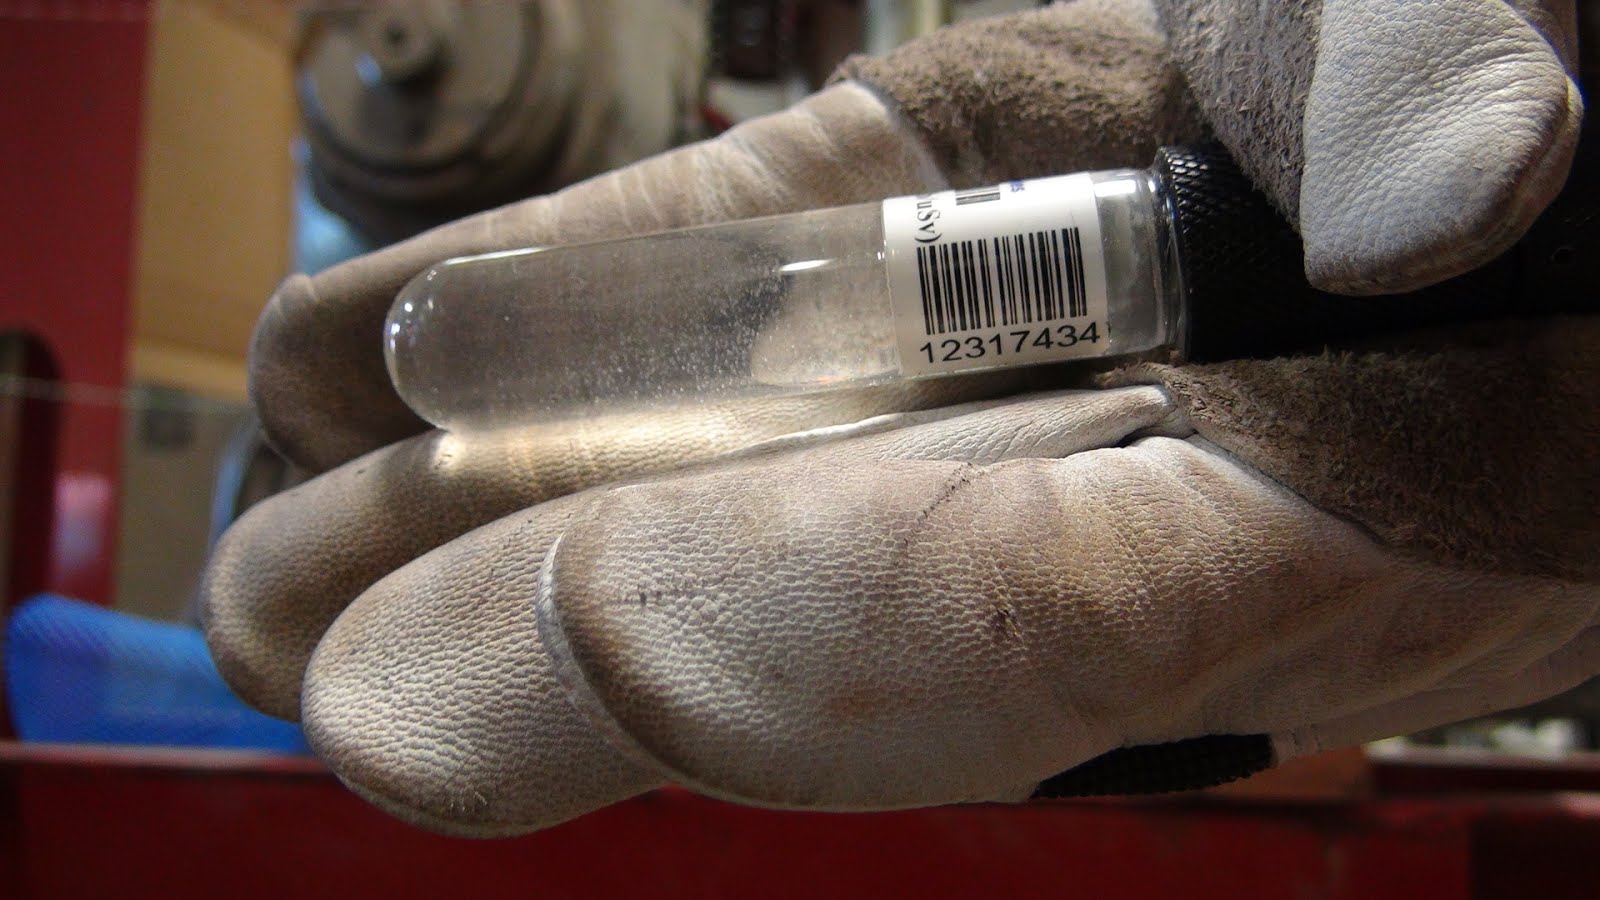
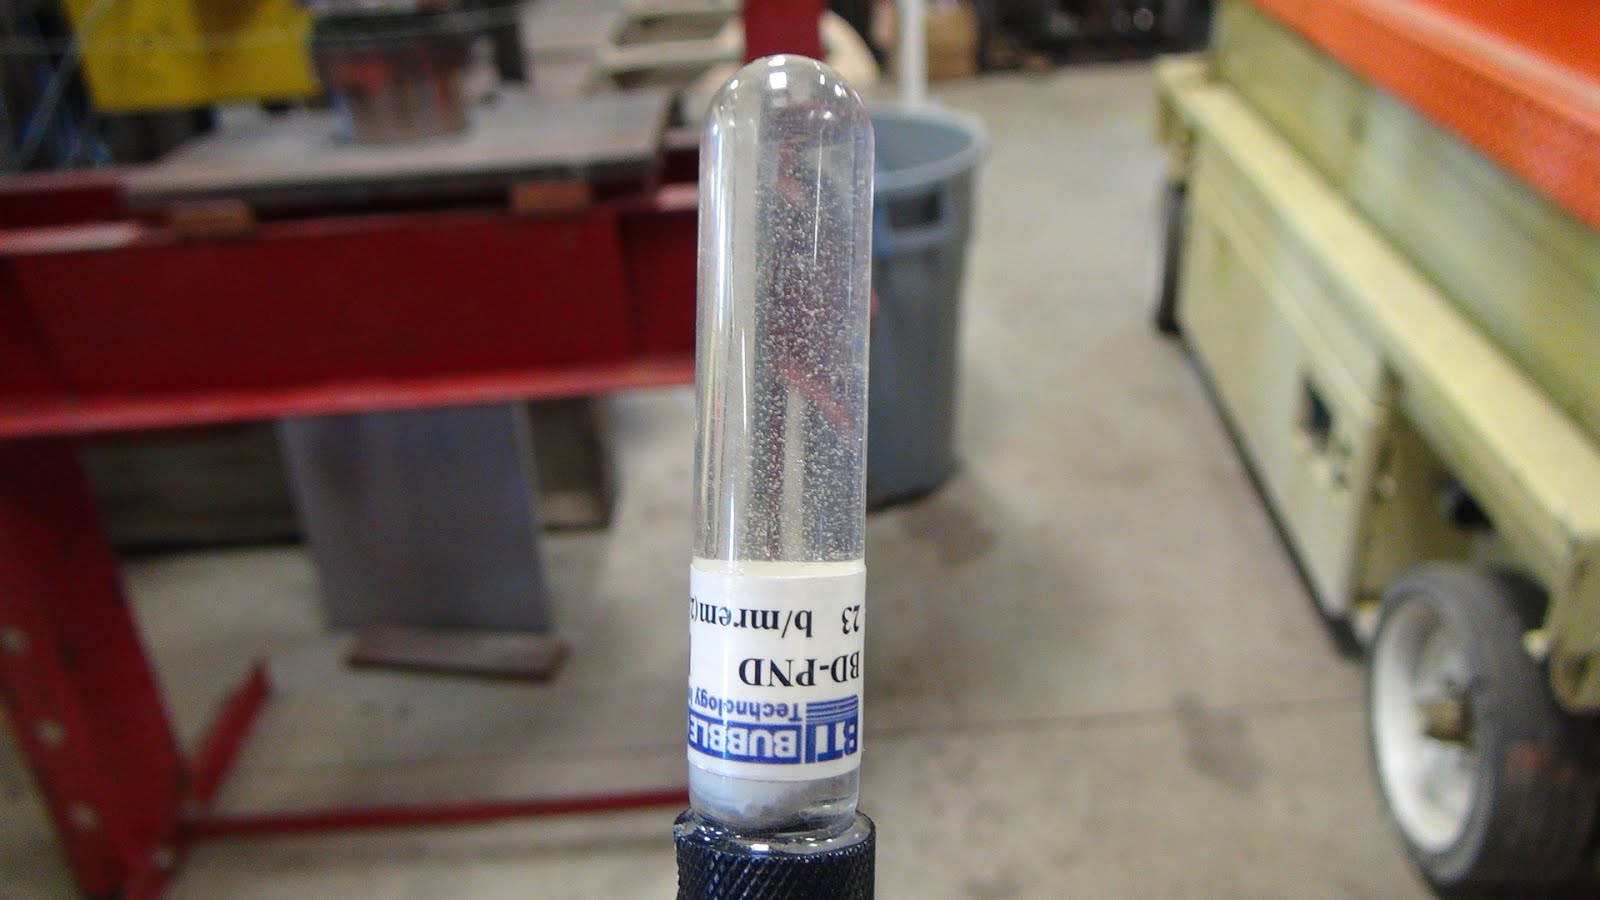
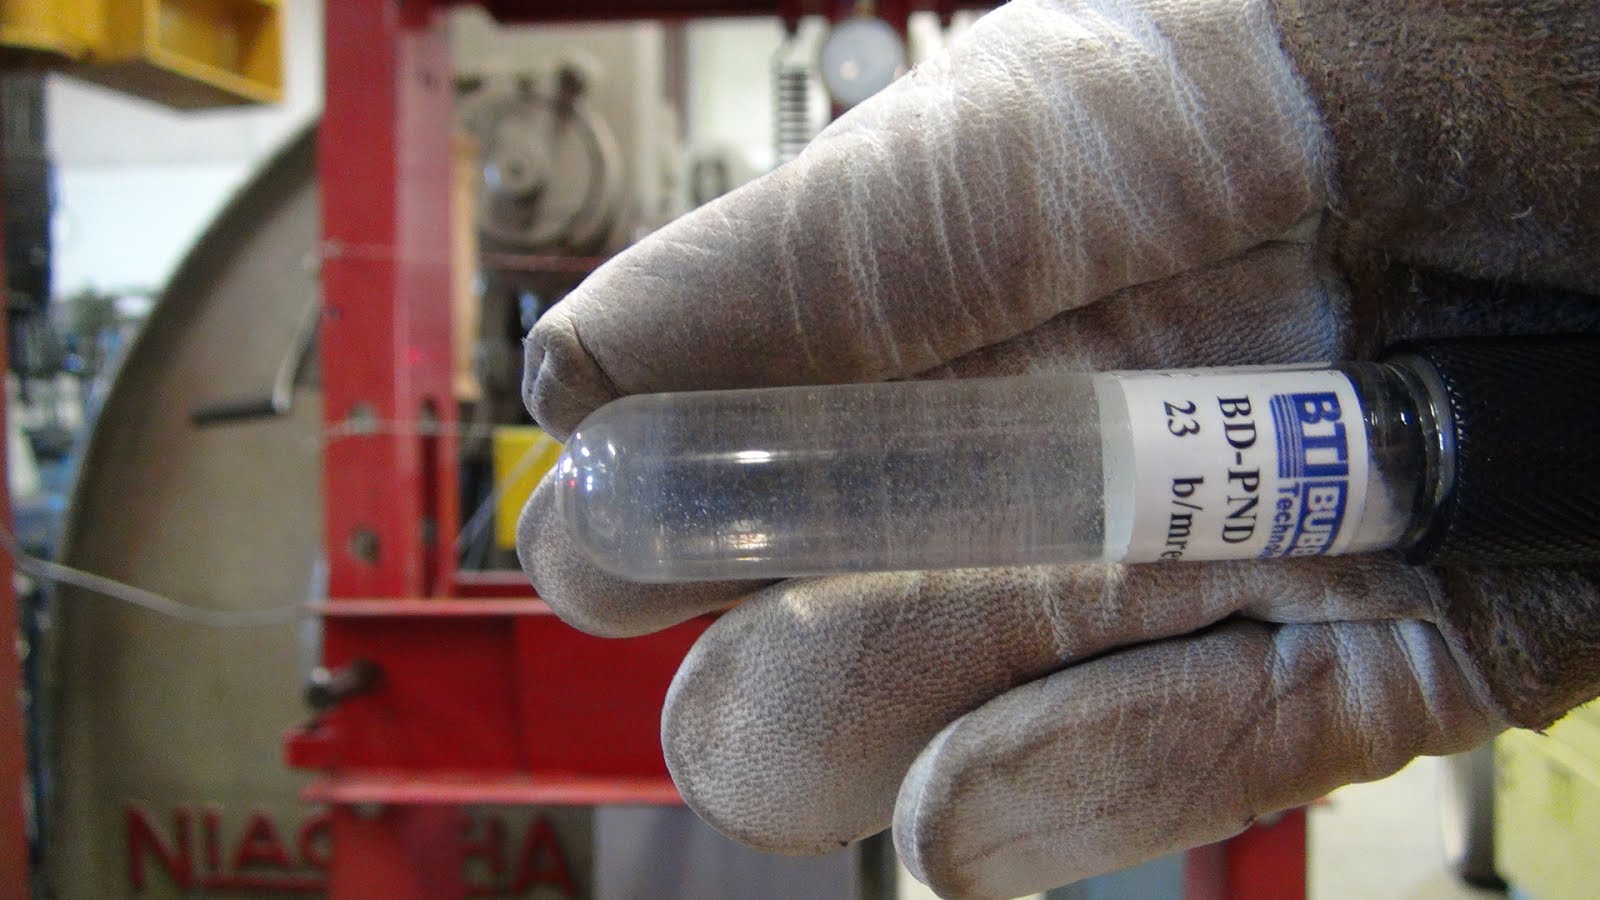
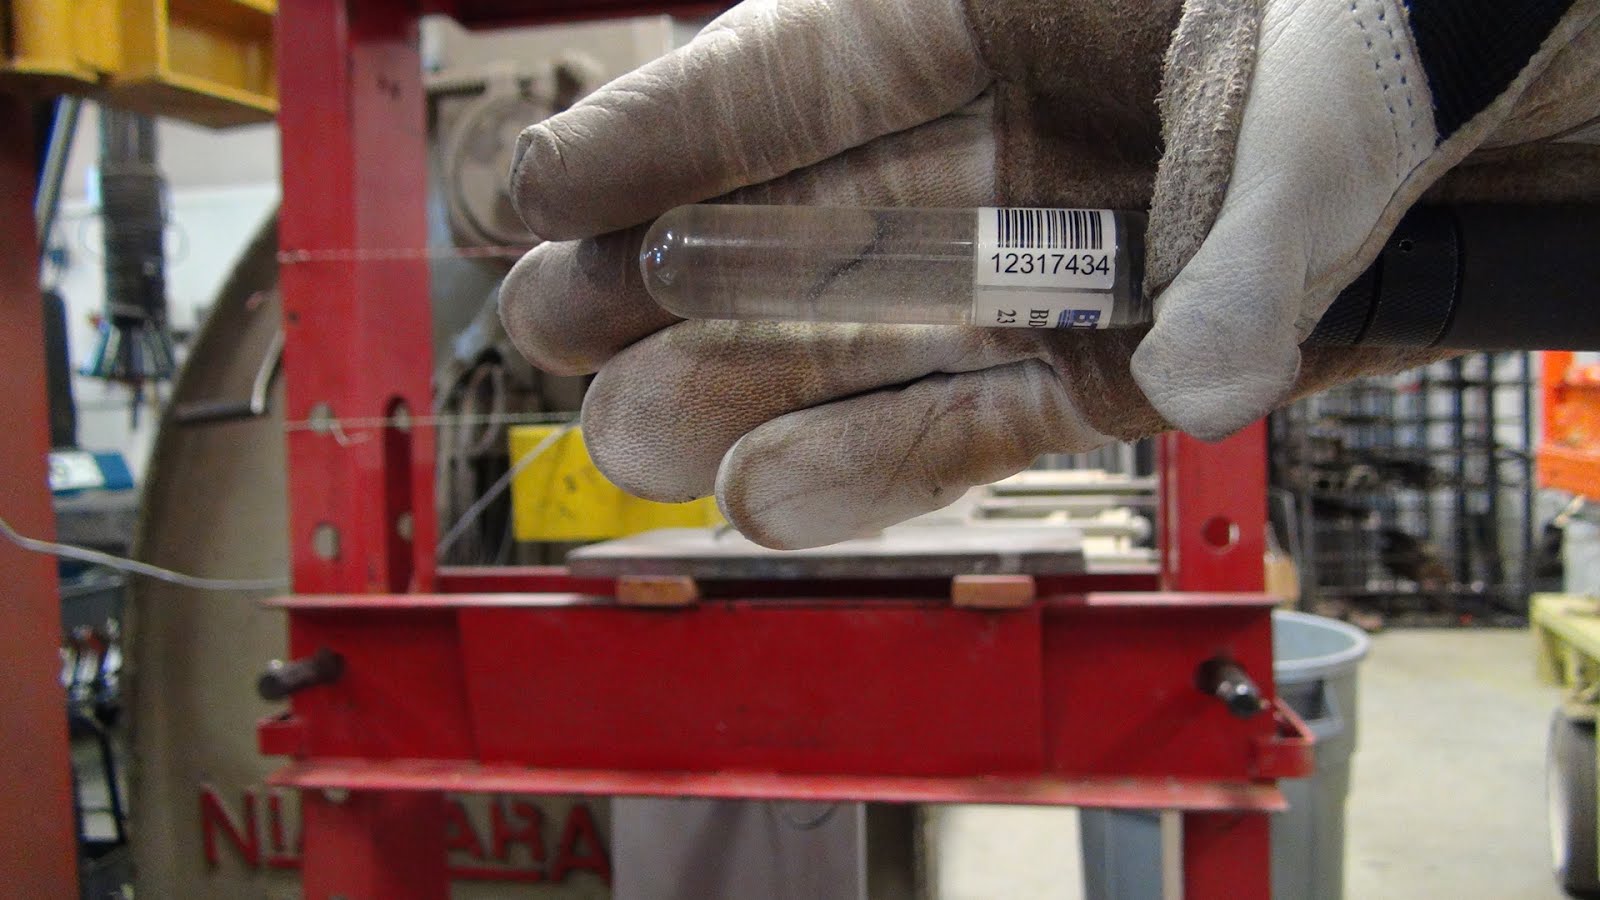
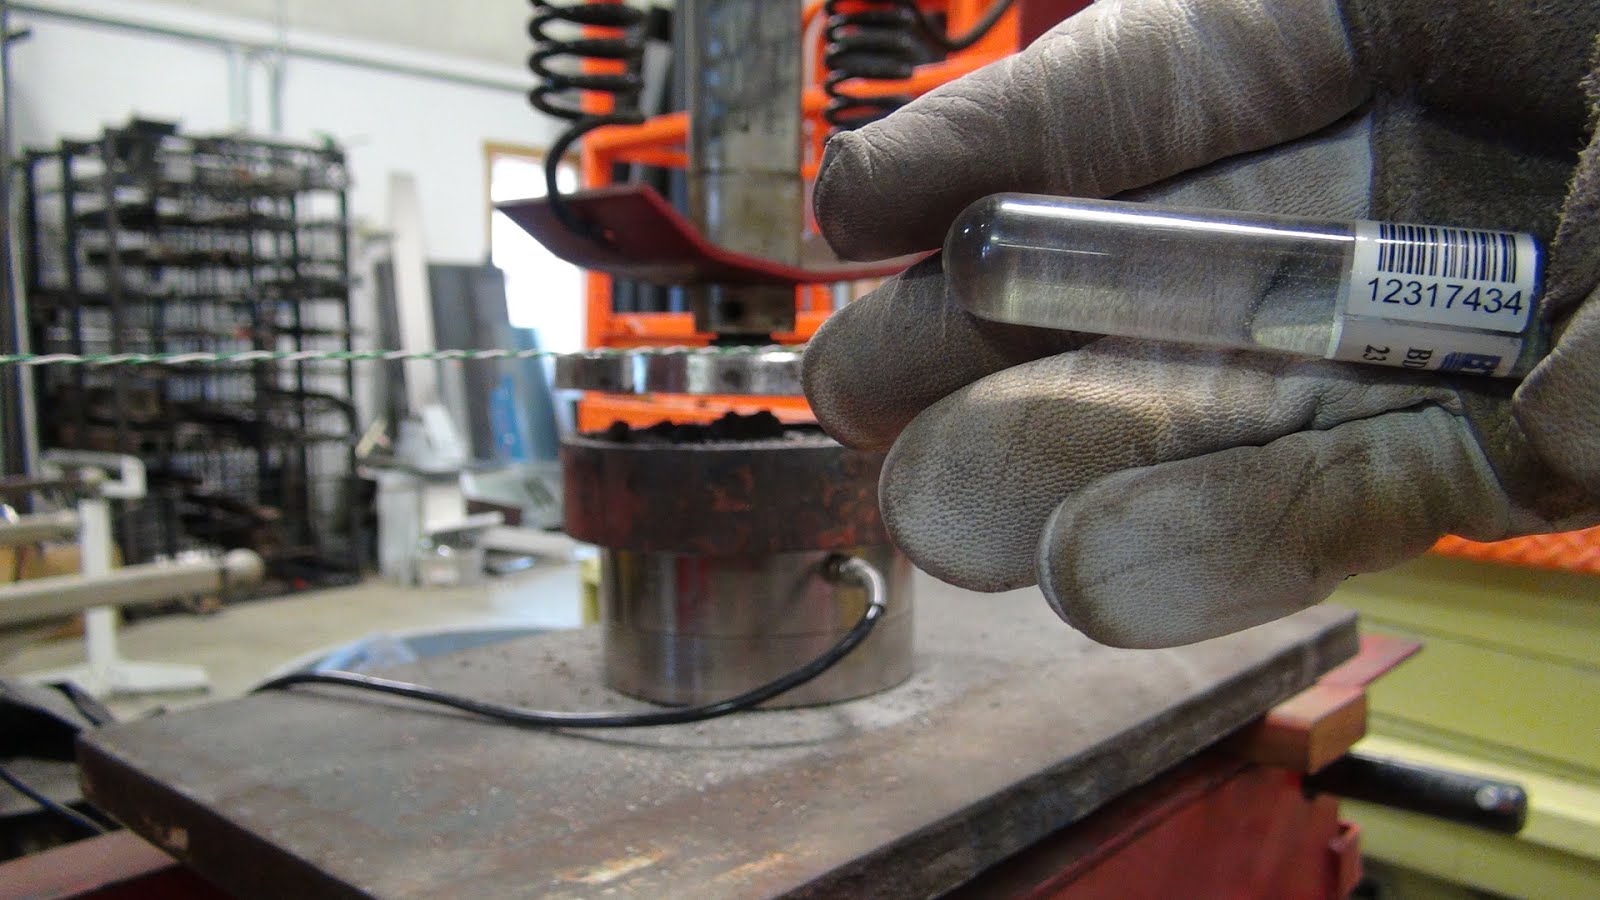
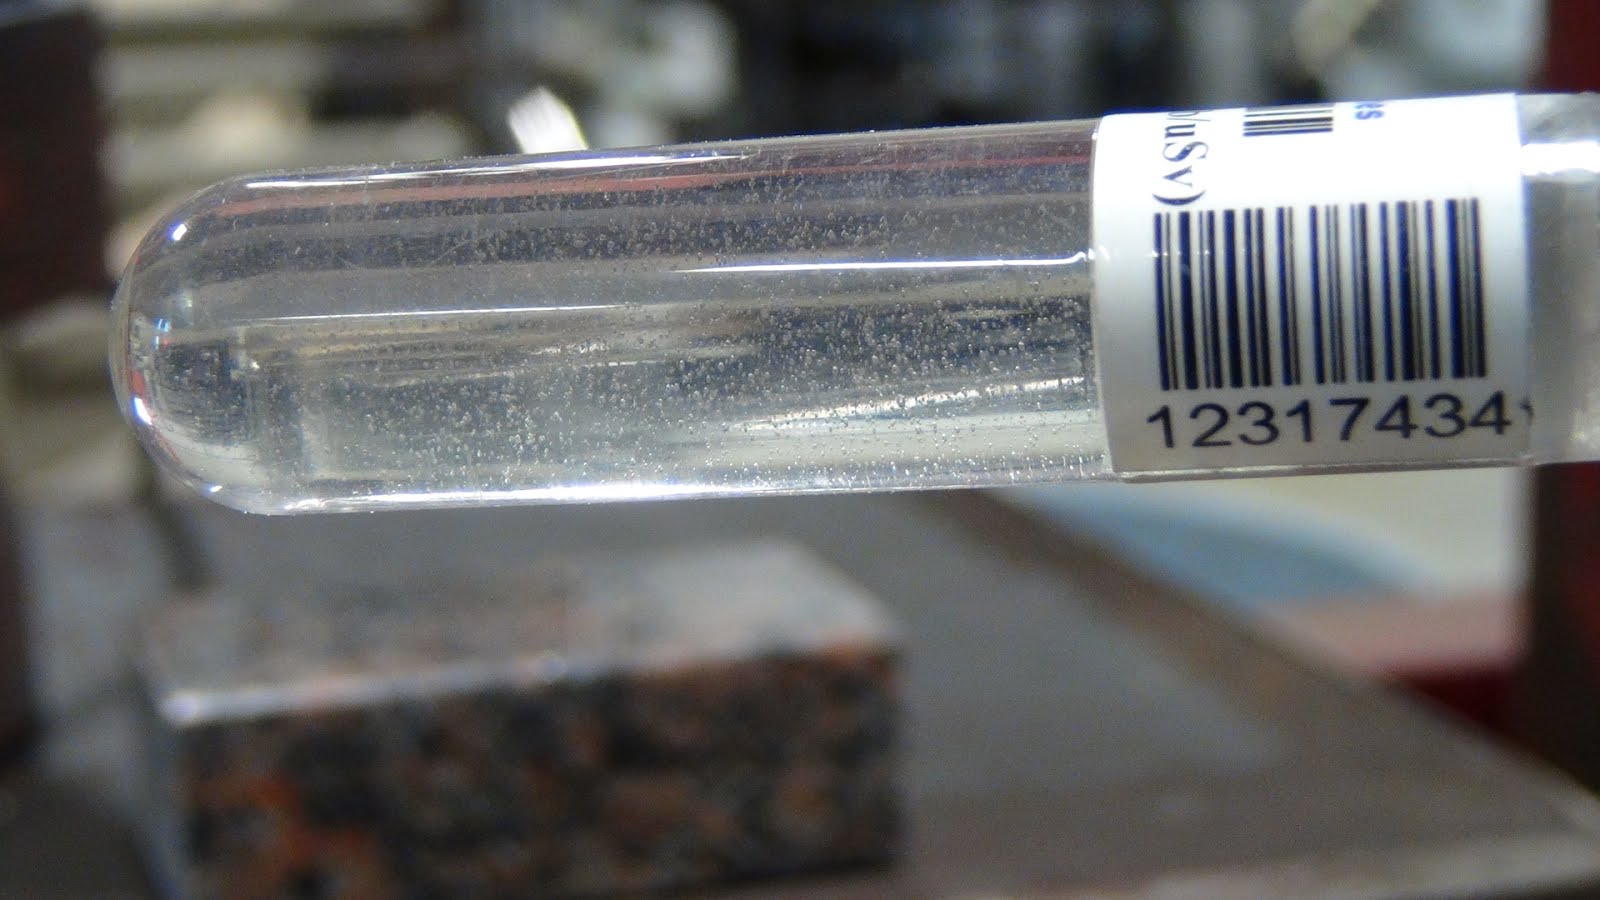
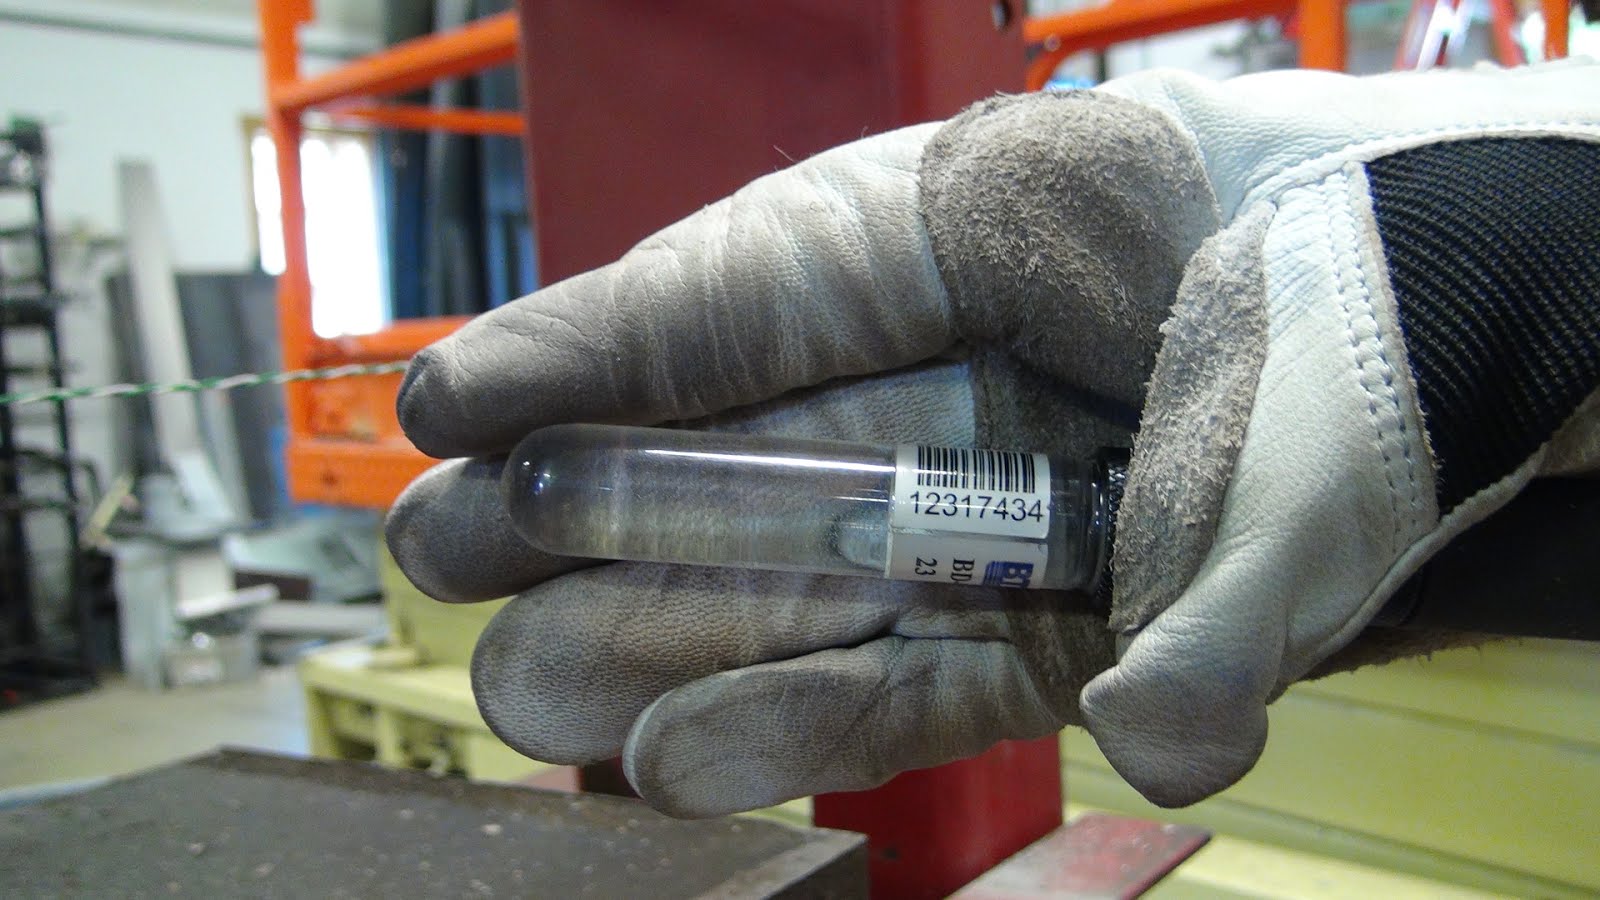
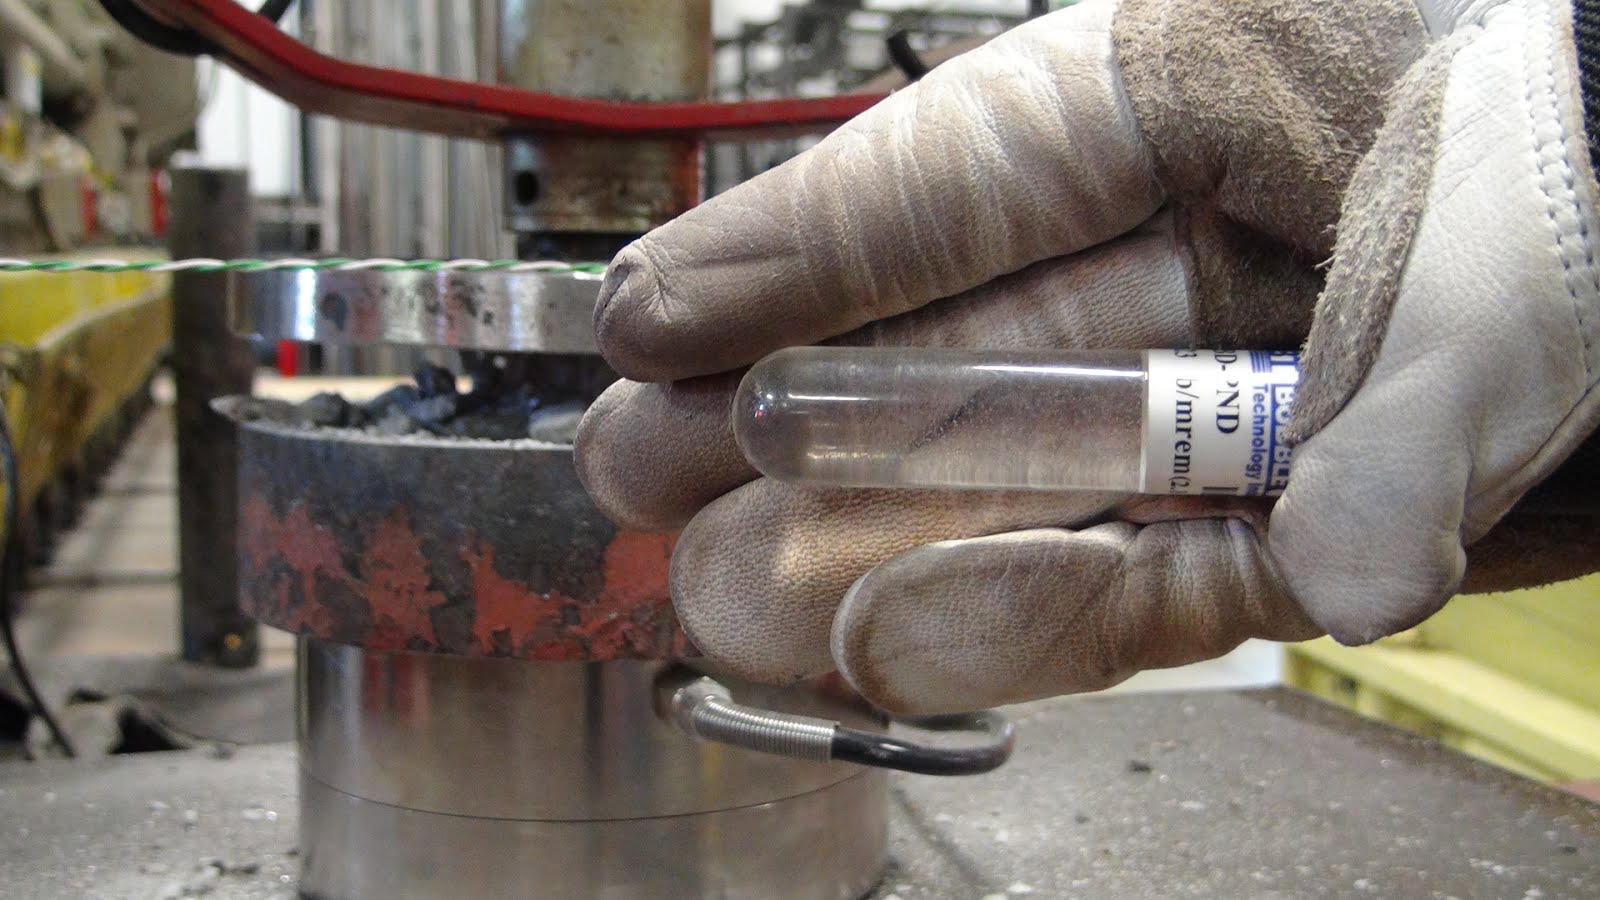
- BTI Neutron Detectors same detectors used by Carpinteri
- informative pdf describing detectors
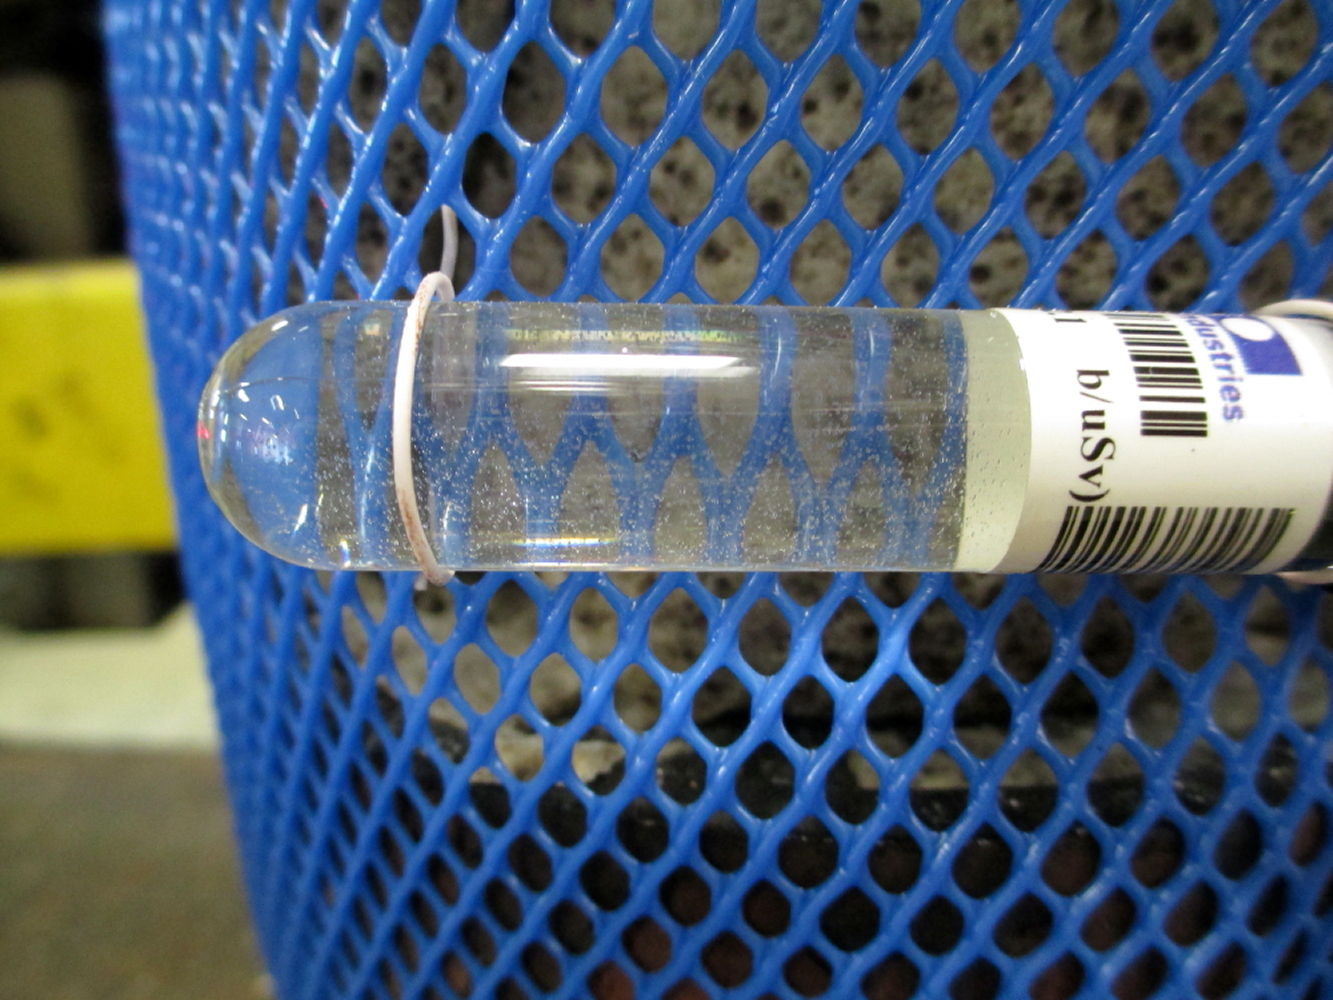
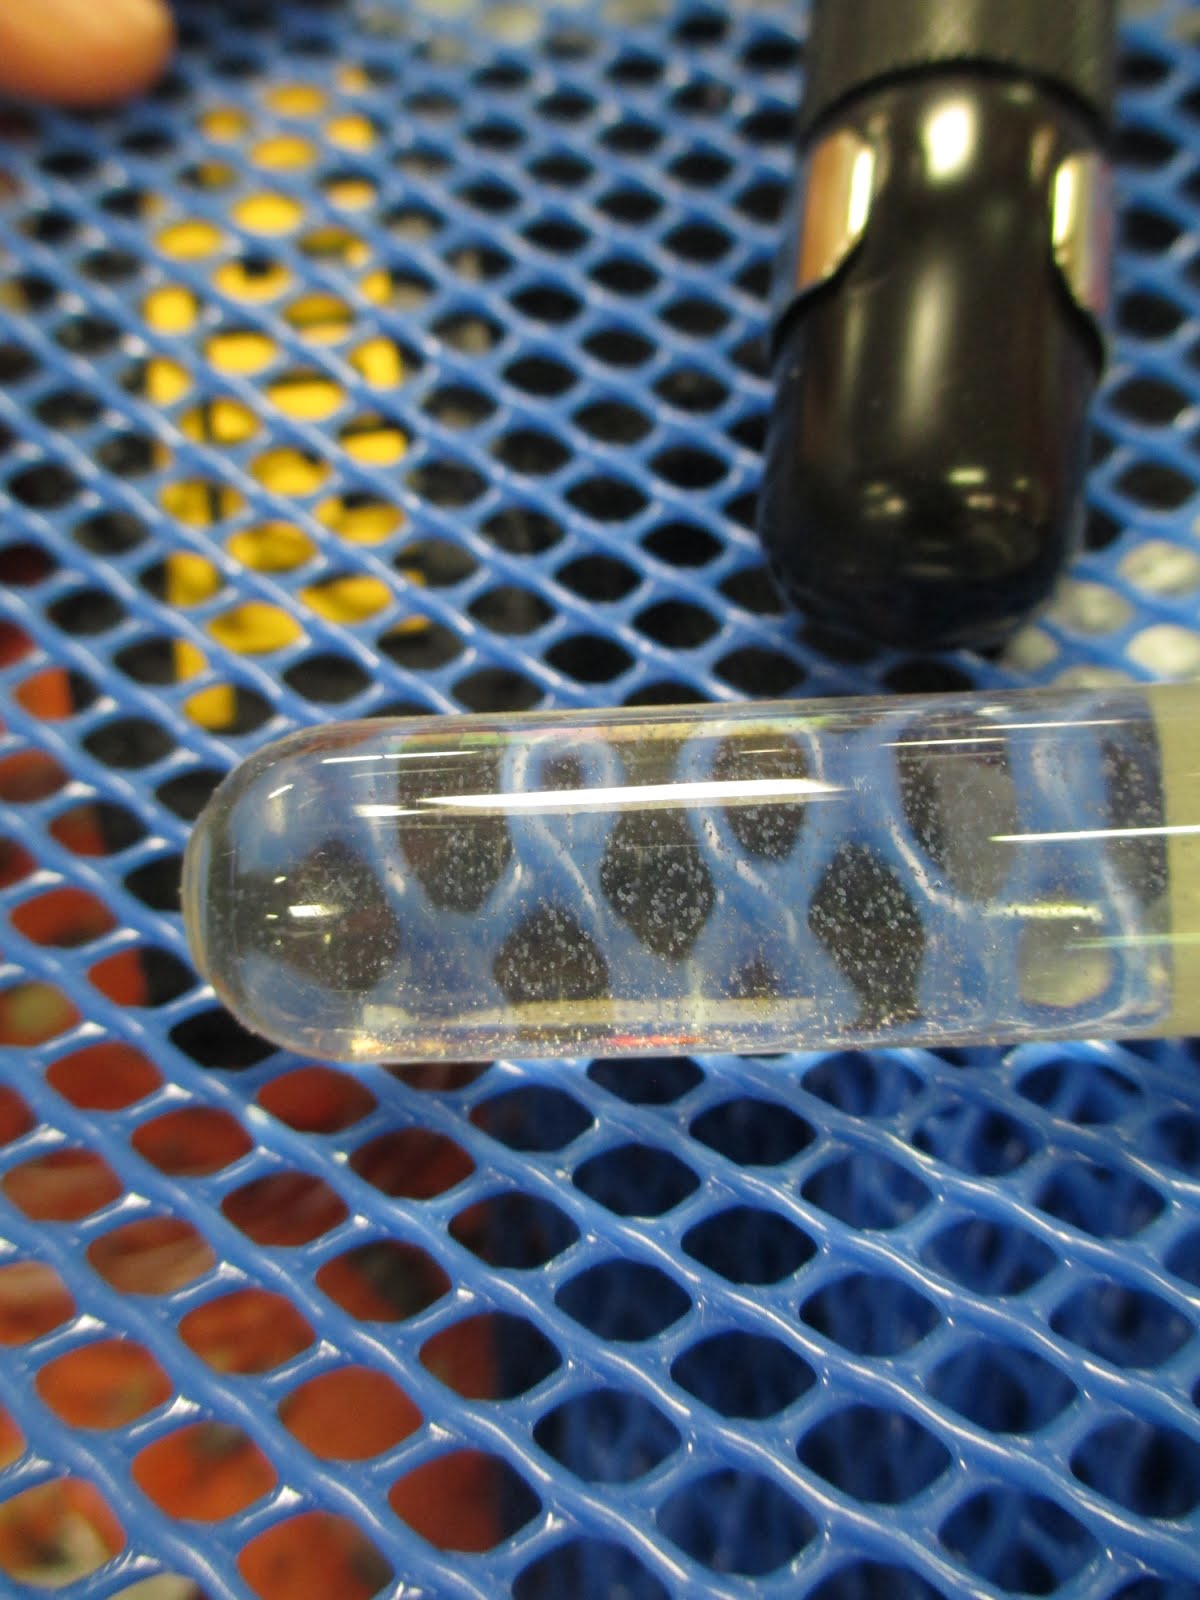
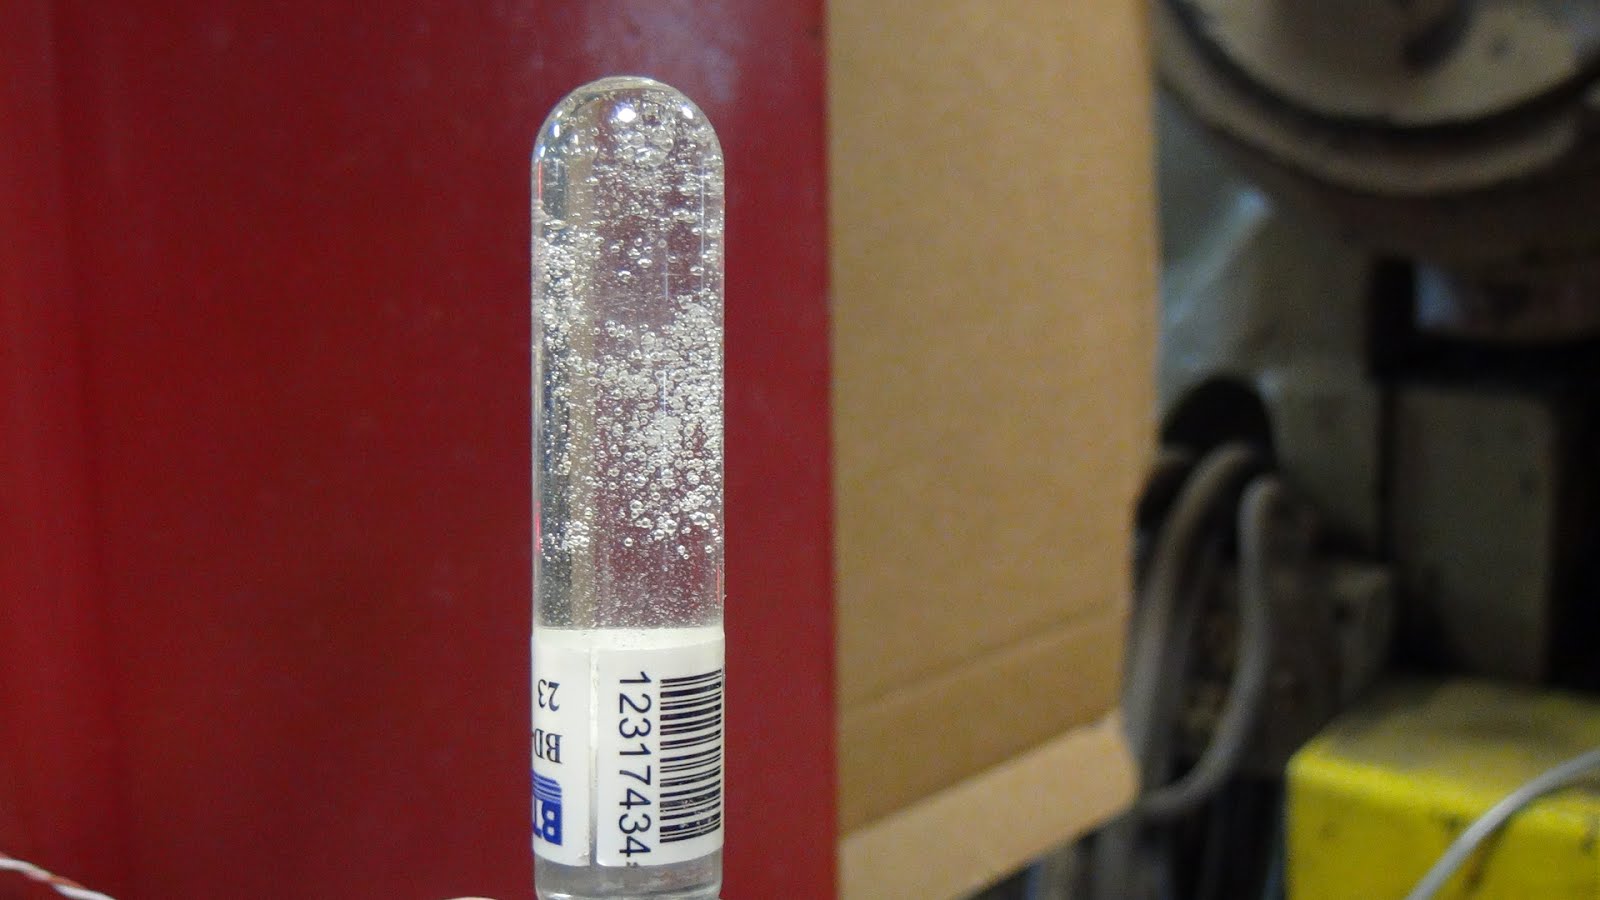
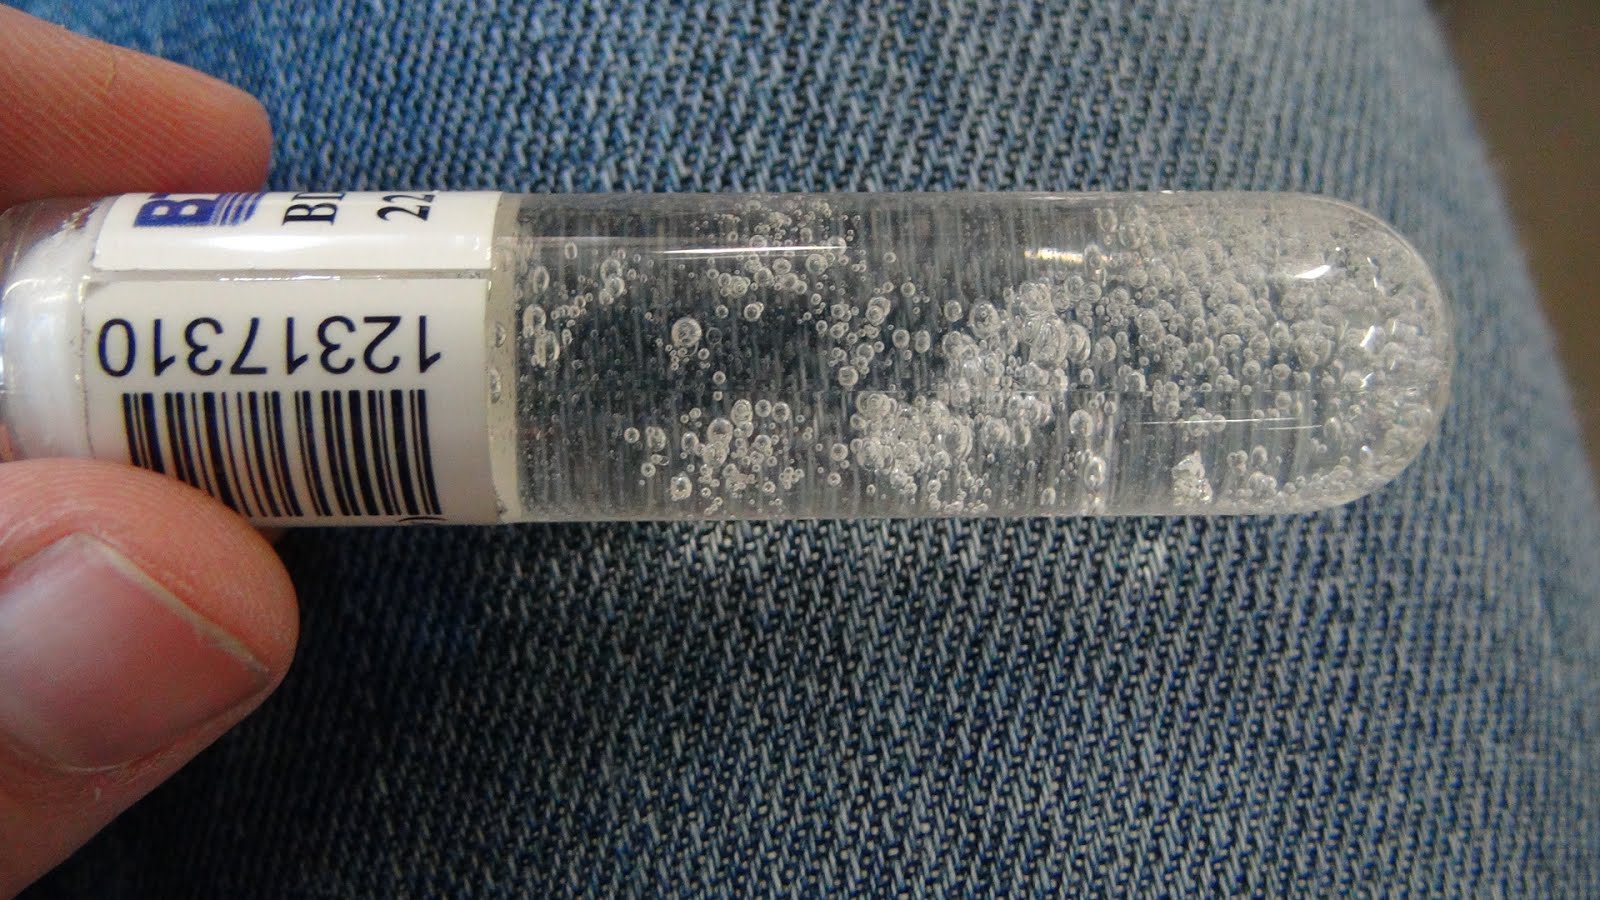
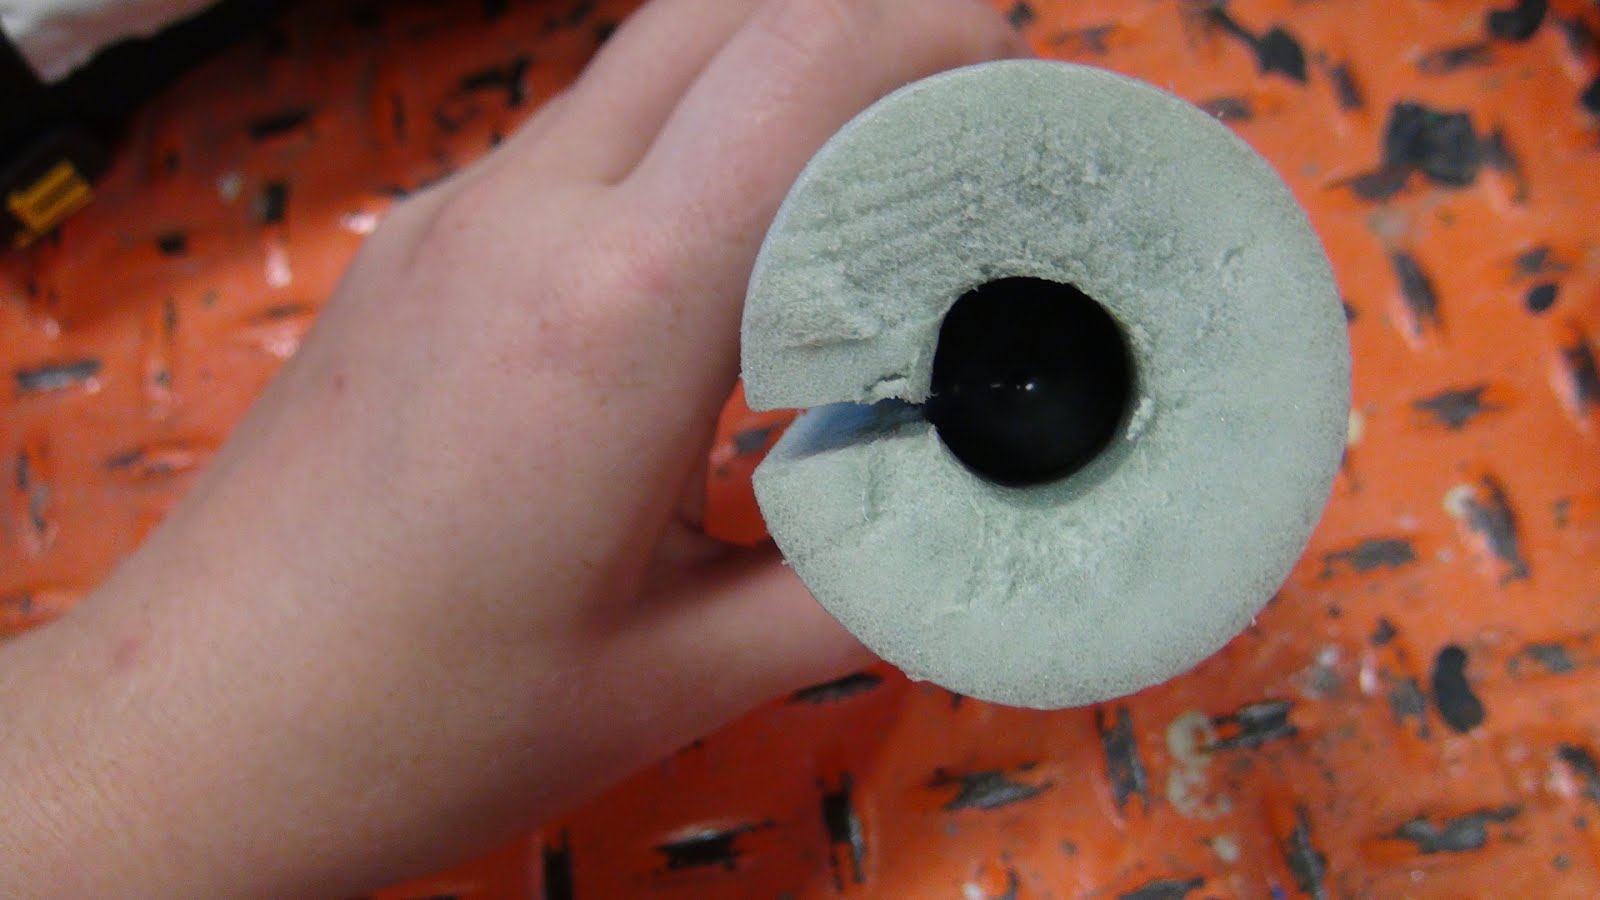
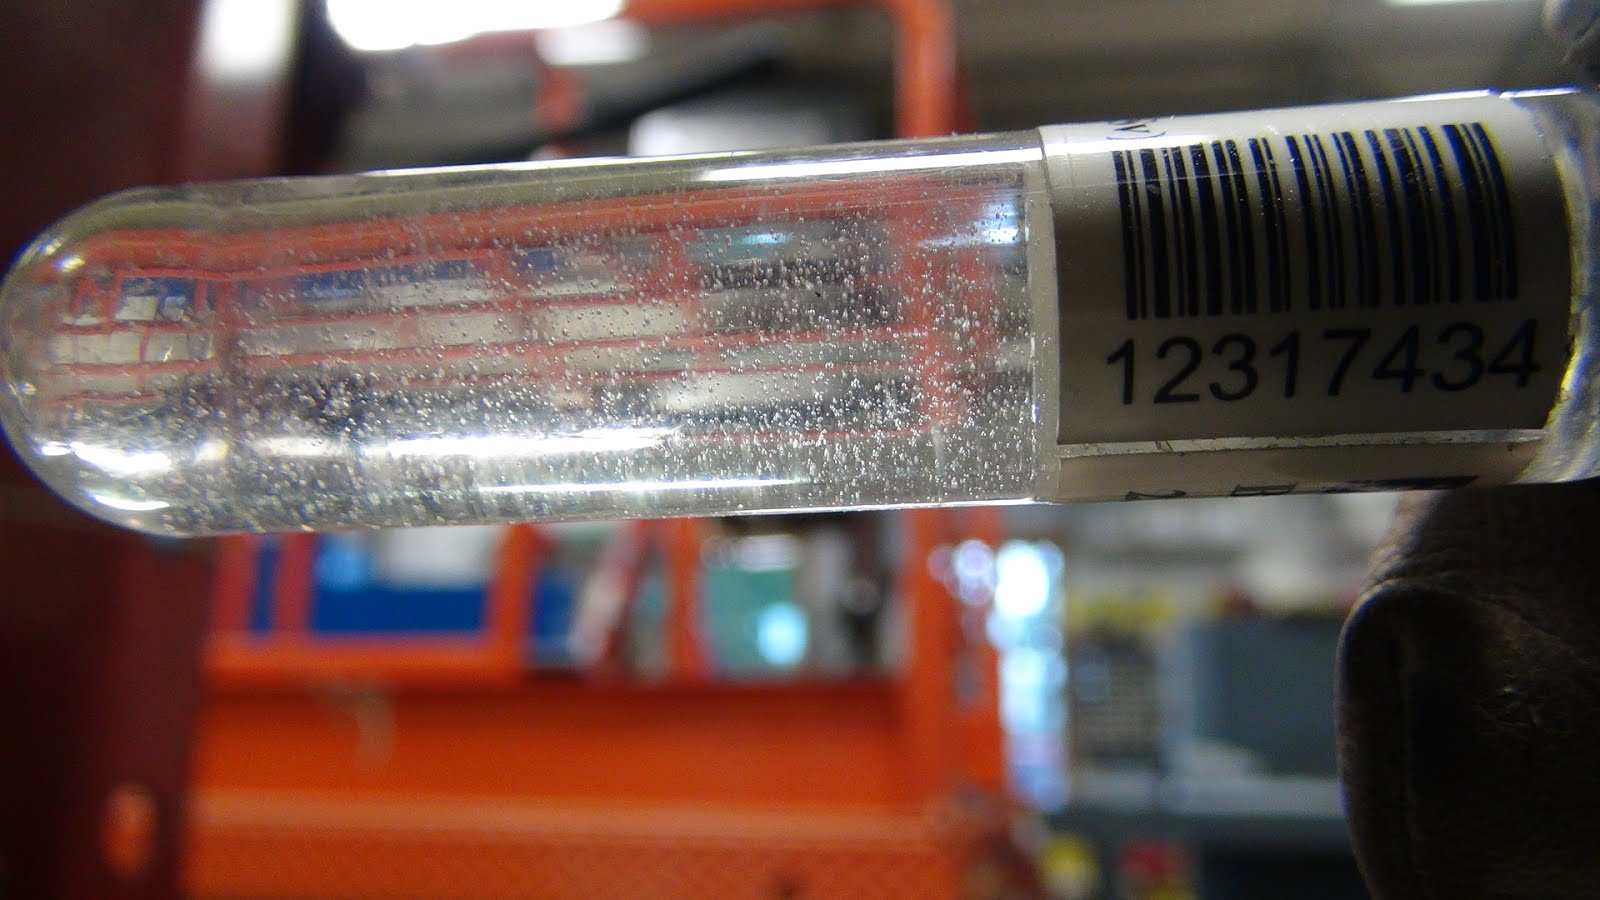
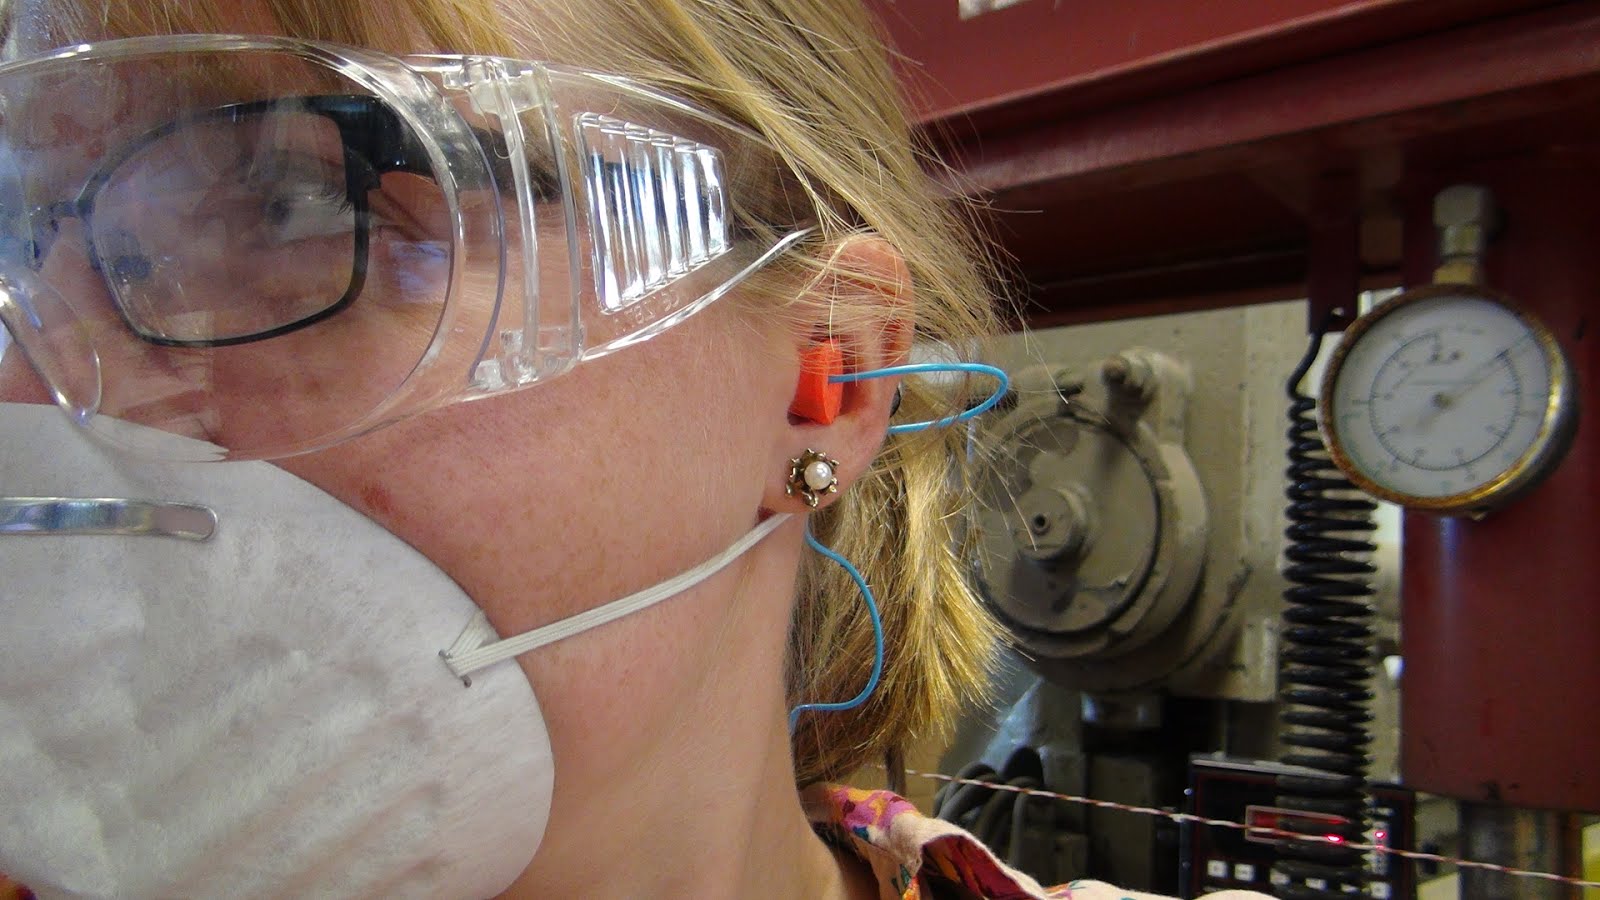
- Bubbles form when a neutron hits, easily counted with human eye.
- Con: Risk of bubble formation from shock waves.
- Con: Shelf life of 3-4 months
- Pro: Bubbles can be removed so the detector can be reused by pressurizing the detector using the provided piston (if not done in a timely fashion the bubbles become permanent)
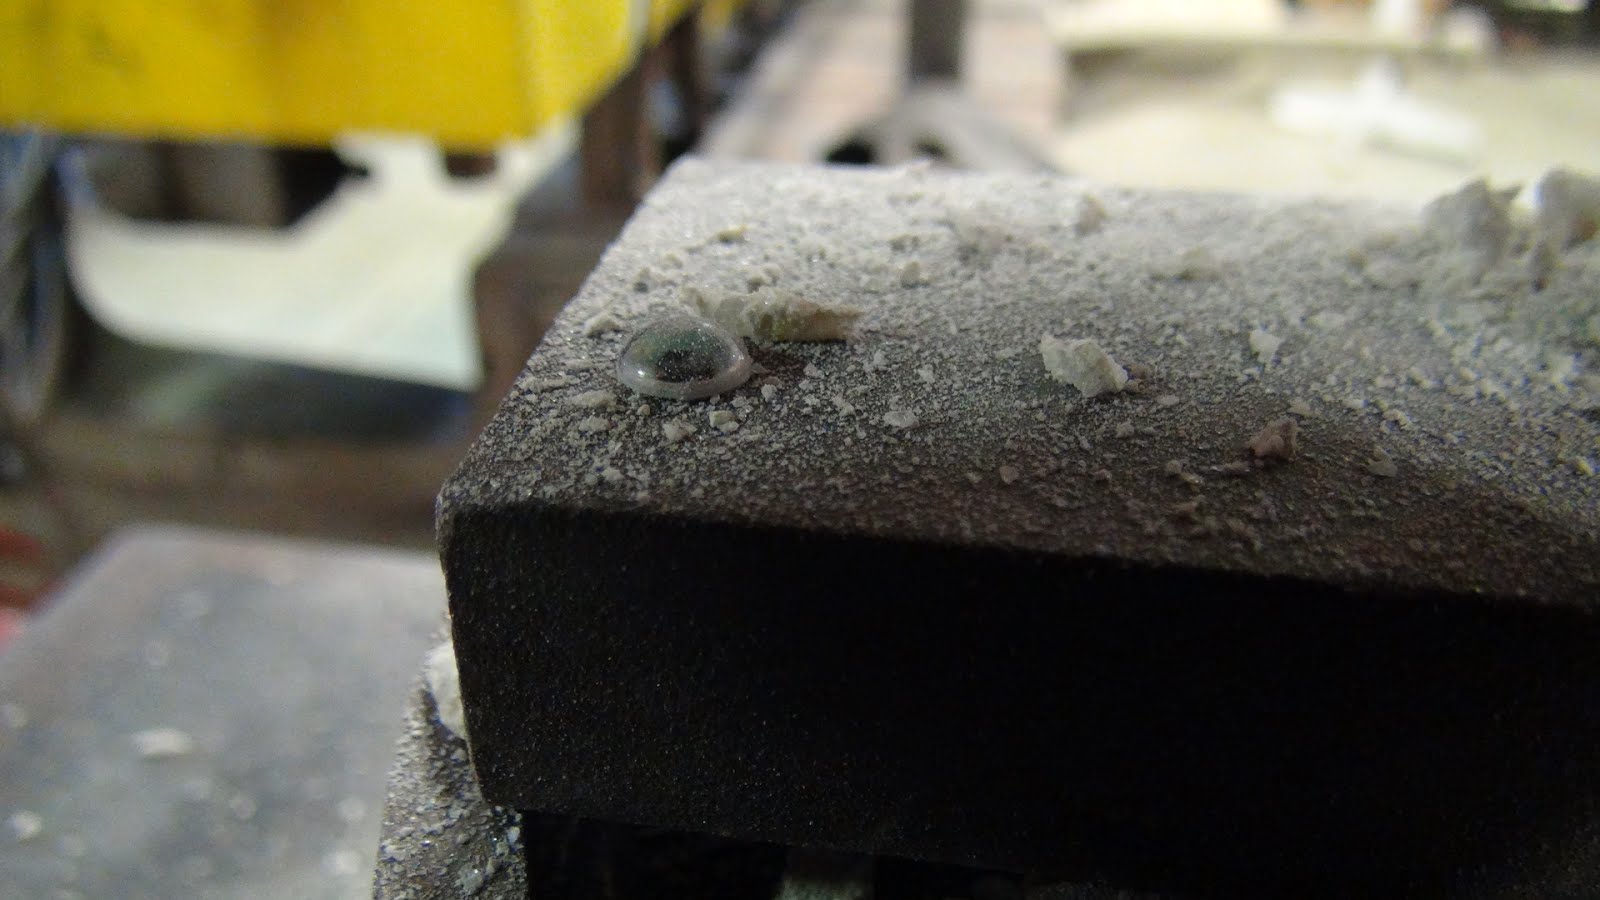
- NOTE: When photographing lighting can sometimes give the illusion of bubbles where they do not exist. A bubble produced by a neutron is very obvious and when we see one we will be sure to document it sufficiently.
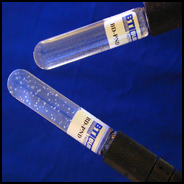
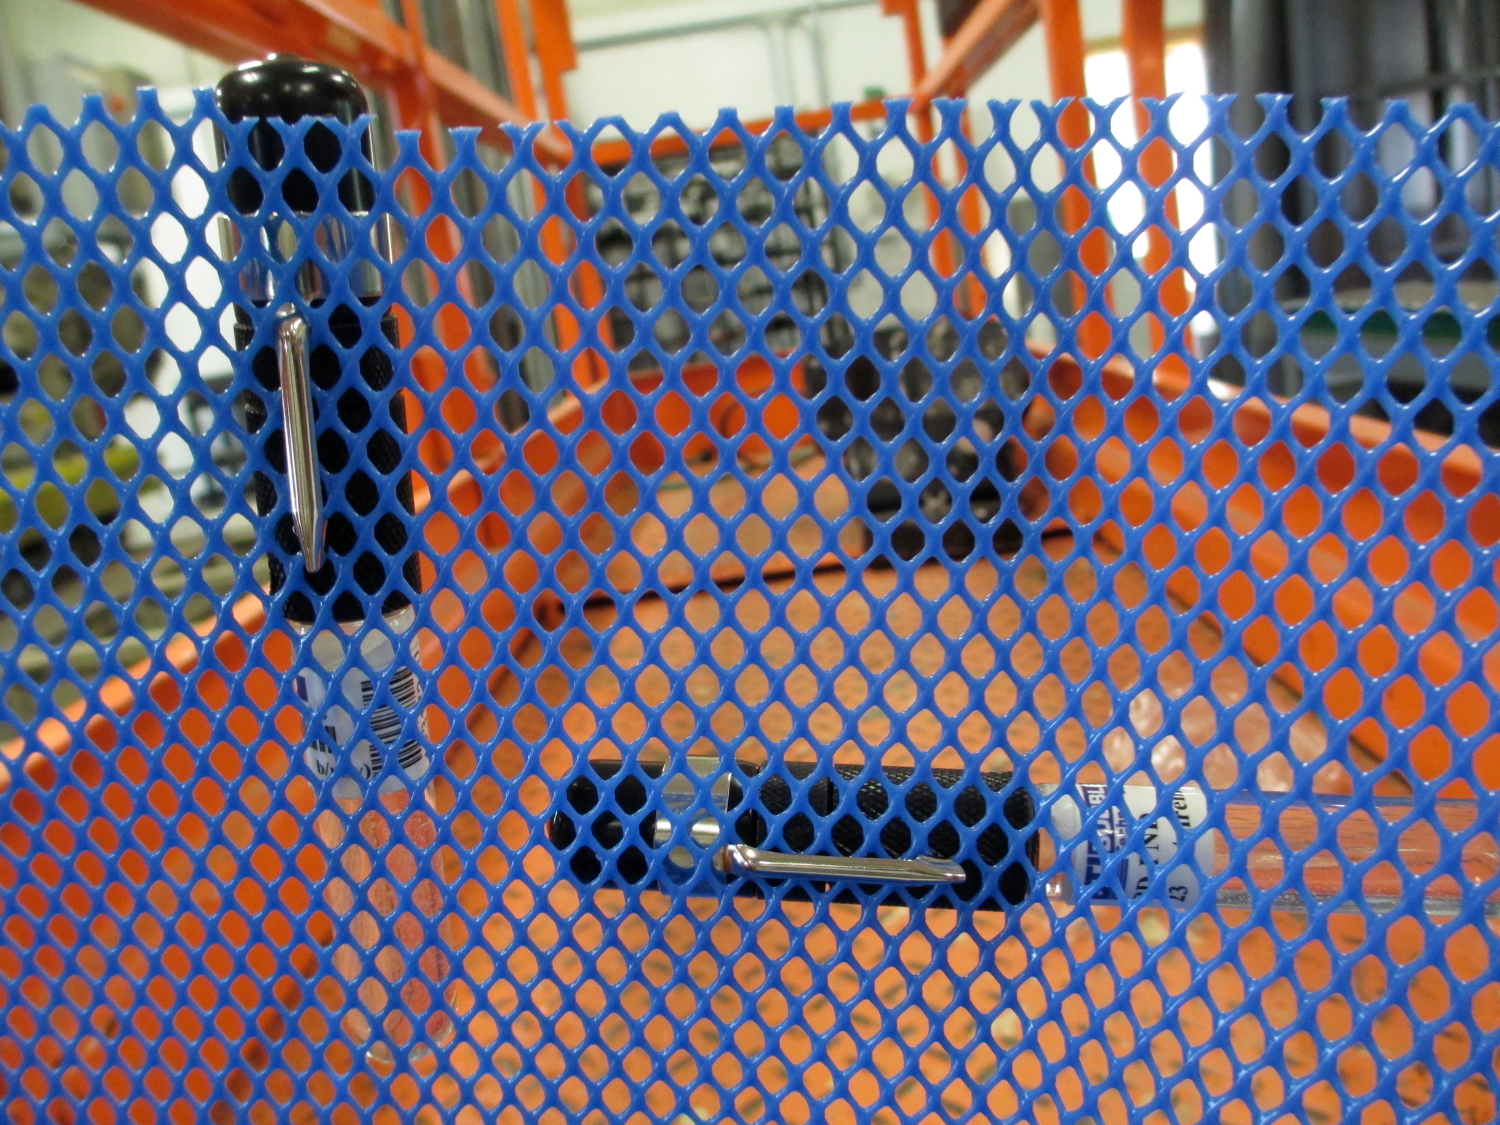
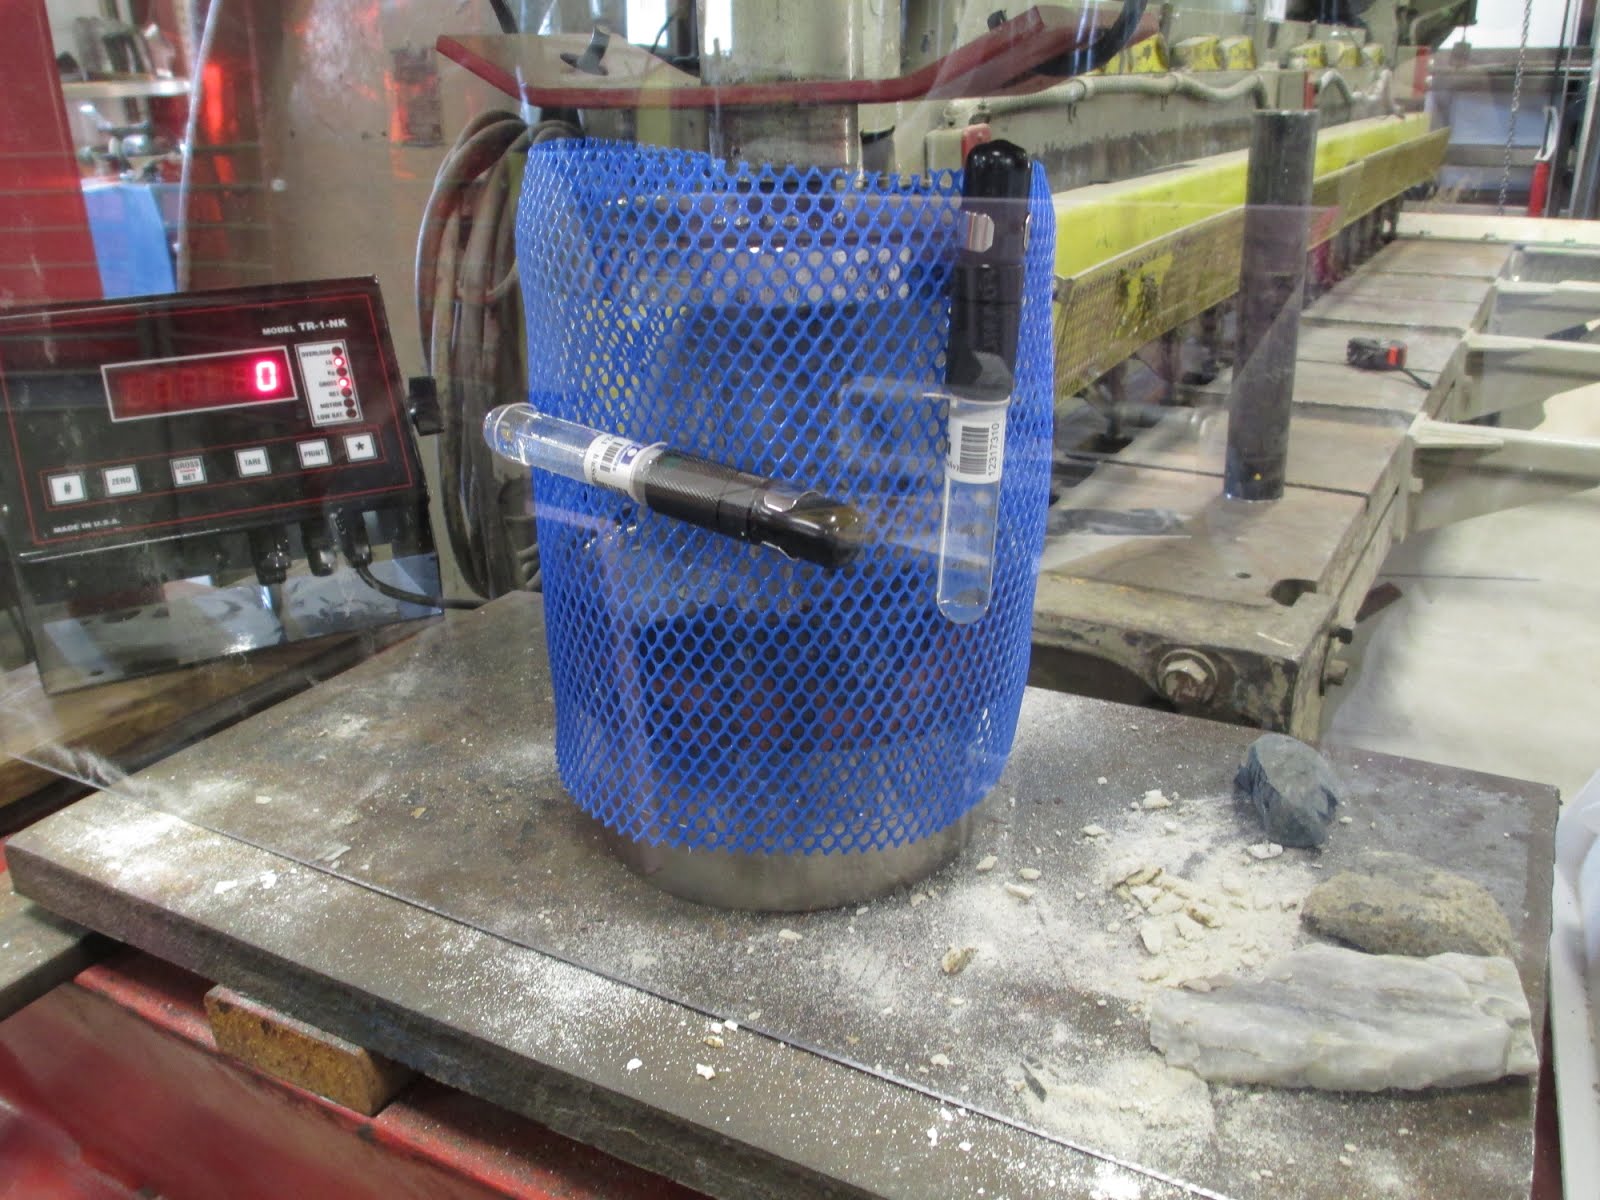
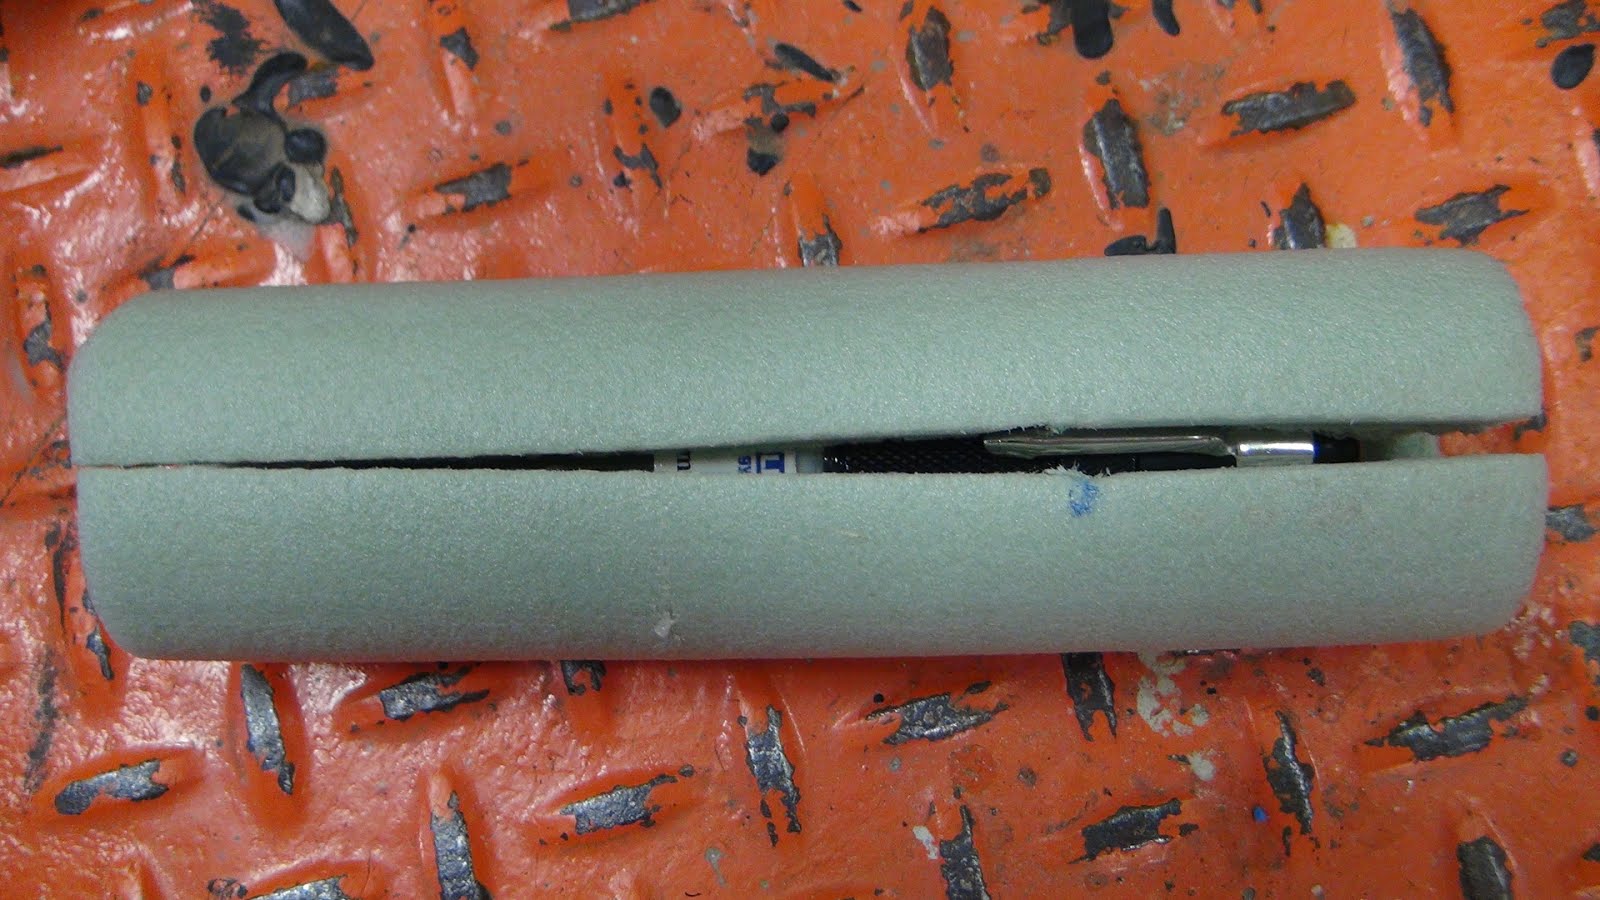
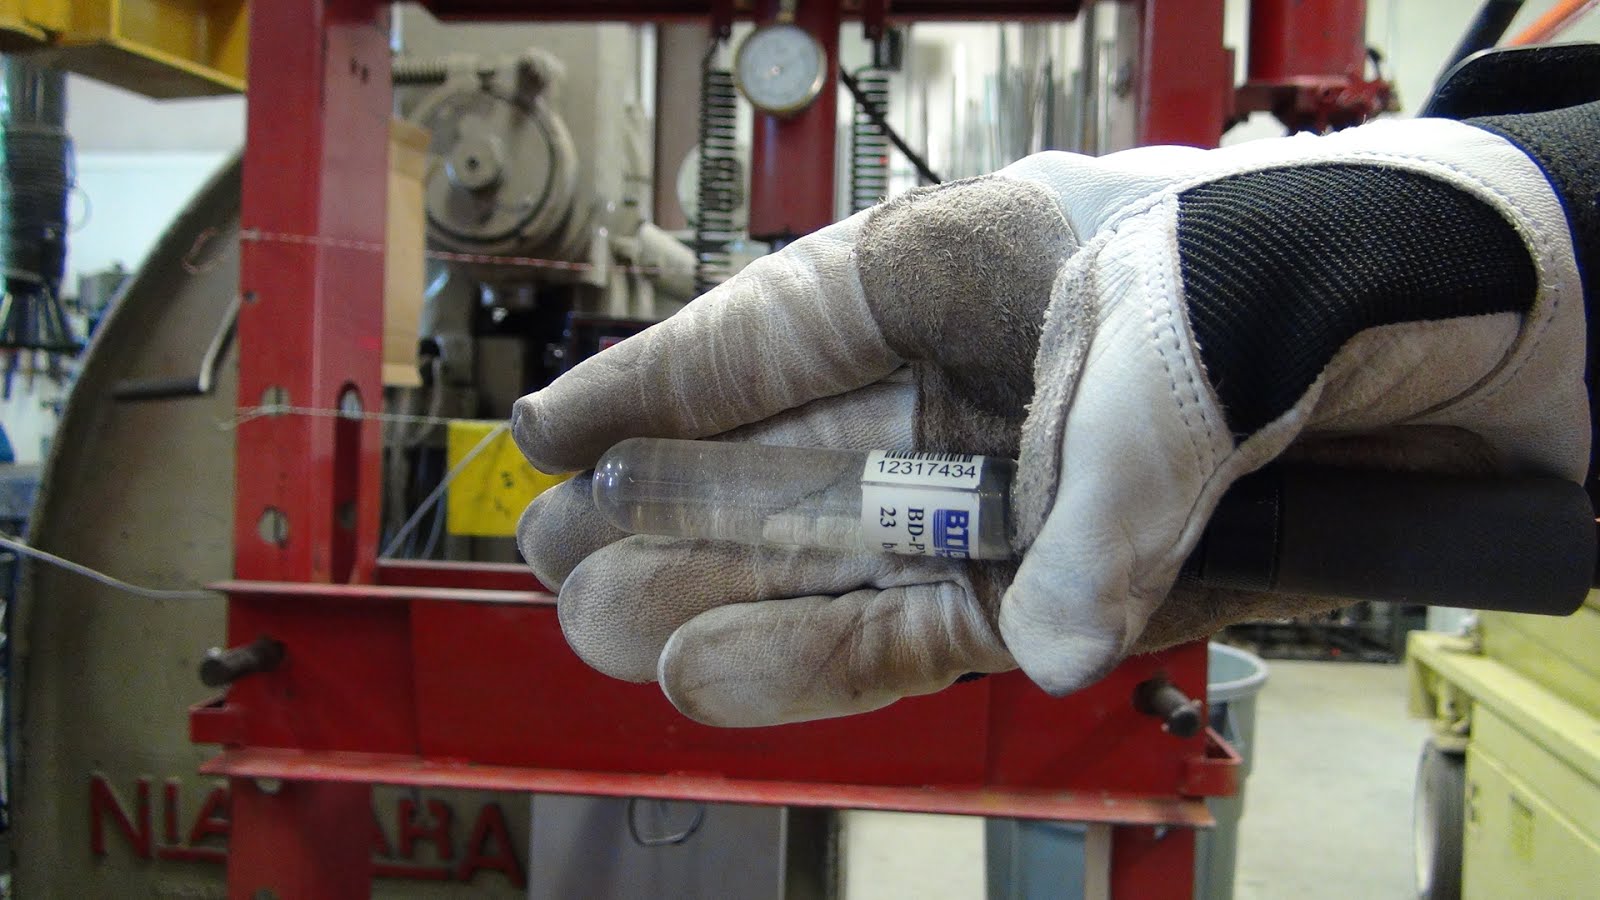
- CR-39 Detector
- Since Jordan is purchasing a sheet of CR-39 for his electrolysis experiment, a sample may be used as an additional detector
- requires protection from flying rock that would still allowing particles through
- Geiger Counter (on hand)
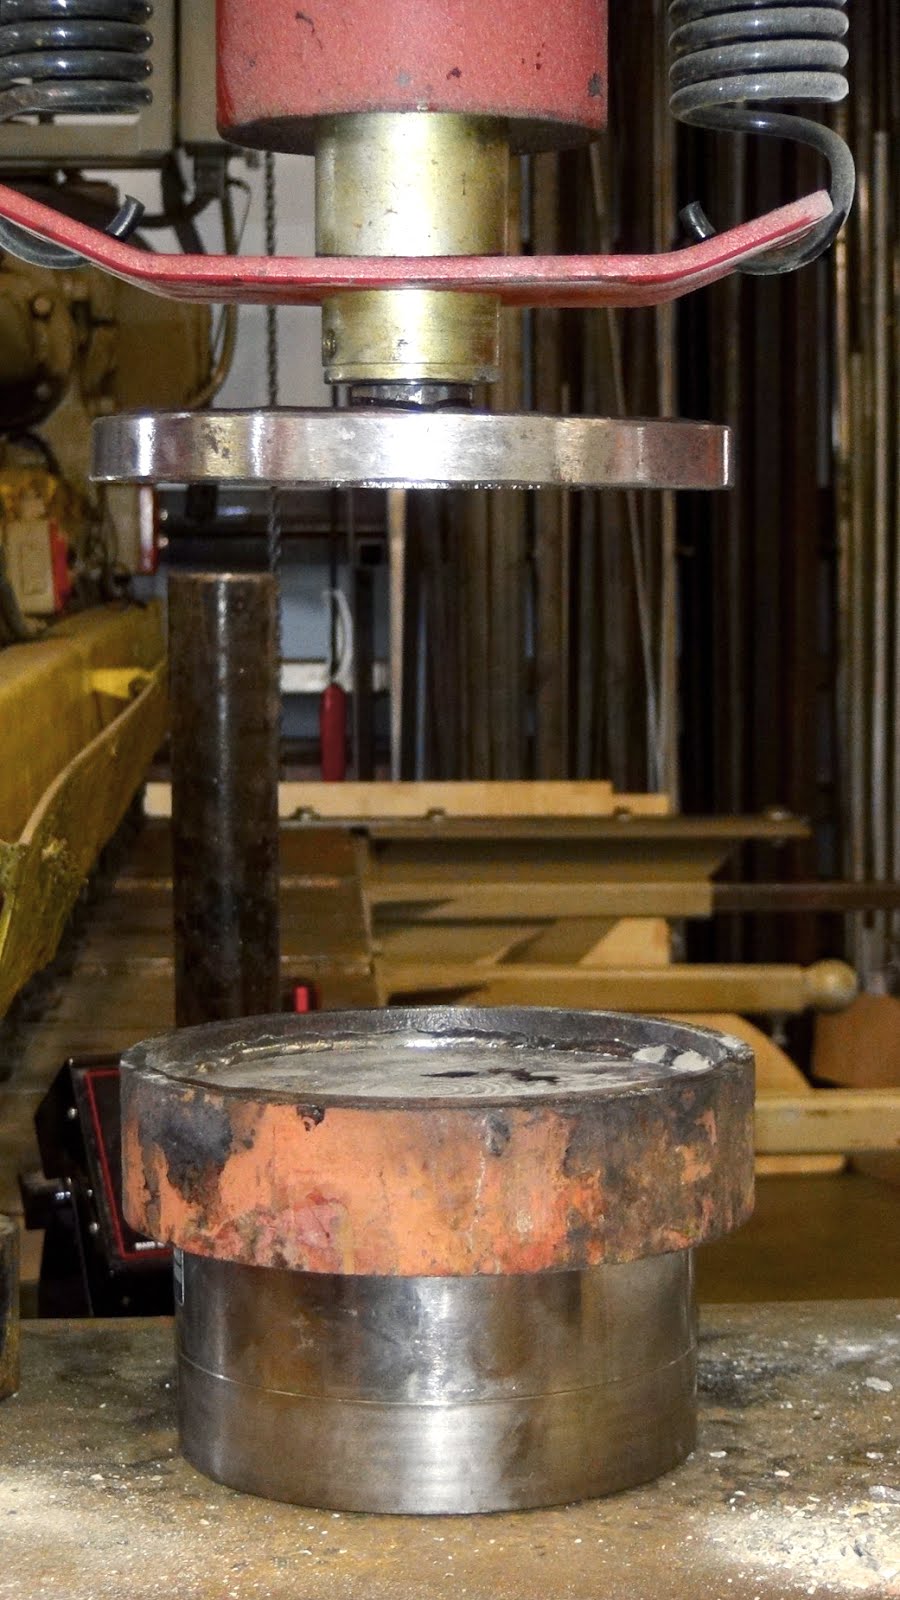
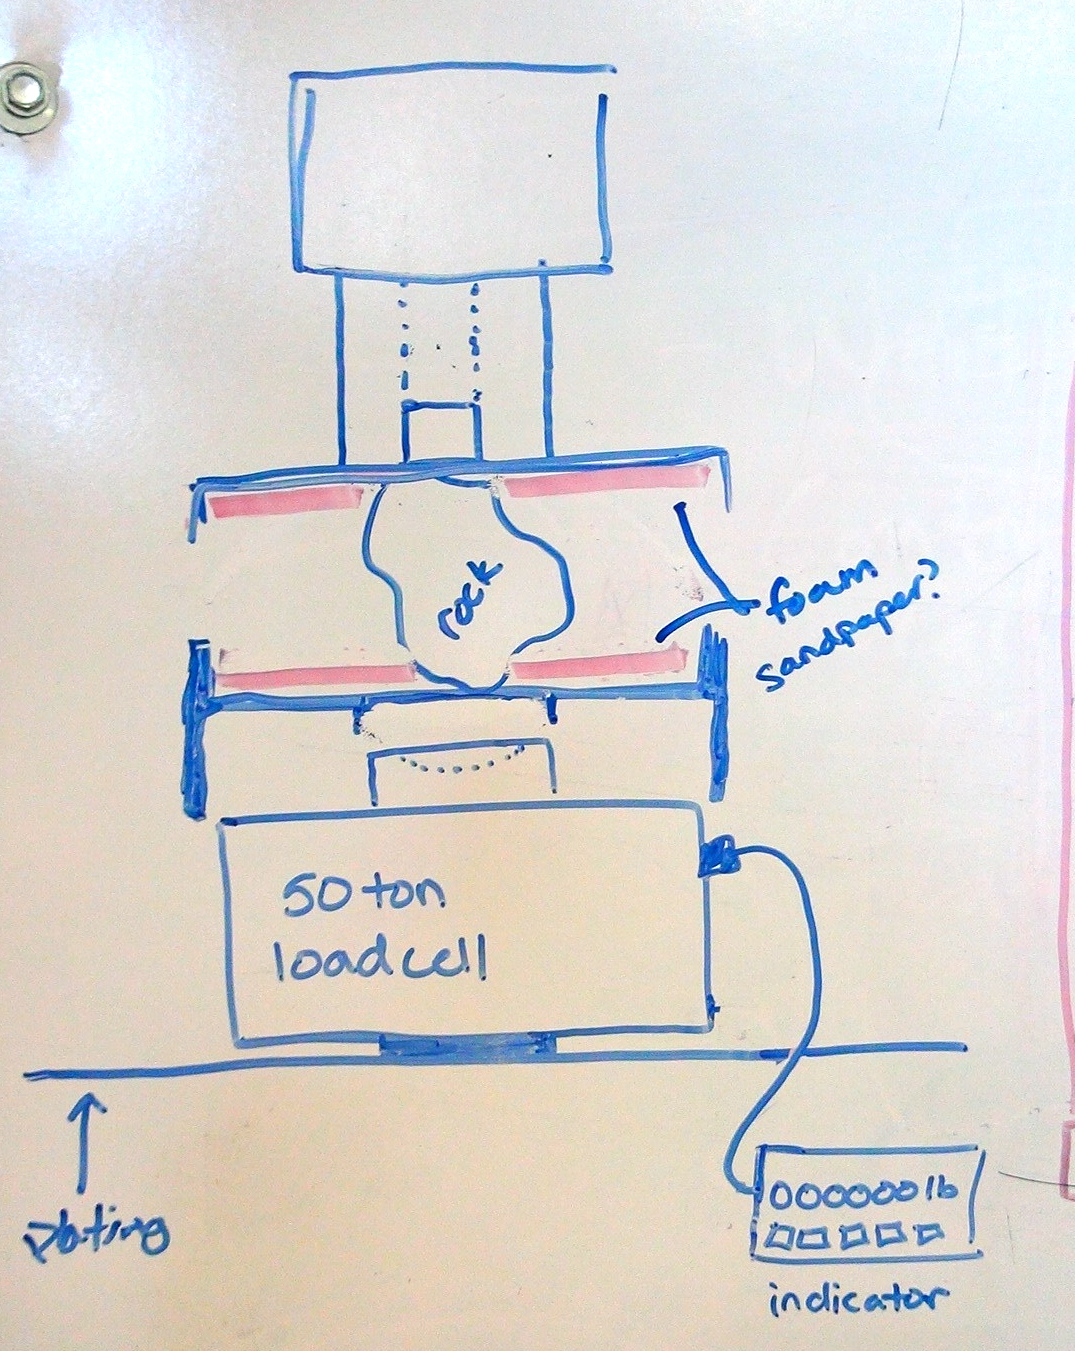
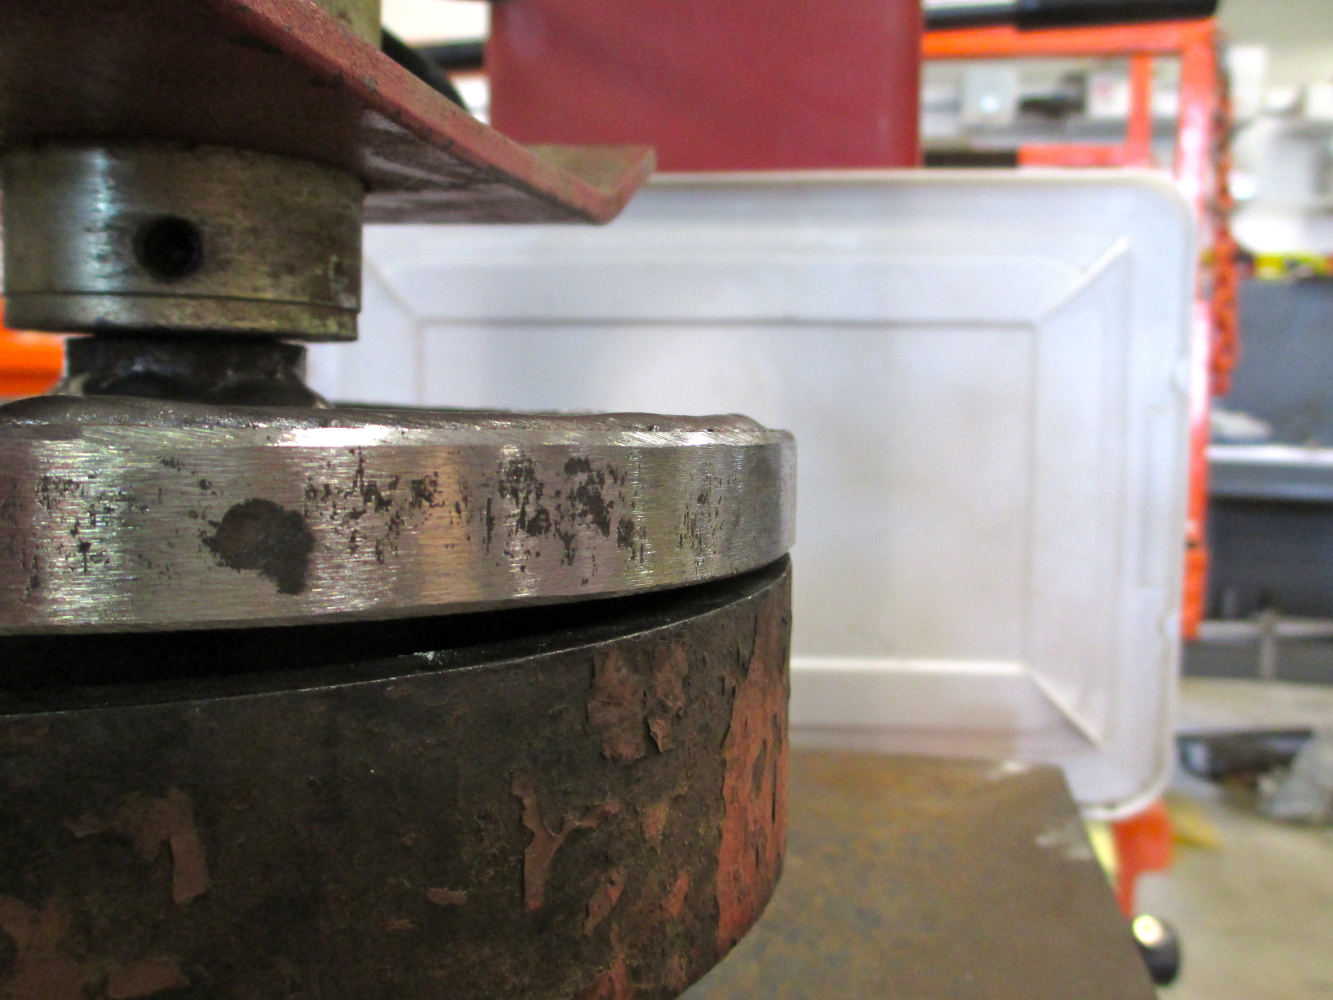
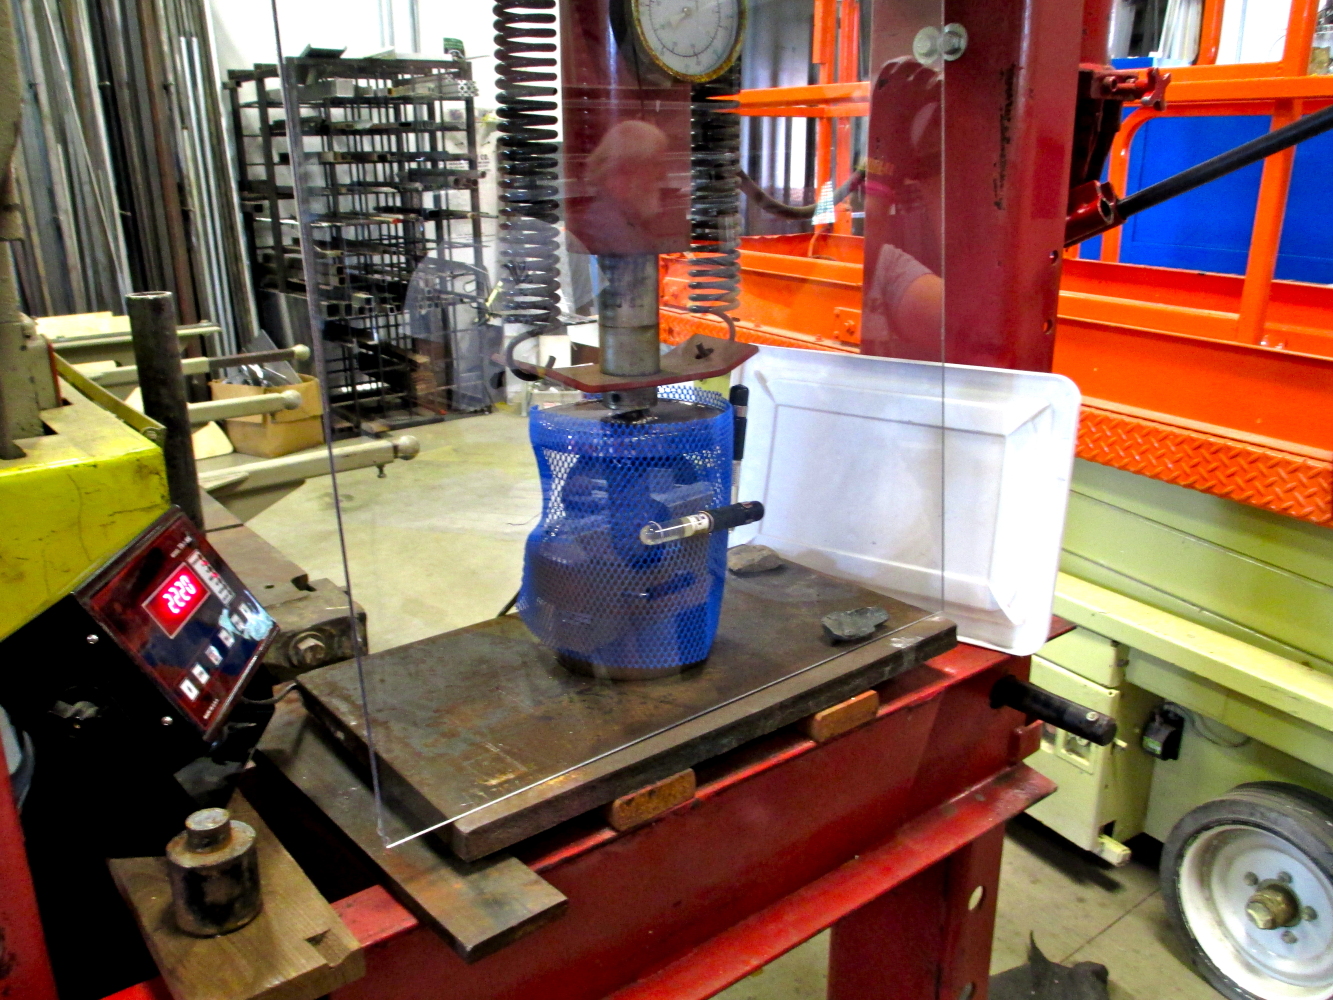
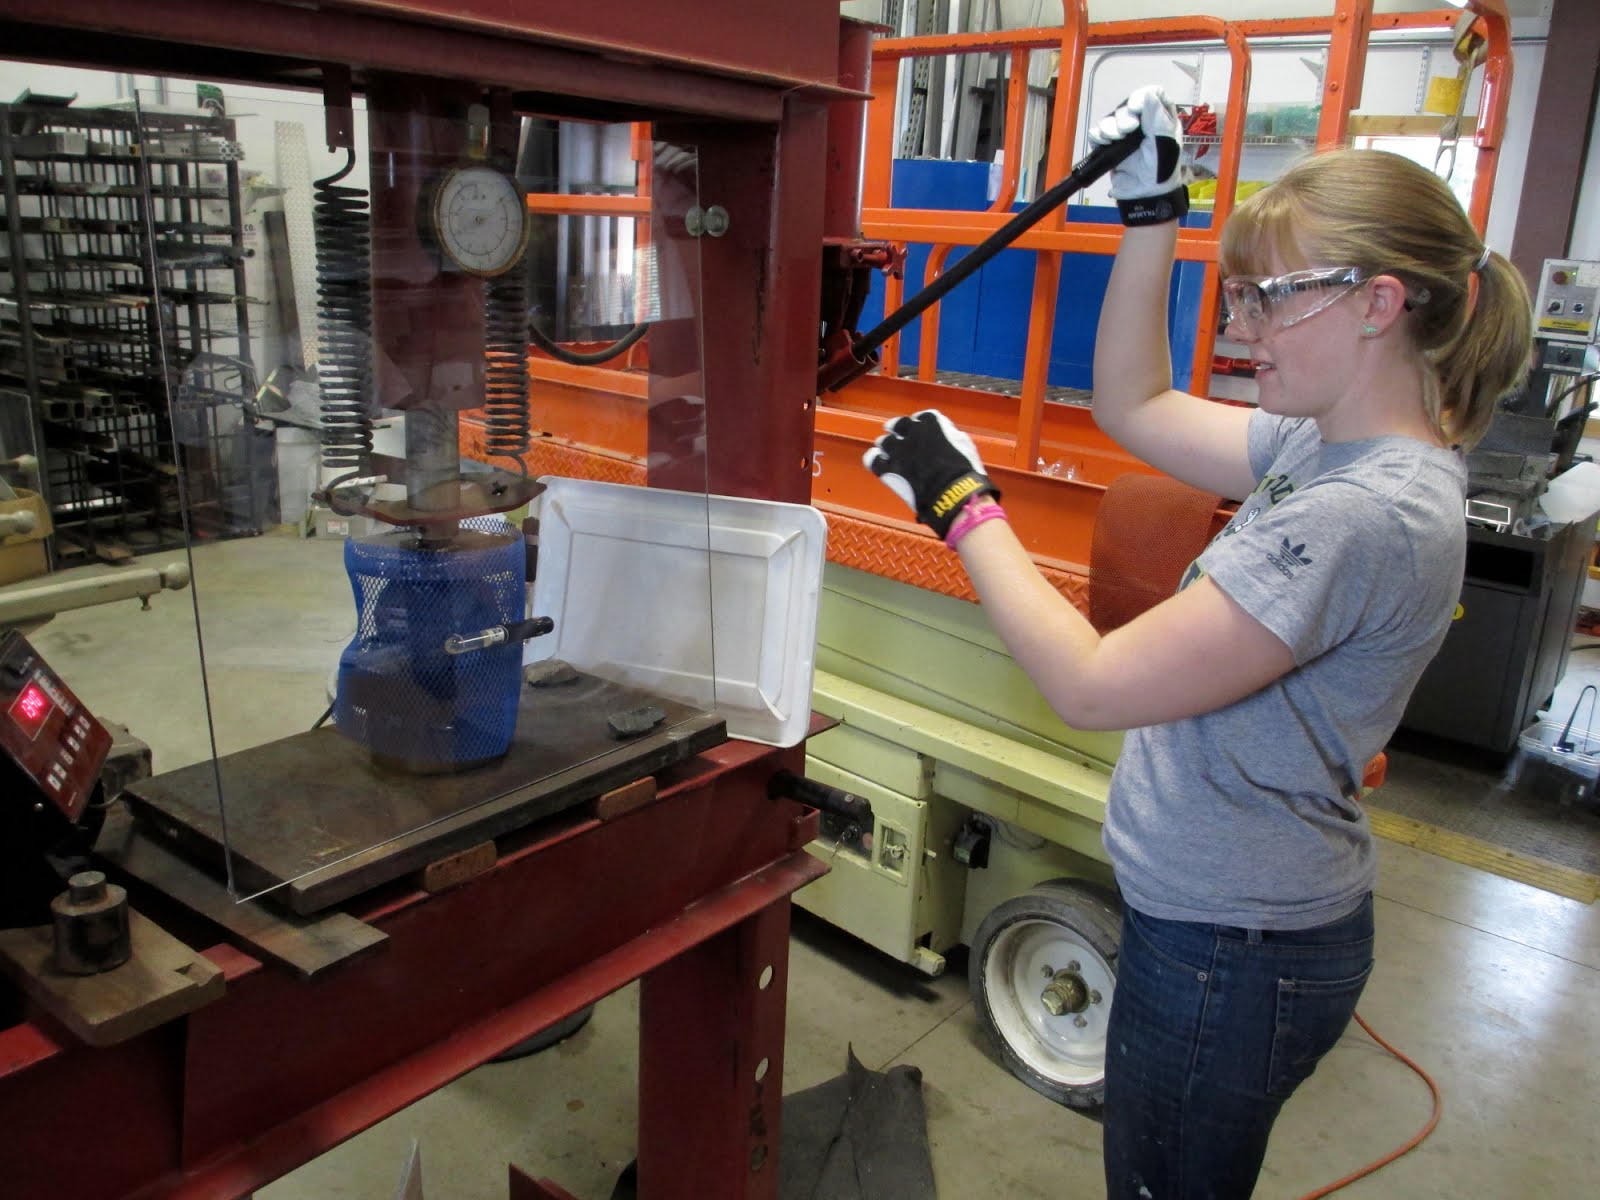
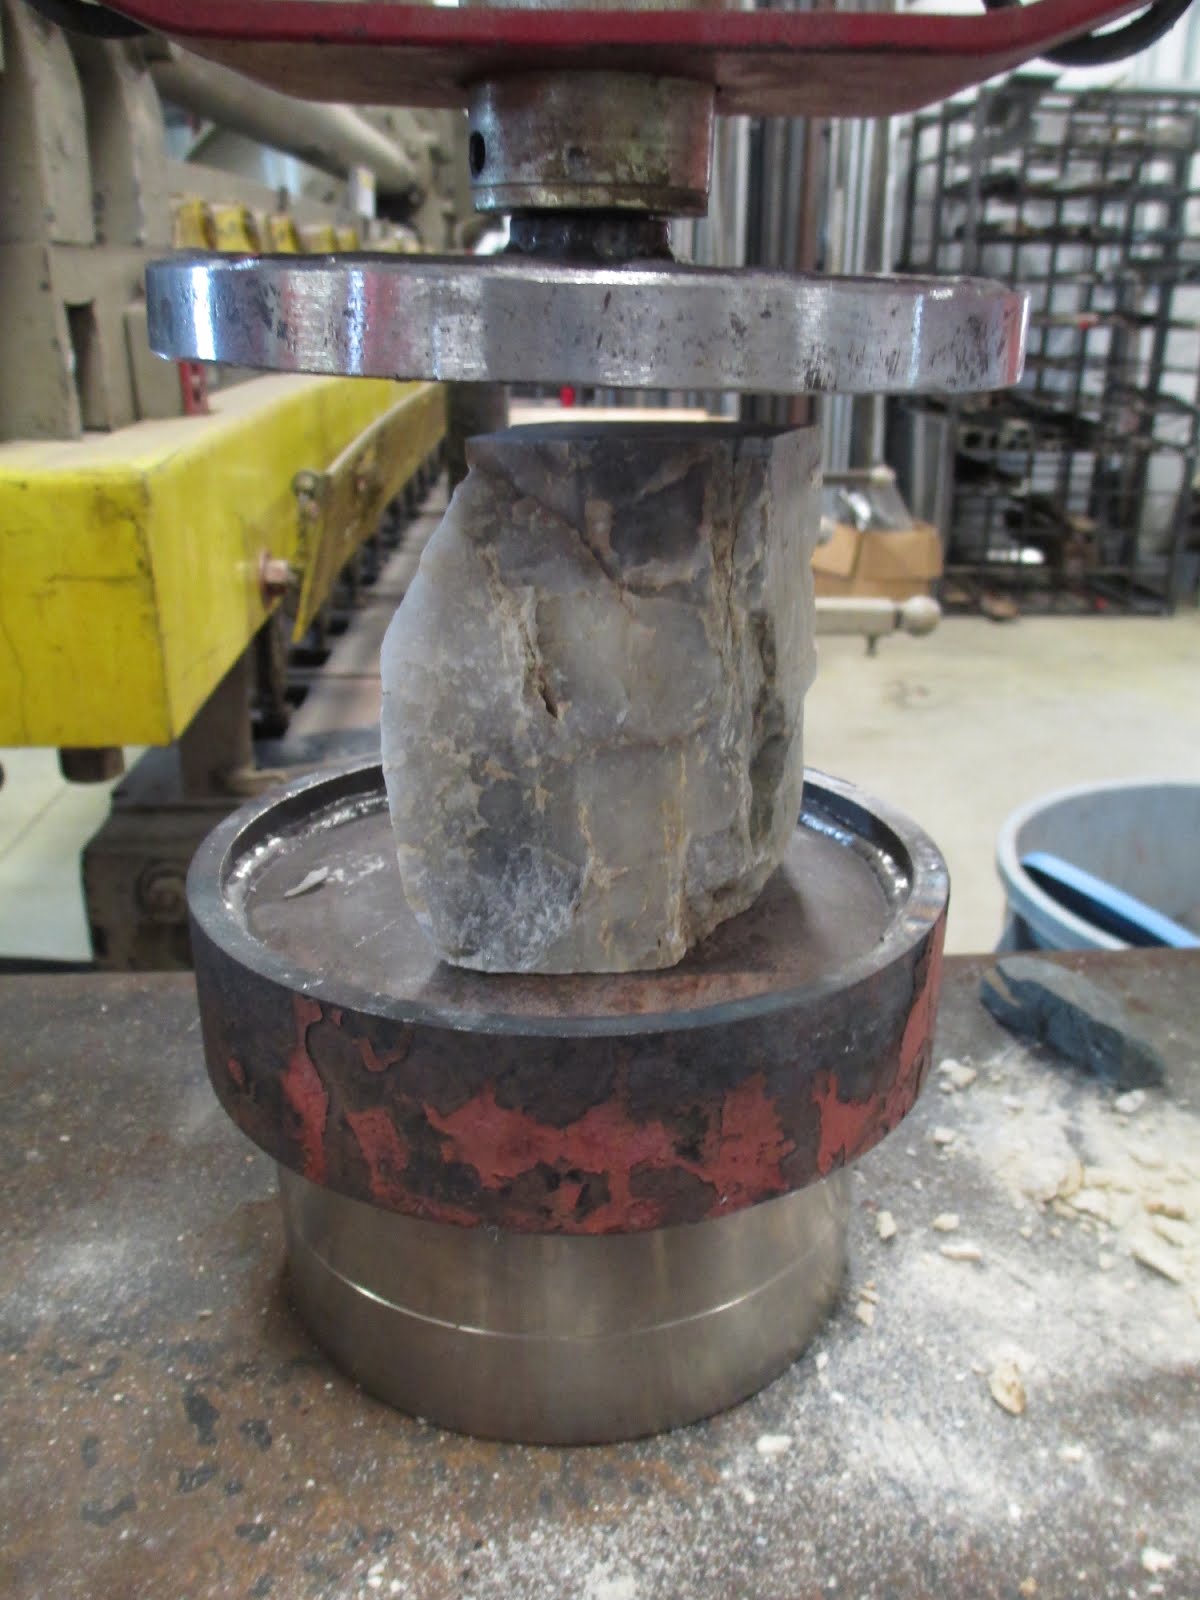
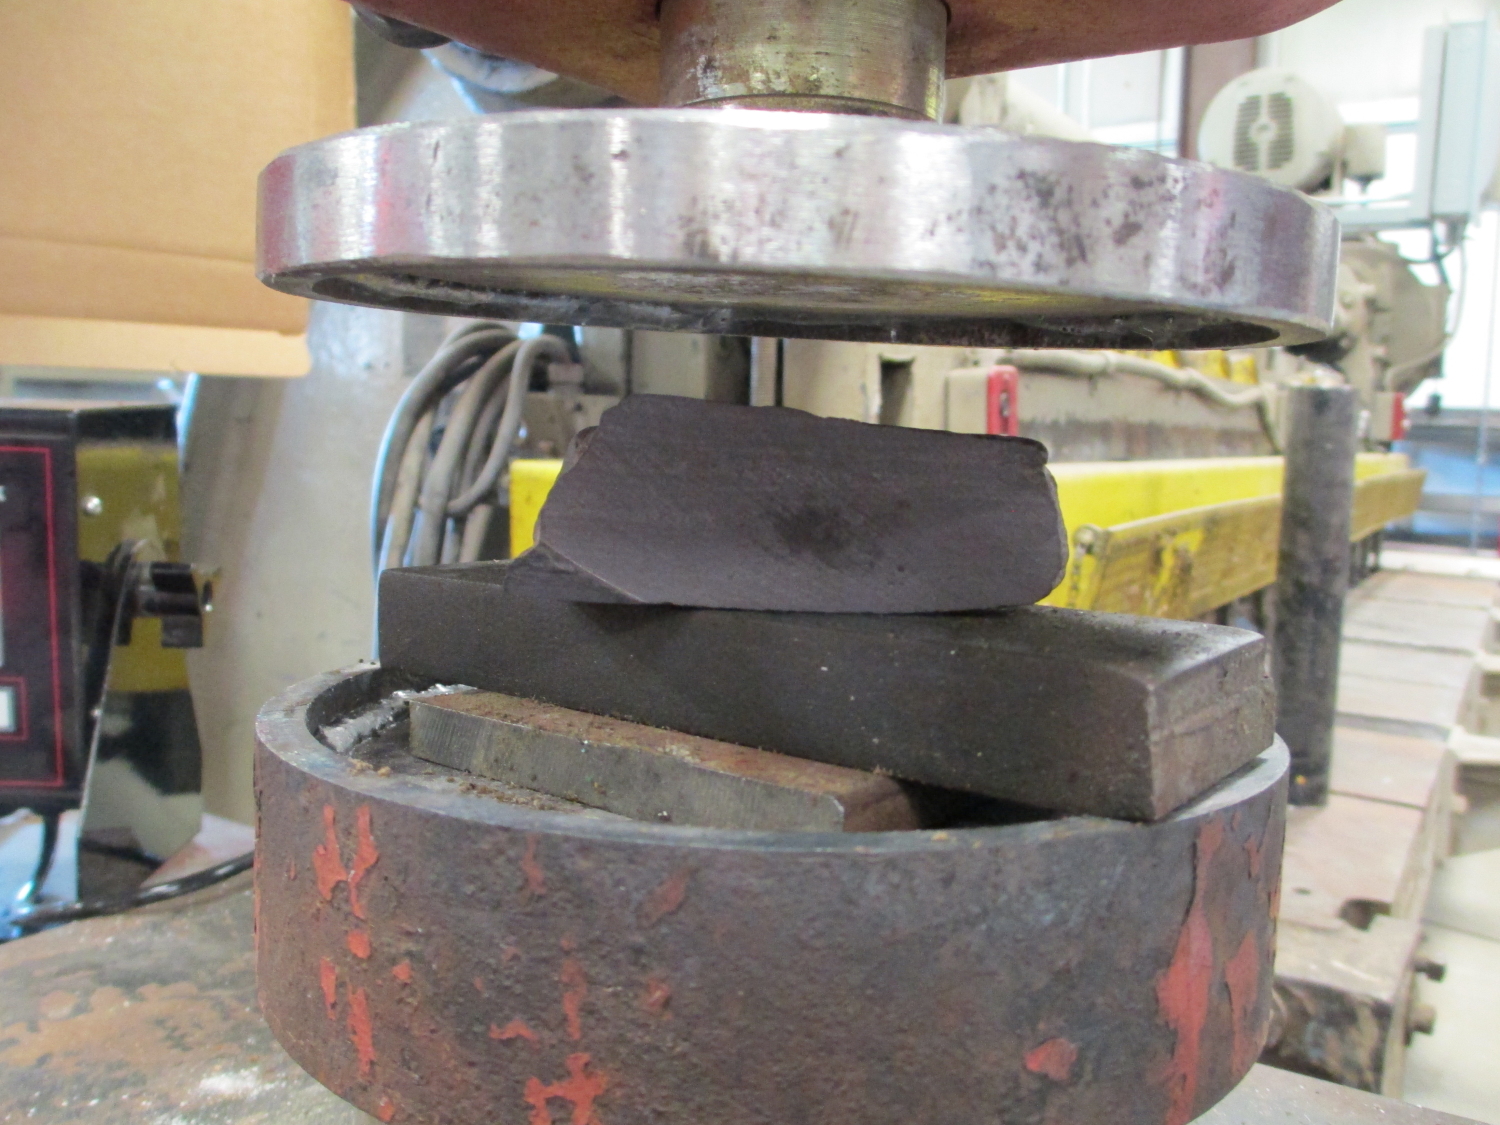
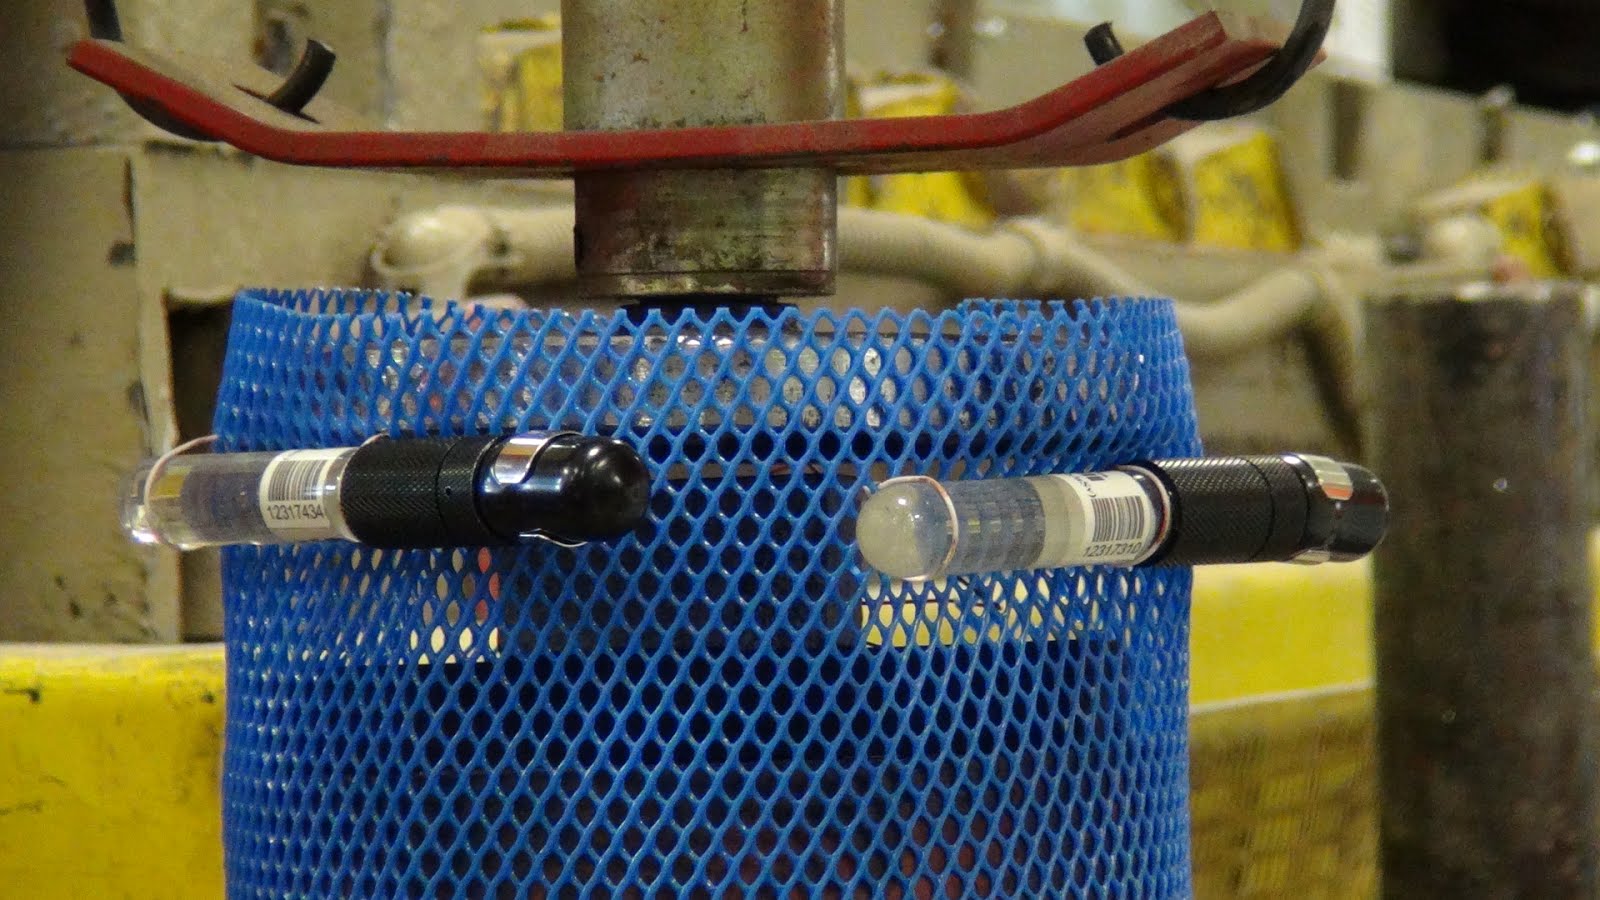
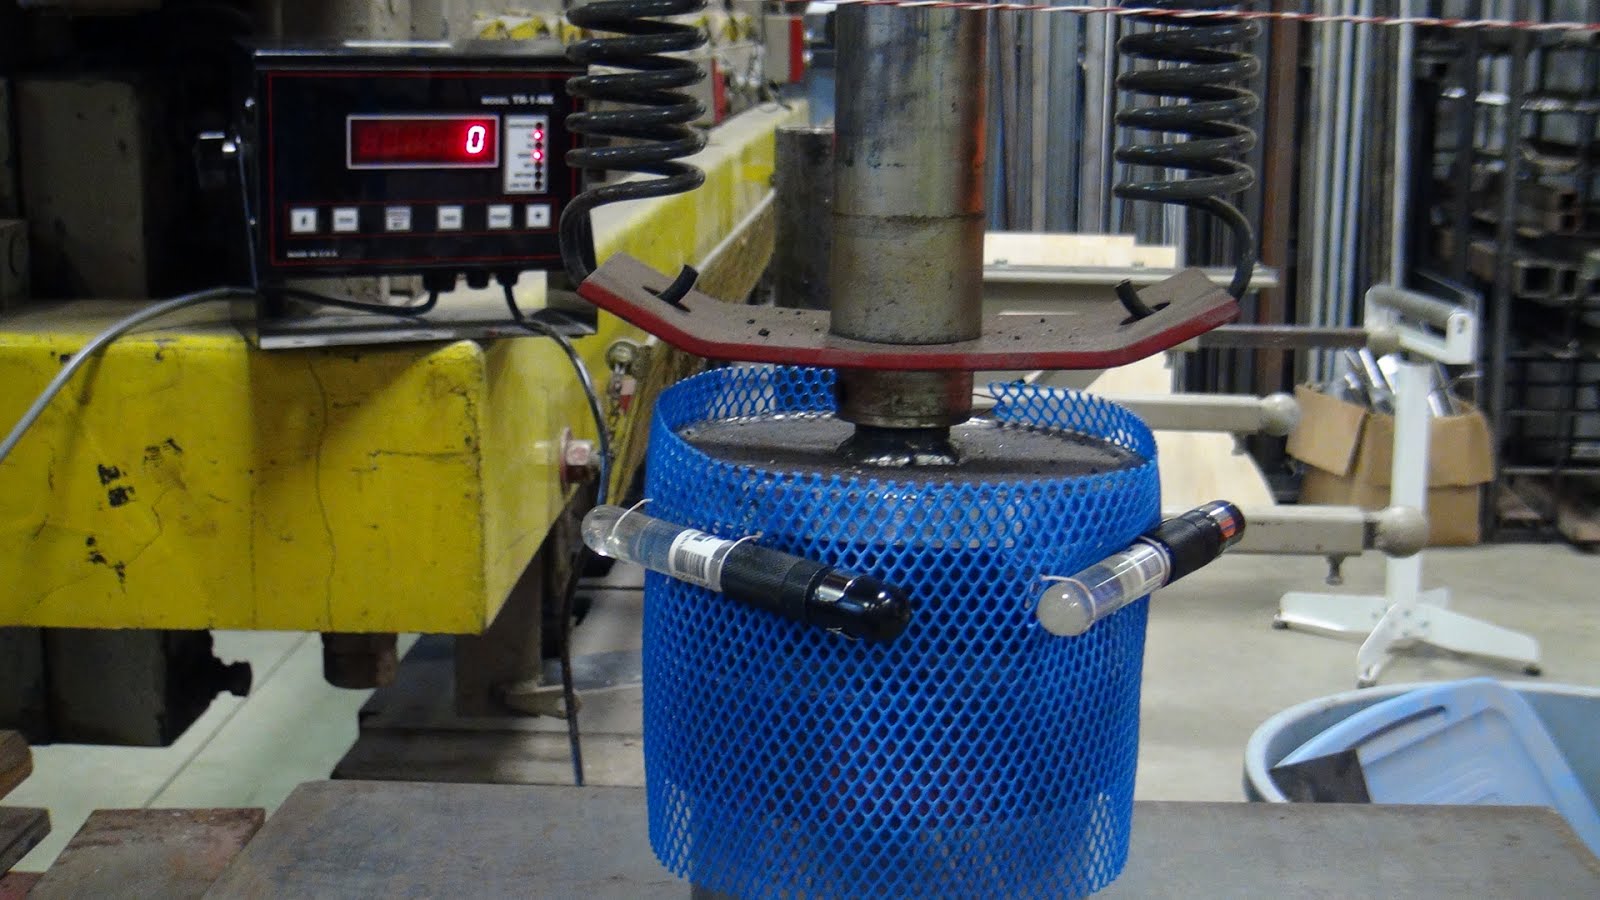
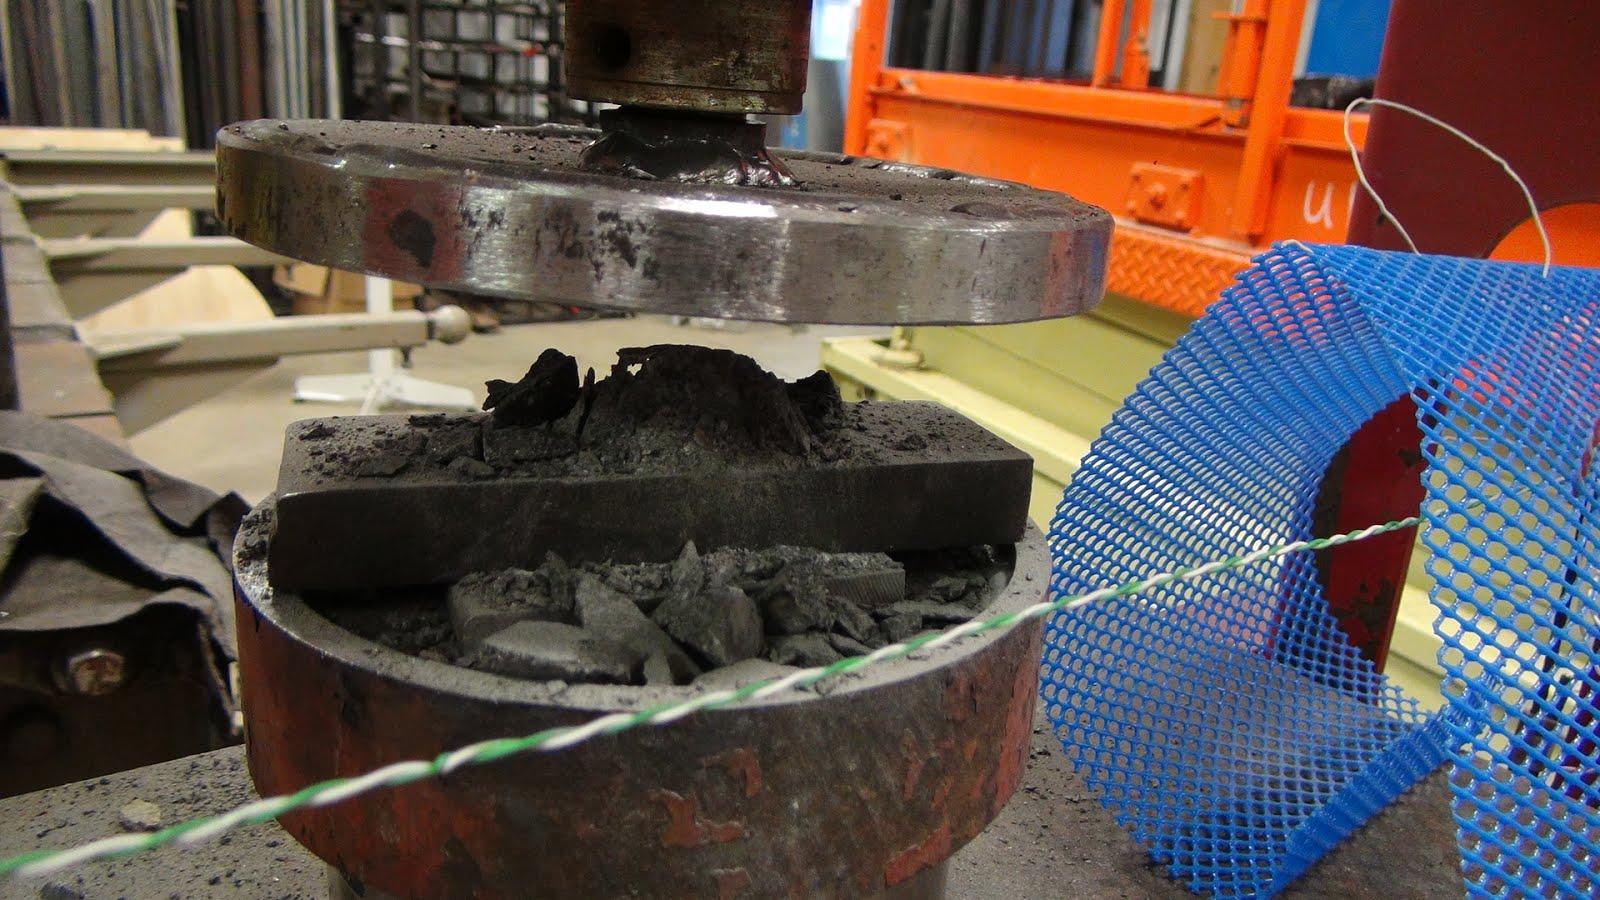
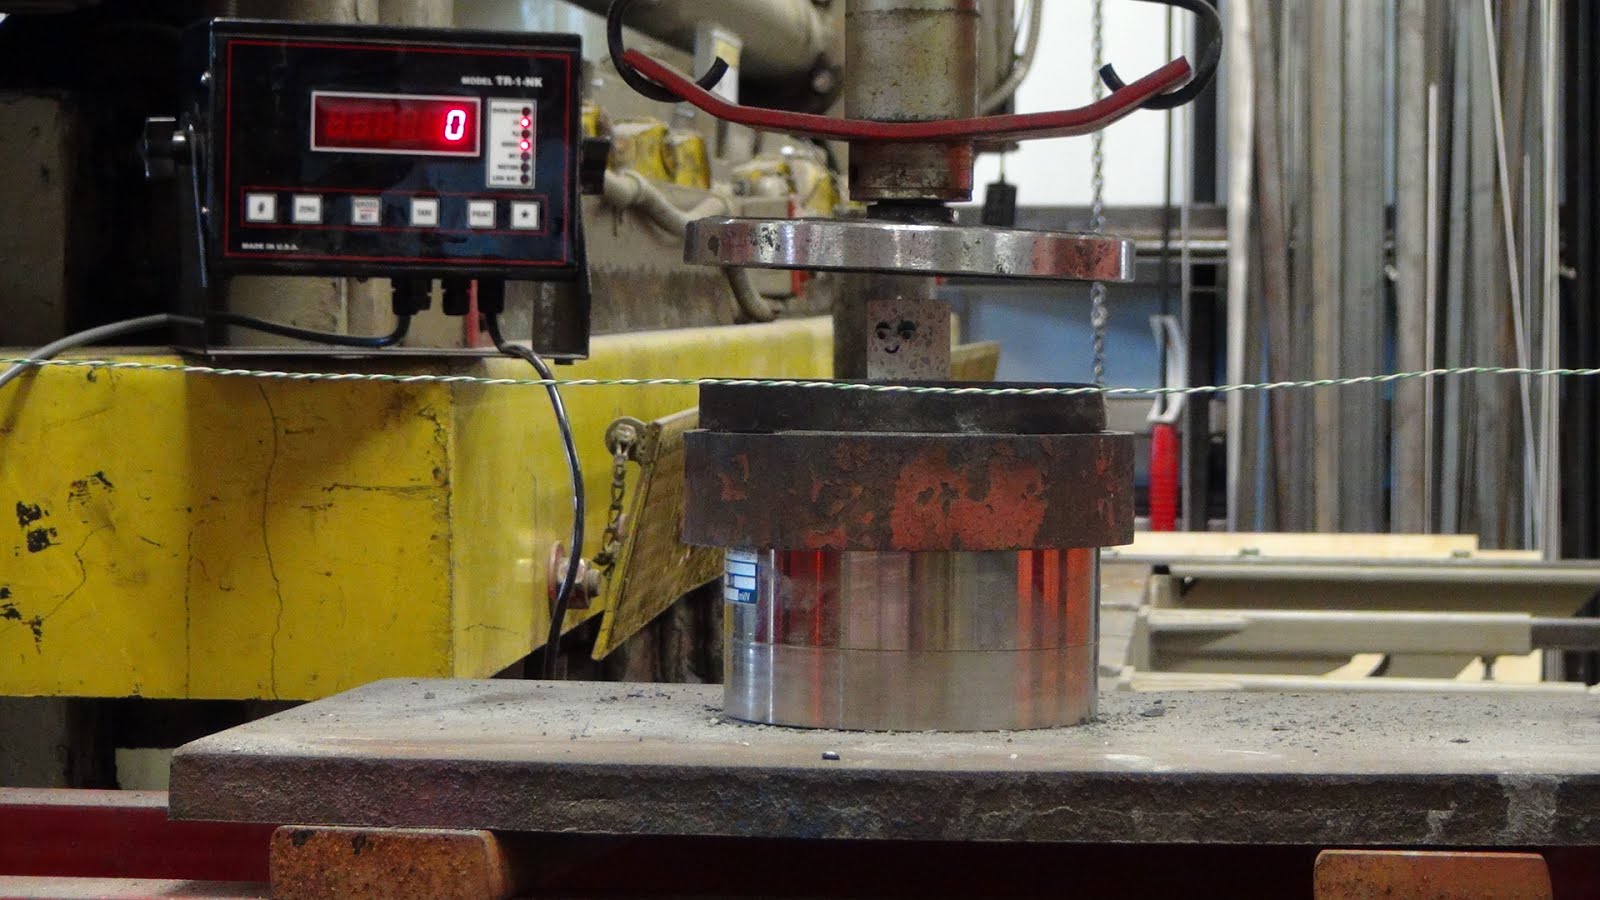
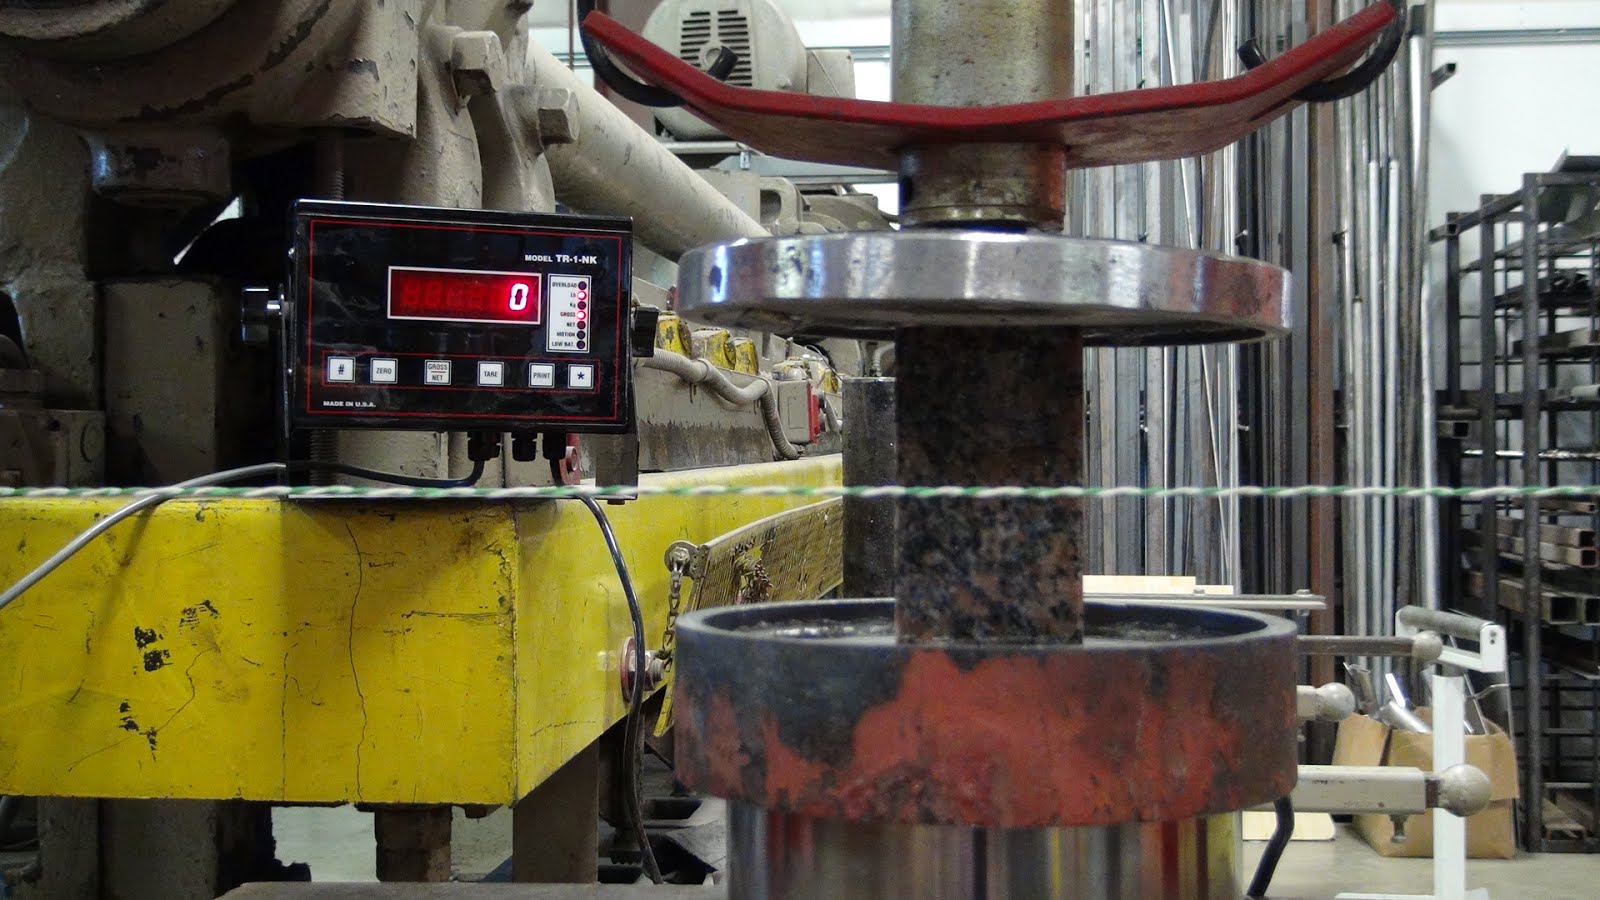
- Hydraulic Press
- HUG - 50 ton (445 kN) manual hydraulic press
- requires a cradle for the sample and load cell to sit in to prevent shifting on platform
- has two lever positions for coarse and fine control
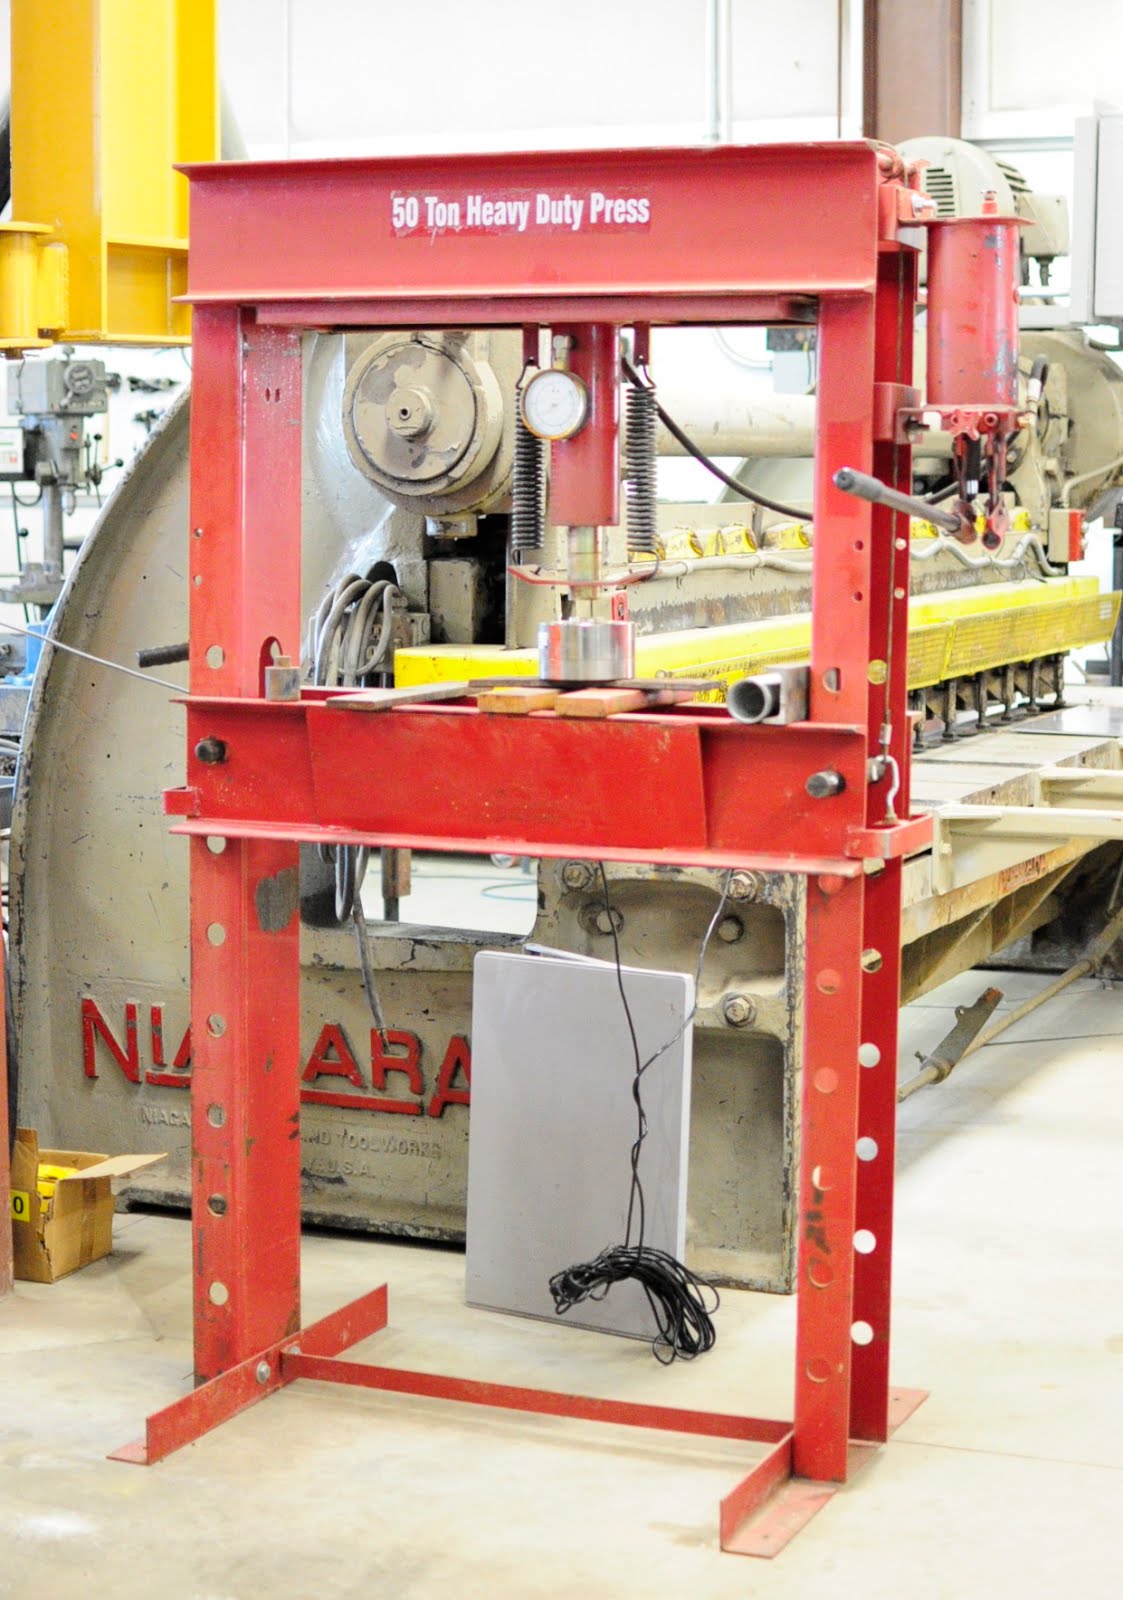
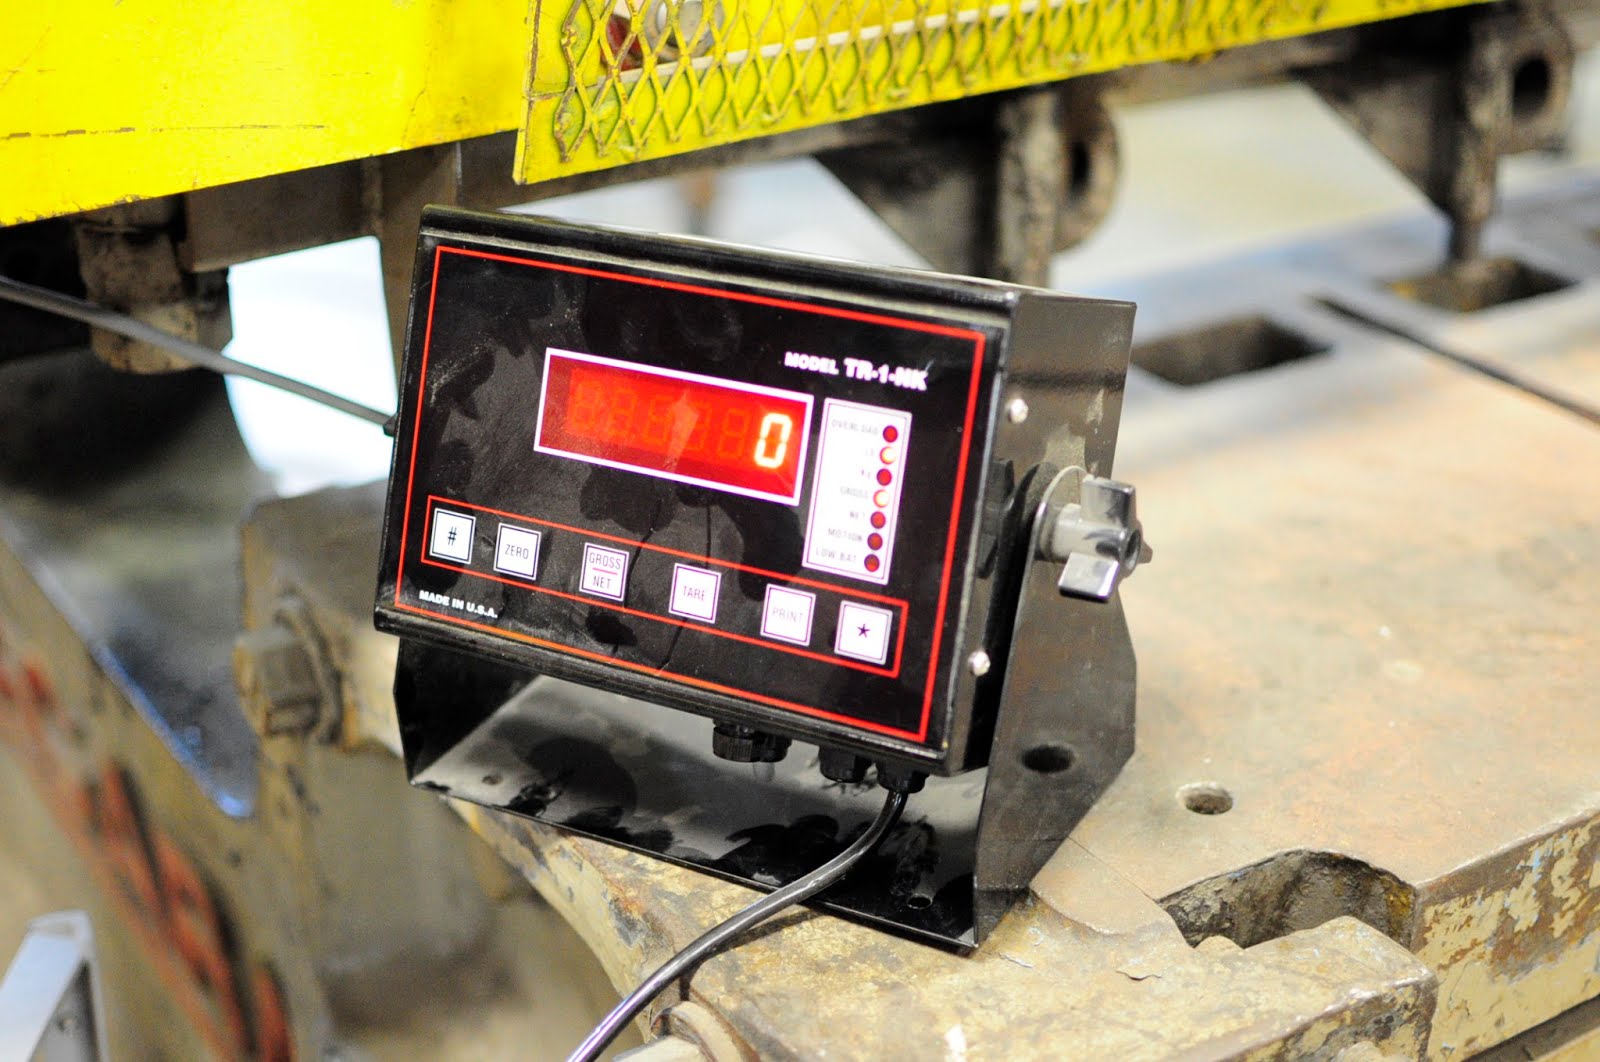
- 50 ton compression load cell (page 9 of catalogue) and digital scale indicator
- Indicator is sensitive to +/- 20 pounds
- load cell has a voltage output, could connect to a computer if necessary
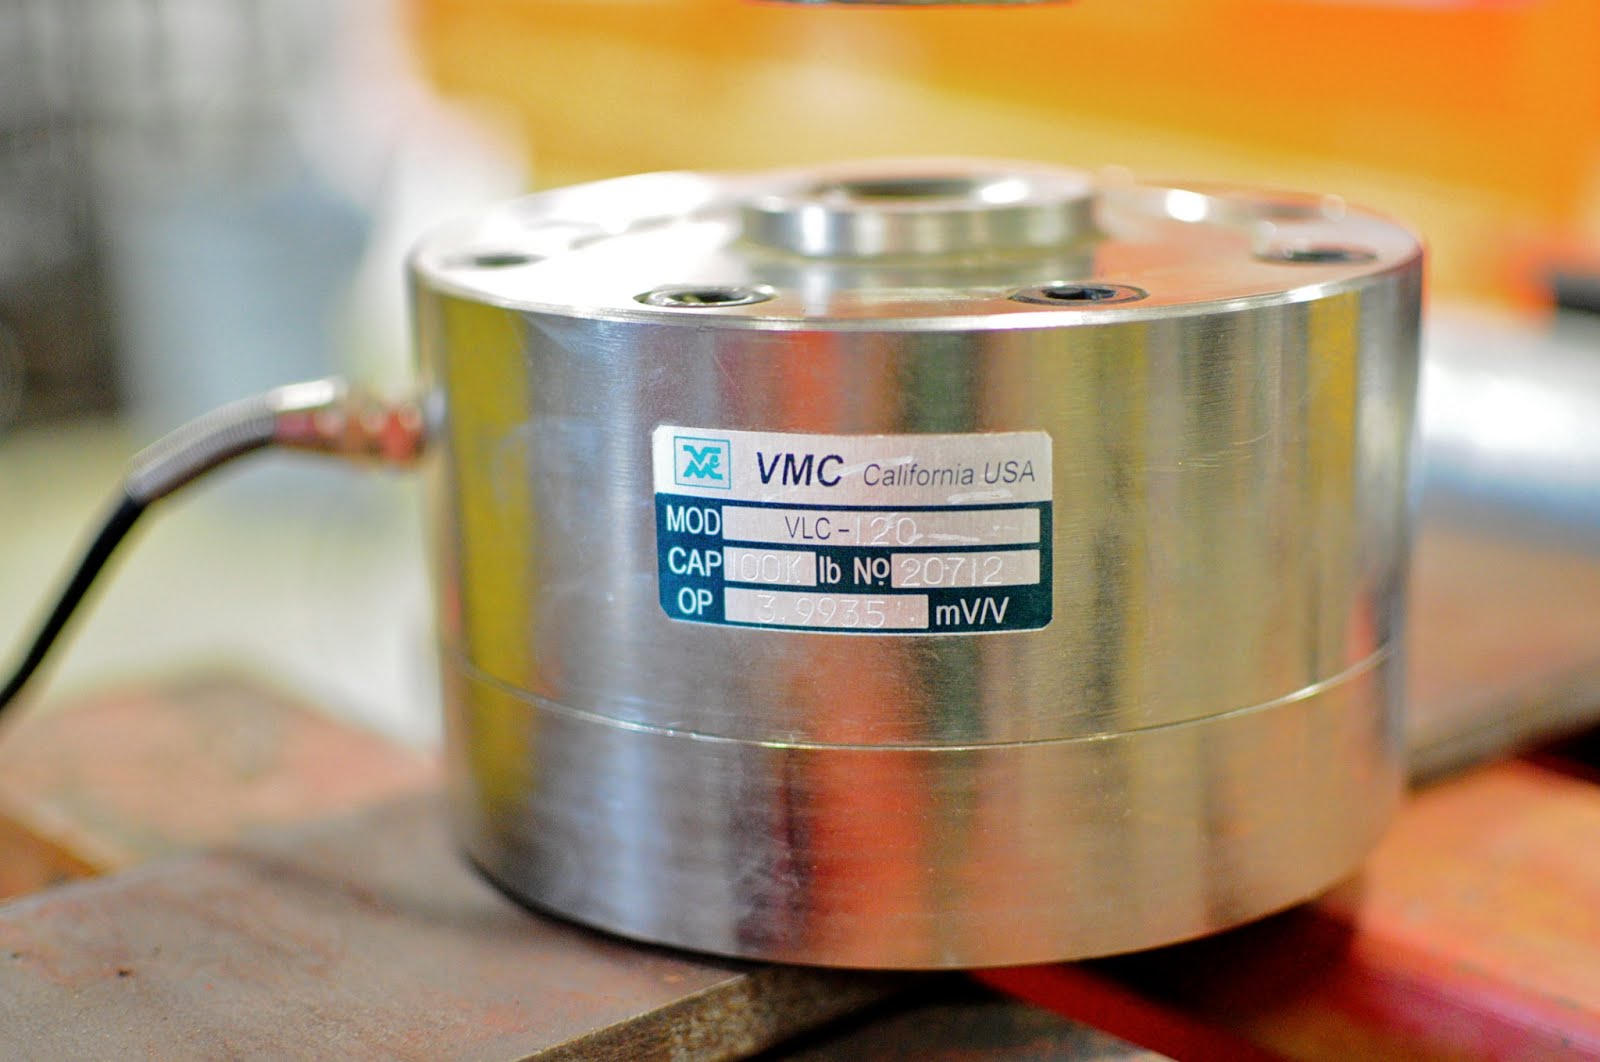
- Cradle to protect load cell, to prevent samples from shifting we will put a small amount of foam under the rock
- pipe and disks welded together and in place
- Electronic Control for Hydraulic Press
- not a priority, will first attempt manual control with a long lever for more precise control
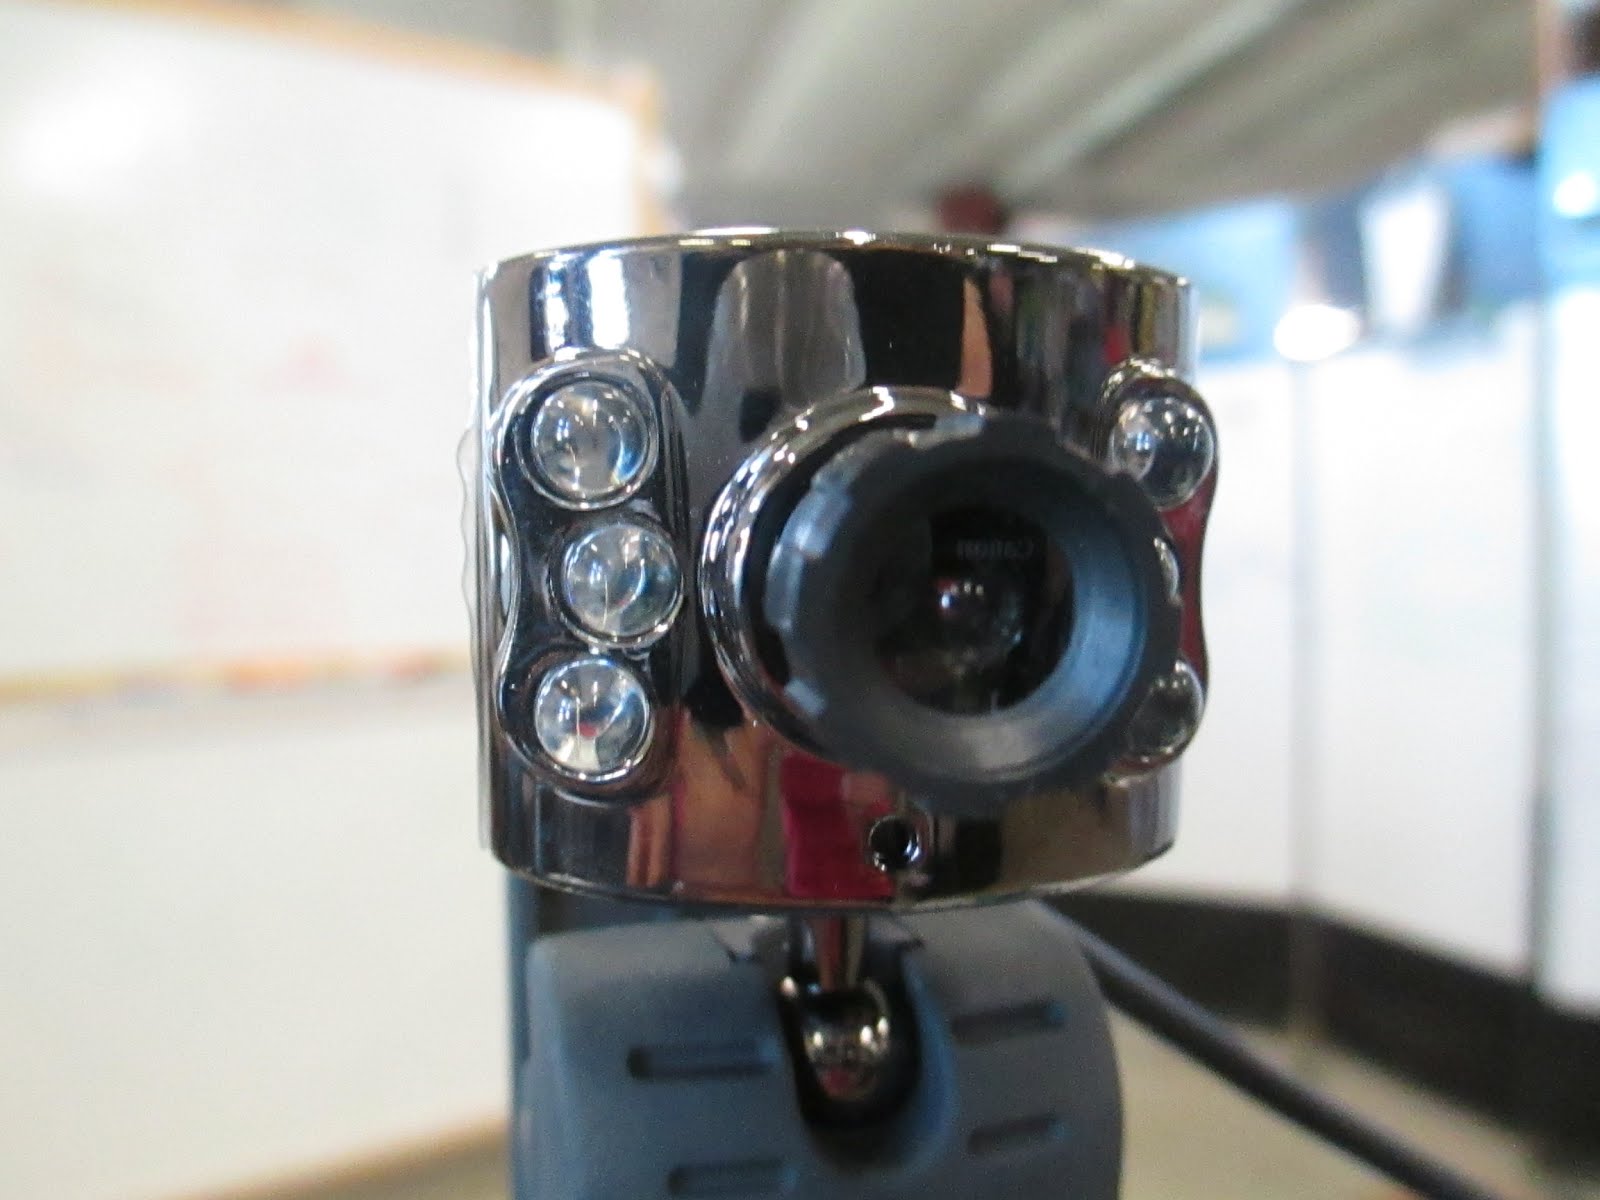
- Cameras
- Webcams (pro: cheap and can save information easily)
- would like ones with sound to sync with rock cracking
- whole experiment, particularly for force measurement
- neutron detectors, hopefully we will witness when bubbles form
- iPi recording software 30 day free trial
- DSLR recording setup, steps along the way, and rock samples
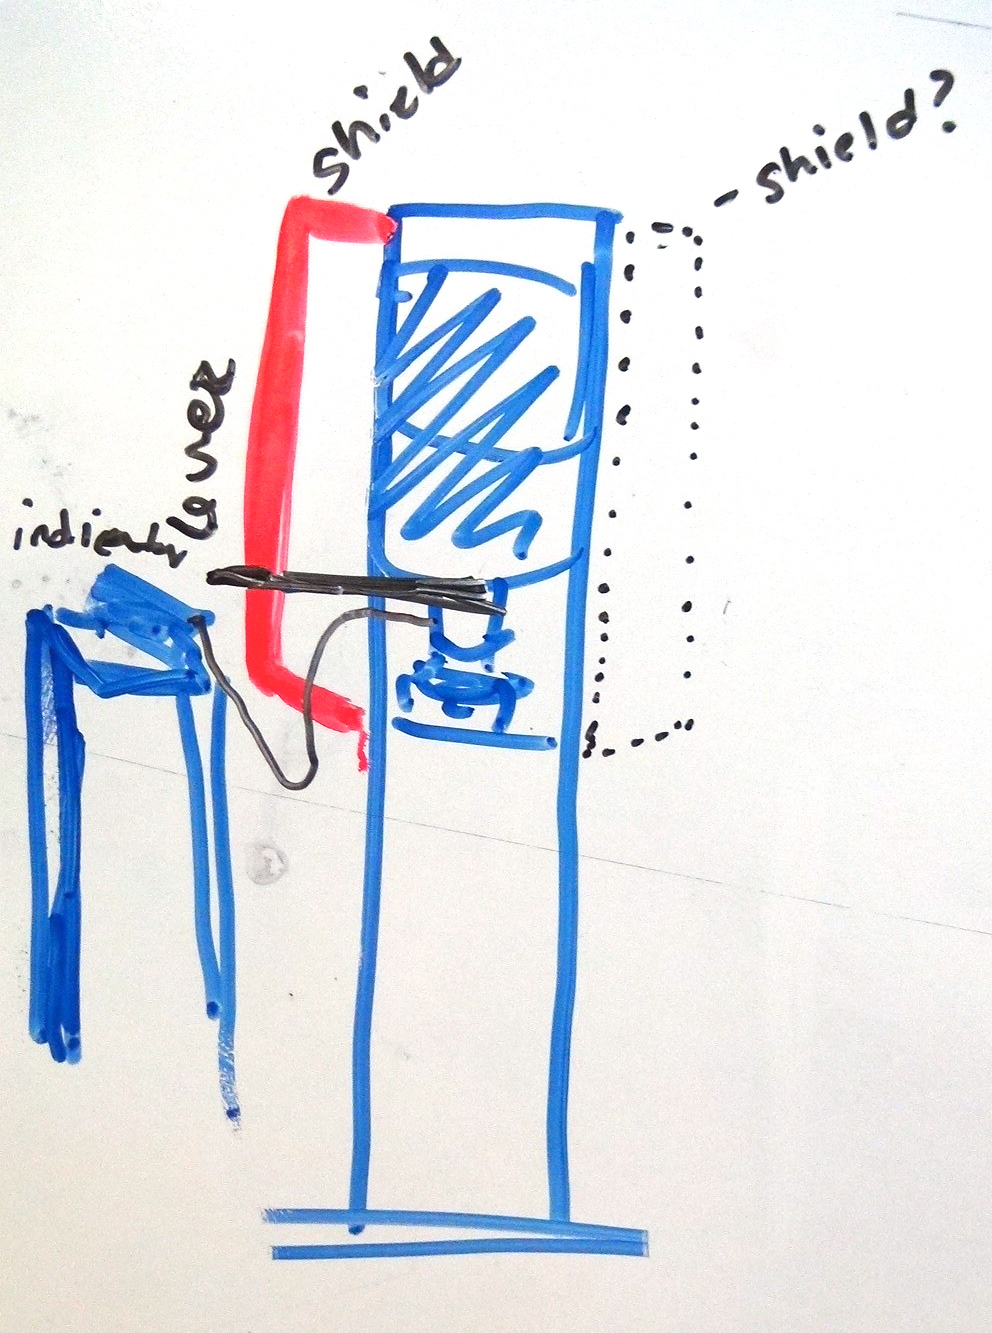
- Protective Equipment
- Shield to prevent shattered rock from escaping into environment during failure
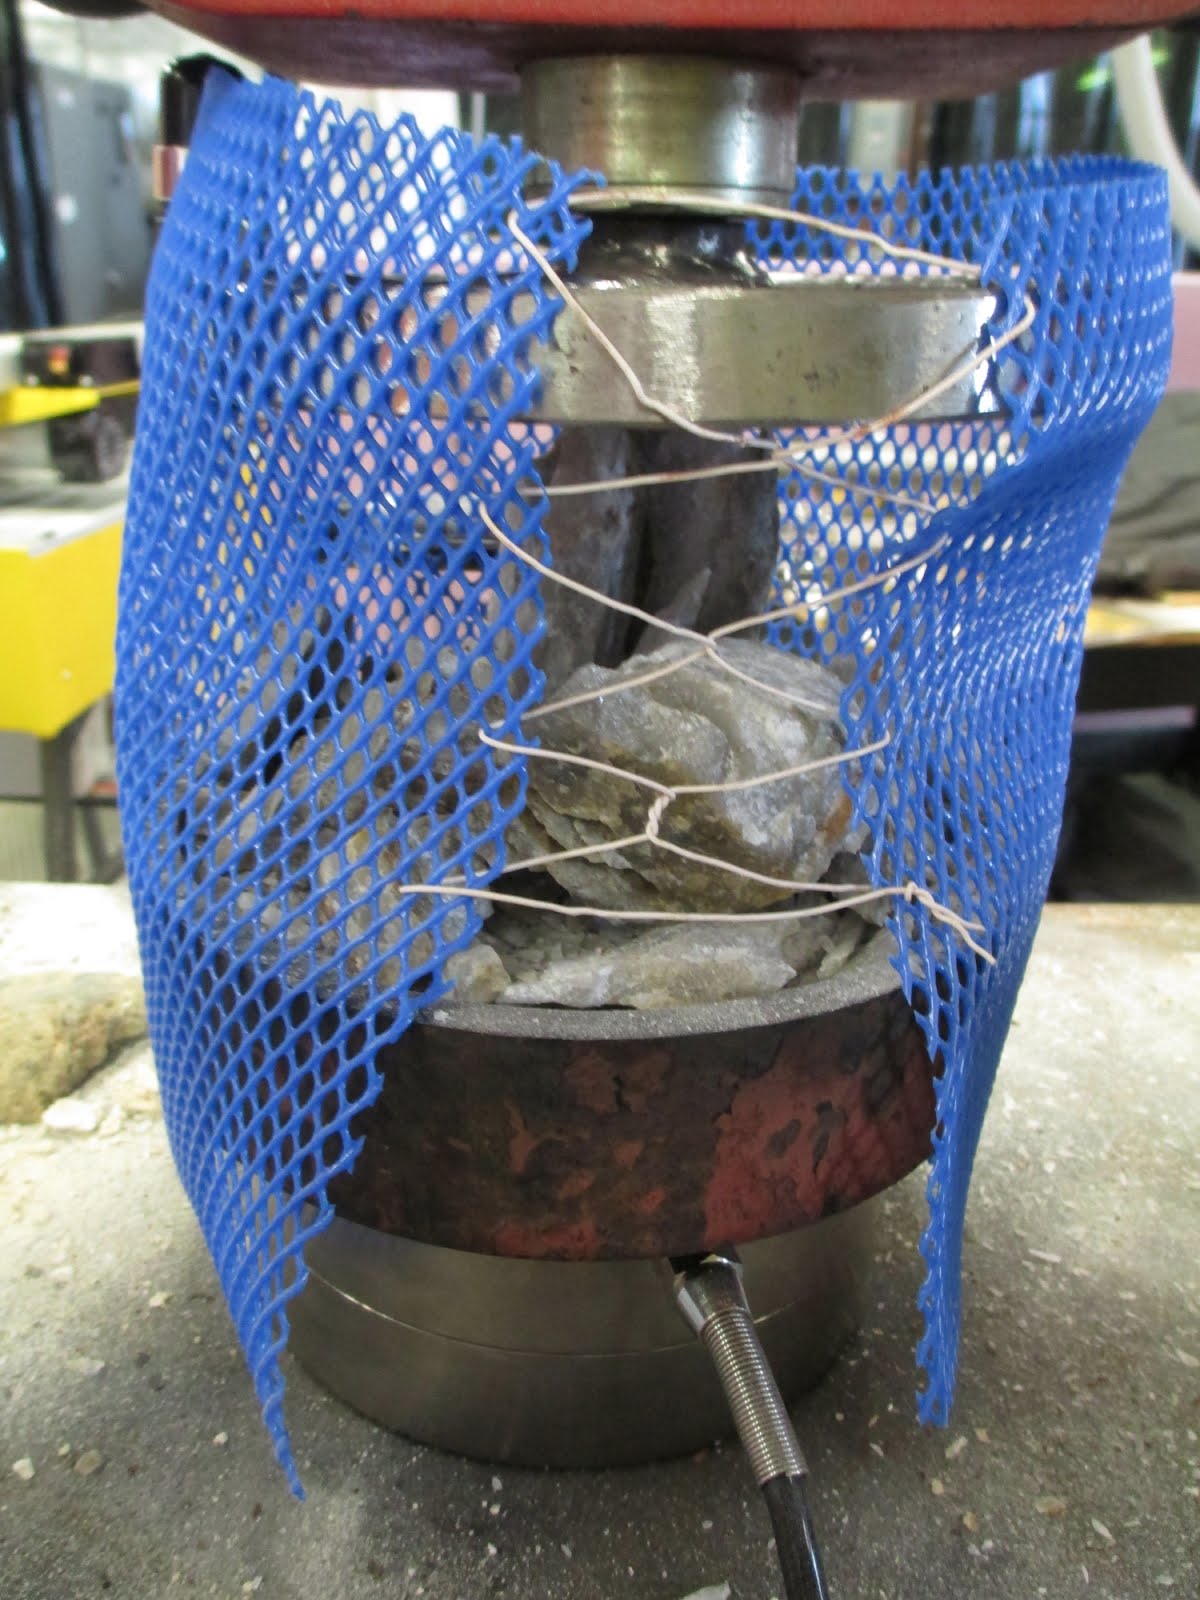
- Sleeve for rock sample to contain particles
- plastic enclosure to protect detectors and surroundings during failure
- Safety glasses
- Pants to protect against rock shards
- Closed Toe Shoes to protect against rock shards
- Data recording
- videos from webcams will be recorded on a laptop
- Freeware for saving video from multiple webcams simultaneously on one computer
- SEM to photograph the surface of the rock
- Balance
- Caliper
- Experience
- practice using the equipment and running the experiment will be vital to producing accurate data
Possible Issues to address with Control Experiments
- Background radiation and variations in it
- a weather log will be required for every test
- Radiation from rock samples
- hold rock sample in press with detector for an extended period of time before running the test
- Bubbles from vibrations
- mount the detectors so they are isolated from the shock
- run a control with concrete to see if bubbles are still produced
- RESULTS: after placing the detectors on a steel table and hitting the table with a mallet causing severe vibrations no change in the number of bubbles was seen.
- may not be as severe as the release of 70,000 lbs of pressure
- Stone fragments escaping
- test wrapping the stone with sleeve of plastic mesh or nylon
- Shifting of sample on platform
- create a cradle
- practice practice practice
- Applying pressure slowly enough
- Carpinteri moved at 10-6 m/s
- use a long lever
- use fine control
- practice practice practice
- resort to creating an electric control
Pre-Tests and Purposes
- Practice Test A
- ensure that the components created for the press will properly hold a rock in place
- Samples: rocks from area, fill rock along paths, irregularly shaped
- Speed: slow
- Shatter Test(s)
- practice shattering a rock and watch where the shards hit, attempt to identify a pattern and a location for the detectors out of
- Samples: smooth edged granite, fill rock
- With and Without mesh
- Speed: “high” speed to maximize the change in force and create the environment for failure
- Detector Tests
- identify bubbles caused from the shock of the press
- crush rocks with maximum force to see if bubbles can be formed in various locations
- Difference between suspending and resting
Protocol for Rock Samples
- select pair of identical samples, clean up, attempt to identify type of rock
- number (ex 1a, 1b....)
- photograph
- bag a sample
- measure mass, volume, and density of sample to crush
- place rock sample in mesh or nylon sleeve
- crush rock
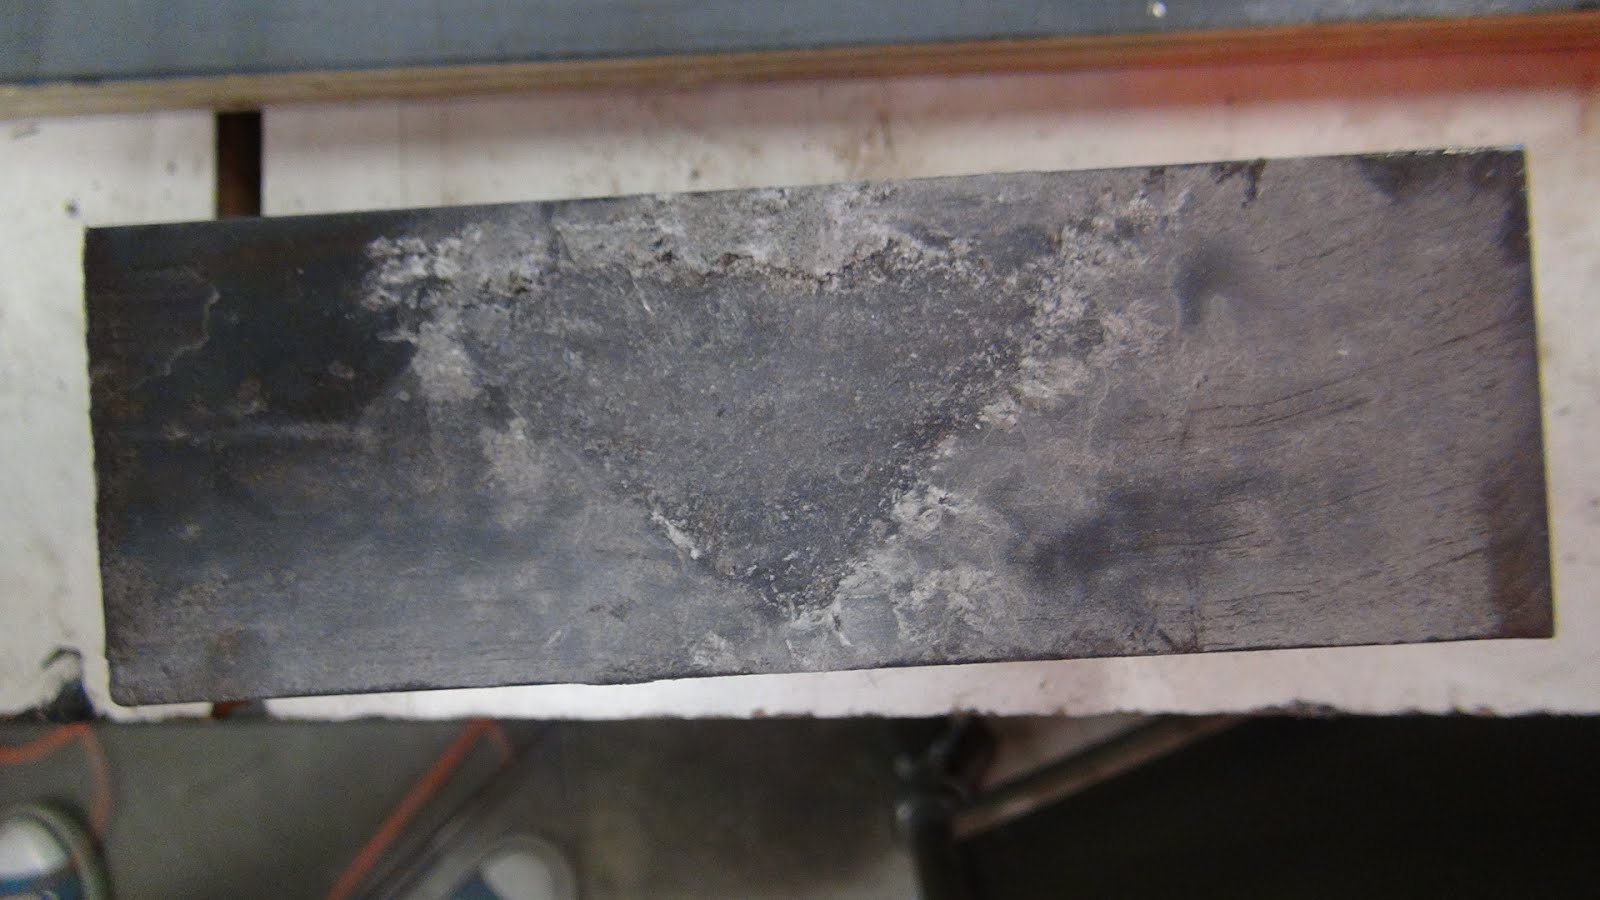
- photograph sample after crushing
- bag crushed sample
Protocol for Piezonuclear Experiment
- Research stone samples and detectors
- Email Professor Carpinteri hoping to get some information about his sources.
- make a note of maximum pressures for different samples when deciding size.
- Table 2 from February 2012
- Our equipment maxes out at 50 tons (445 kN) therefore we shouldn’t use samples known to max out above 400 kN.
- Acquire a variety of rock samples
- granite
- set up shields around press
- set up cameras
- set up bubble detectors *assume whenever a measurement with bubble detectors is being made it is under the observation of a bubble detector
- place so to minimize shock from vibrations or in a configuration with detectors at different distances to monitor any difference
- Measure any background radiation as a control
- monitor bubble detectors for 24 hours
- ~.5 bubble/day/detector
- Measure radiation from concrete for 24 hours
- Break a piece of concrete (or other rock) in press to test if vibrations will cause bubbles in detectors
- Analyze rock sample
- retain initial sample for later comparison
- surface texture
- look for deformities
- check for any signs of radiation before test
- place in press for 24 hours next to detector, compare to background
- With sample in press, turn on pressure sensor and zero
- Begin running press, monitoring any crack formation closely and eventual failure
- Monitor bubble detectors watching for any changes
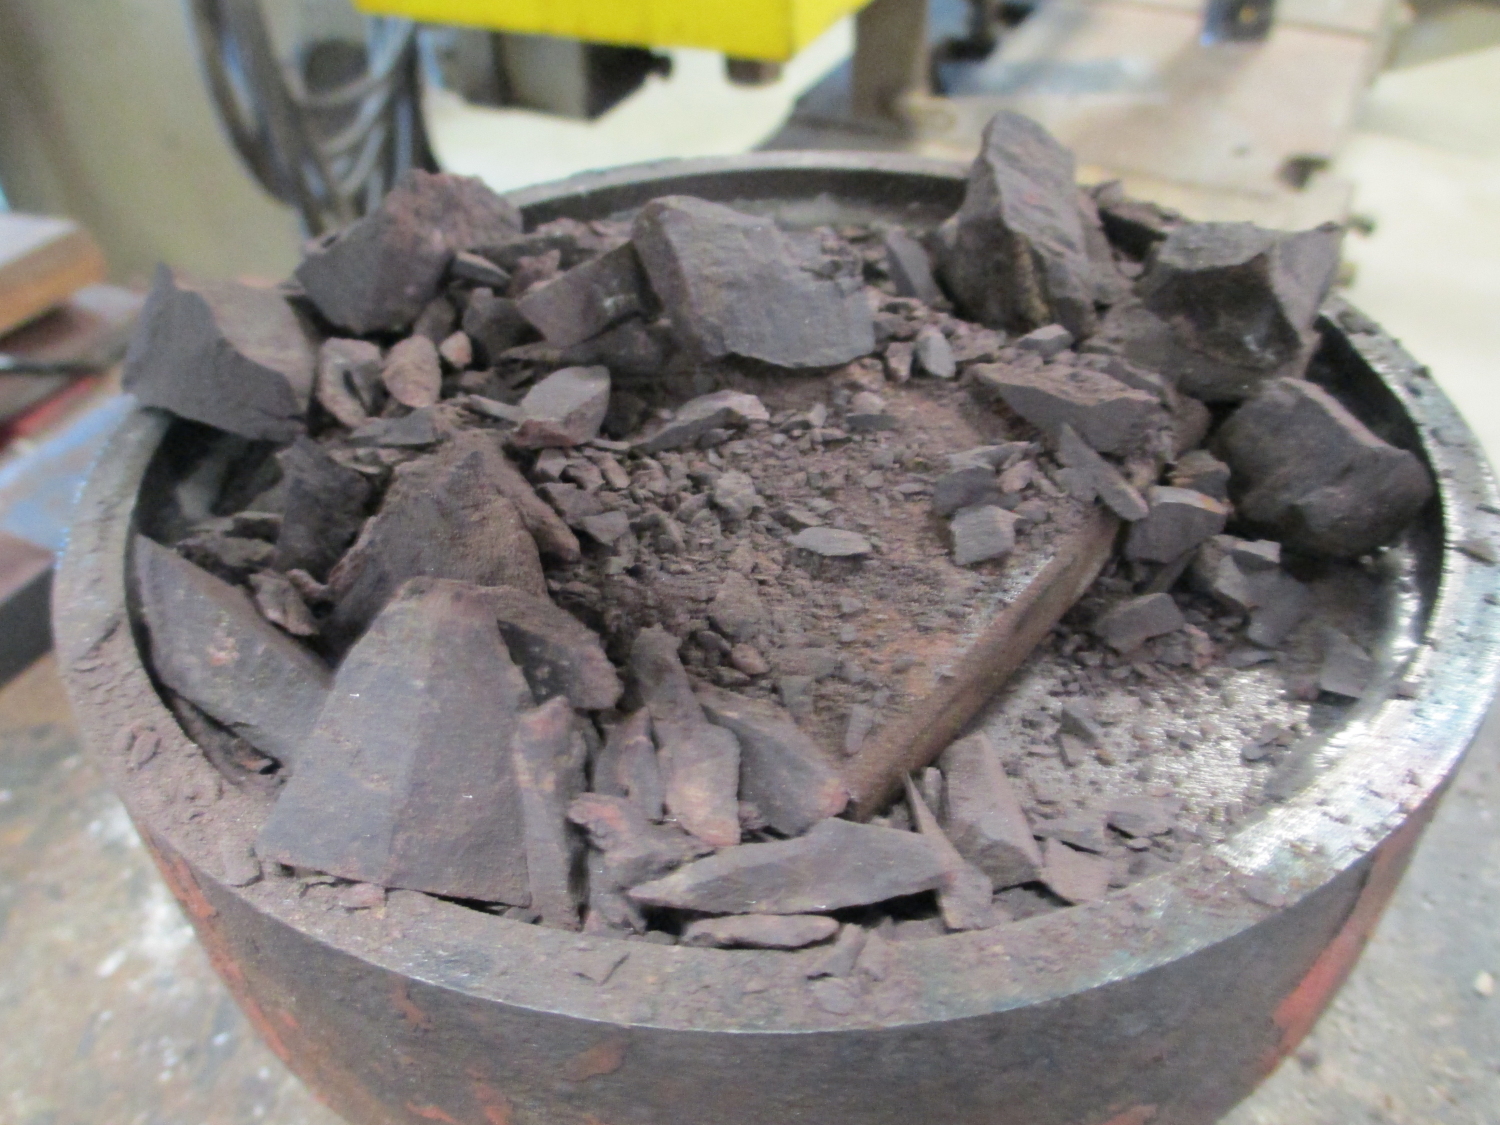
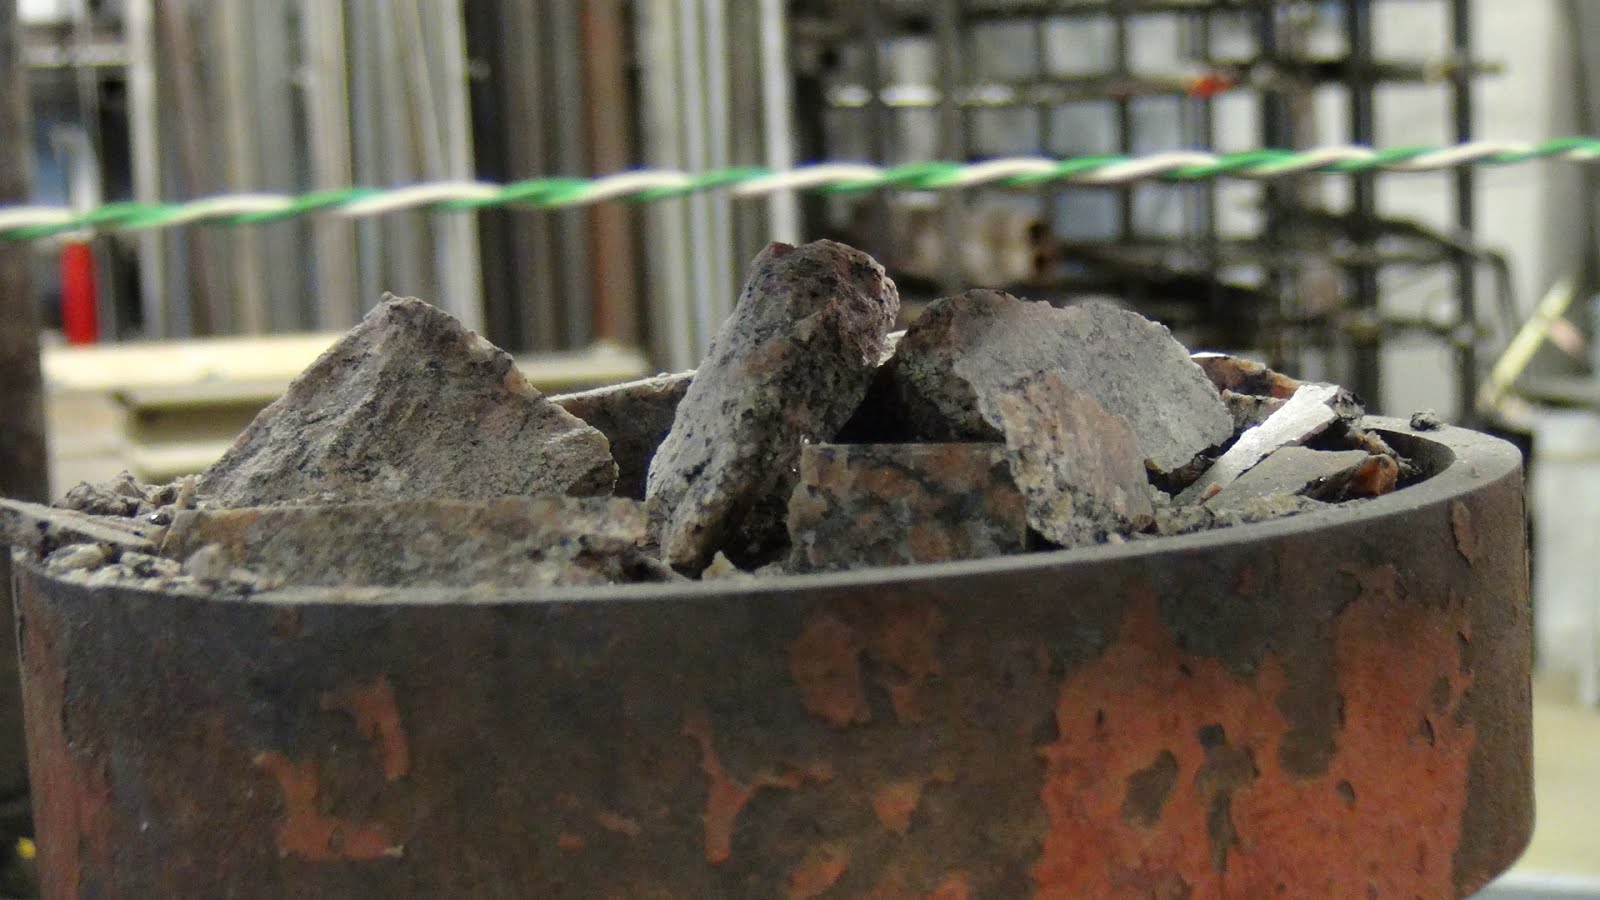
- Run to failure
- Stop press
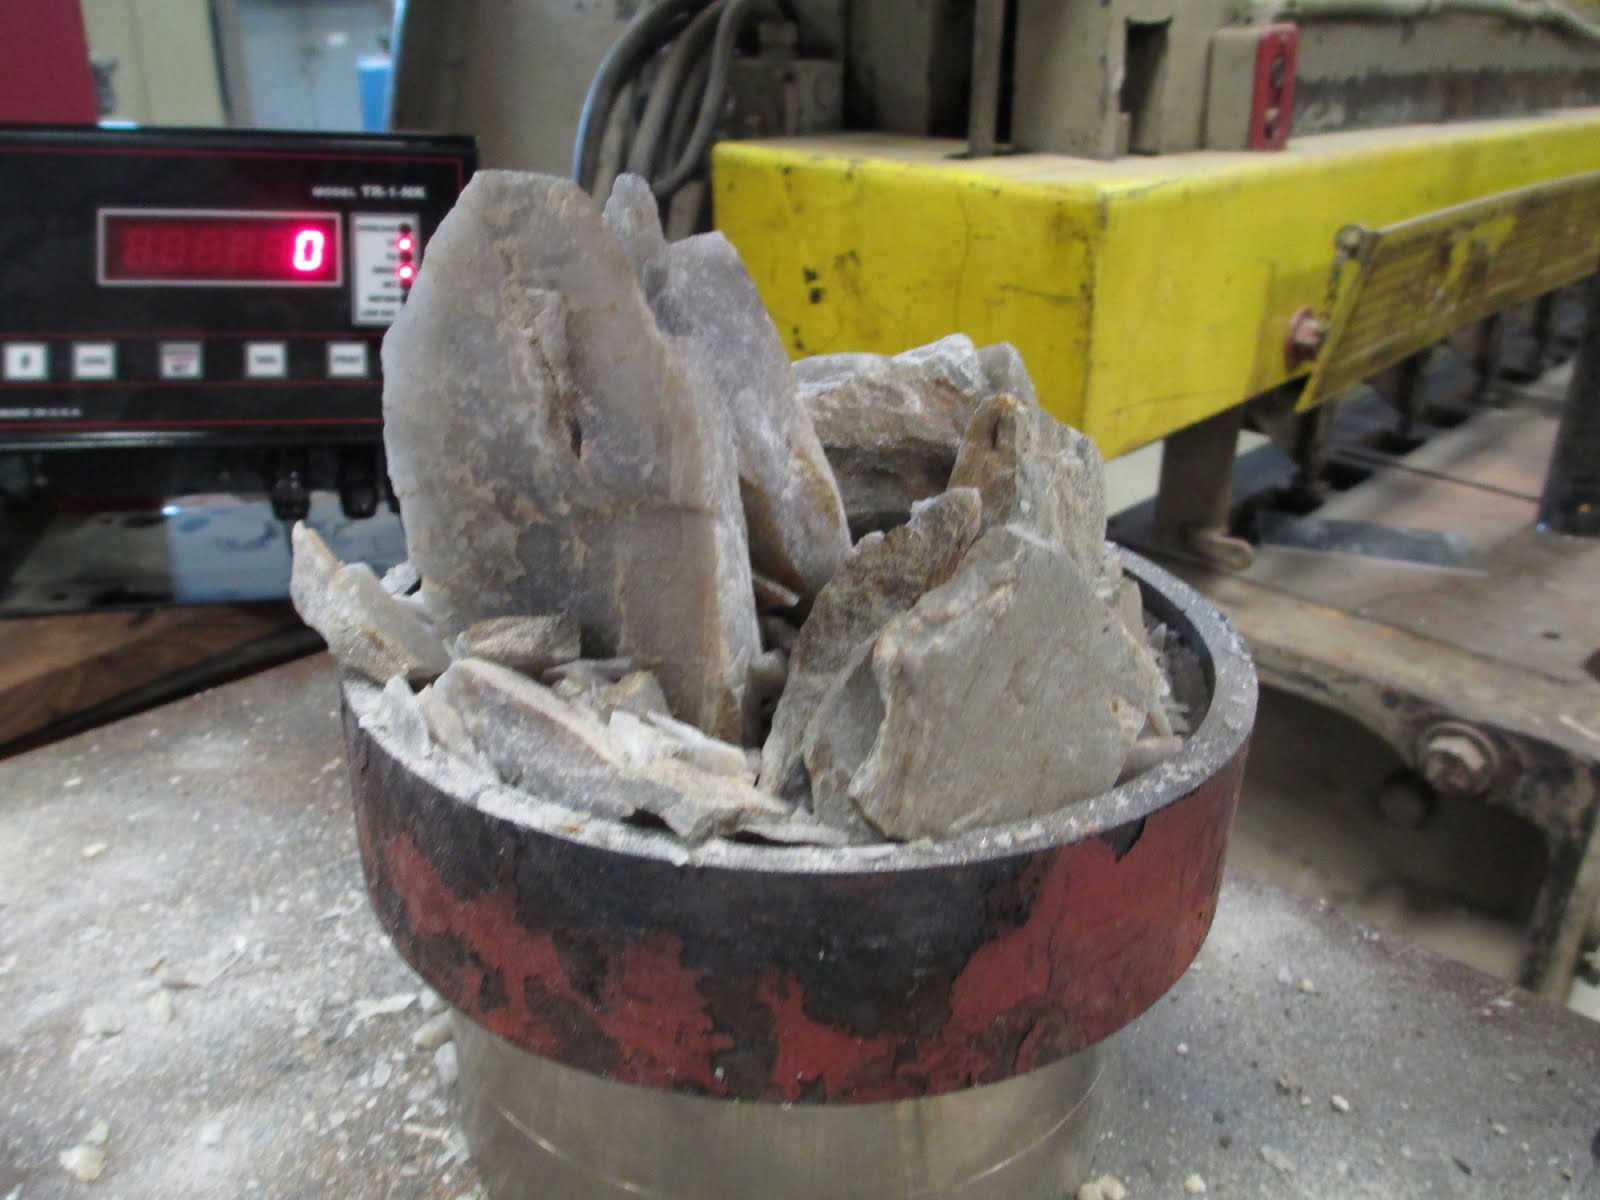
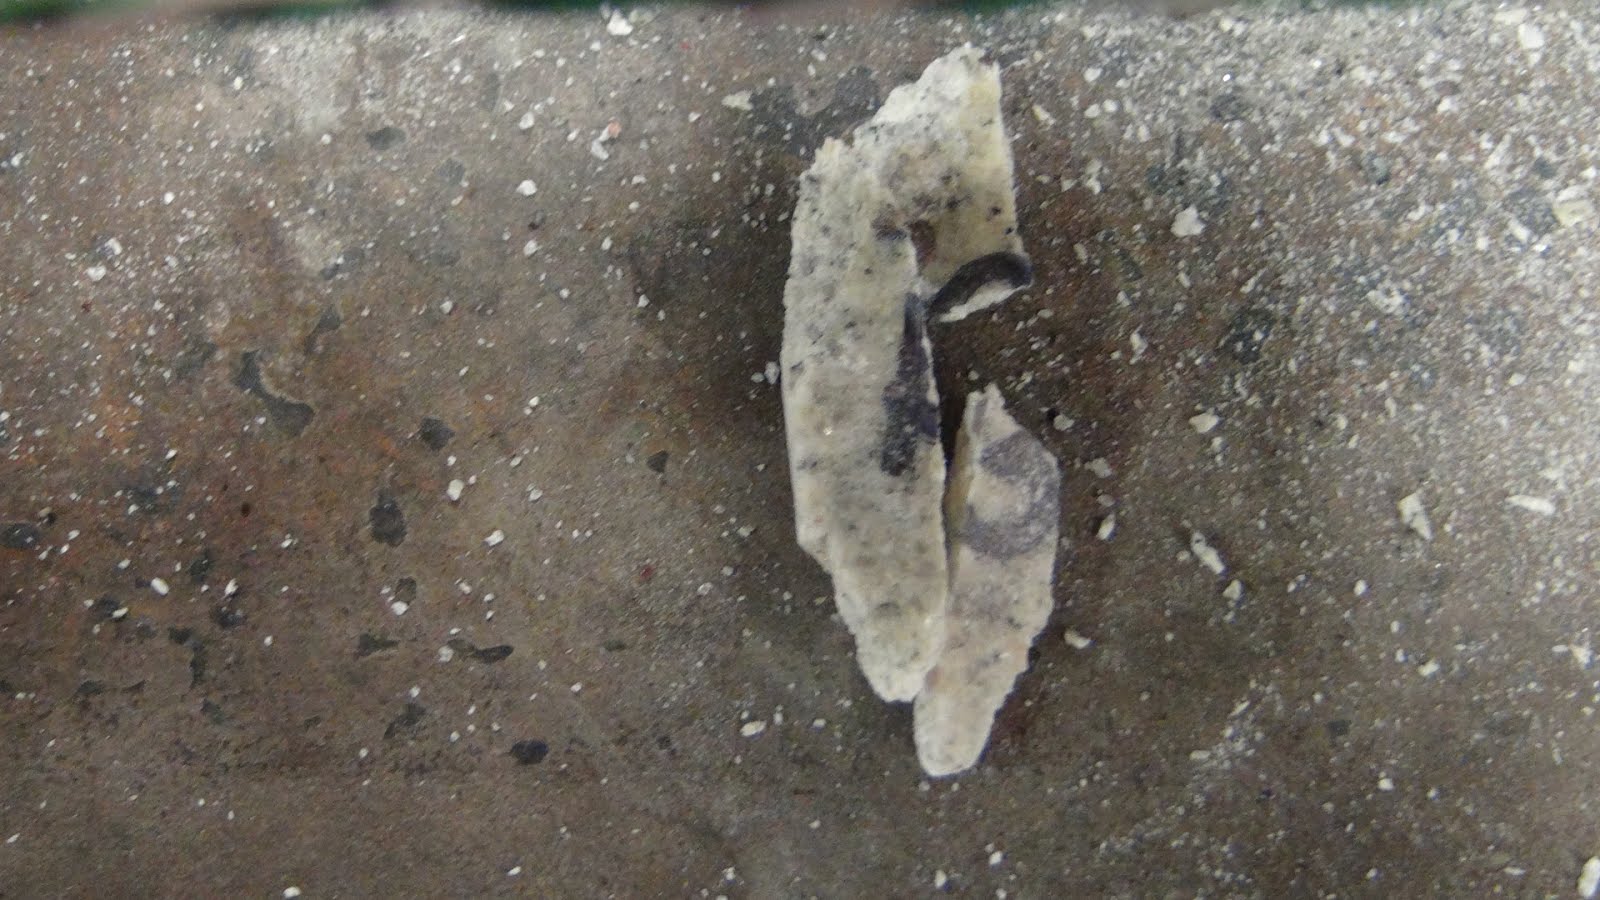
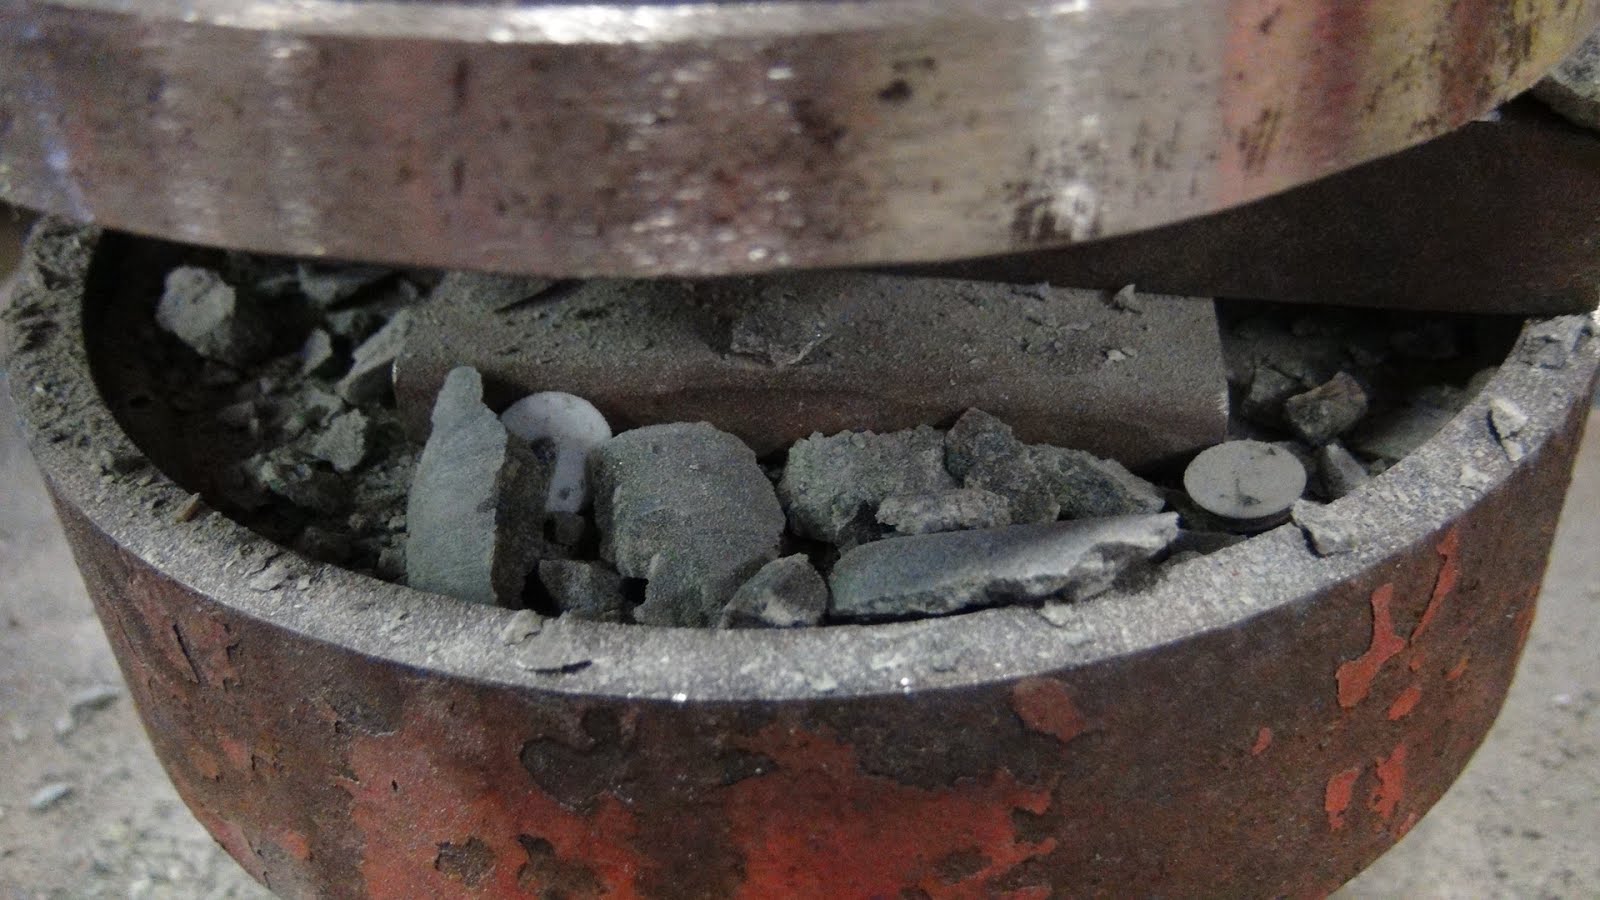
- Collect pieces of rock
- clean up area
- Count neutron bubbles in detector
- Analyze surface of the split rock under a microscope and photograph
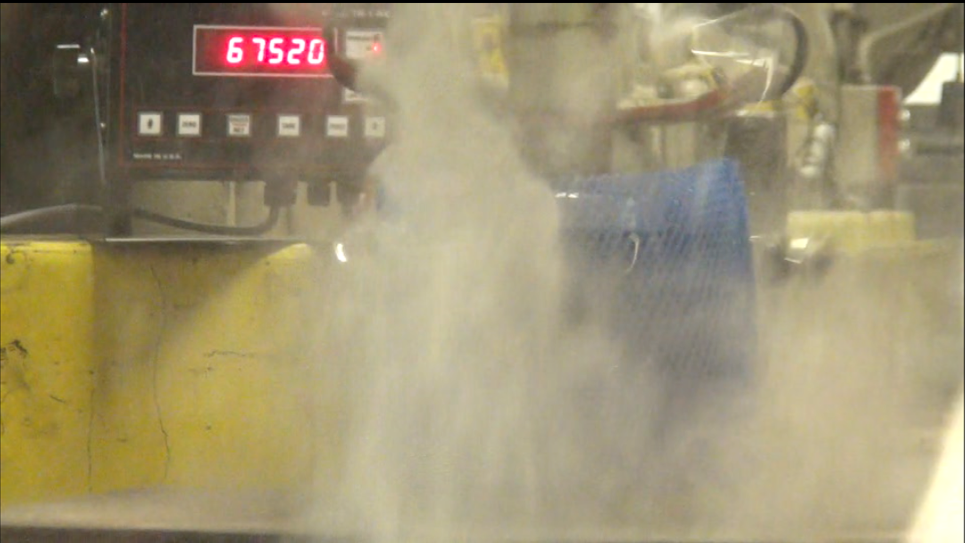
- Analyze video to check when bubbles form with relation to pressure applied
- dust cloud makes this difficult
- If pressure was inconsistent, create an electronic control for the hydraulic press.
- likely will hold off on this and attempt manual control first
- will resort to an electronic control if manual is not precise enough
Observations about Carpinteri’s research
- He only reports data from Luserna Stone
- does have some data on Slide 11 of The Atom Unexplored presentation with other rock samples, but does not go into specifics about those individual experiments
- Pressure does not correlate to the size of sample, no observable pattern between peak load and sample size
- Neutron count increases with size of specimen
- Peak Pressure: 1099.30 kN (ours will max out at 50 tons = 445 kN)
- Peak Time: 2460 seconds (41 minutes)
- Peak Neutron Count: for 112mm diameter, 224mm height chunk of cylindrical Luserna Stone
- Location of detectors is questionable
- from the Atom Unexplored Slide 12
- detector (right edge of image) appears to be set on the platform haphazardly, or was displaced due to the shock?
July 17 Update
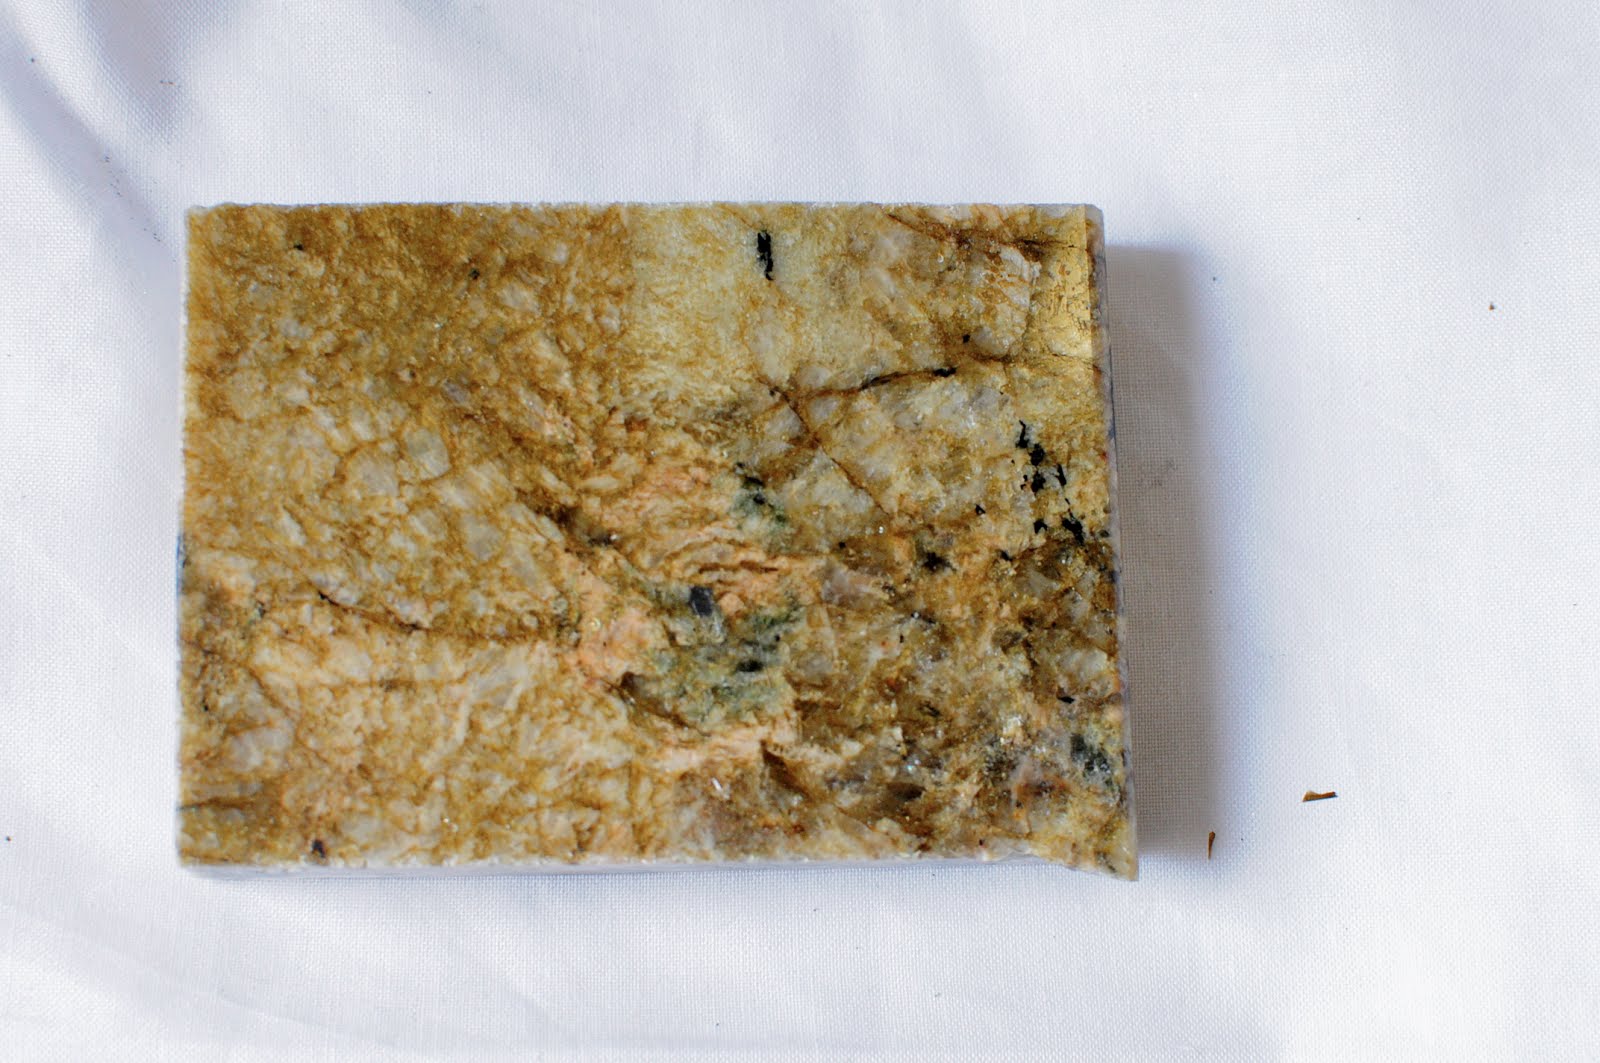
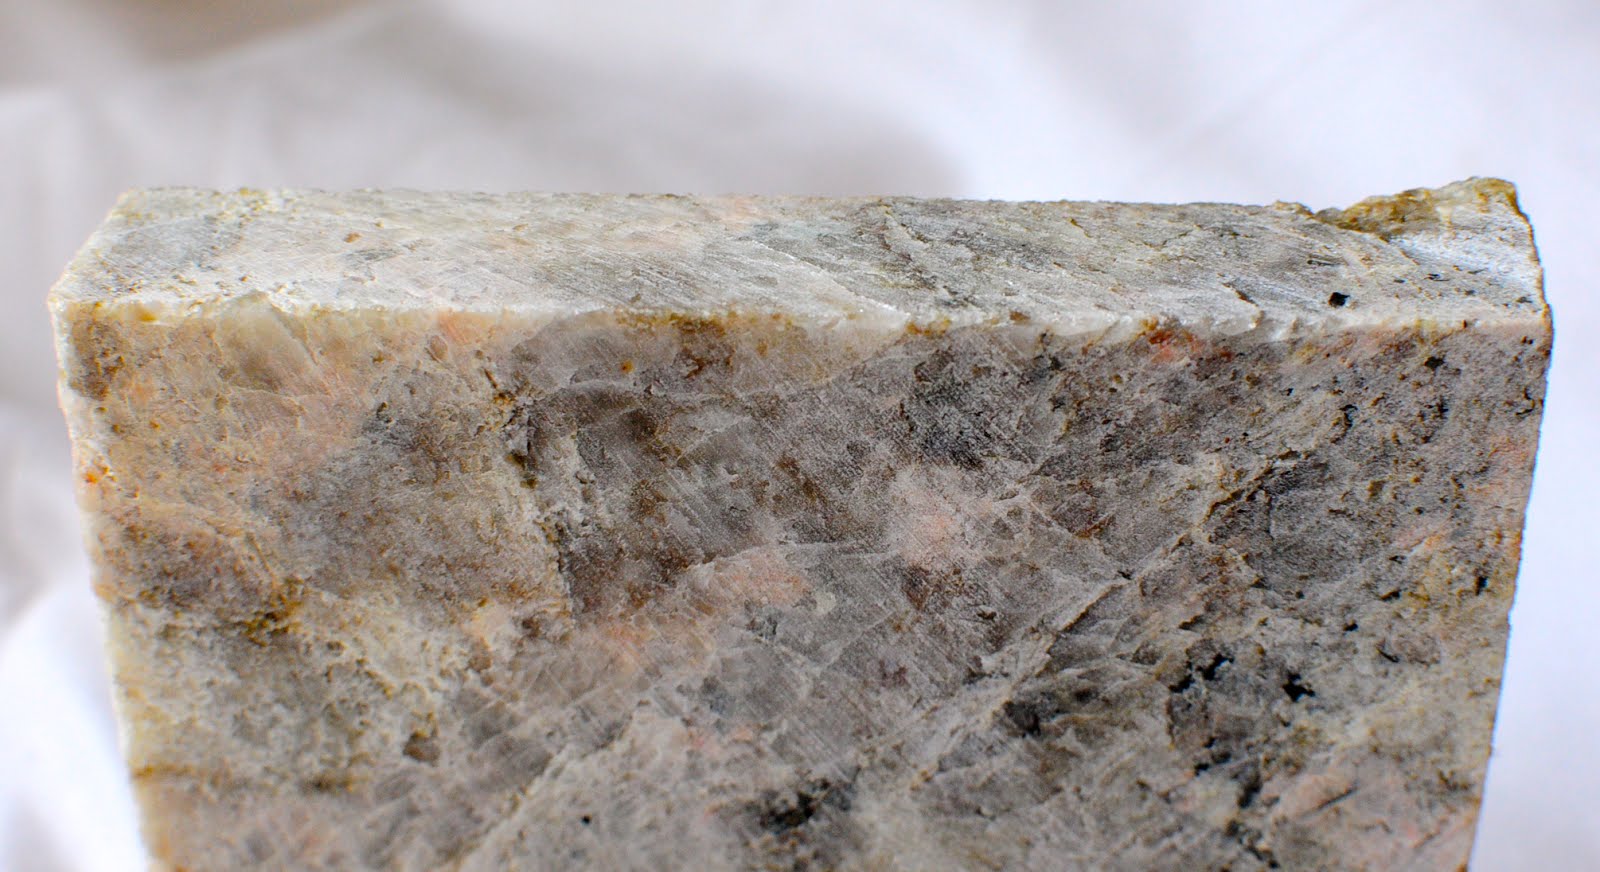
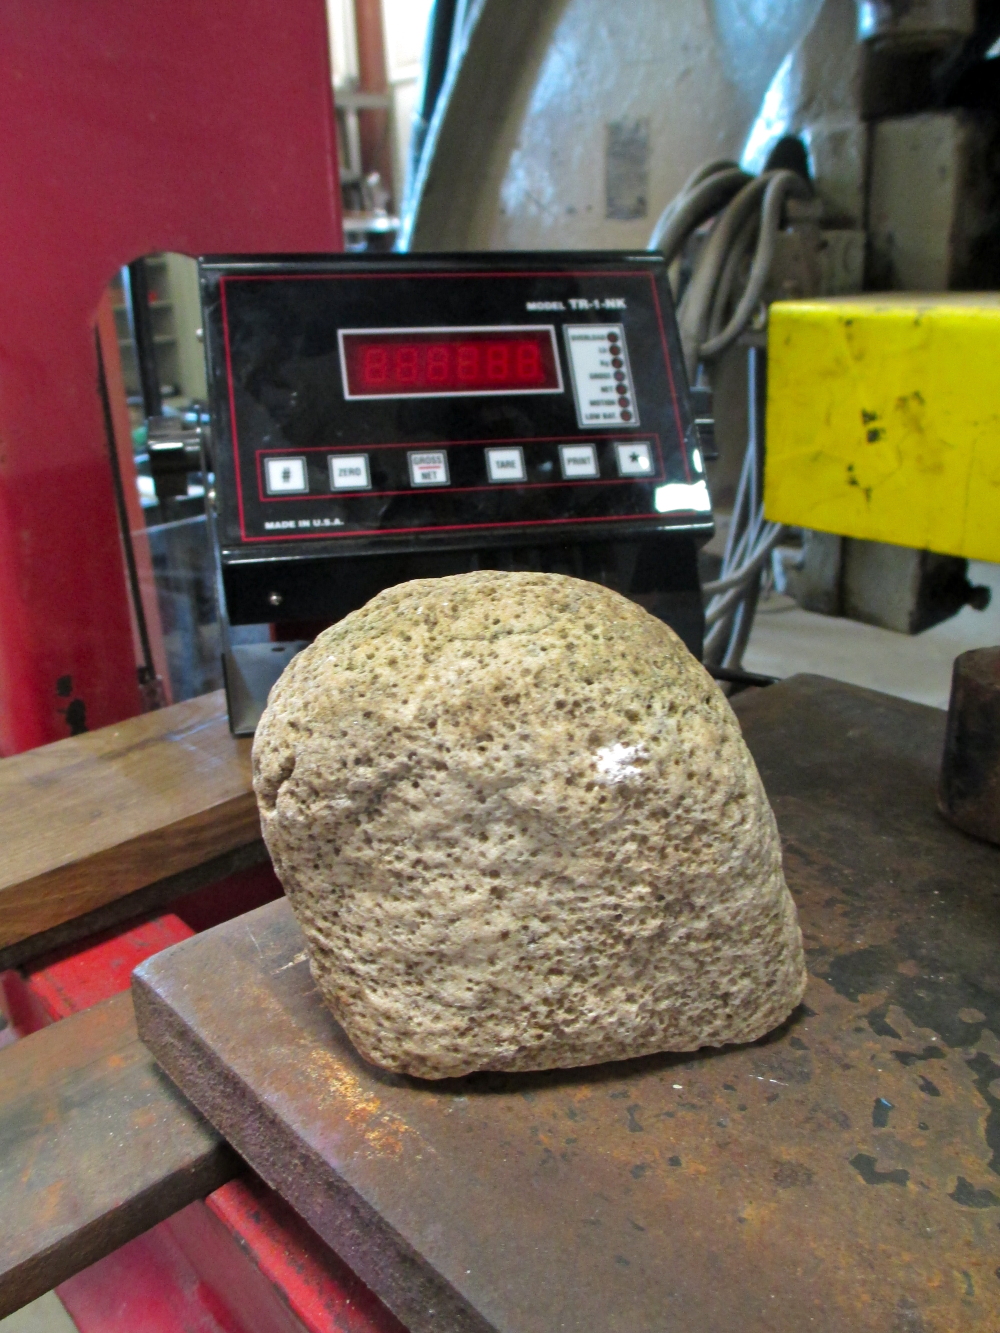
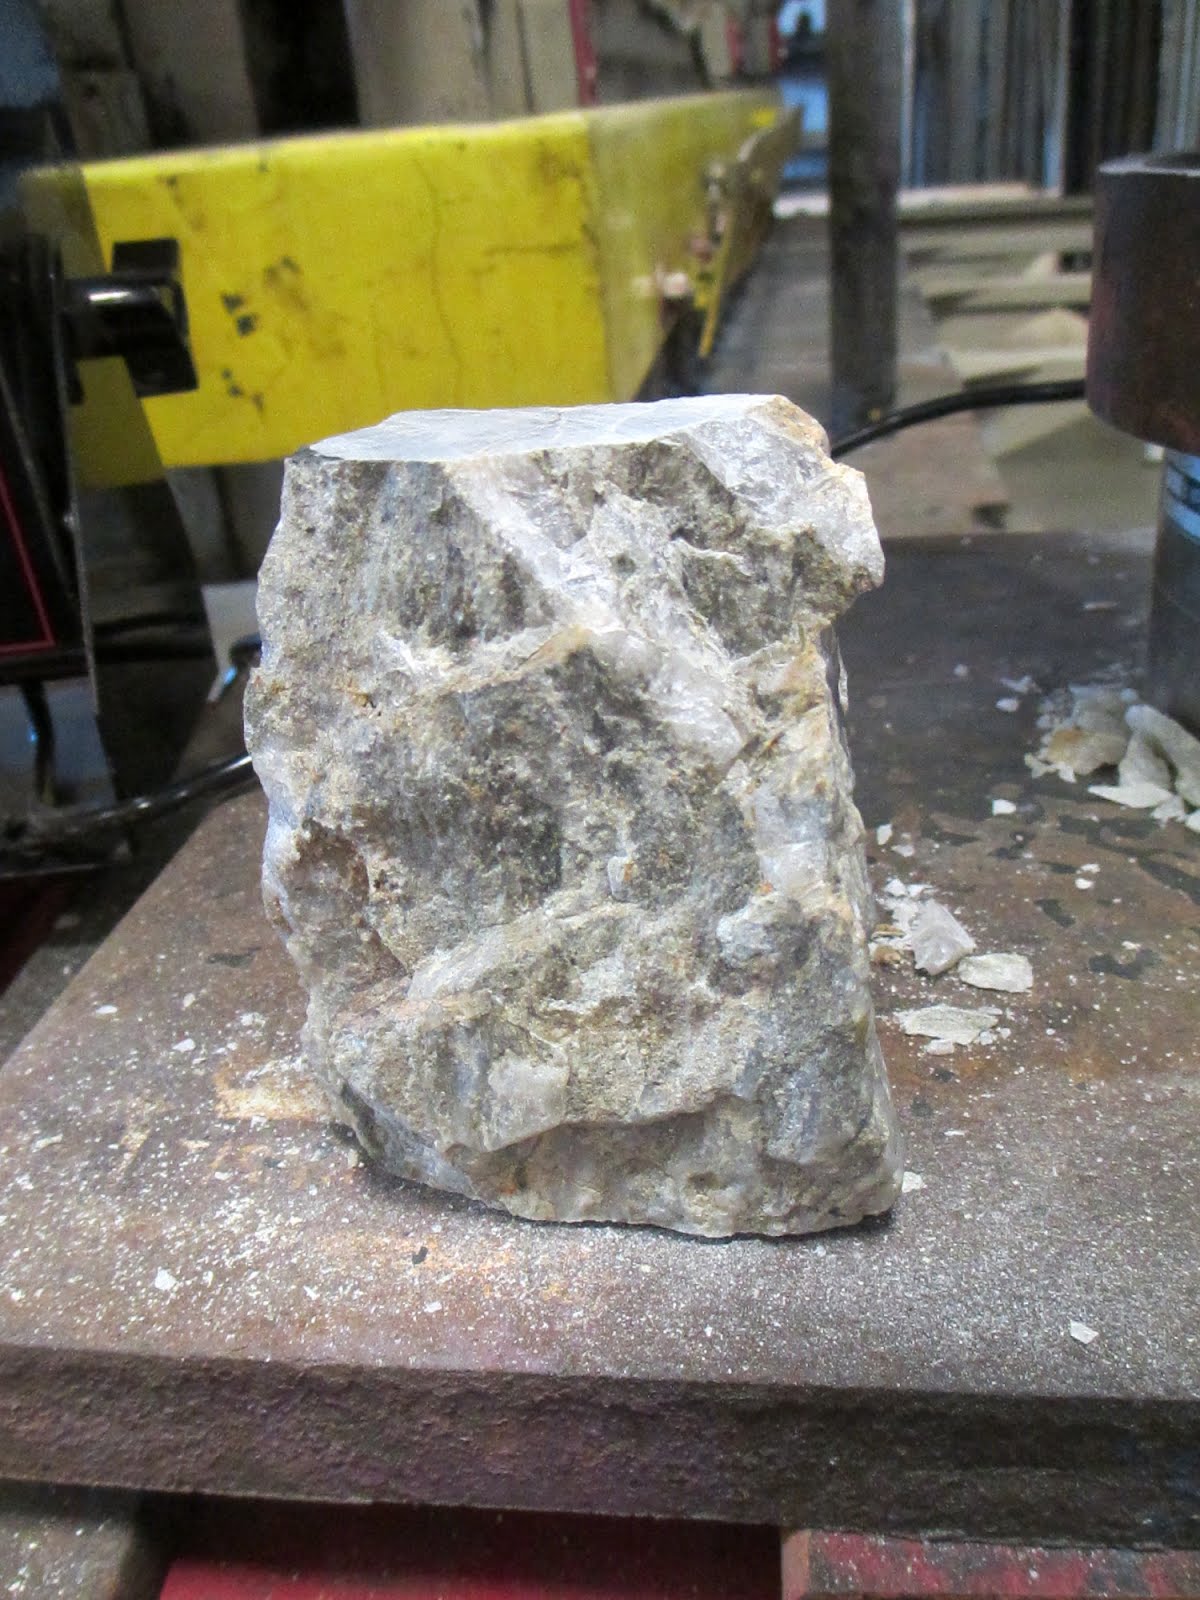
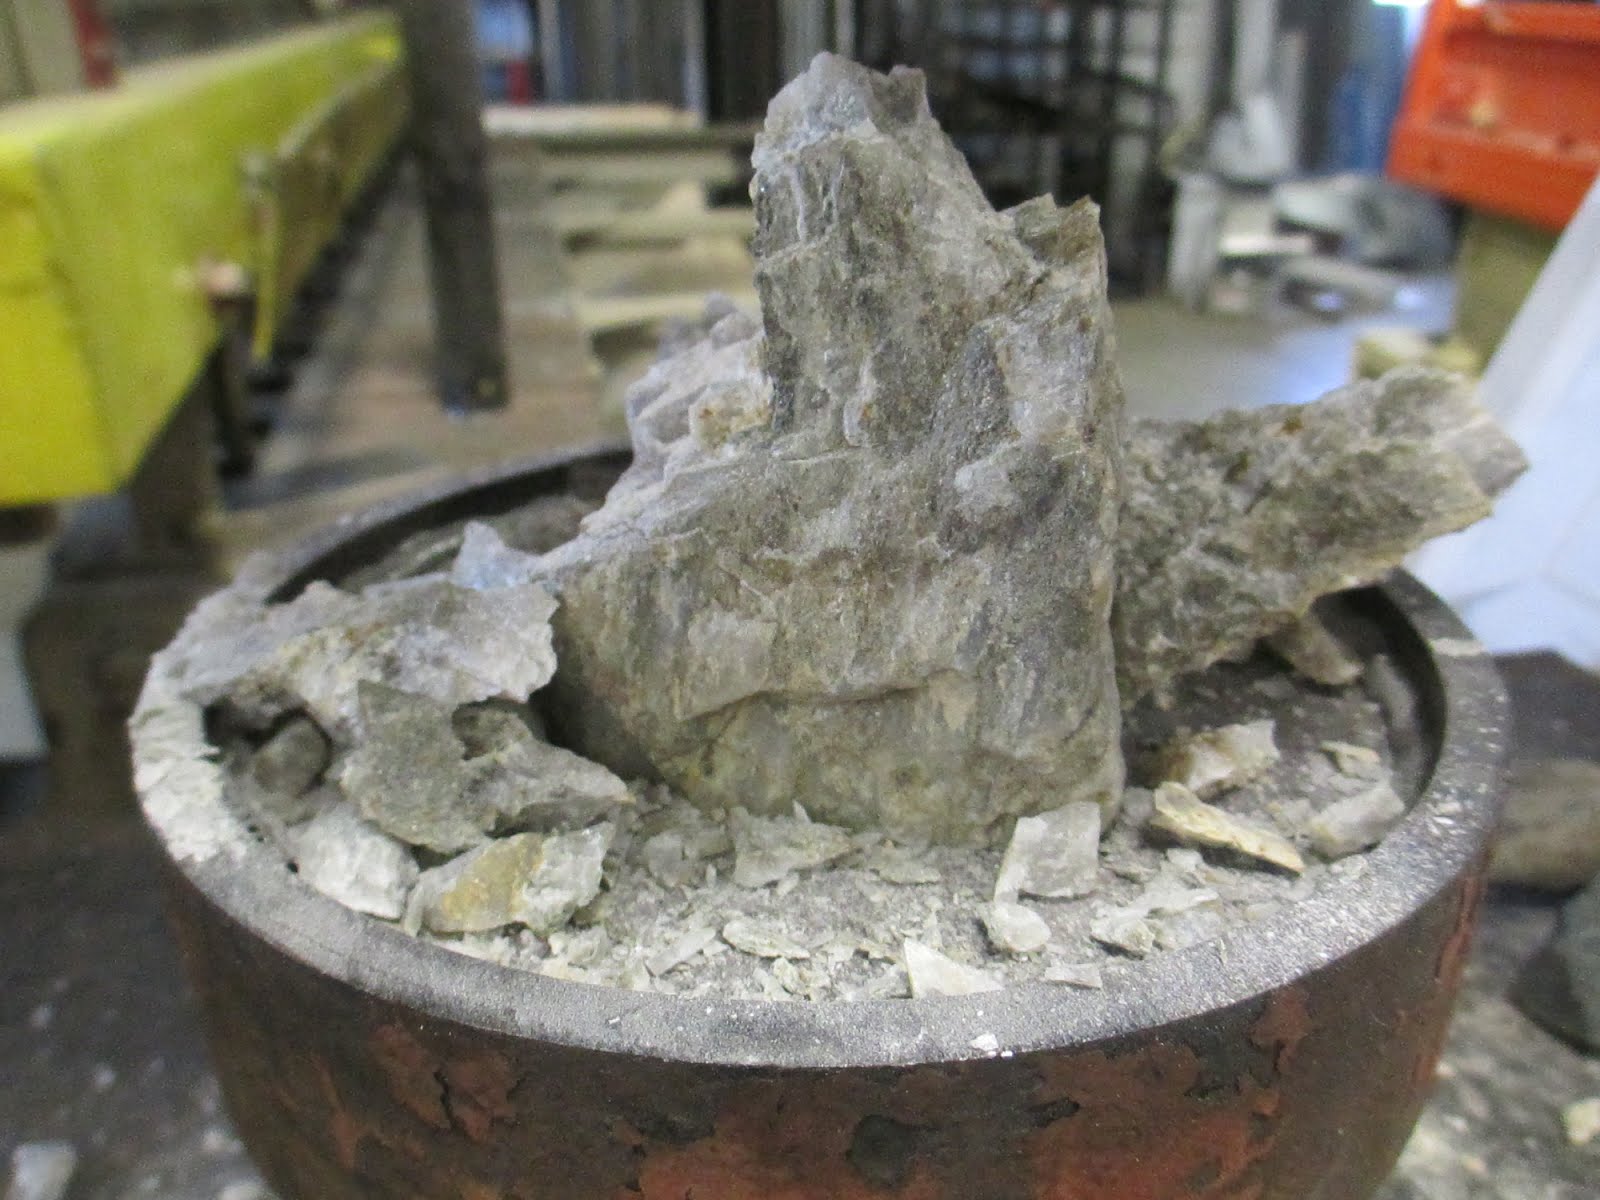
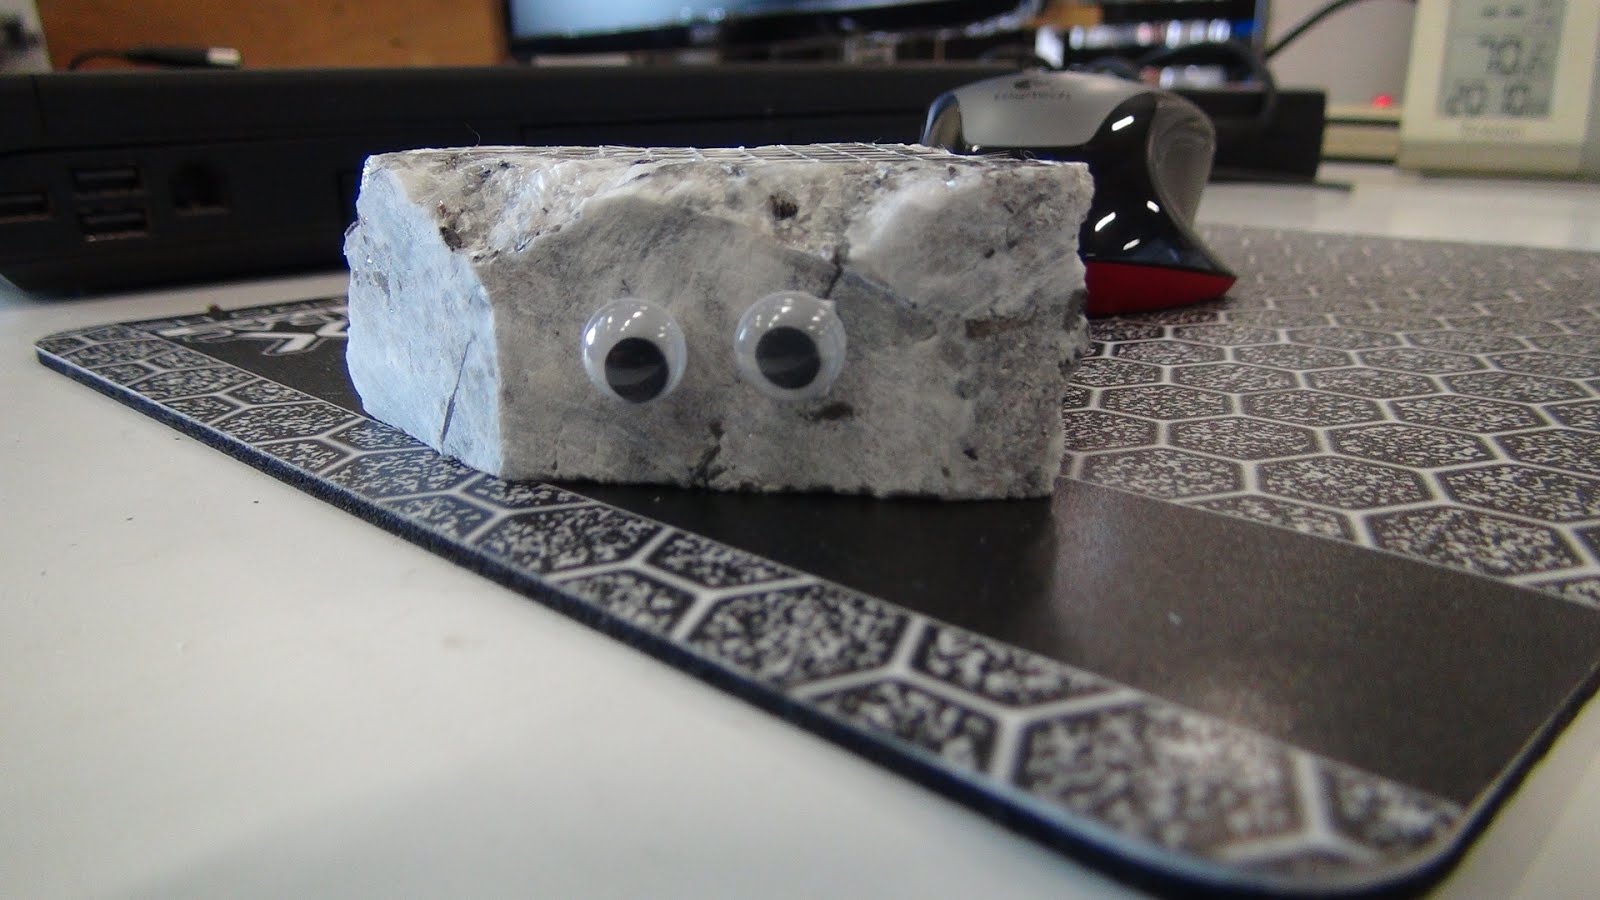
Rock samples have been acquired from a local supplier of granite countertops and landscaping rocks. They graciously offered us rocks from their scrap pile.
The Box of Rocks
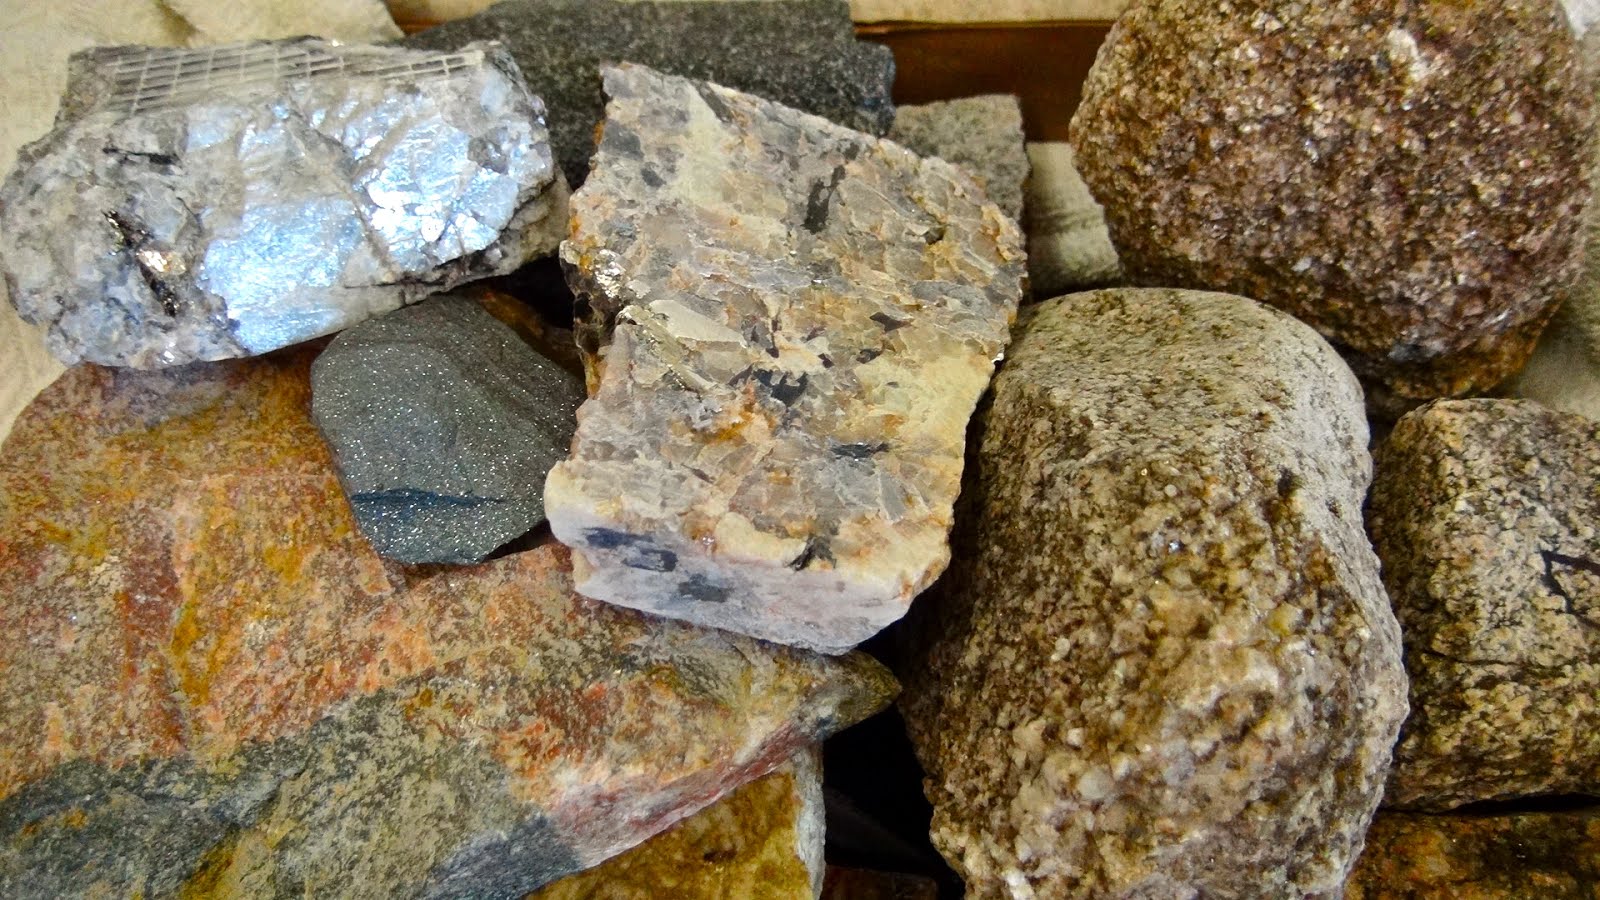
These rocks can be seen individually in My Rock Collection.
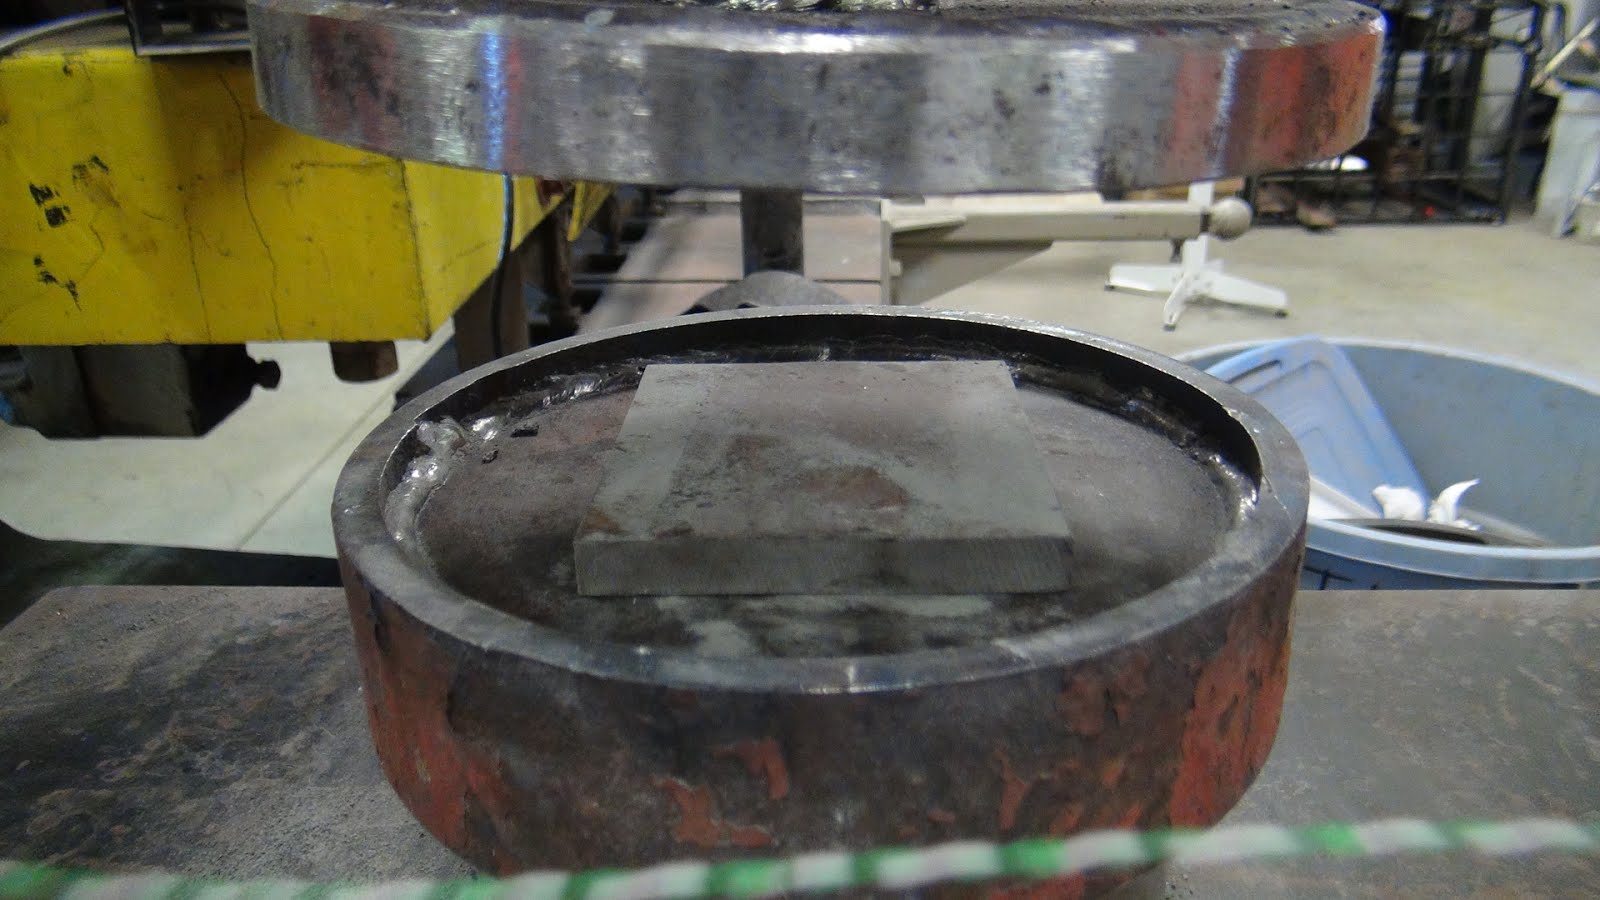
Because we now have rocks, and the detectors have been ordered, attention has been focused on preparing the press. Here are sketches of the plates for the press that will be used to hold the rock, protect the press, and hopefully contain the shards of shattered rock, as well as for the larger setup including a front shield, a back plastic wall.
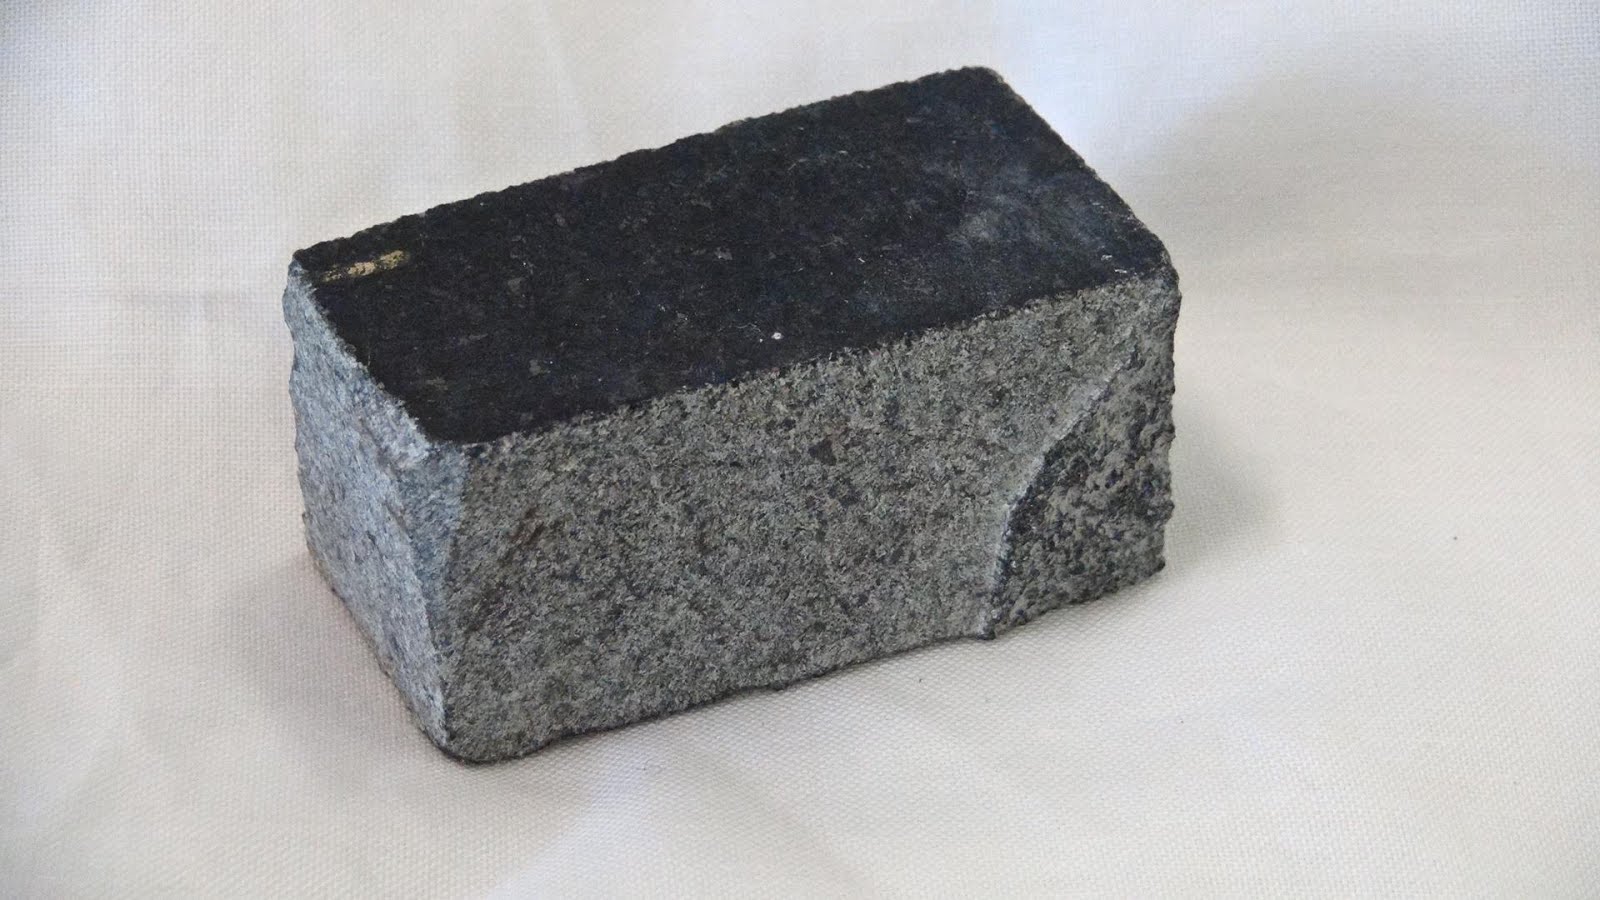
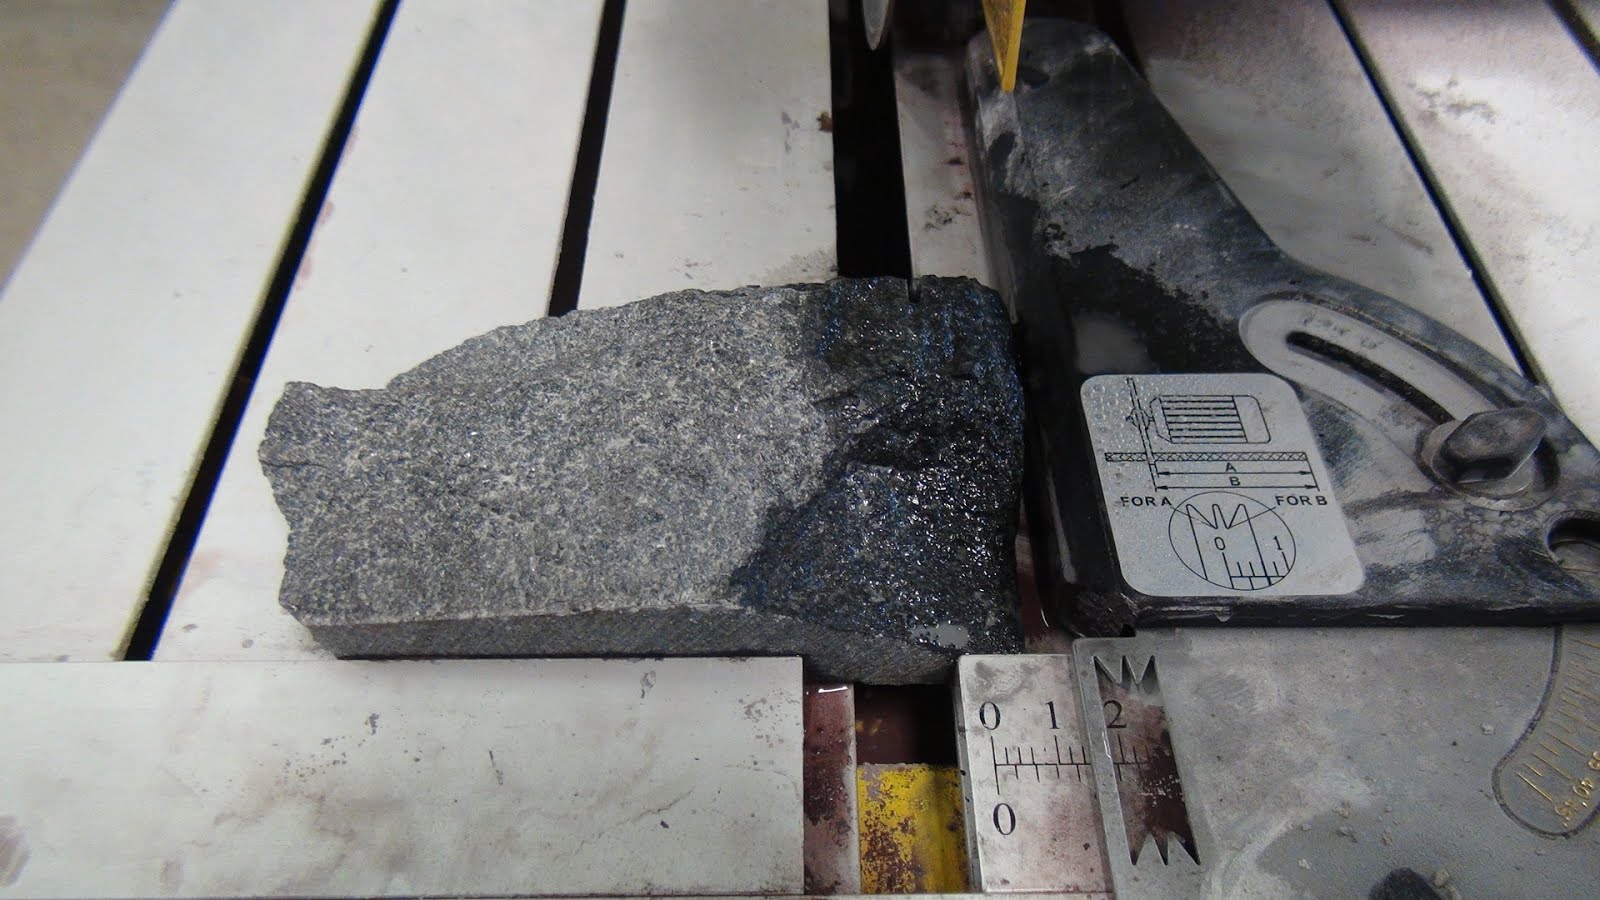
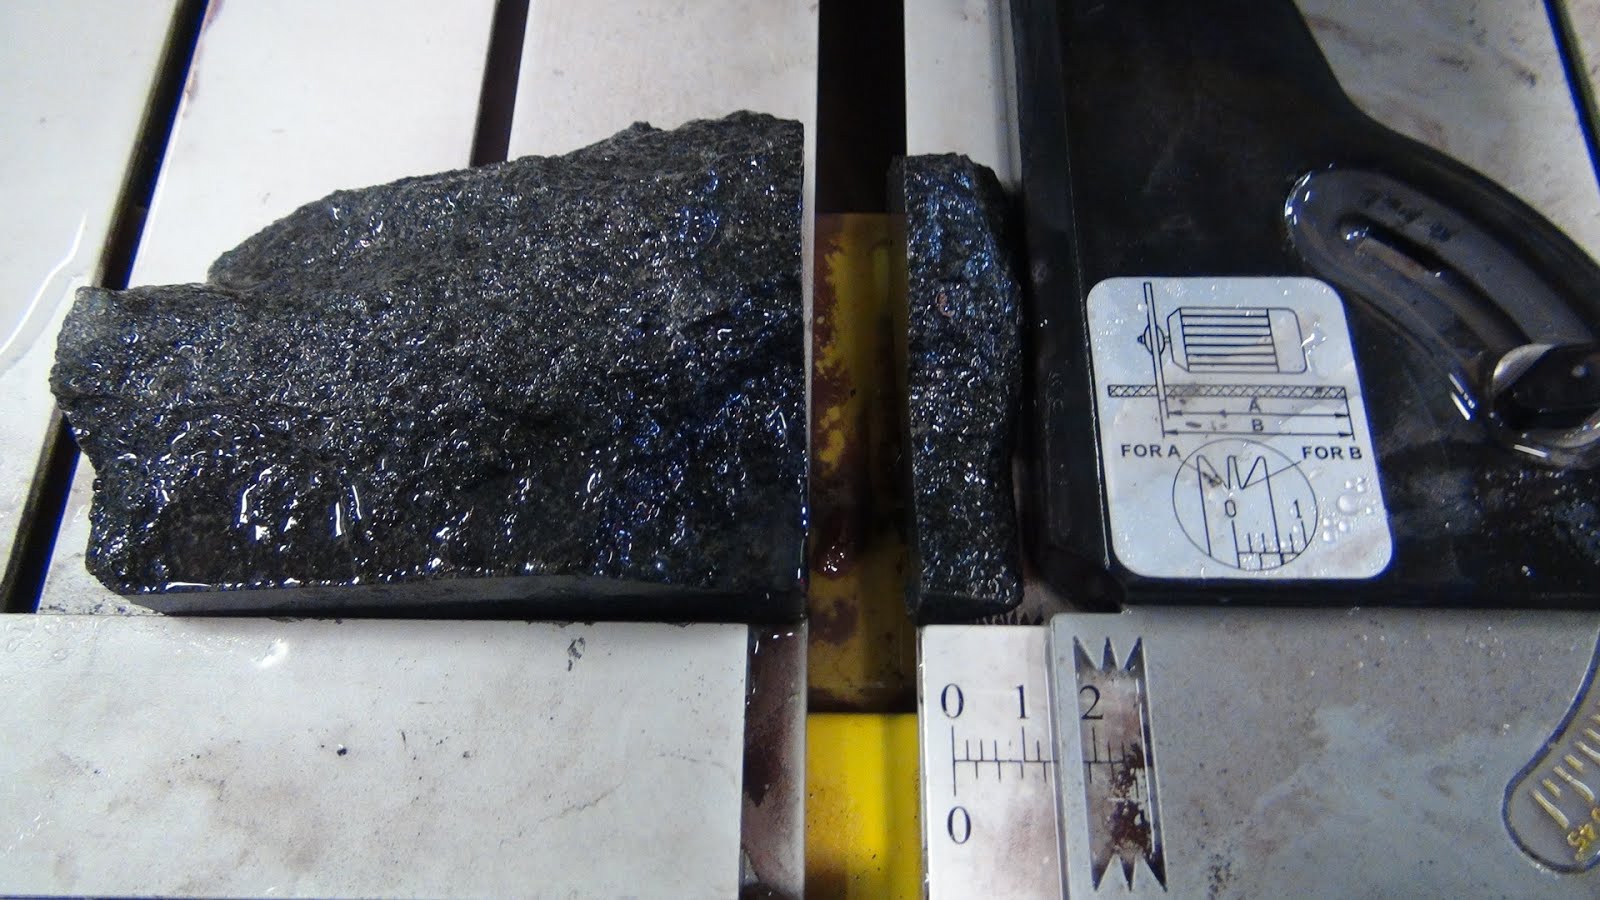
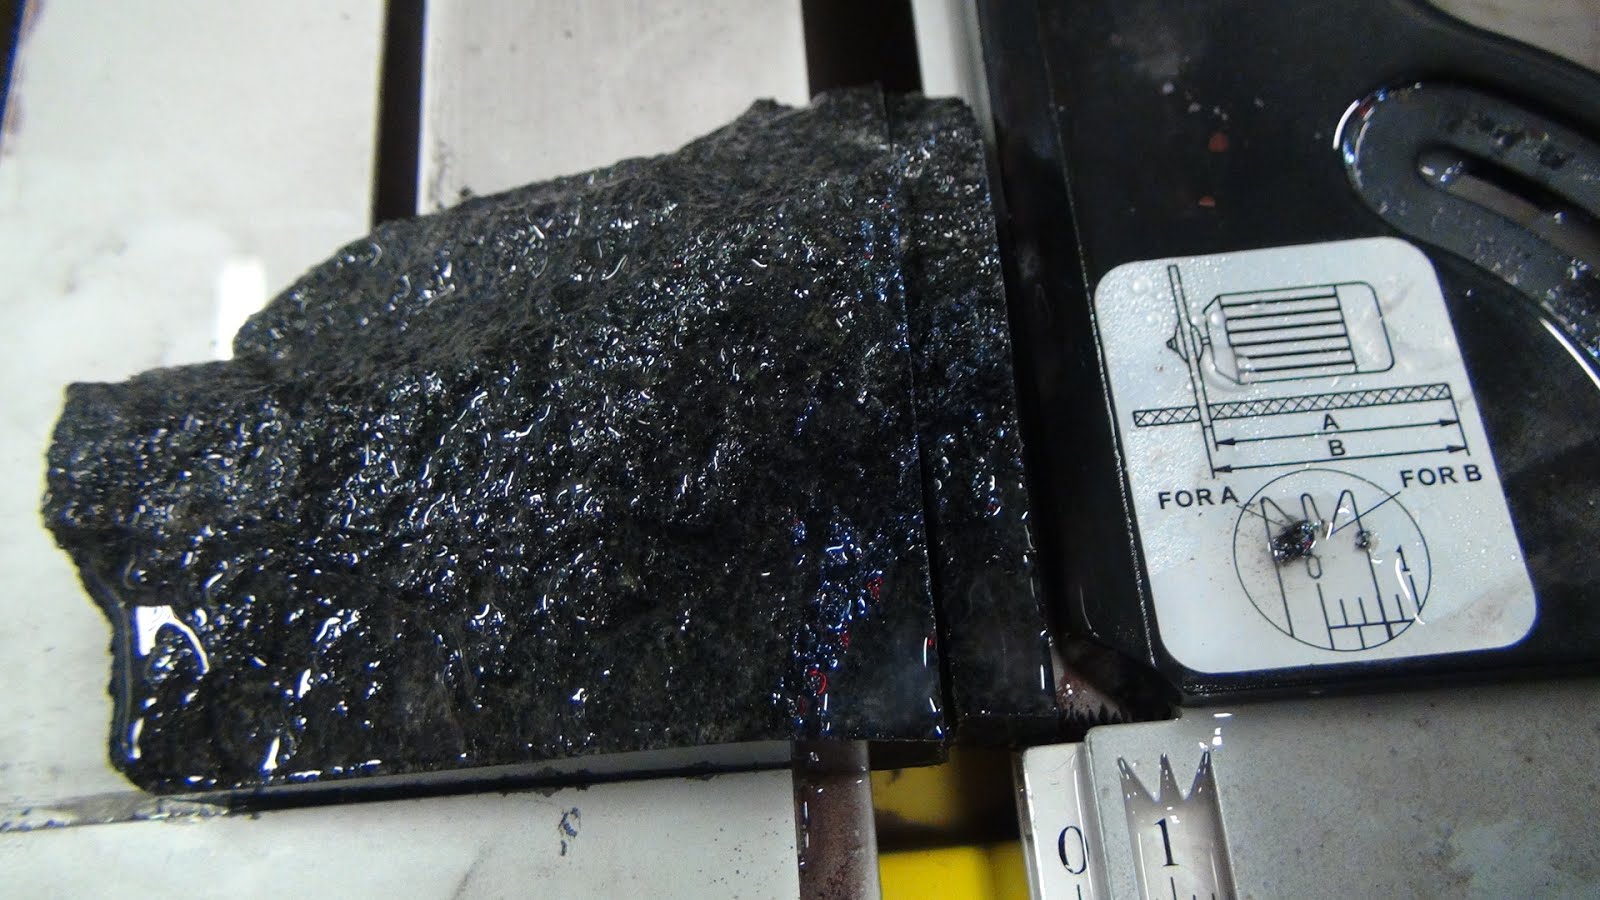
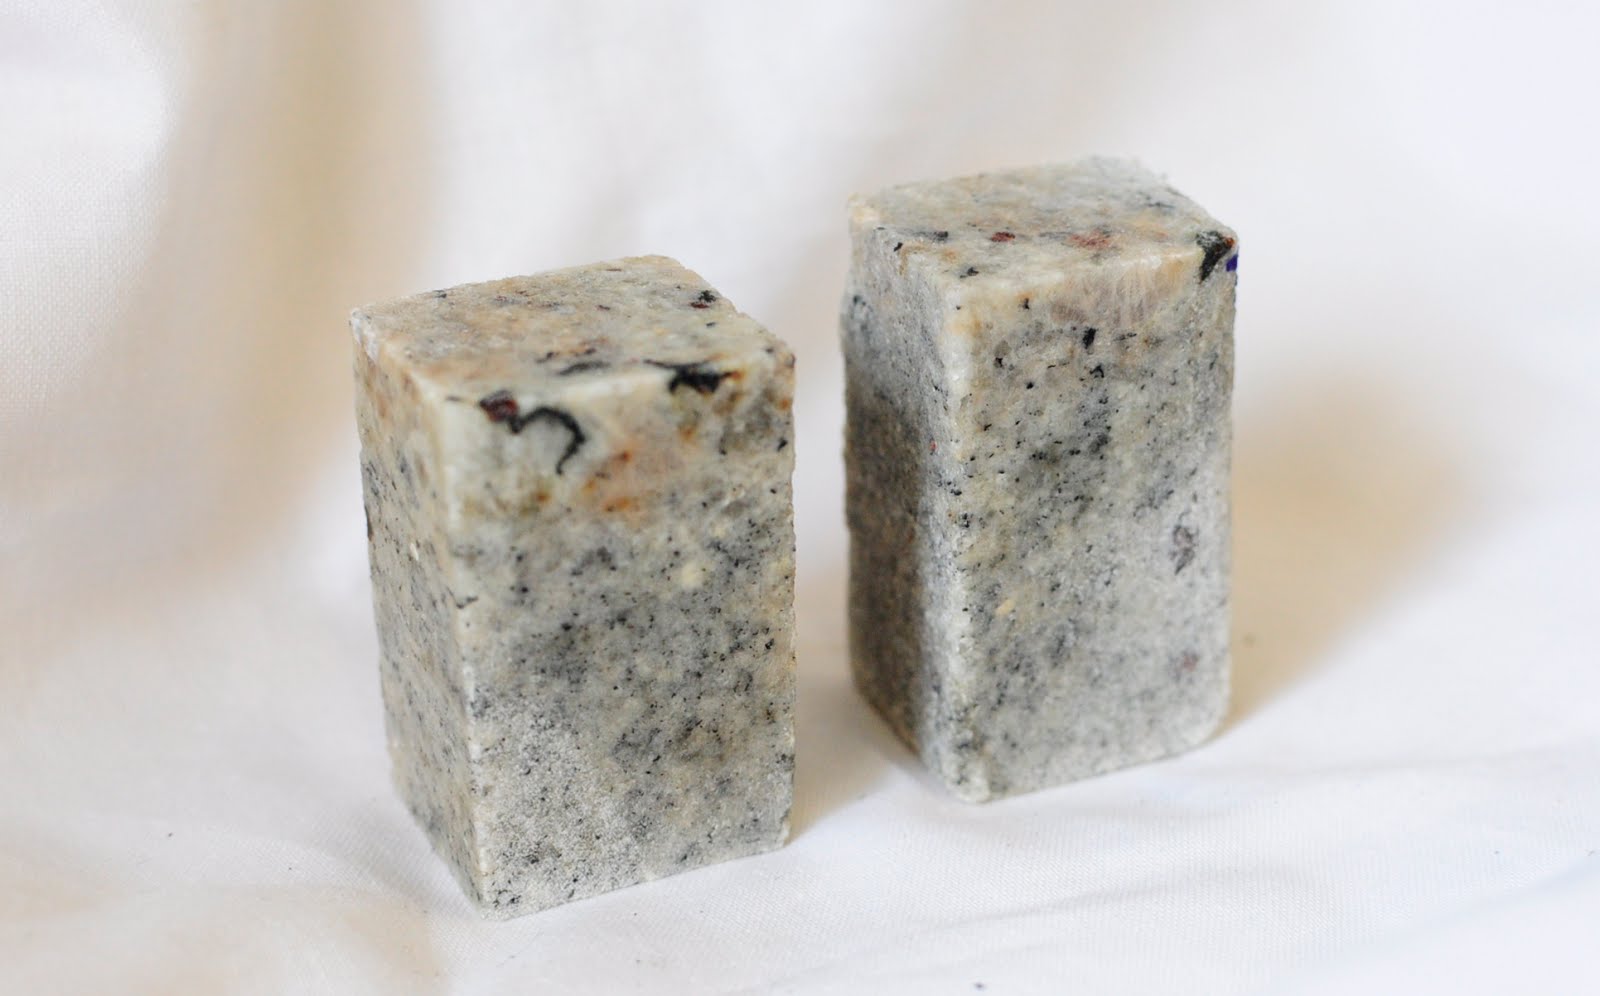
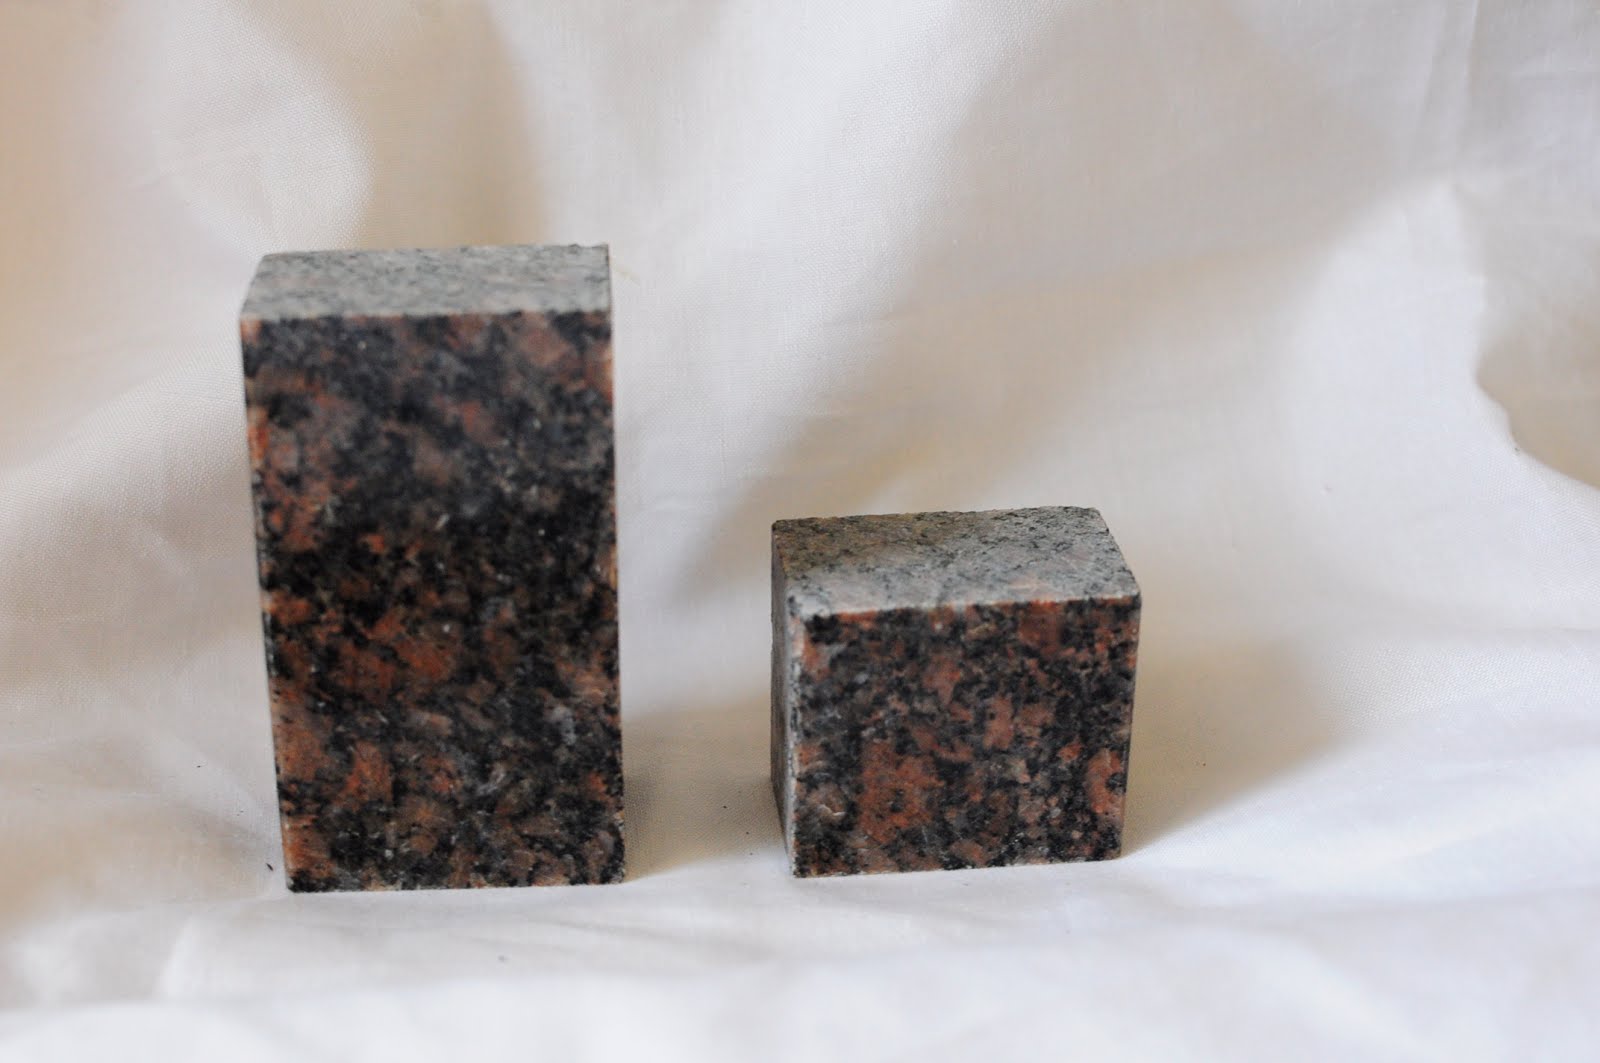
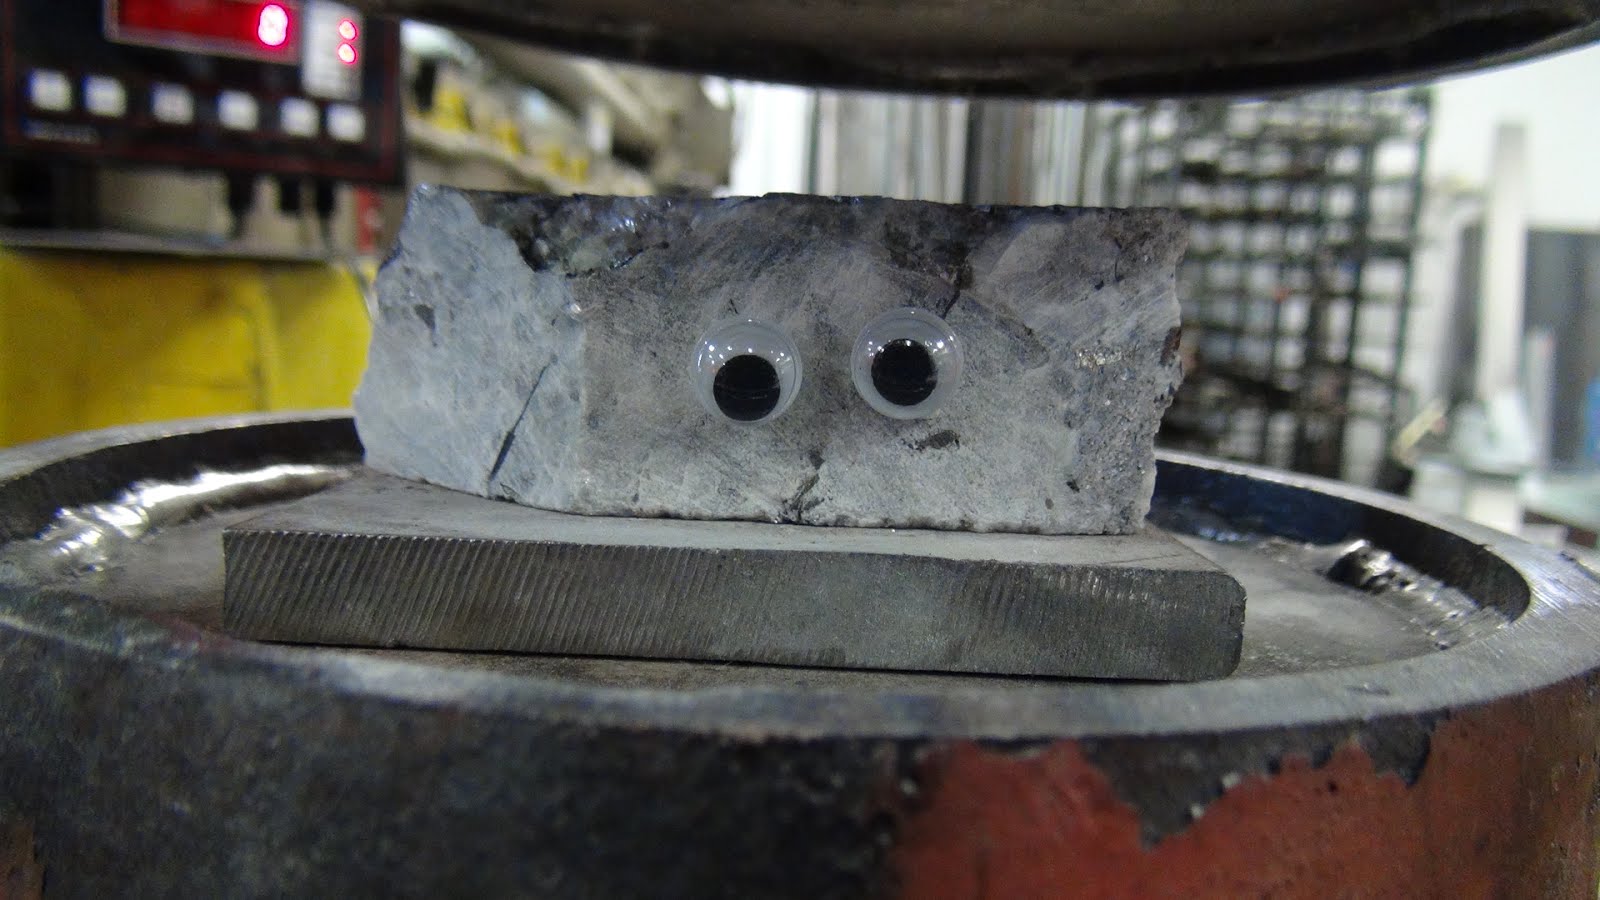
Because we are waiting on the sensors to ship, there is some time to shape up the granite samples. Using the wet saw we have on site, sample edges were squared up, and cut into appropriately sized pieces.
1My first piece of freshly cut granite.
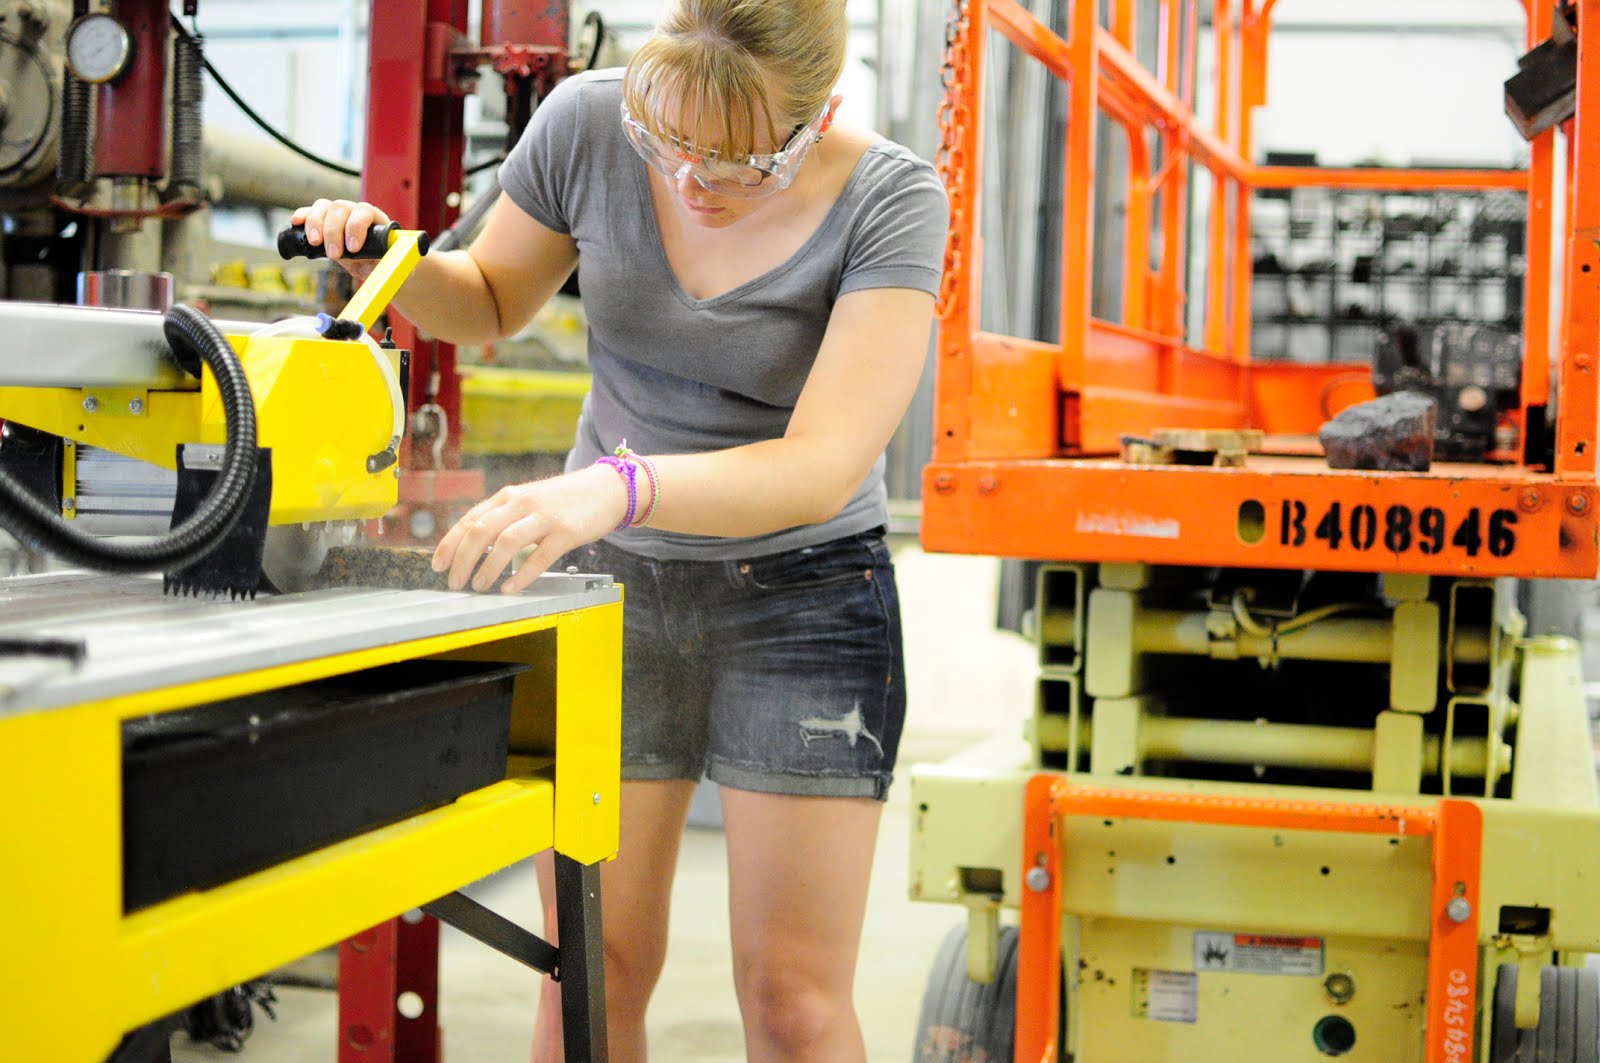

The corner didn’t cut perfectly, but I was told that is part of the learning process.
Notes from ICCF18:
It appears that the neutrons will not fly off in a predictable direction. Carpinteri used many detectors surrounding the rock samples and did not see a consistent pattern in neutron detection. This will make it difficult for us to consistently see neutrons with our two detector system, but it will offer an explanation if we do struggle to see anything. I would prefer it if we could see something with repeatability. It also appears that sample geometry plays a part in the results and that a smooth surface is helpful in detecting neutrons. There was a great discussion here over lunch in an attempt to maximize results while minimizing error. There was much speculation that the shock waves must be producing bubbles because they would result in an inconsistent pattern.

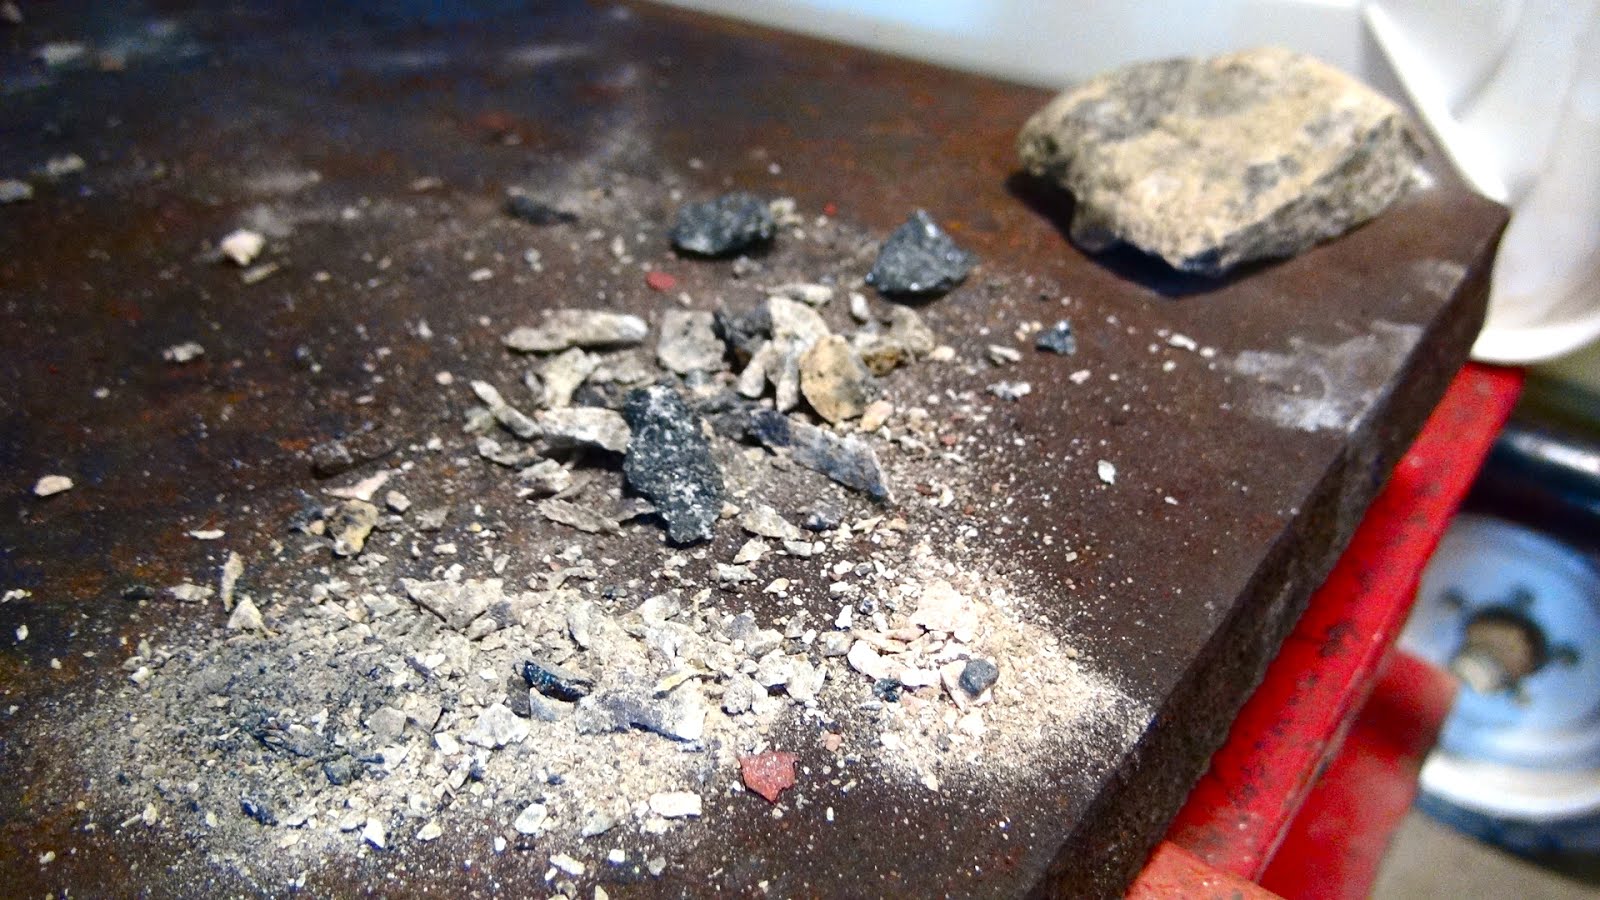
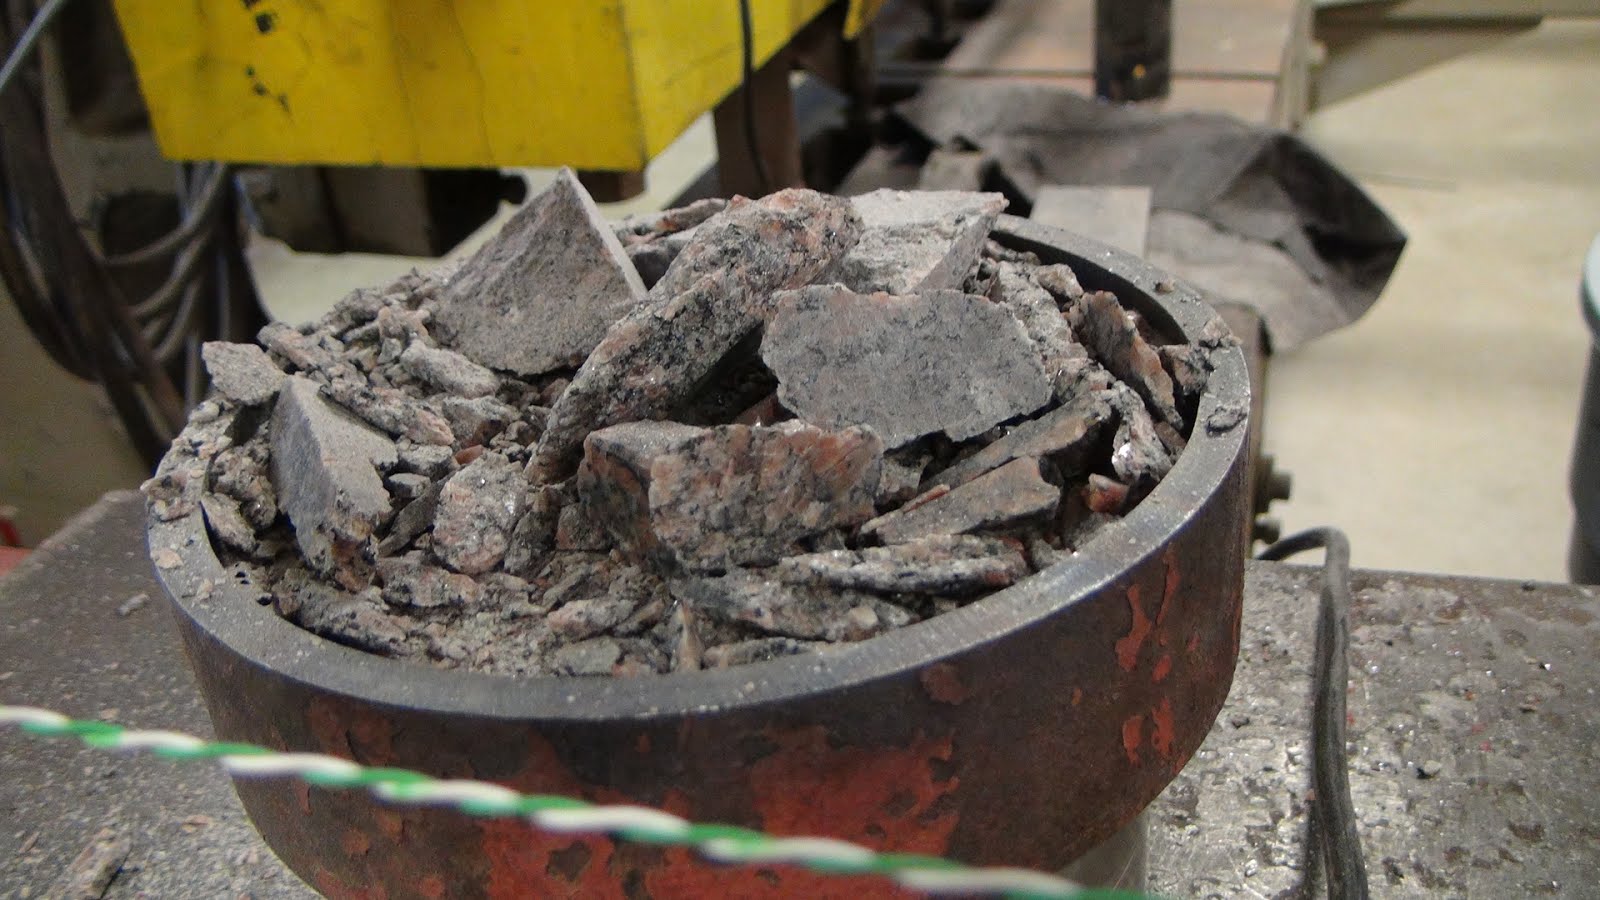
It looks like the guys crushed some rocks while I was away.
Diary of a Rock Crusher
July 29:
Shock wave test. We placed the detectors on a steel table and hit the table with a hammer hard. No bubbles formed from the shock wave.
Practice. Crushed a rock from outside the LENR shack with detectors suspended near the edge of the plates.
July 30:
More time spent practicing. Here is a general walk through of the procedure.
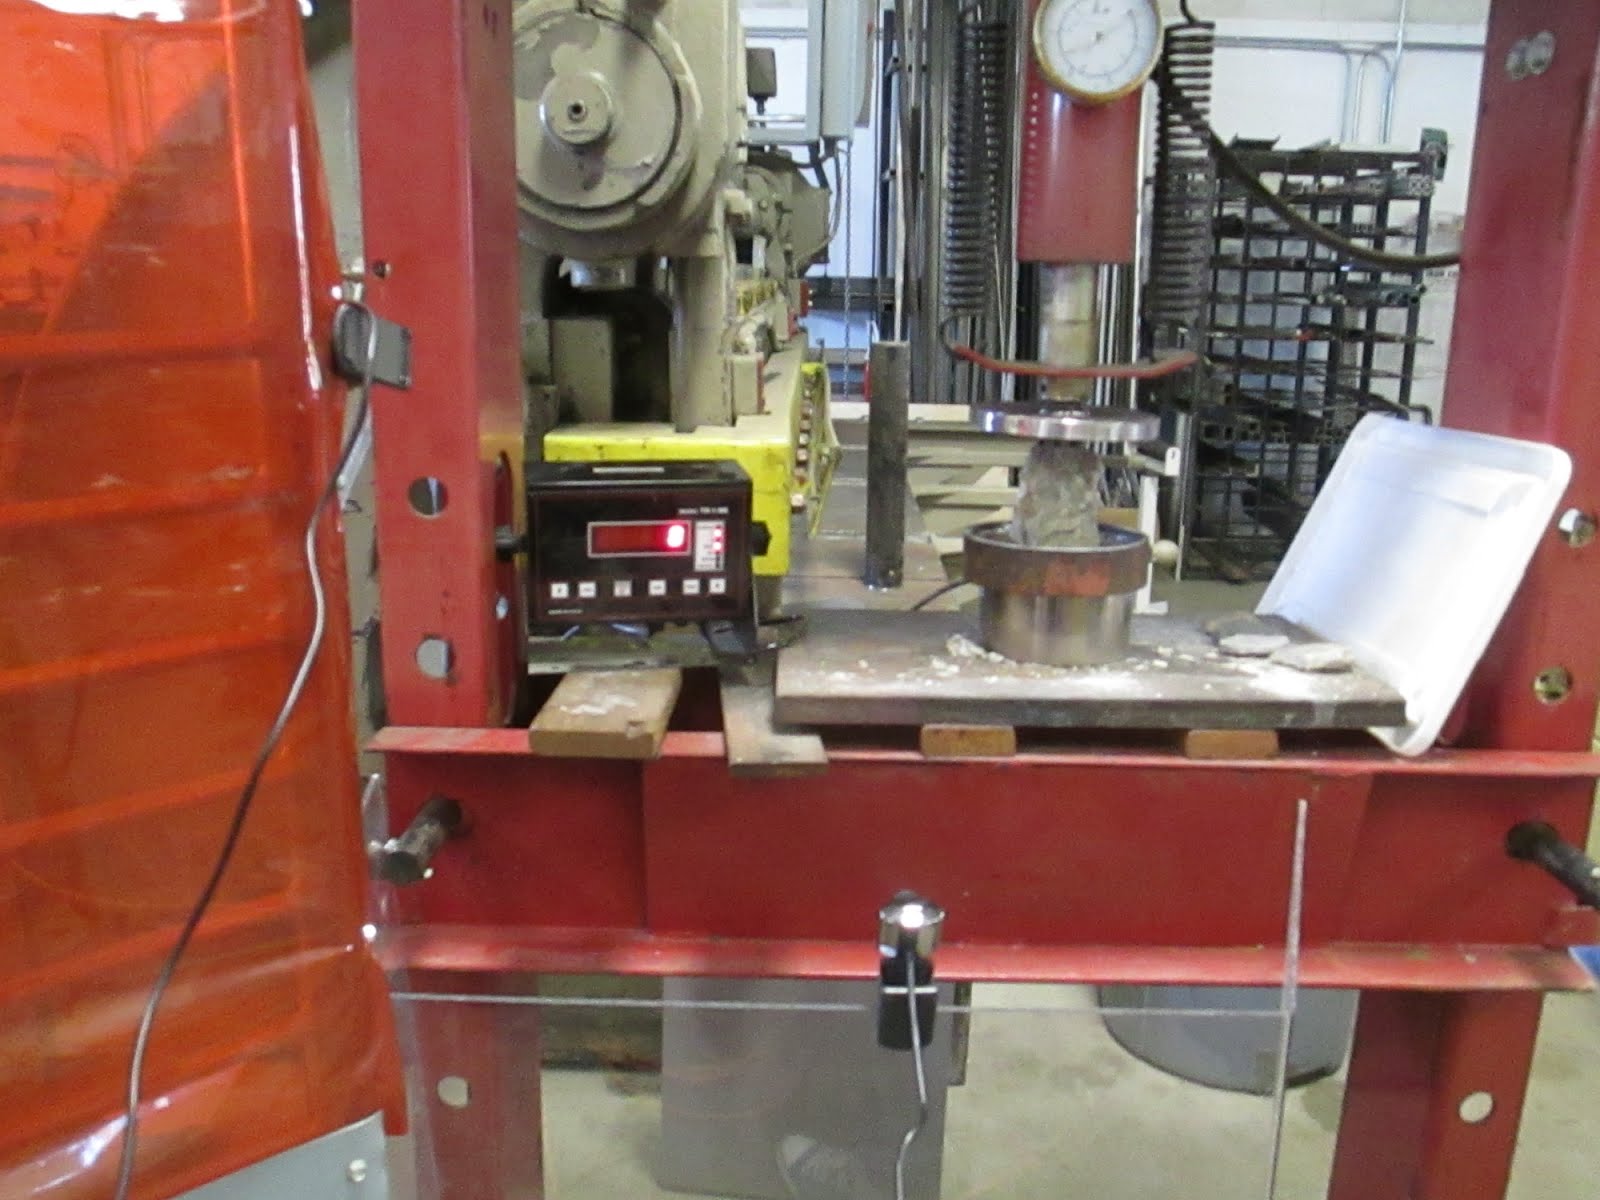
Checking Press Alignment
Select a rock sample and identify
(Rock from Wes and Malachi, sandstone pockmarked with pits)
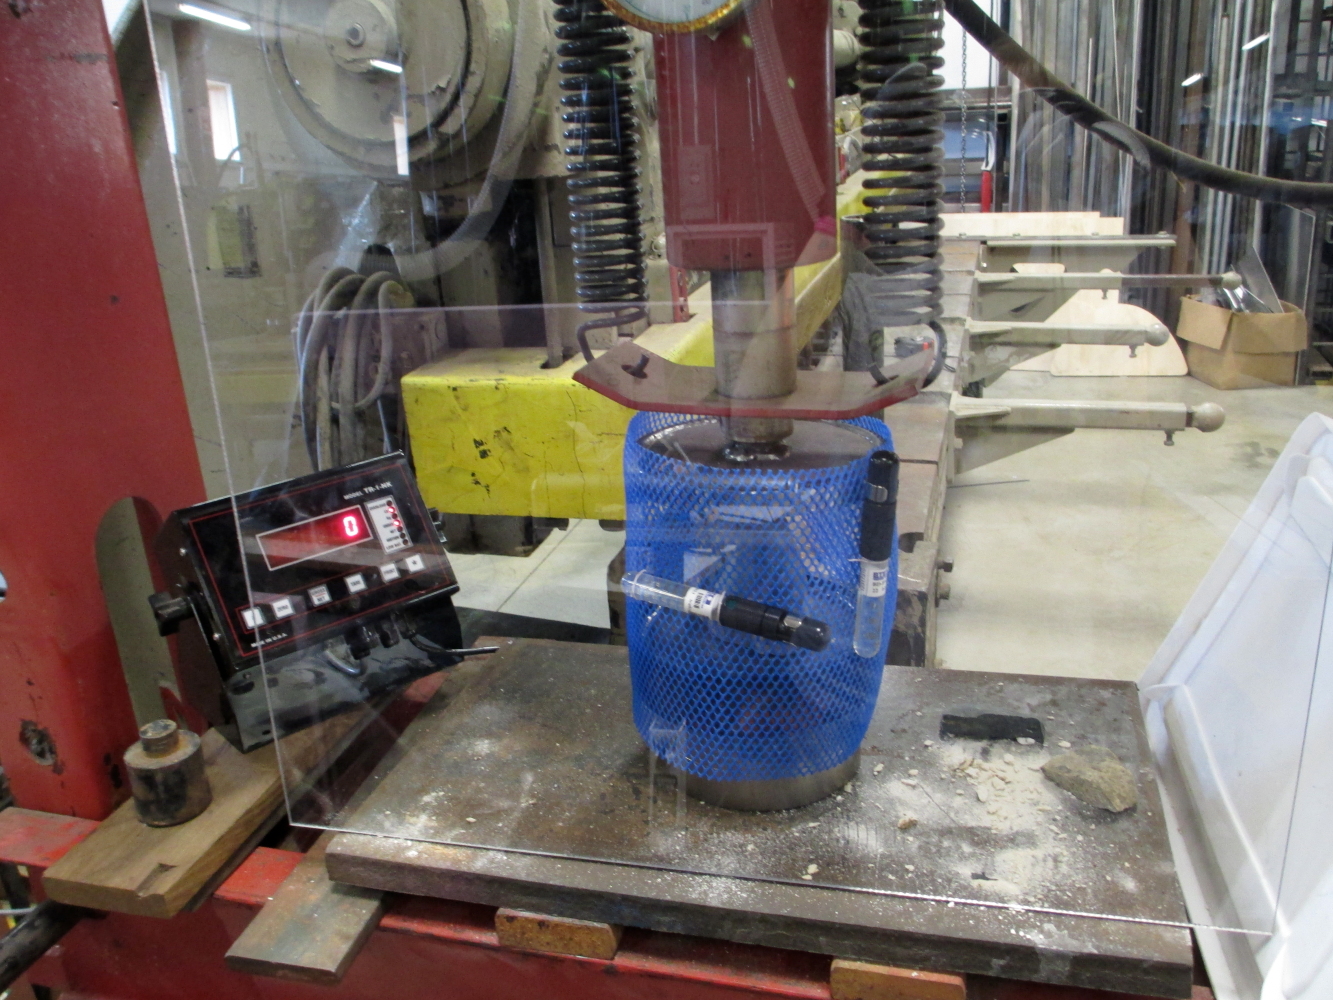
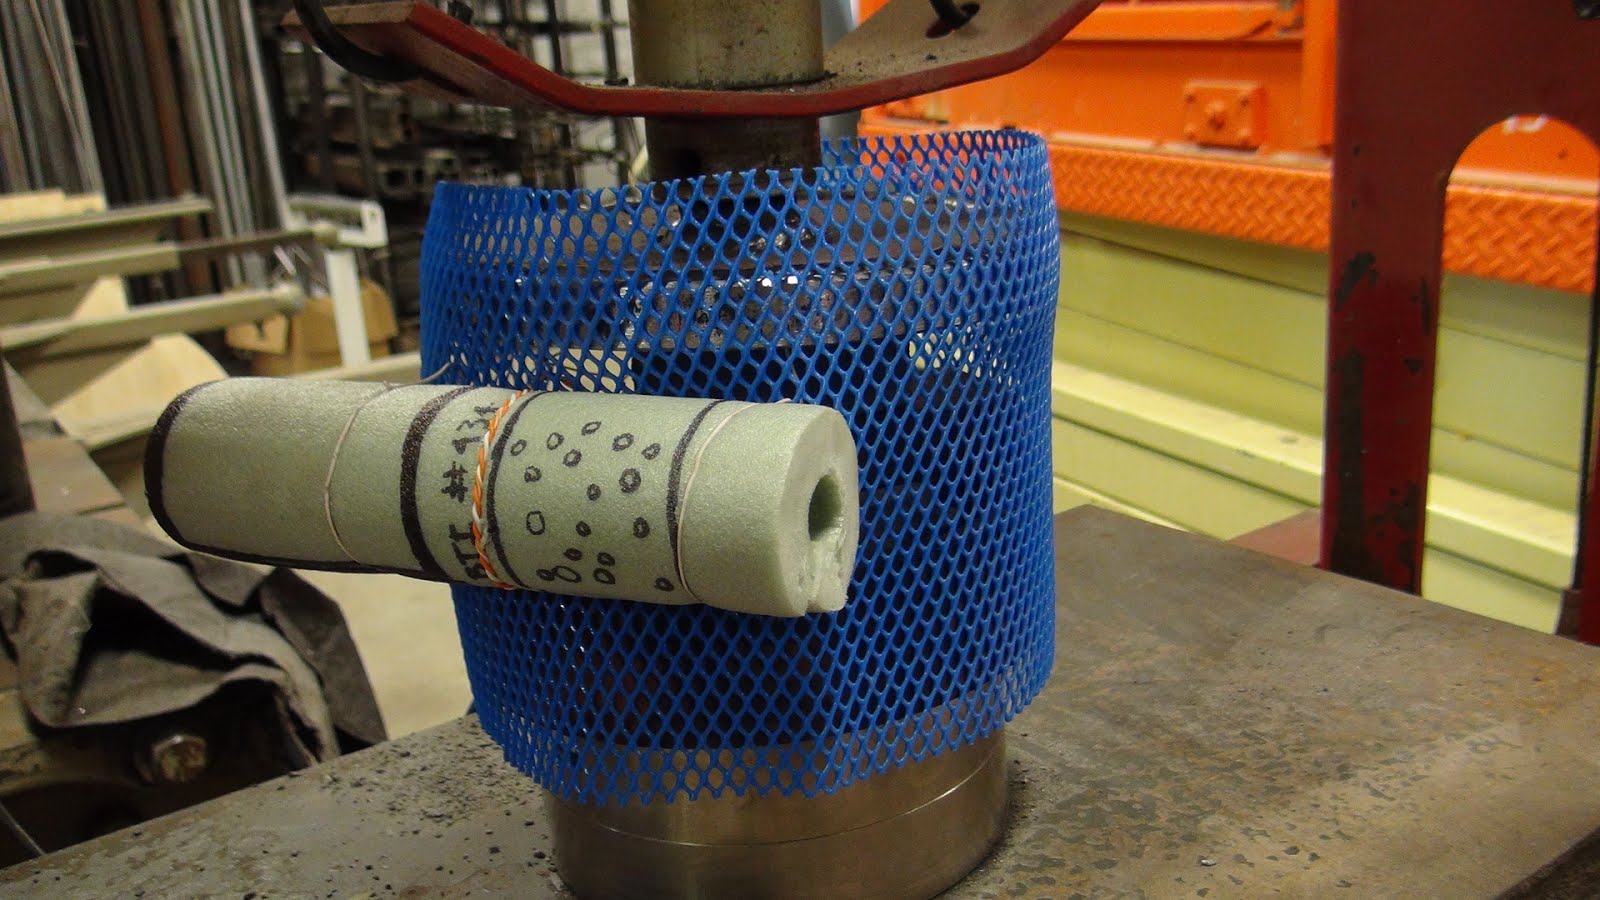
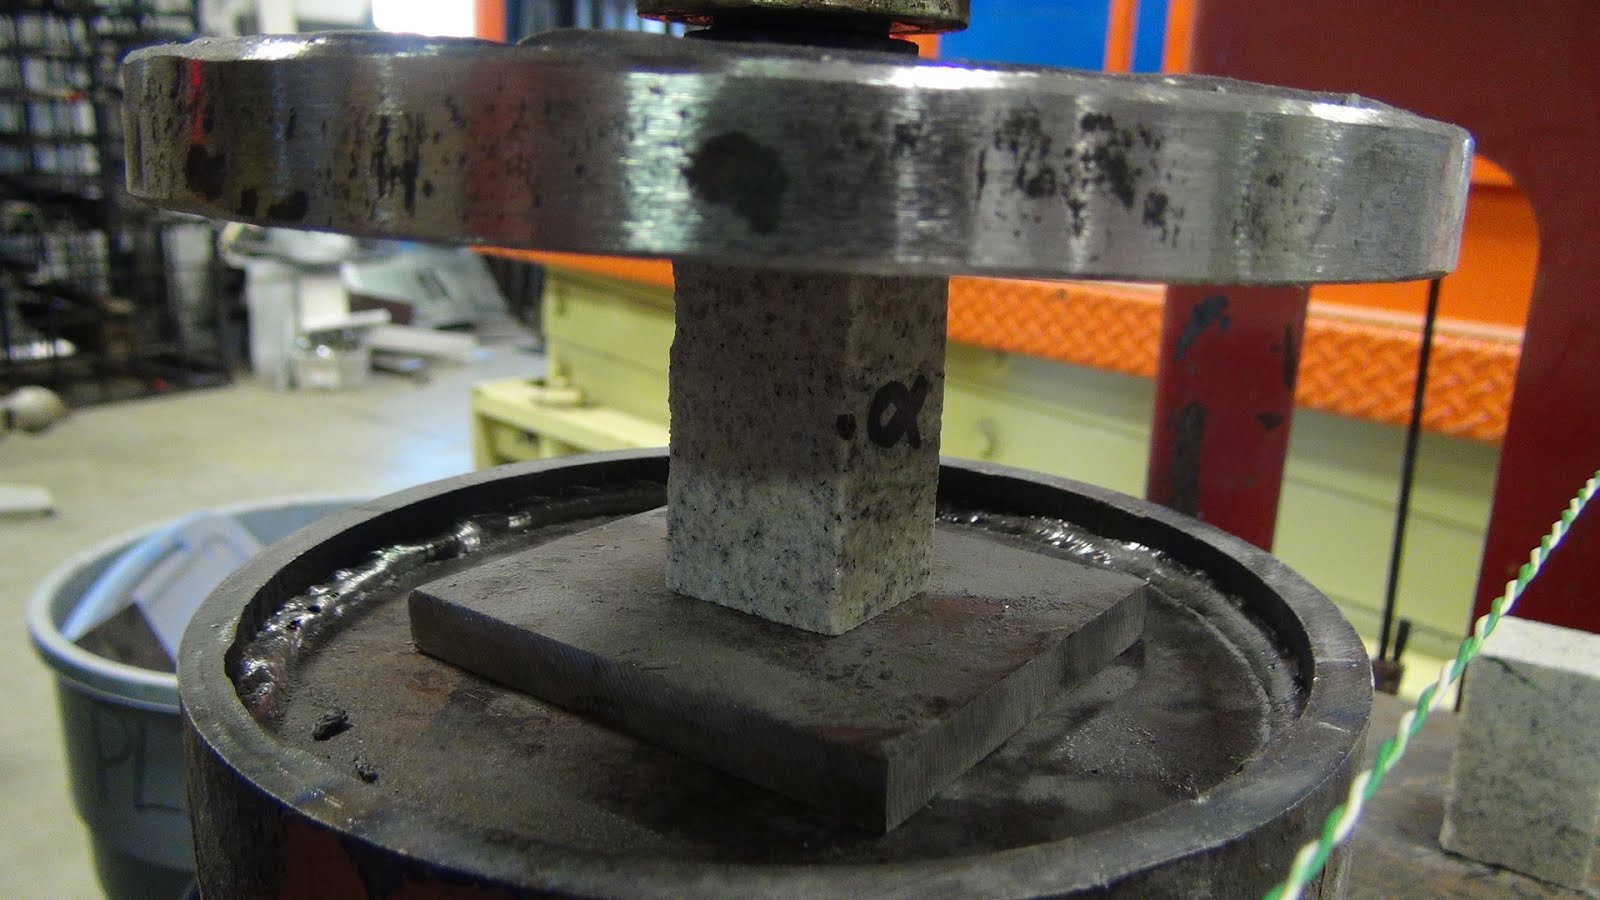
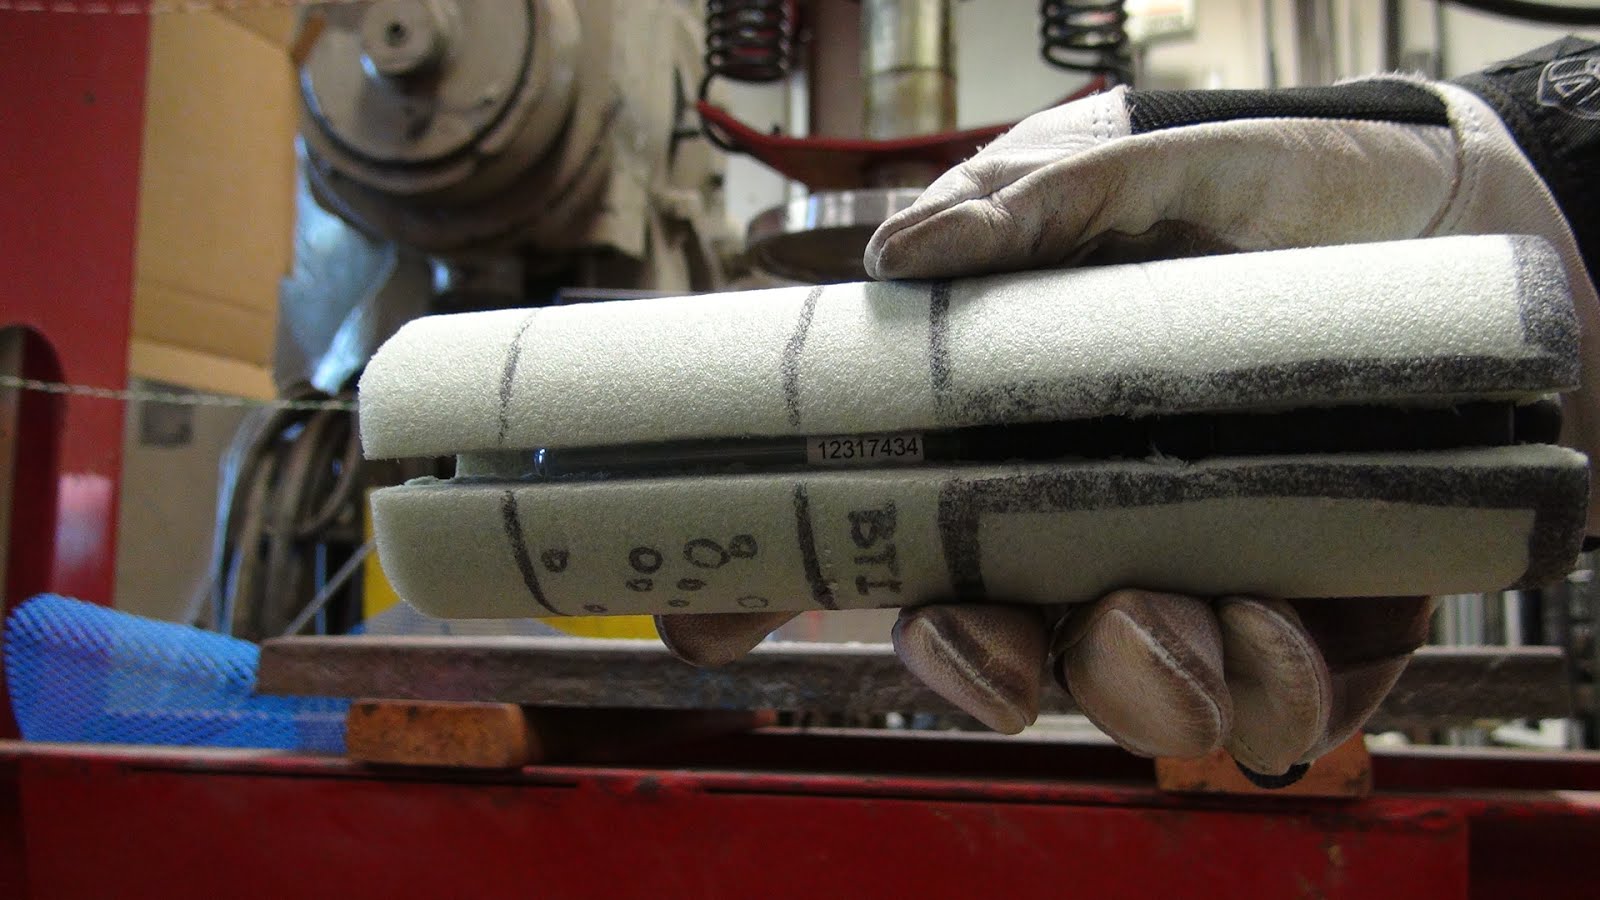
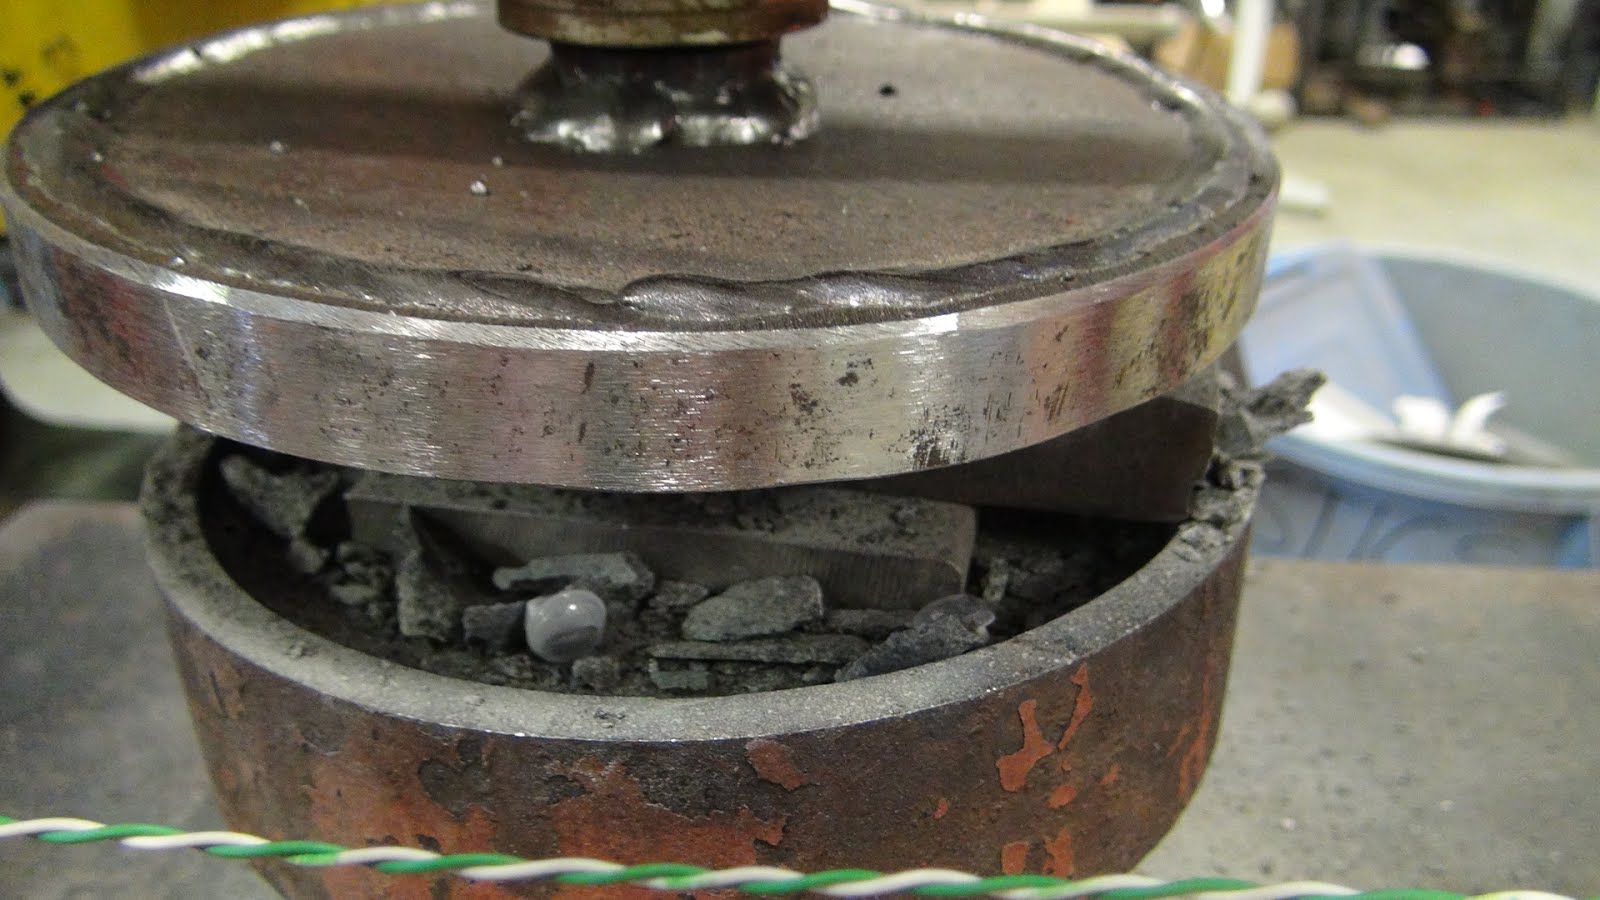
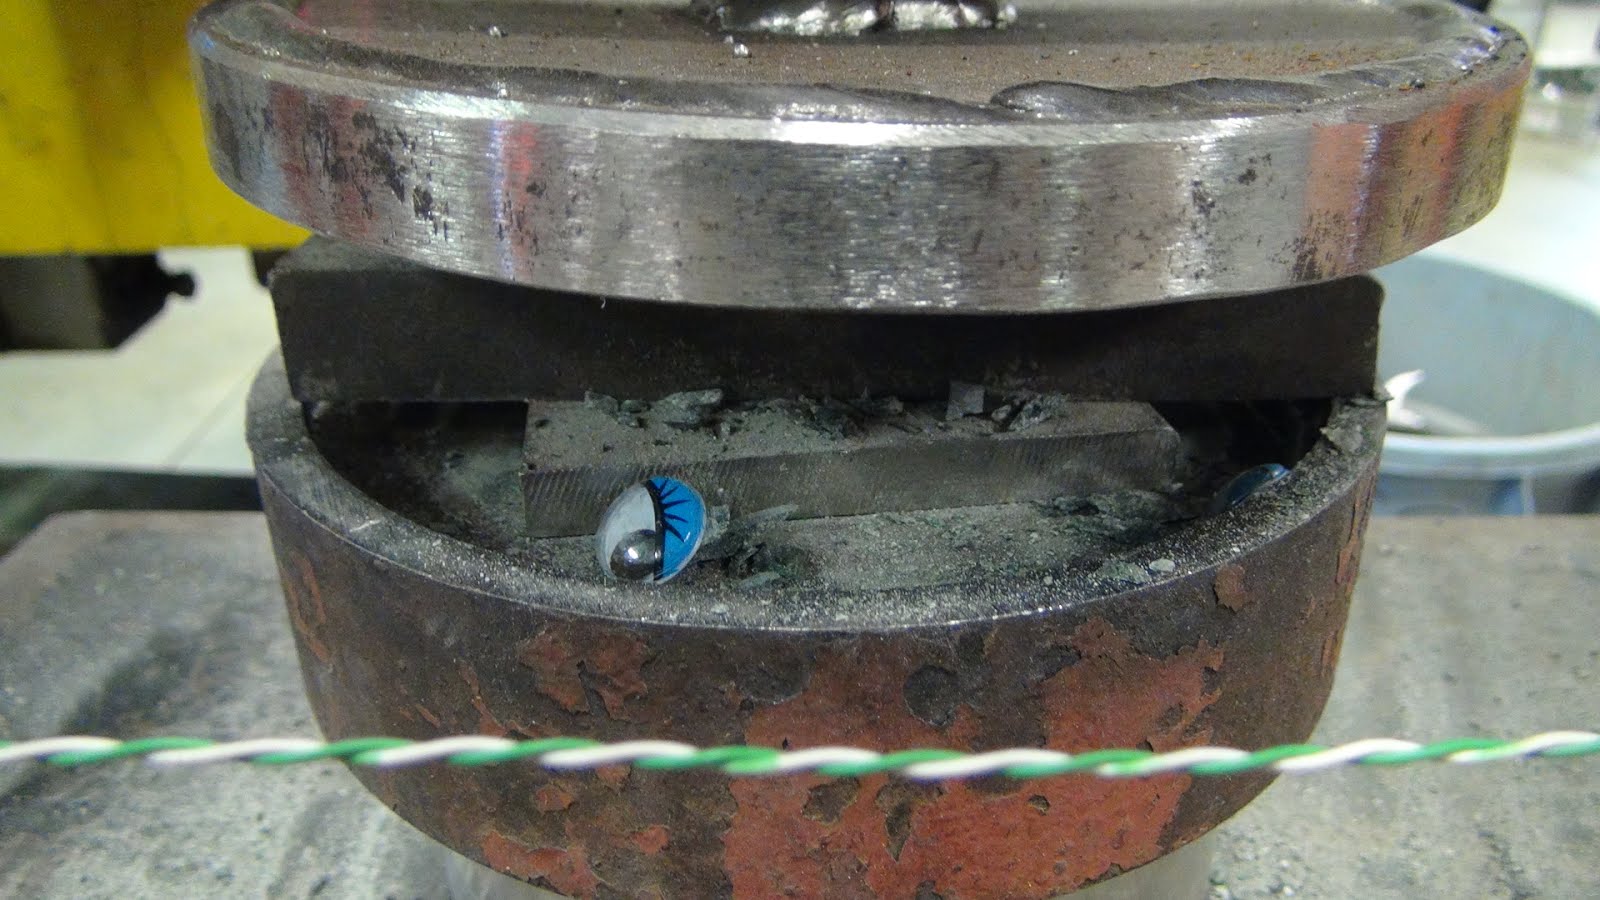
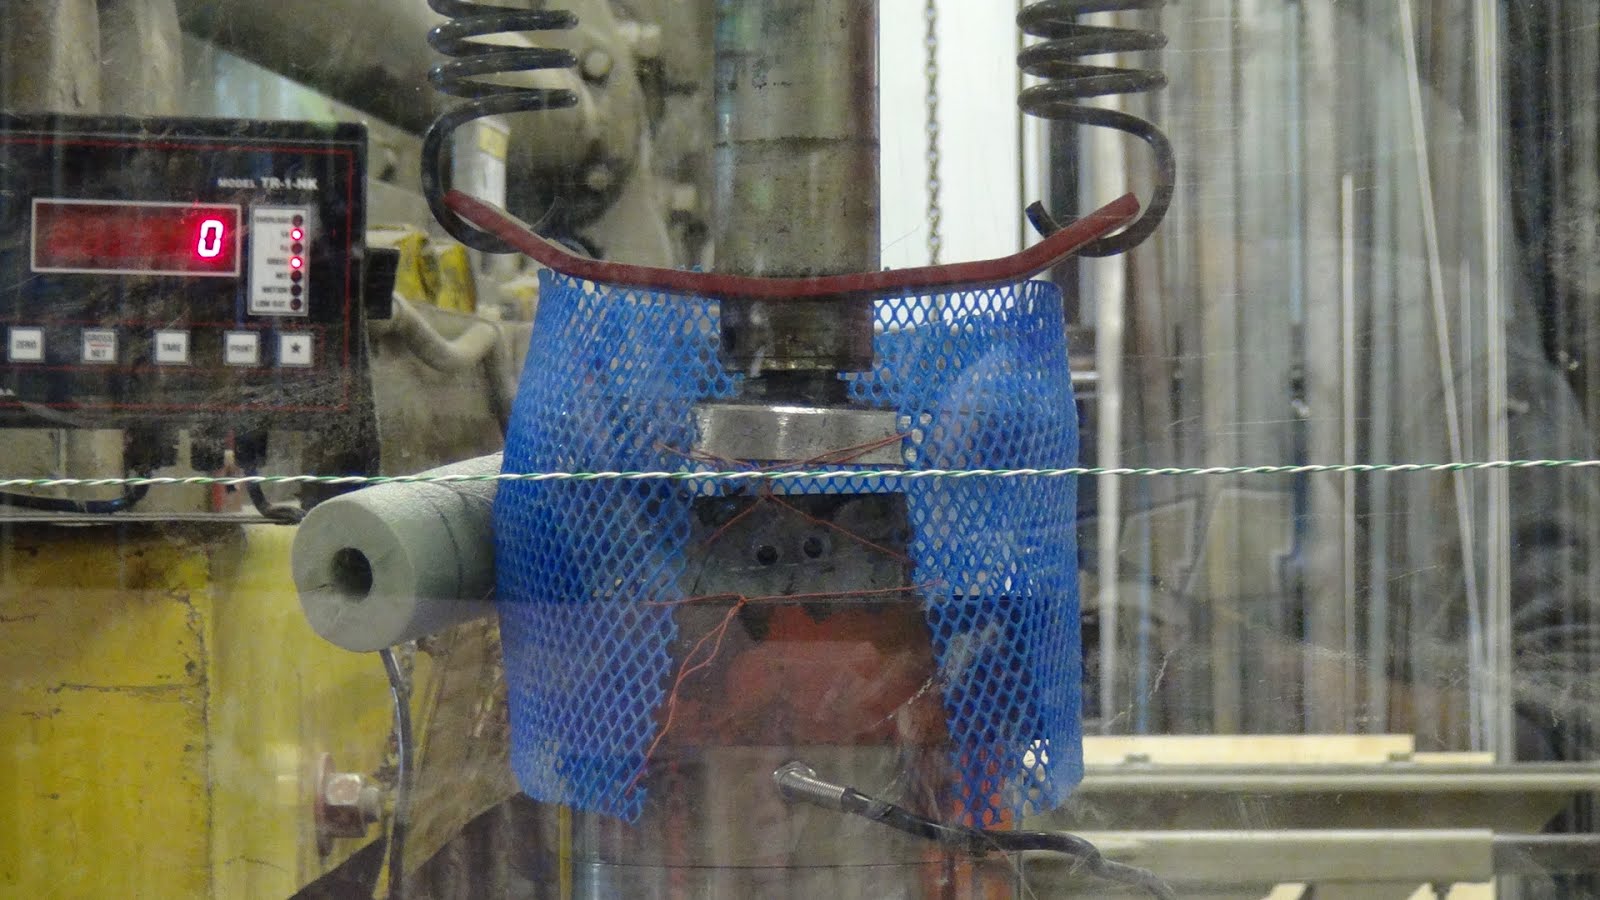
Place rock in press
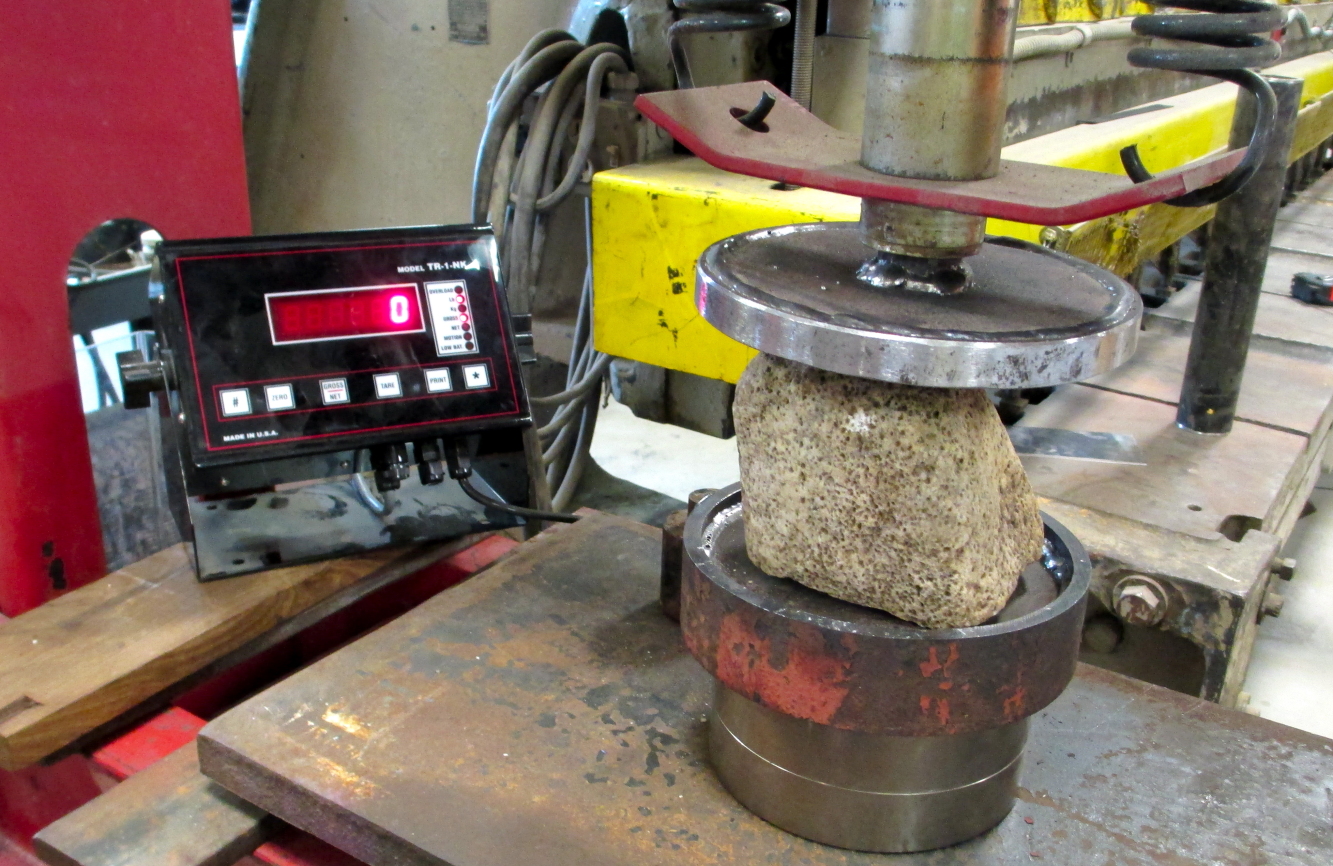
Surround with plastic mesh and detectors, the mesh provides a stable surface for the detectors to attach to while also containing pieces of rock.
Shield with plastic and begin to apply pressure
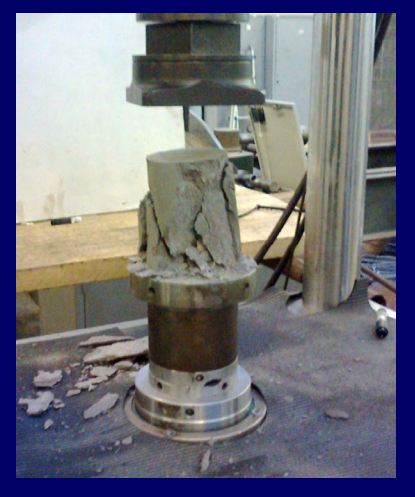
Continue applying pressure until failure occurs.
Check for bubbles
See nothing of interest
Discard rocks outside
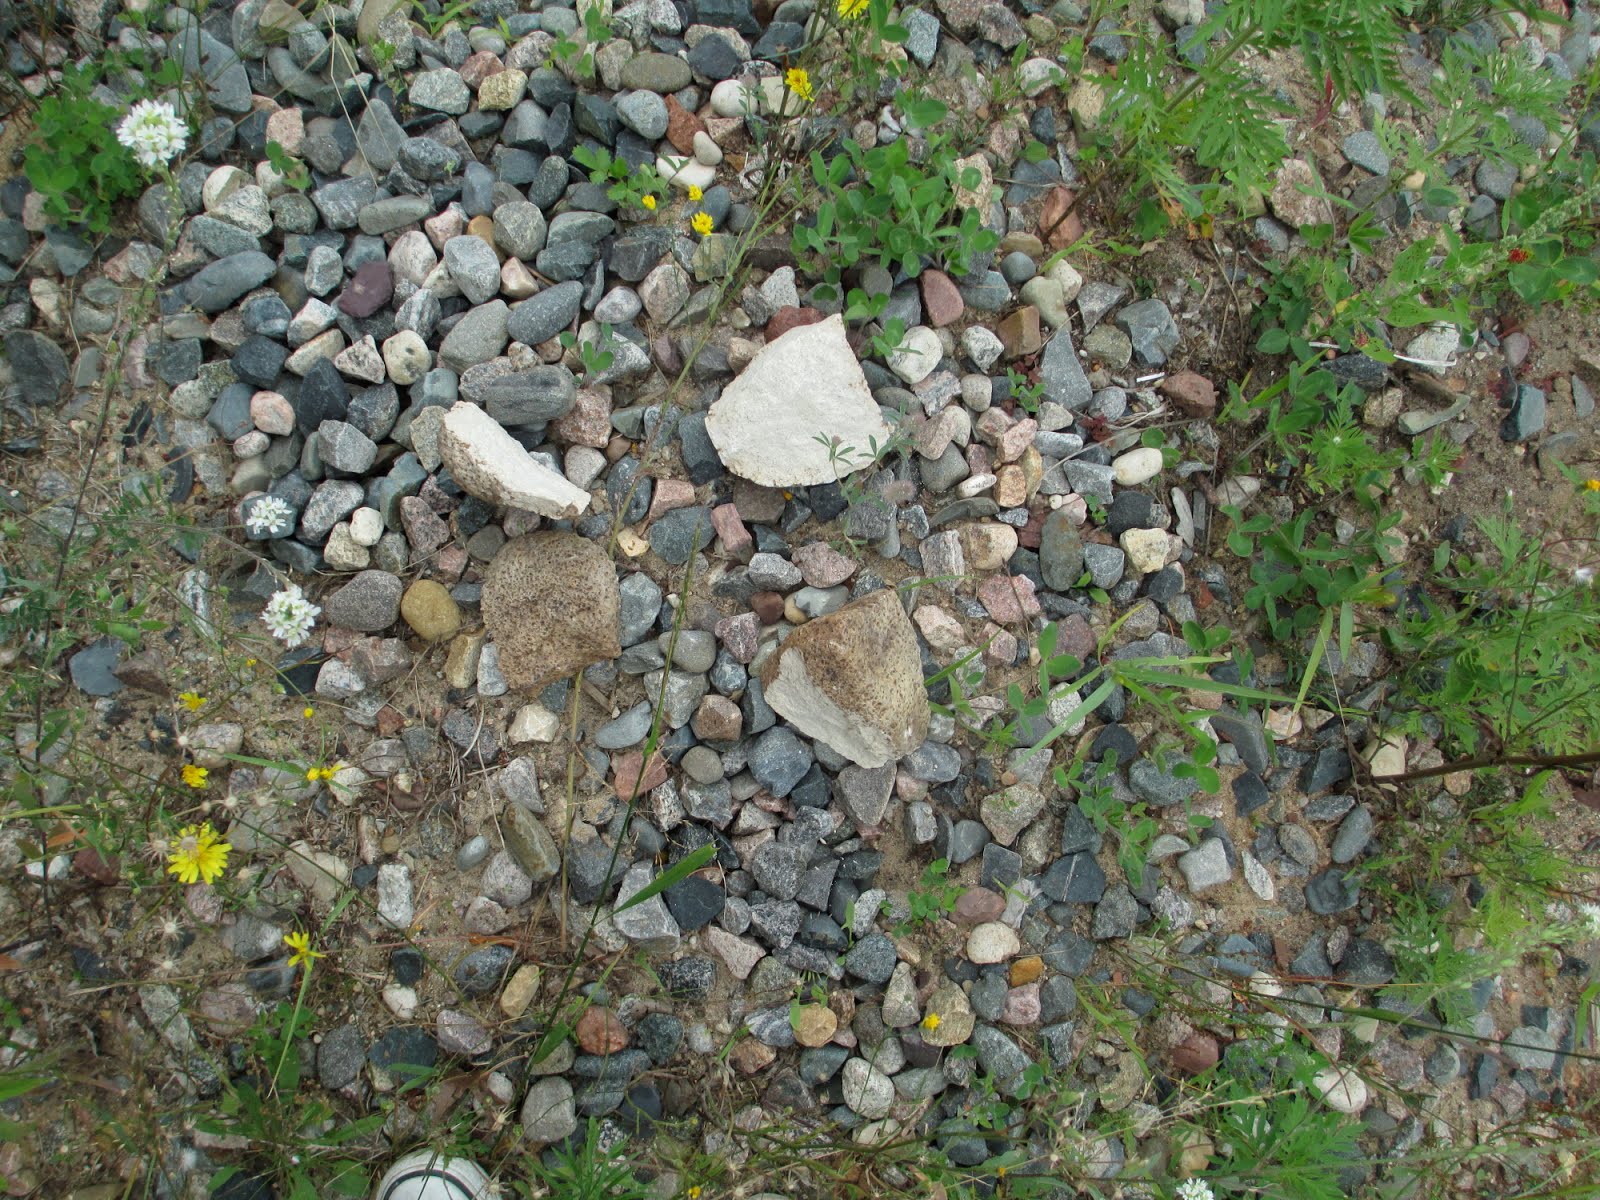
Repeat with new rock sample
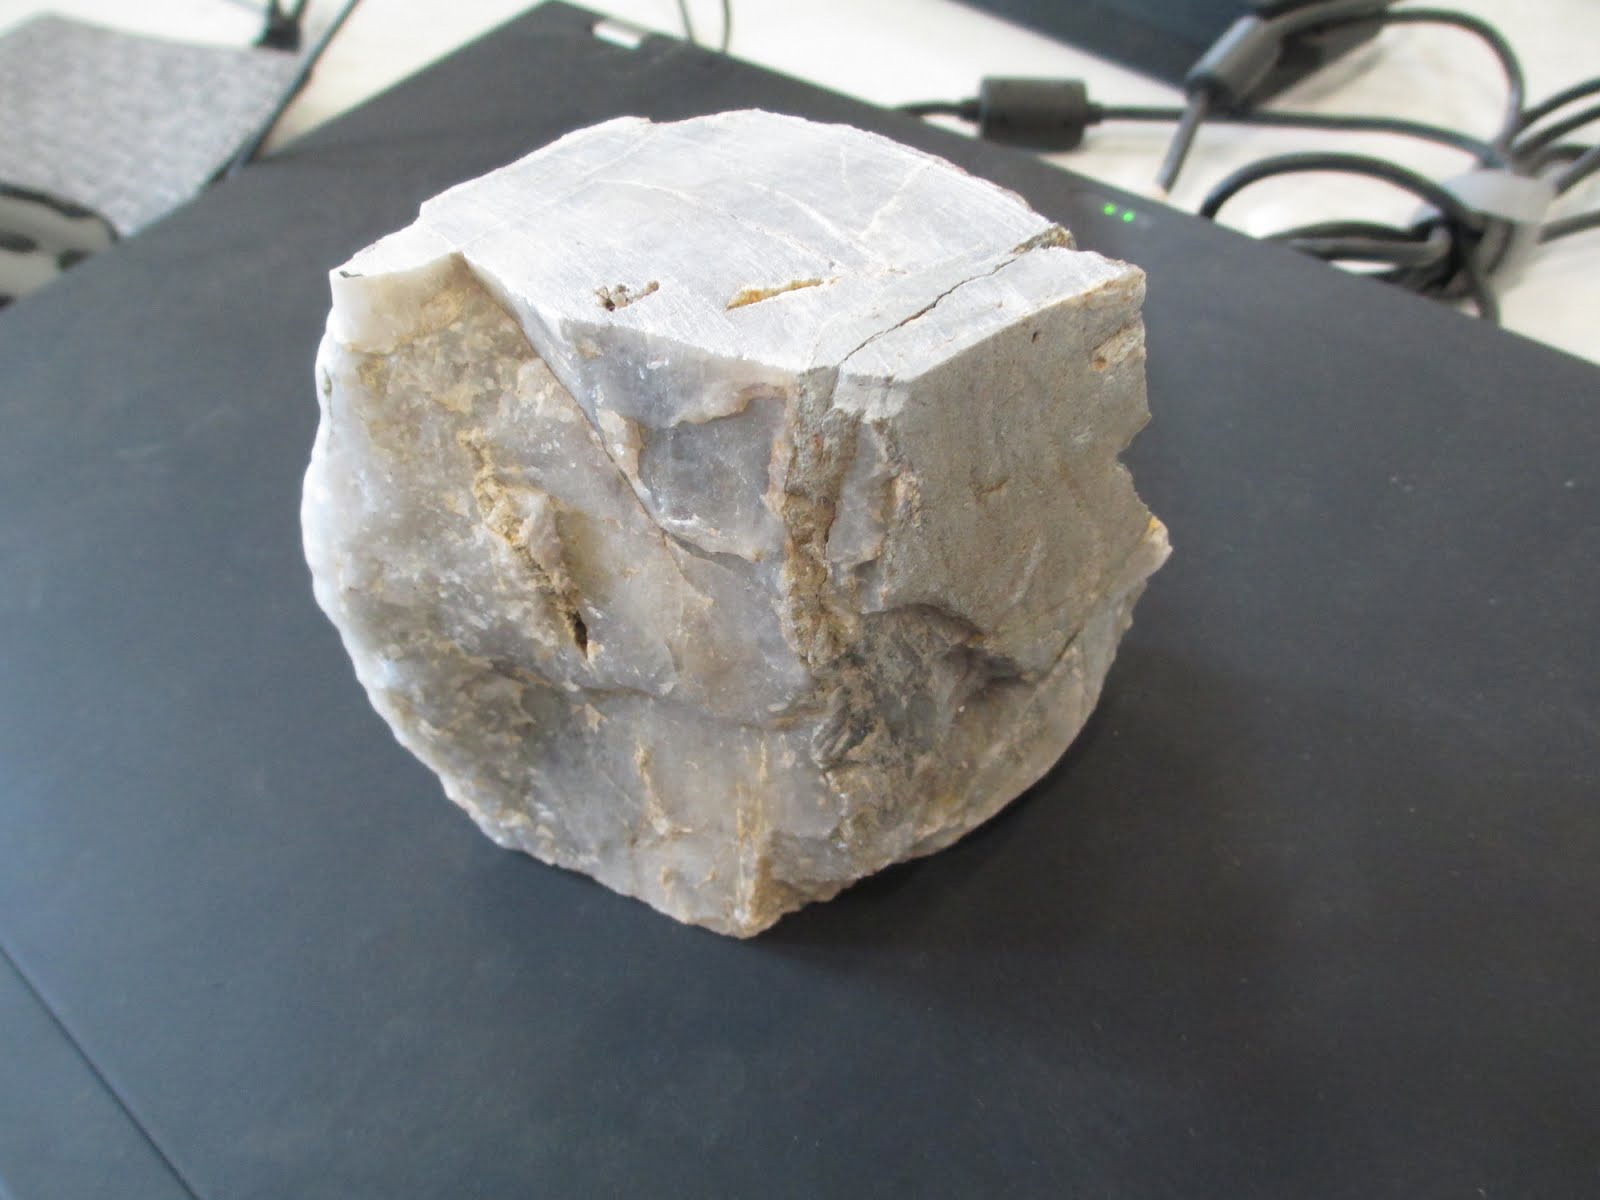
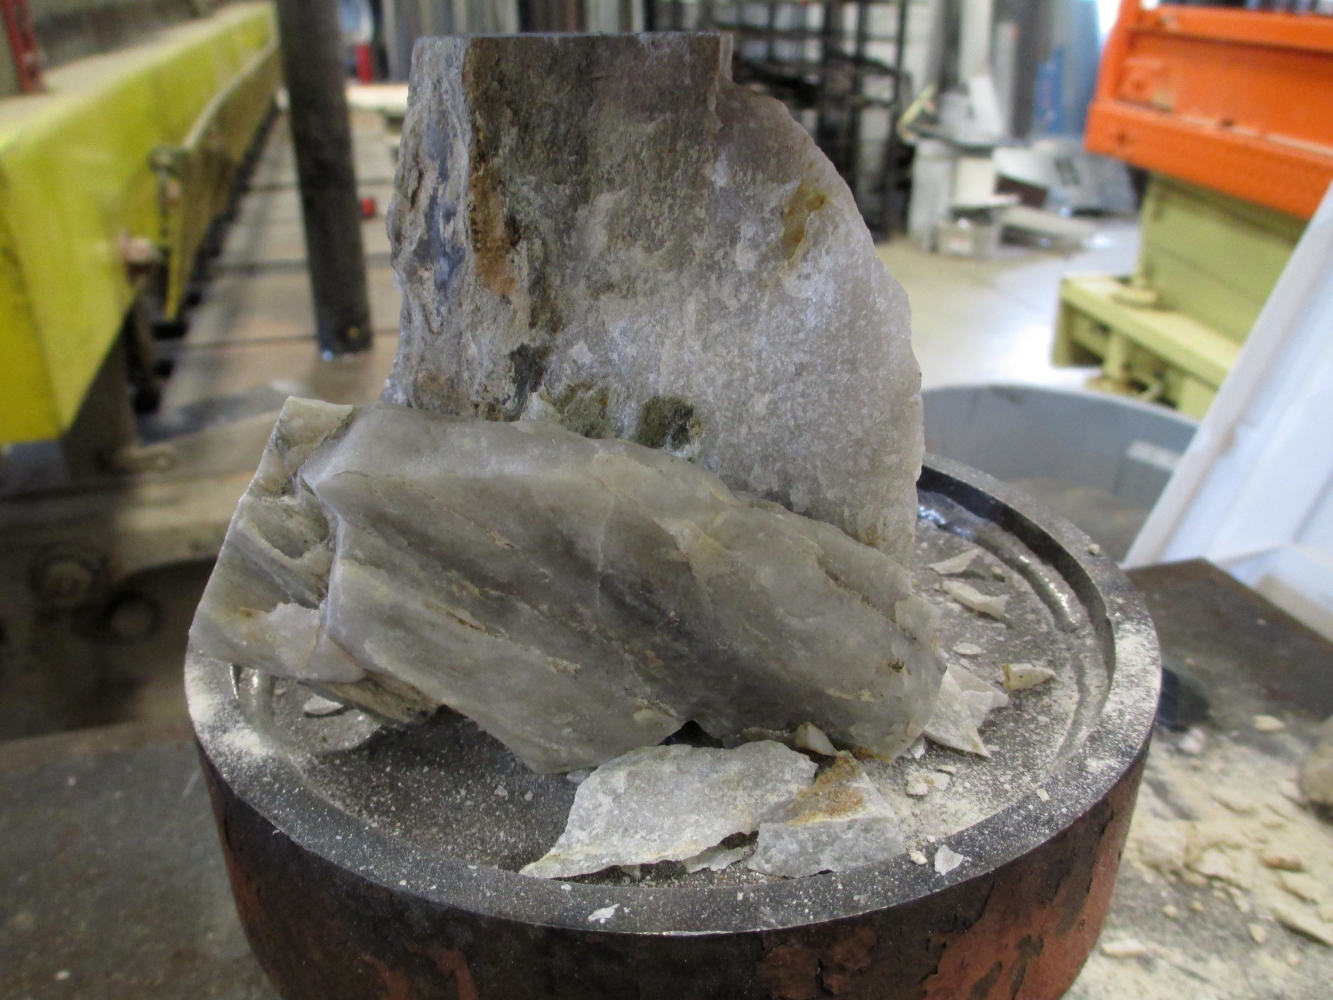
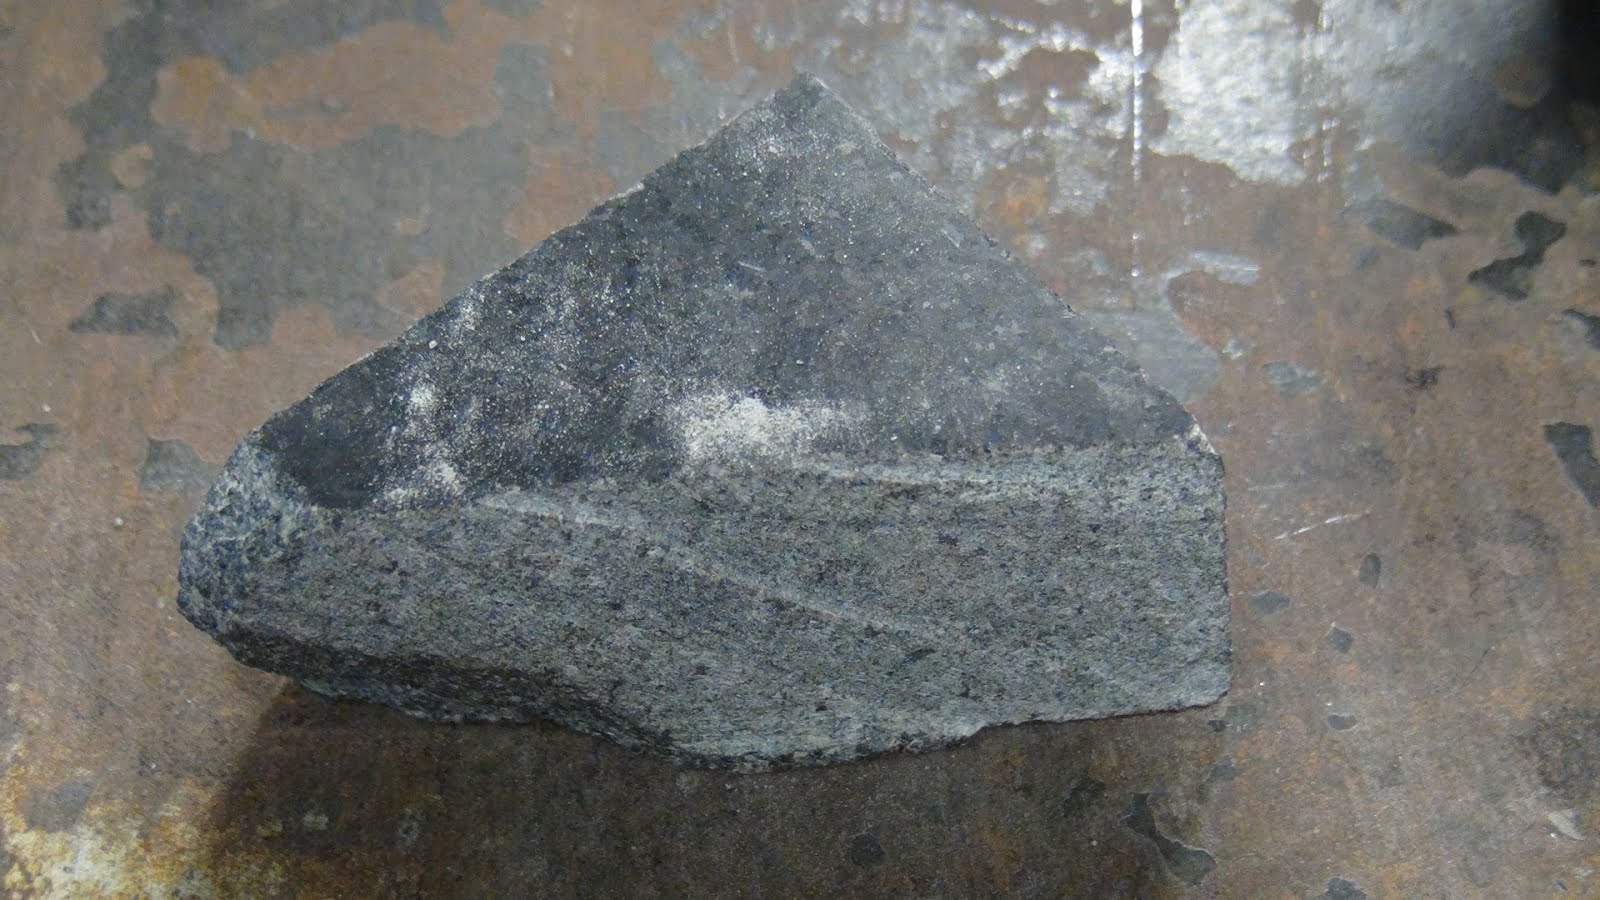
Rock: from Mike, contains Quartz, was squared up to create two almost parallel surfaces. Had some pre-existing cracks. It was apparent that it cracked along one of those line.
Look for bubbles (still no change)
Another run with the larger chunk that remained after the previous test.
After Crushing
July 31:
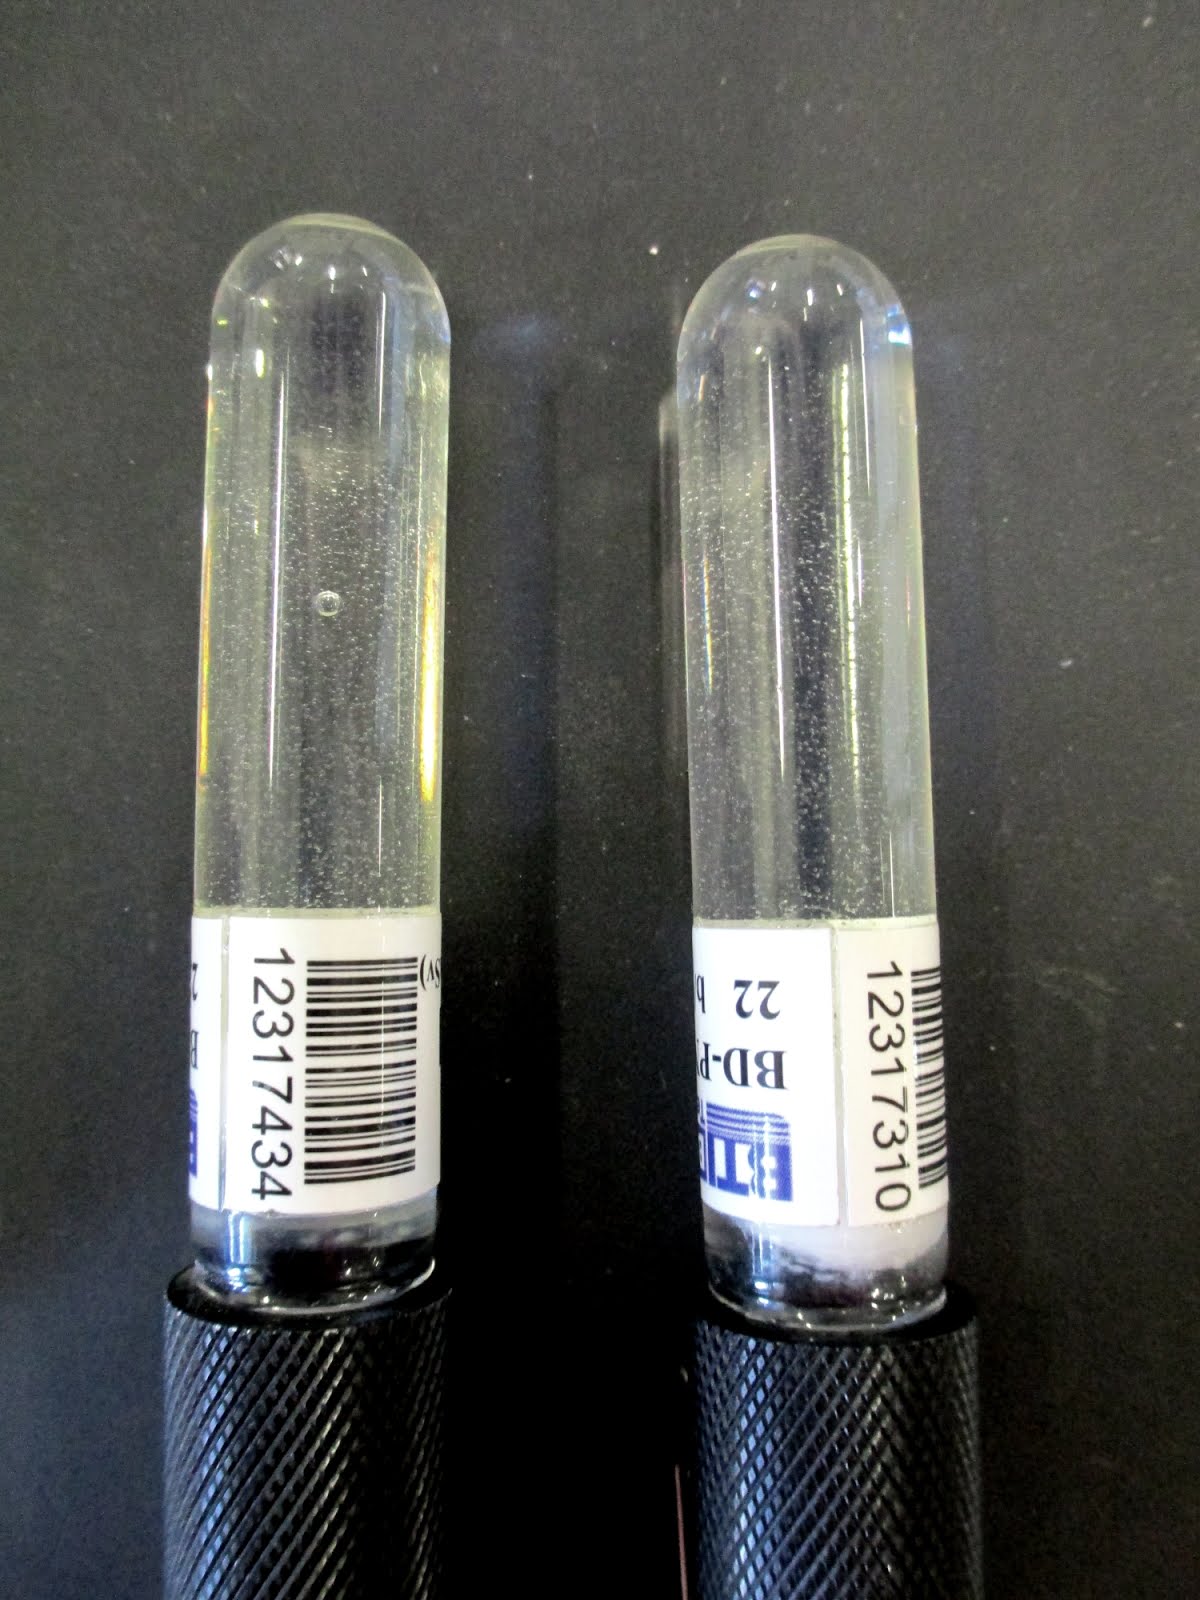
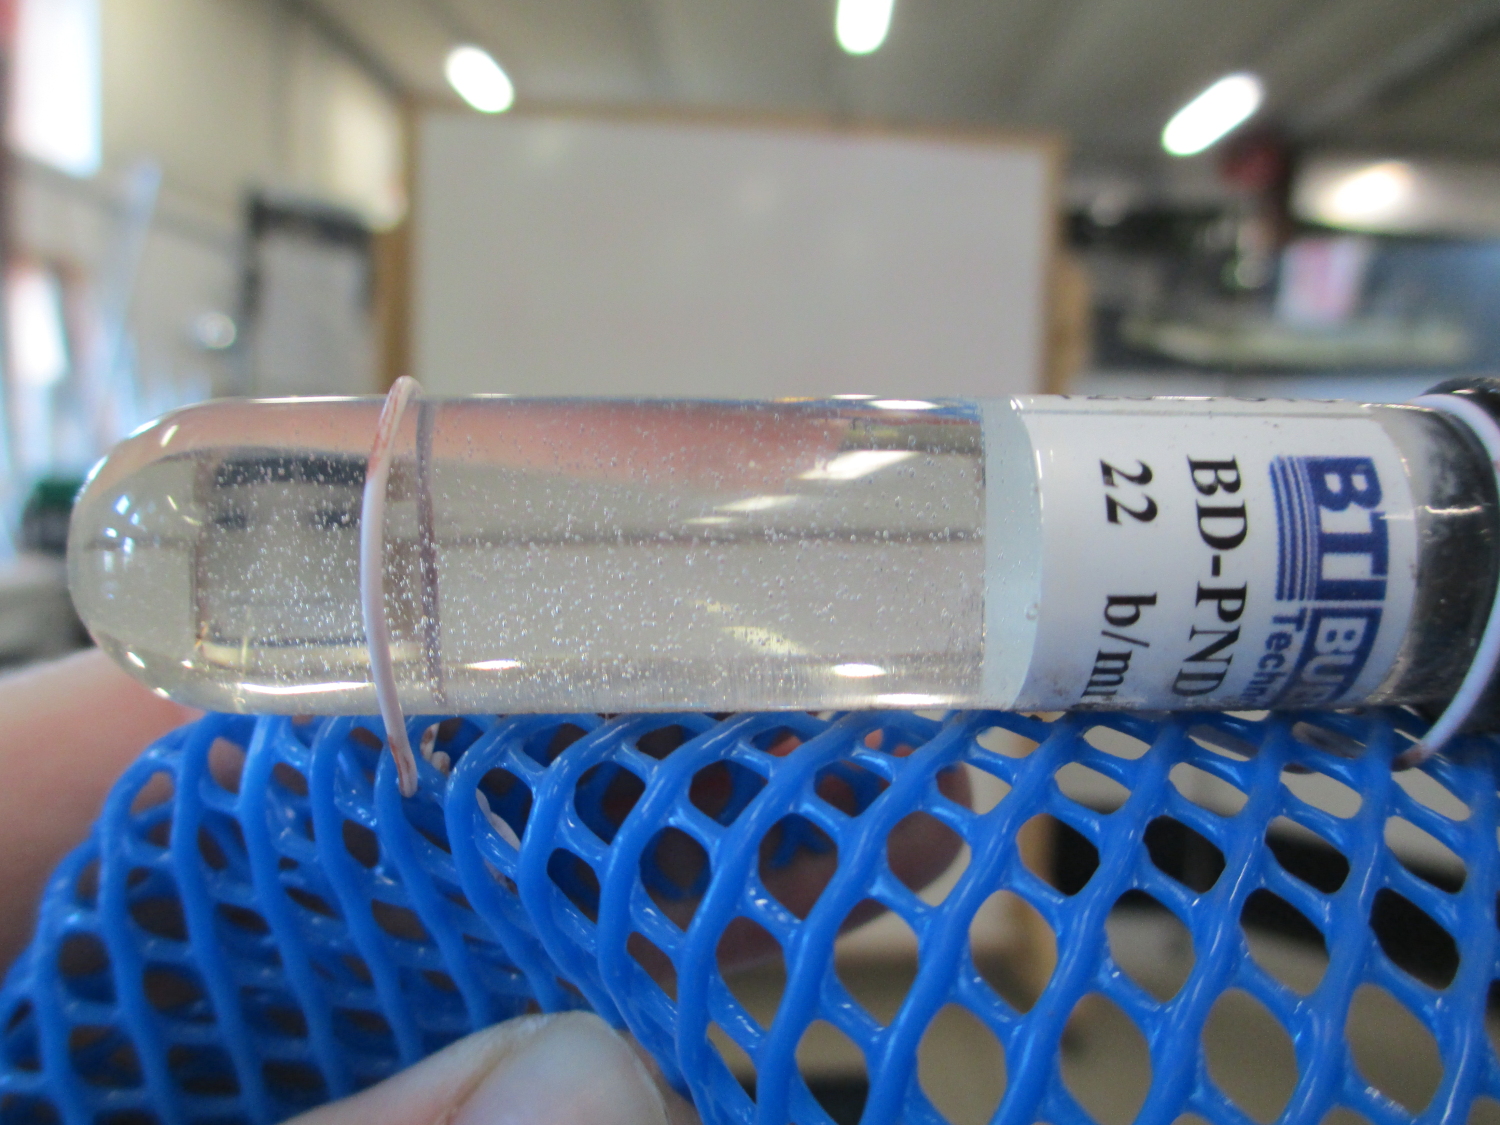
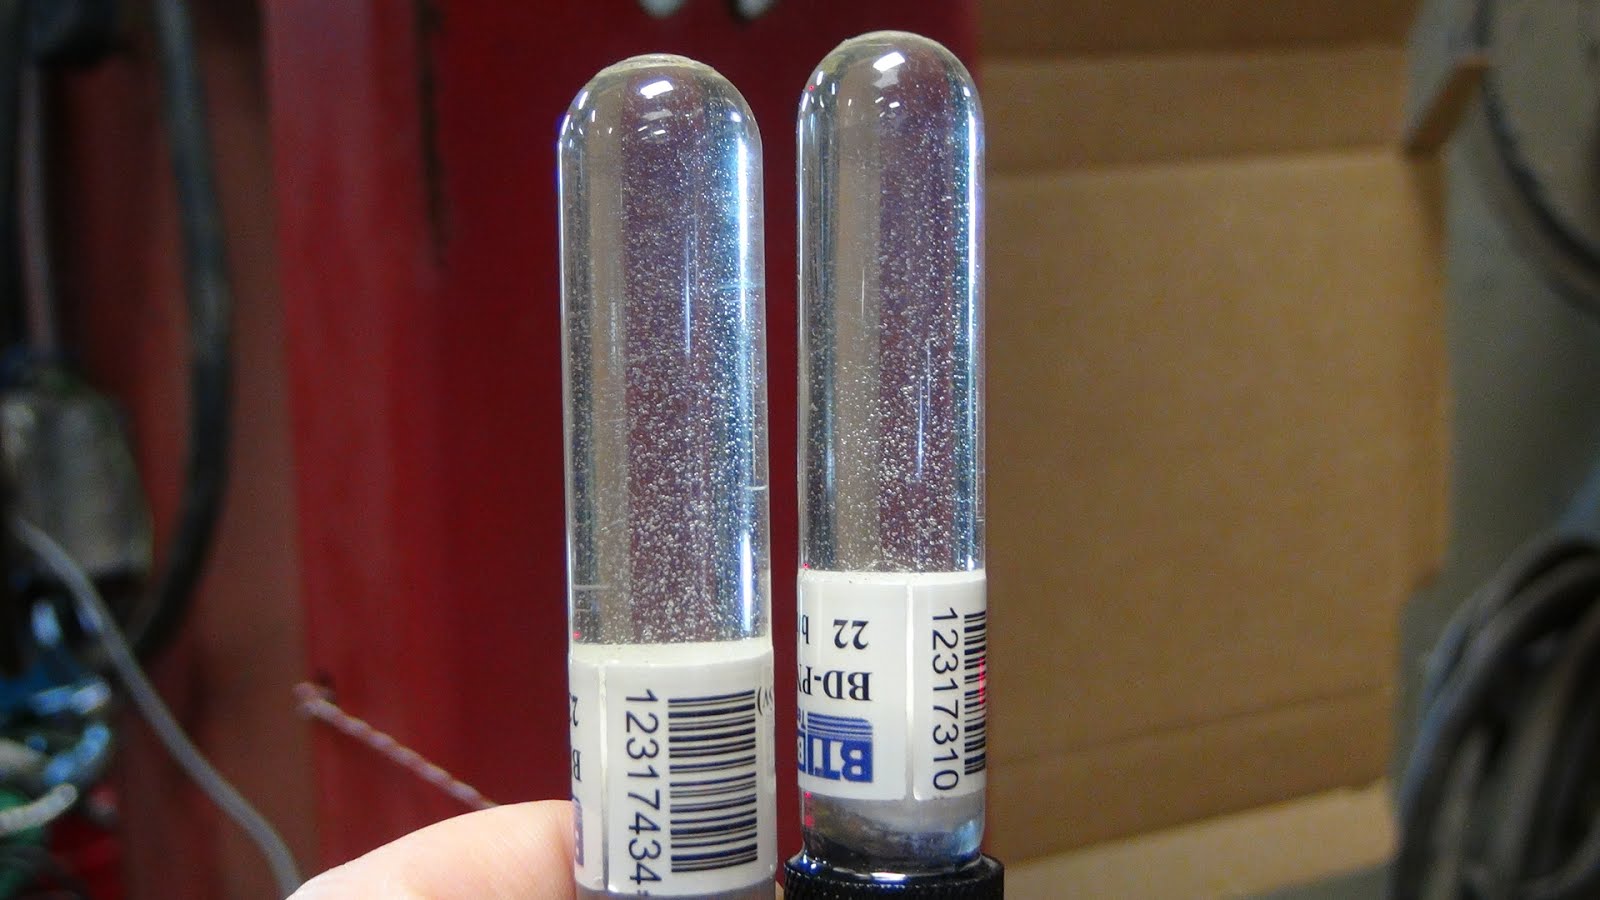
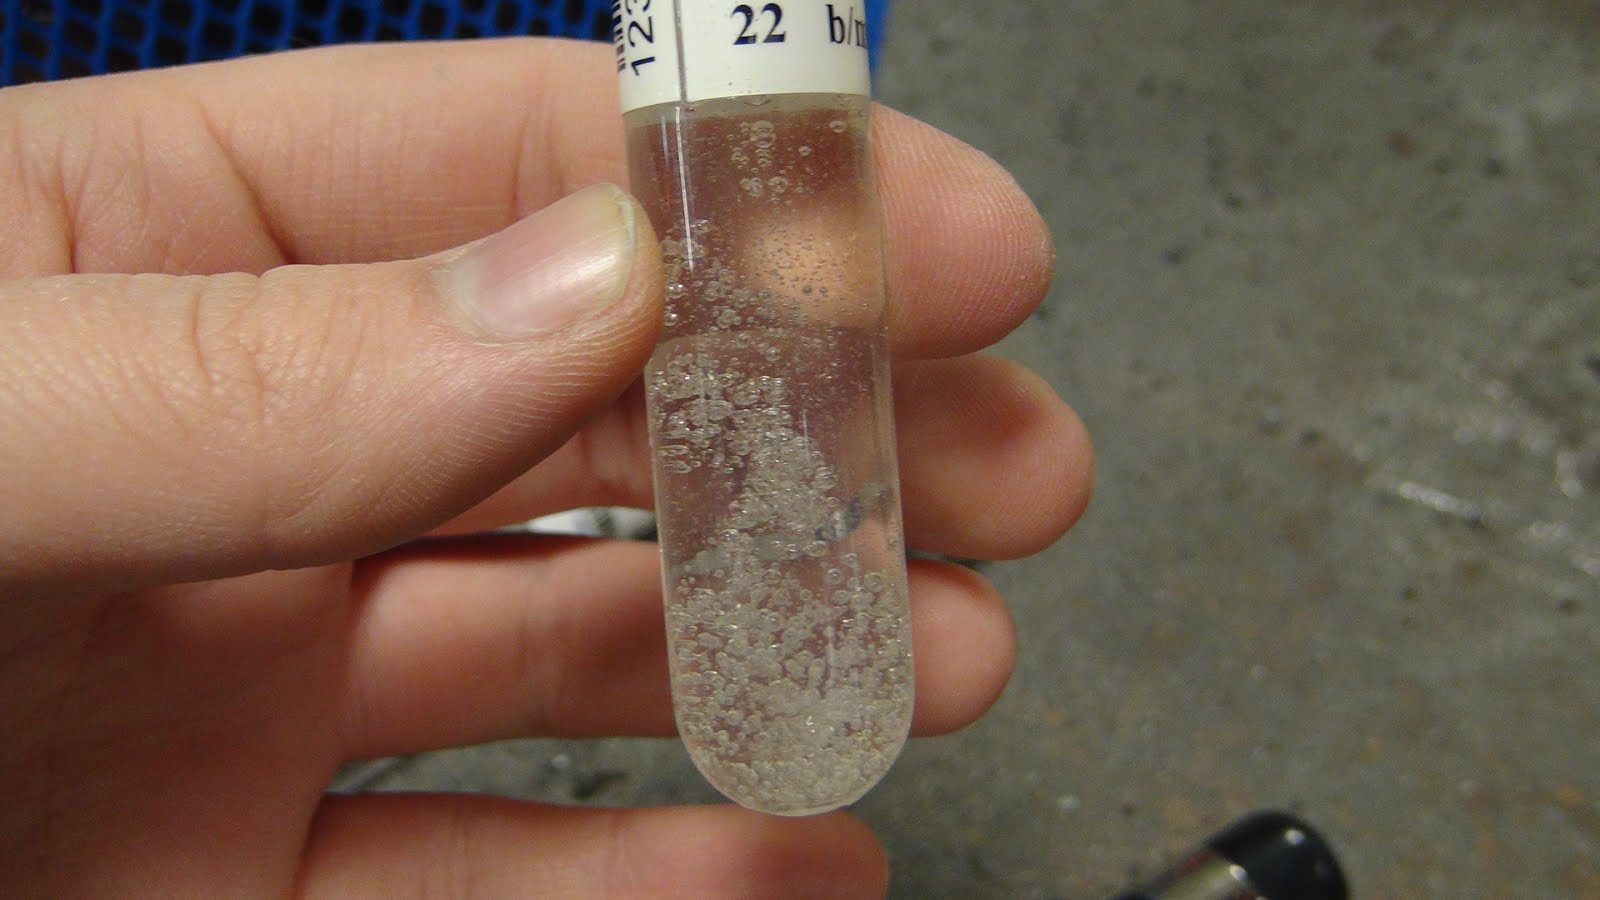
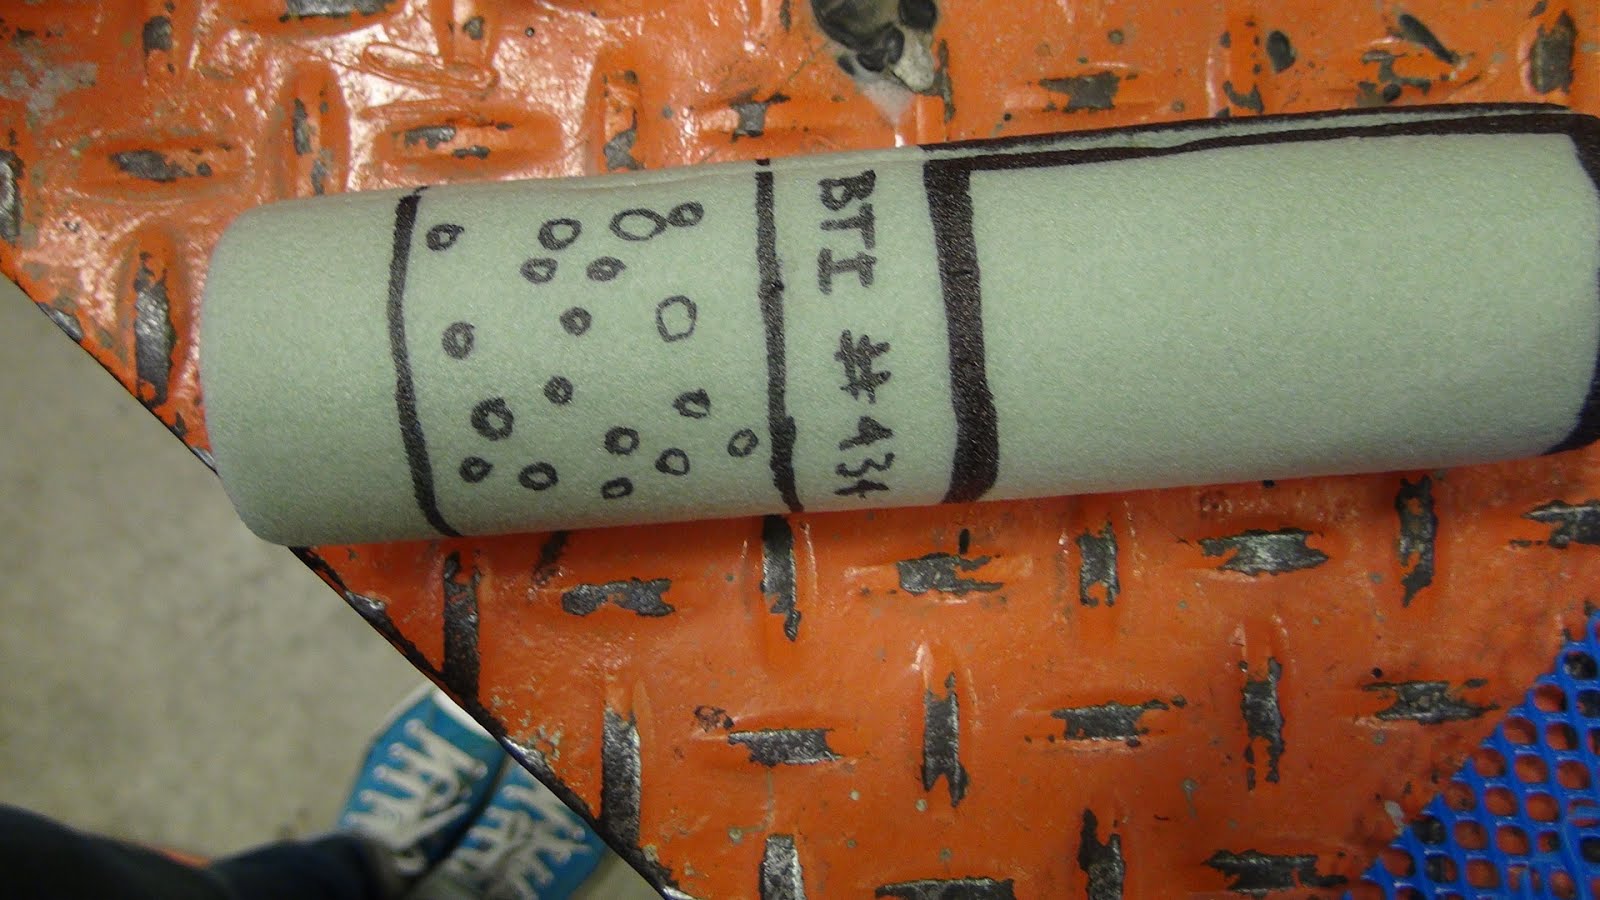
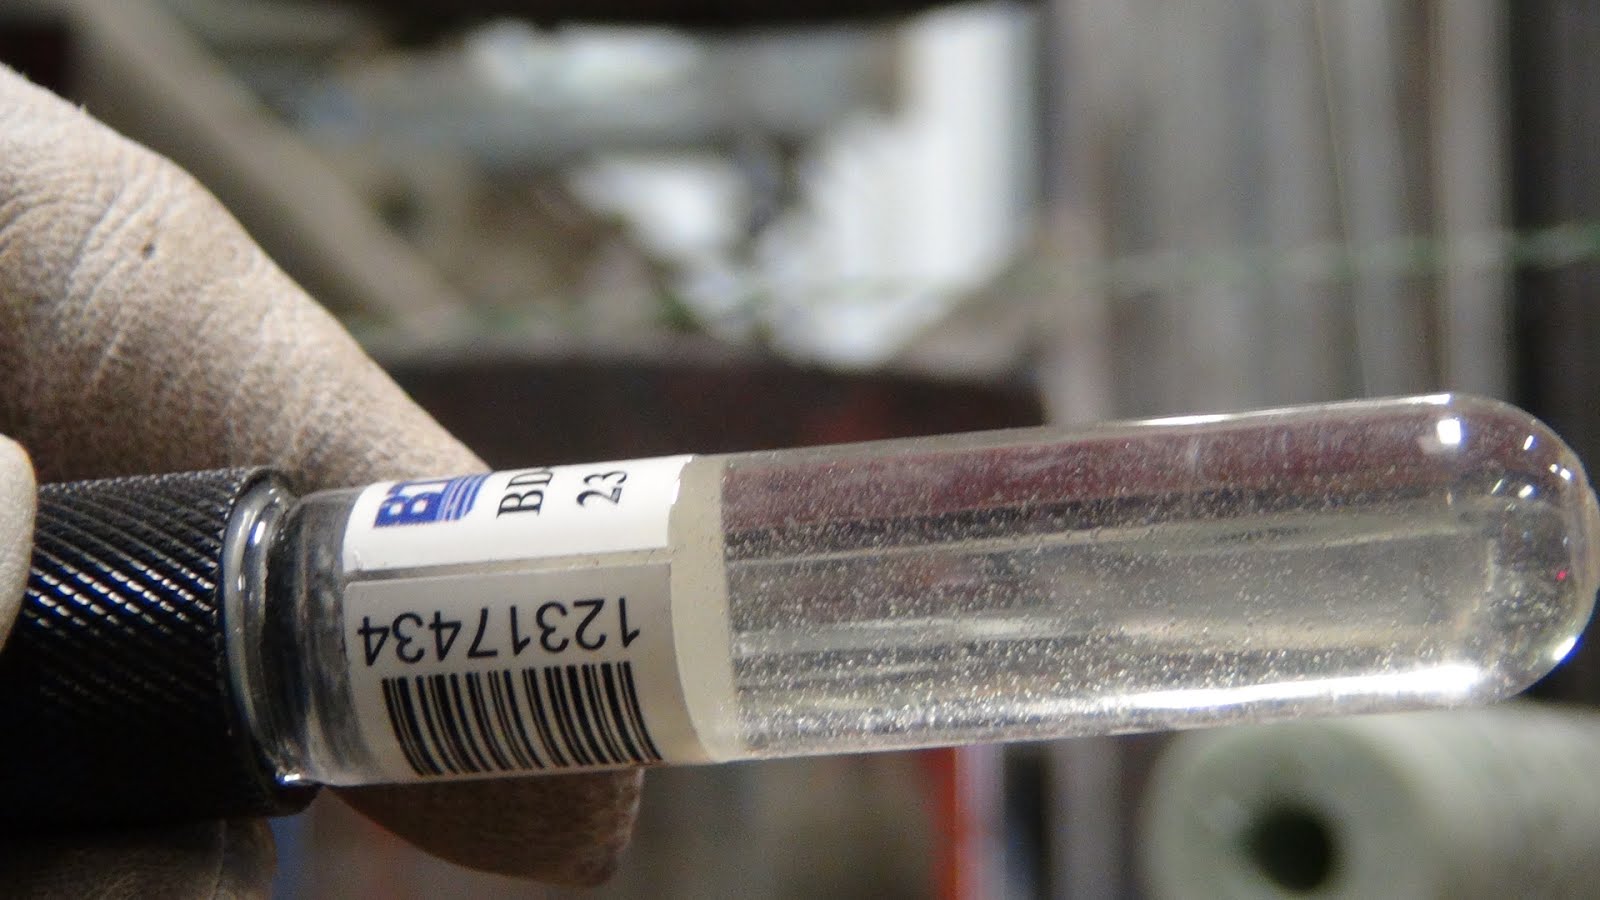
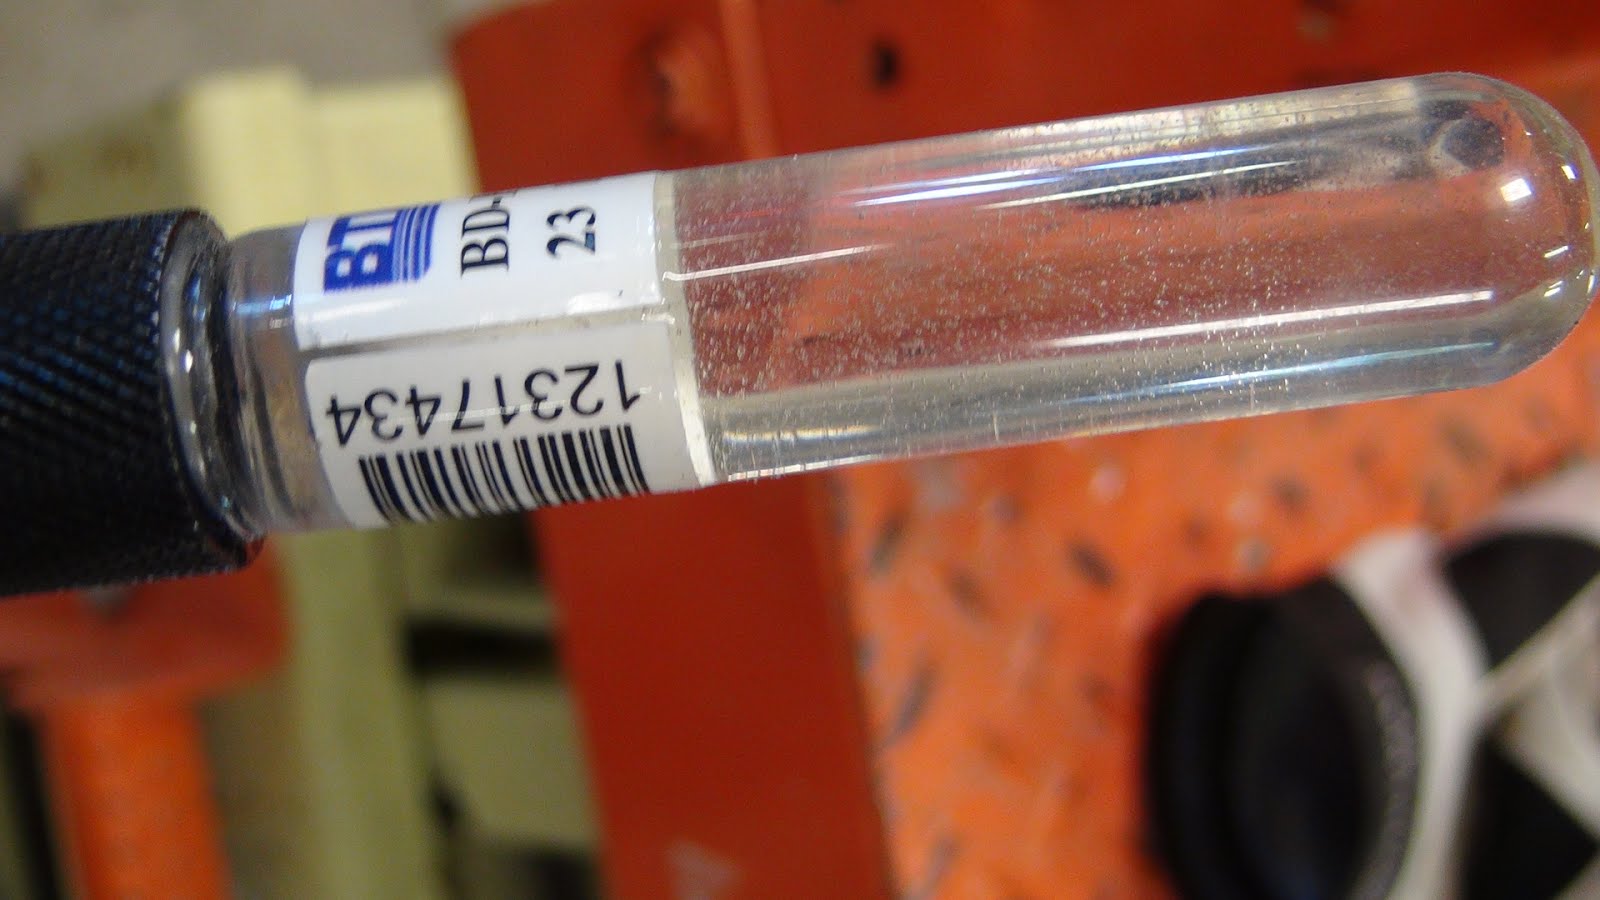
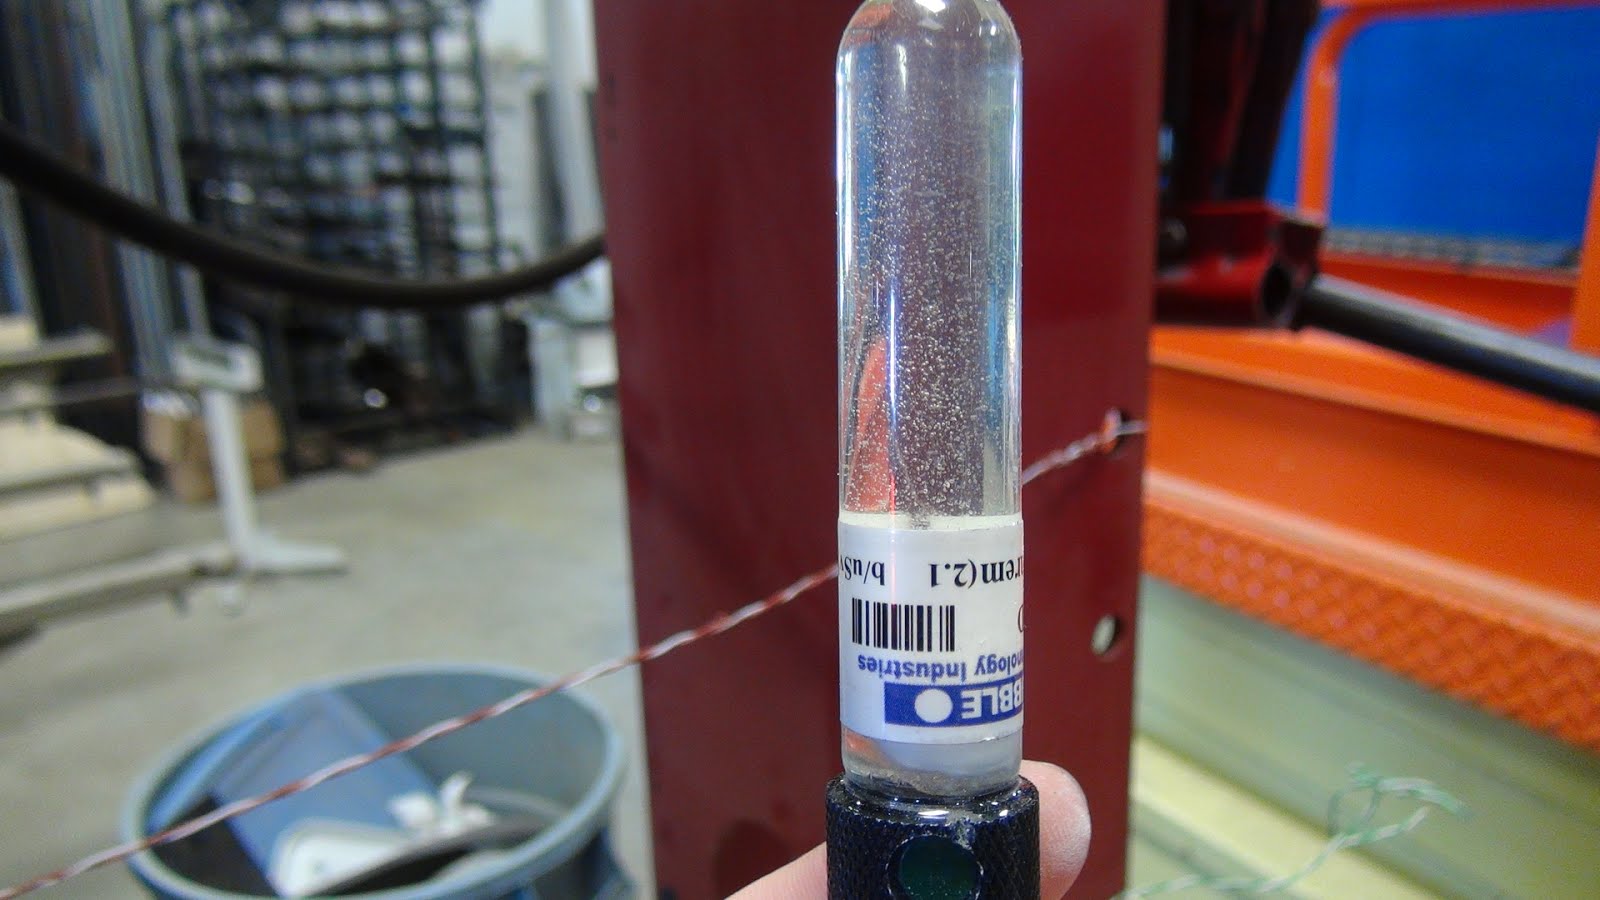
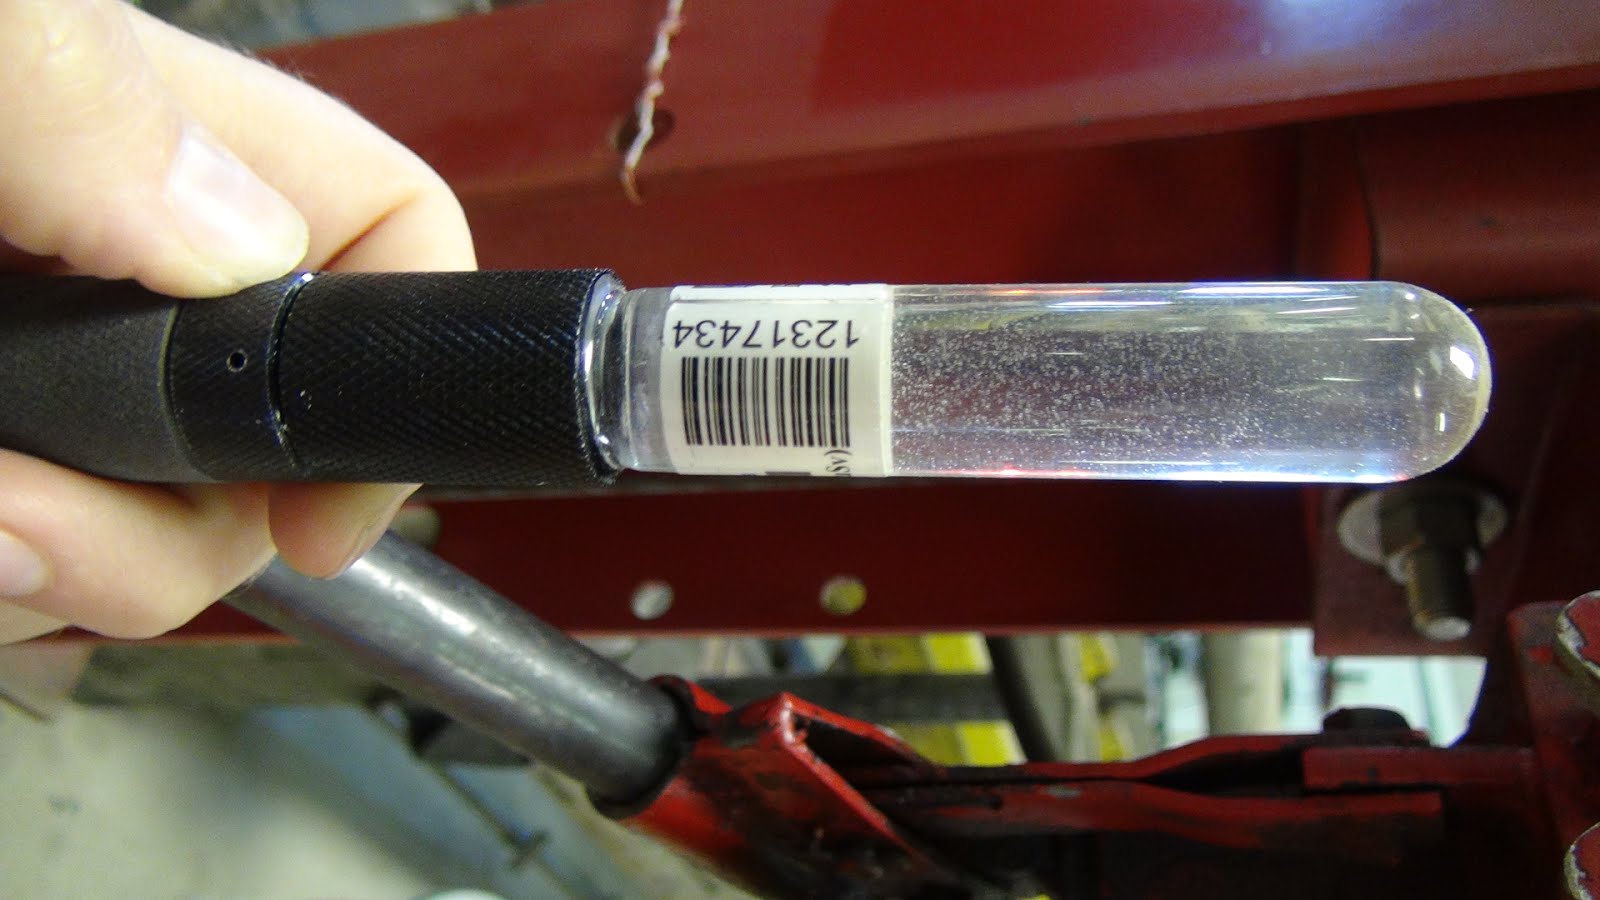
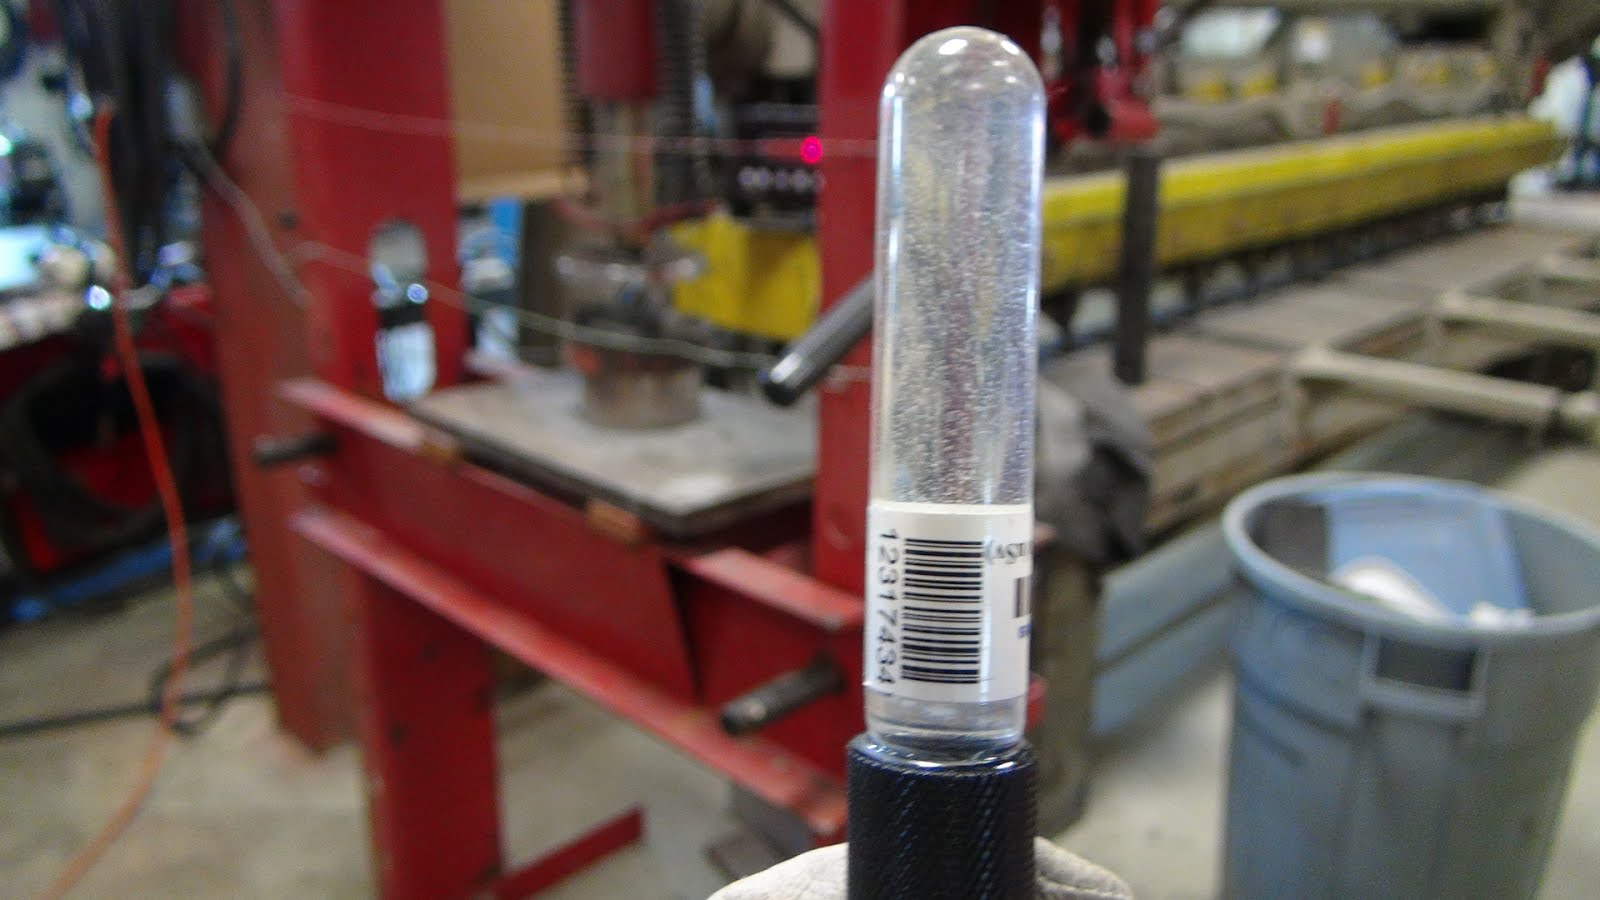
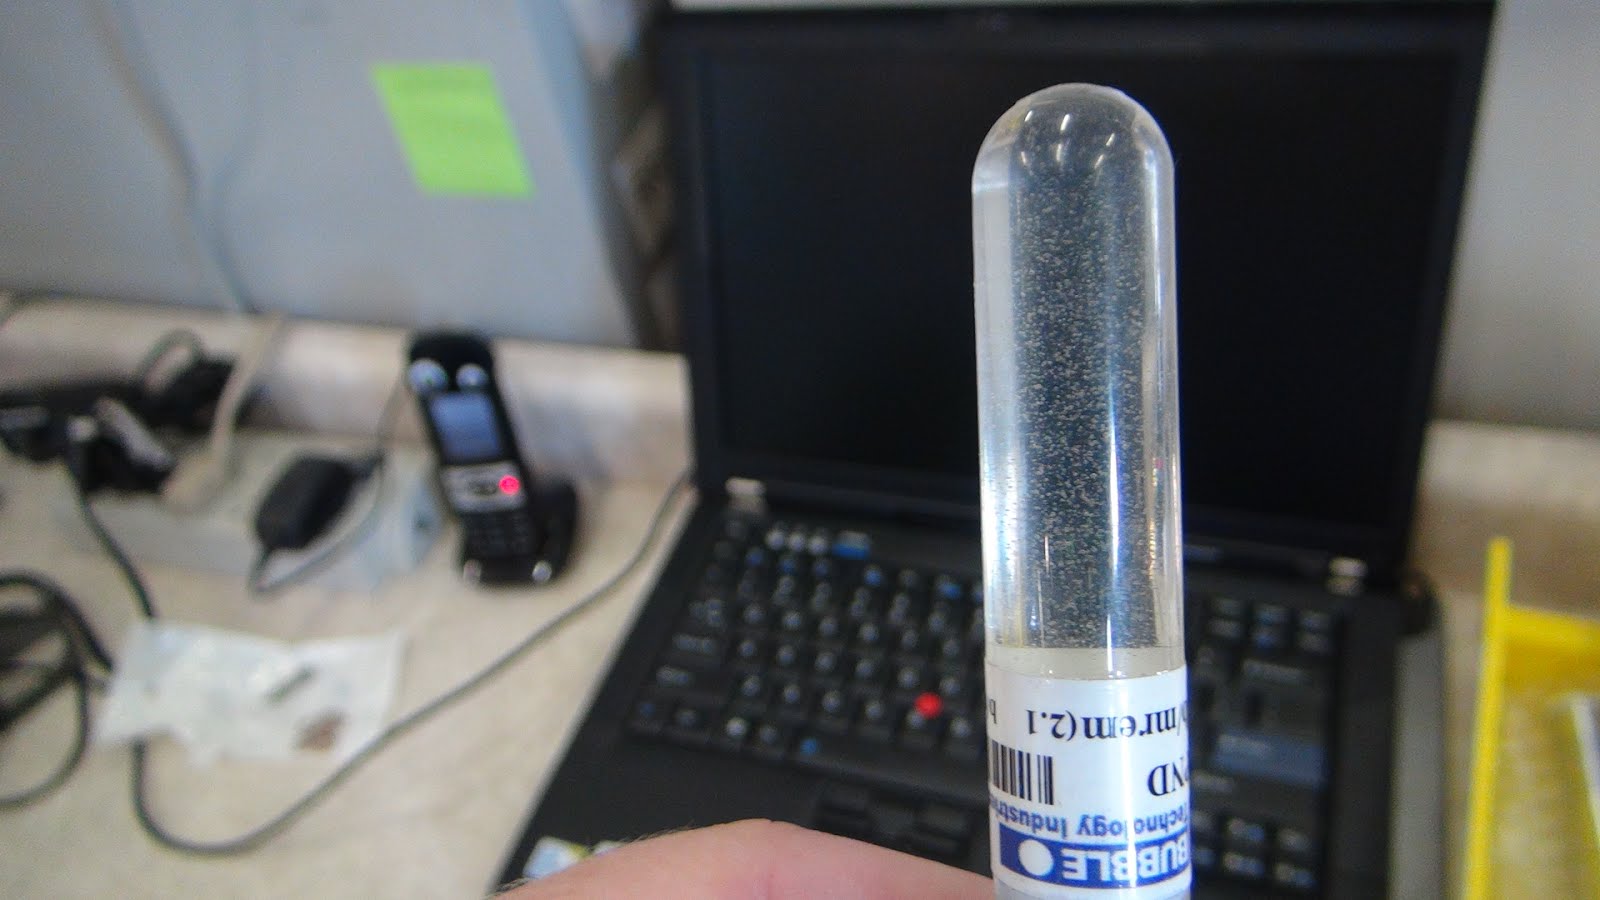
When I arrived at the shop this morning a new bubble had formed in BD#434 overnight.
Proceeded to reset the detectors for an afternoon of rock crushing.
Working on setting up the laptop to run and record from two webcams simultaneously.
Hopefully we will have some video footage out shortly.
Checking for bubbles before crushing rocks.
Setup with webcams in place
and after crushing
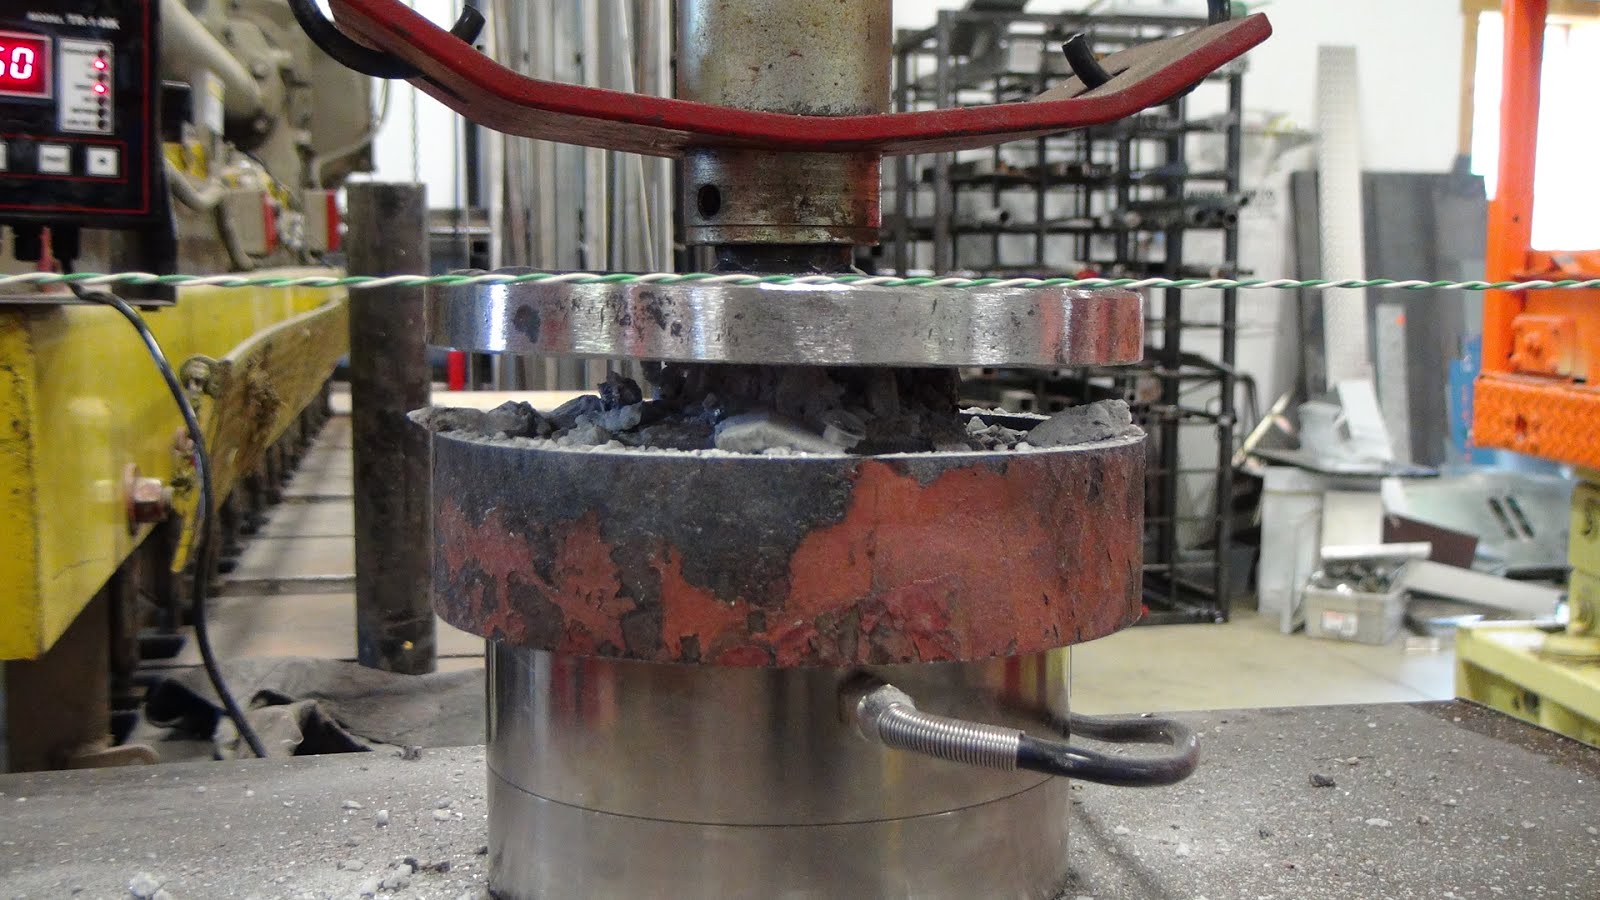
August 1:
No new bubbles formed overnight in the detectors.
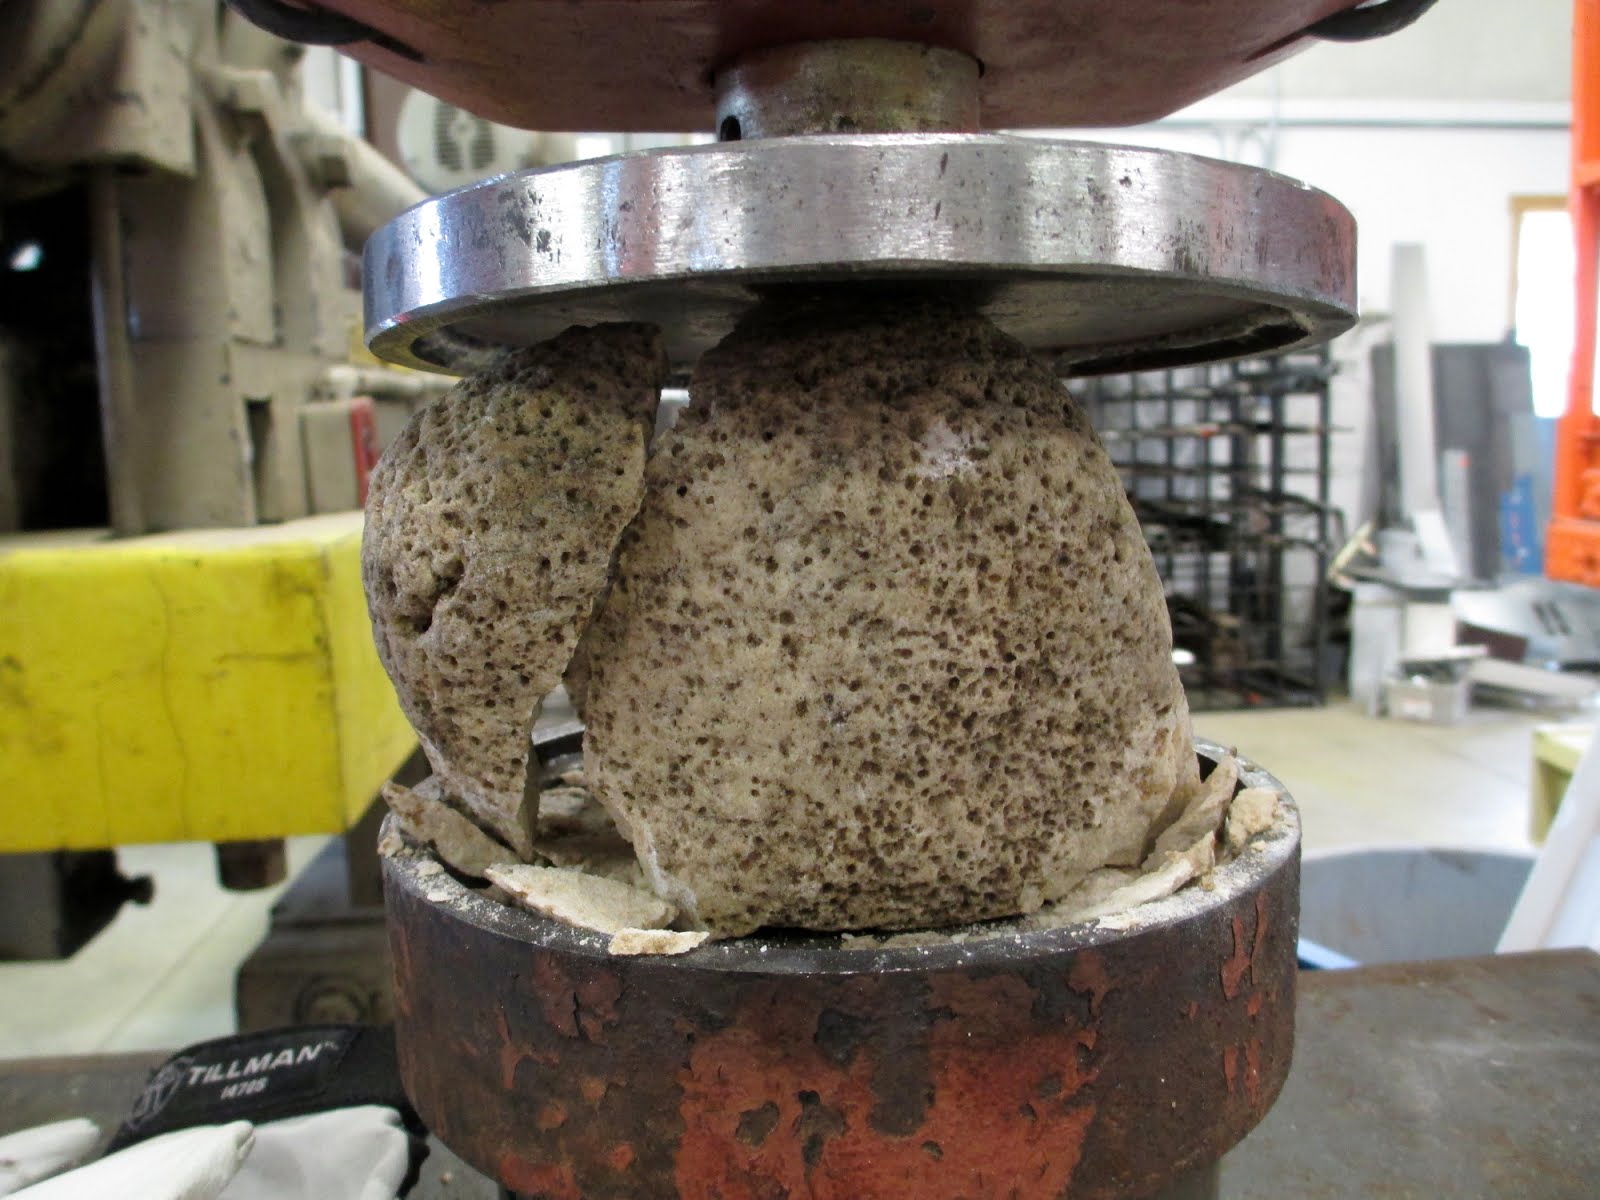
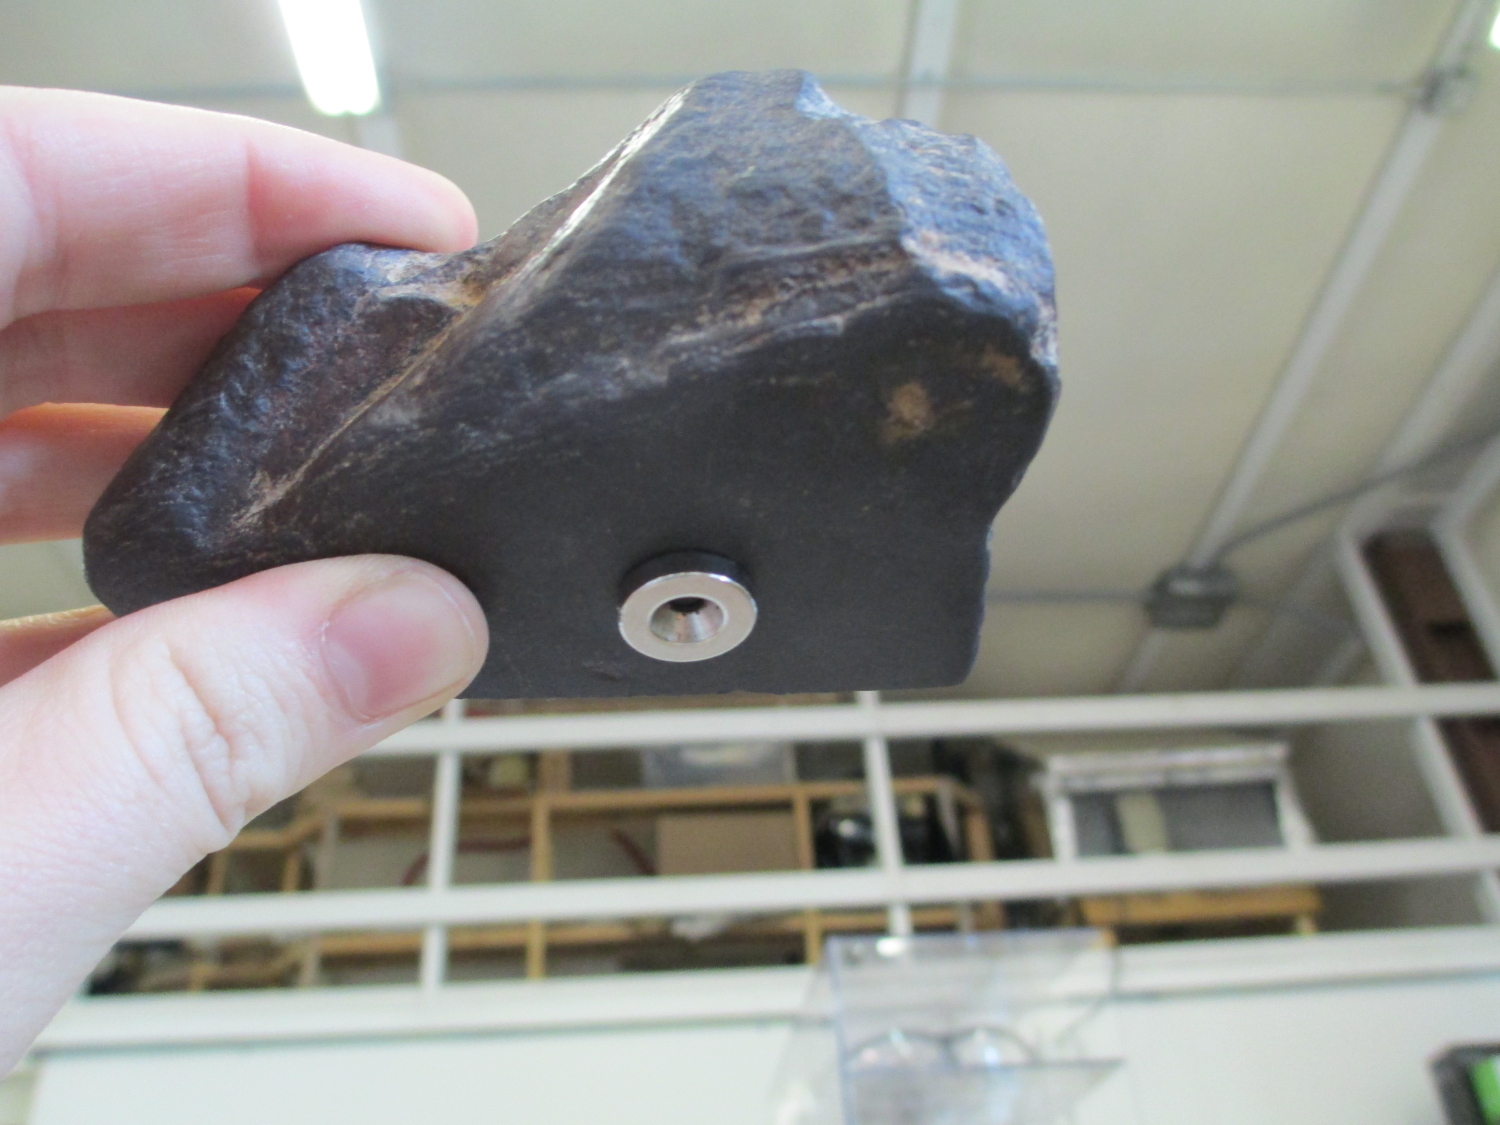
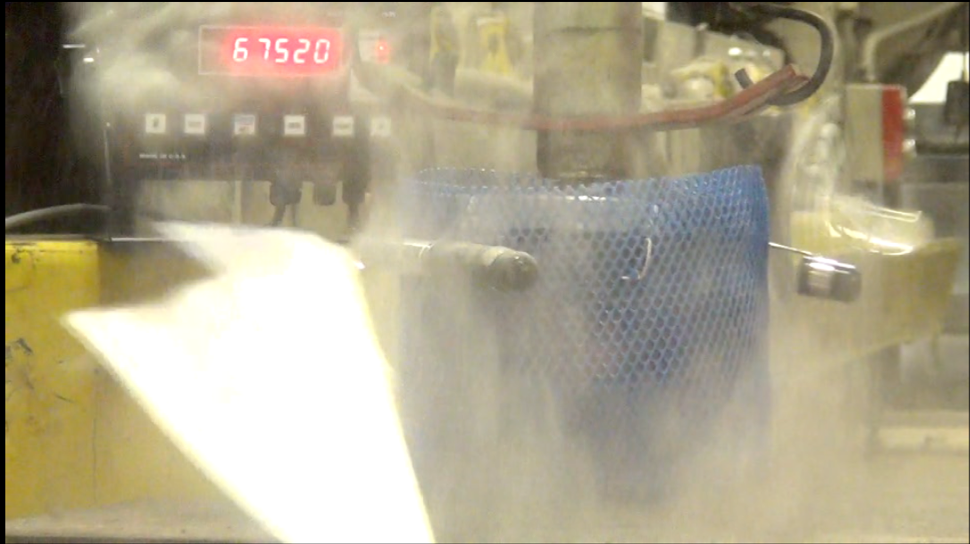
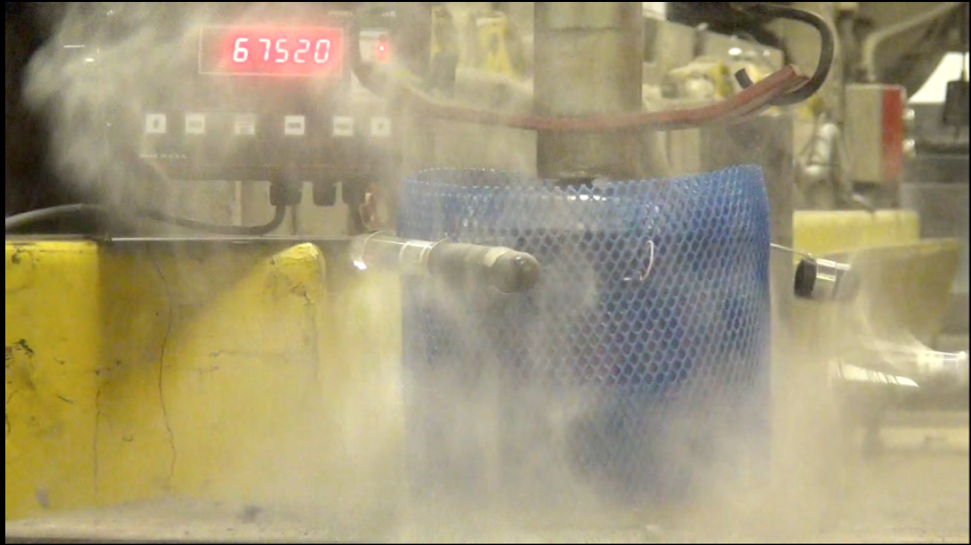
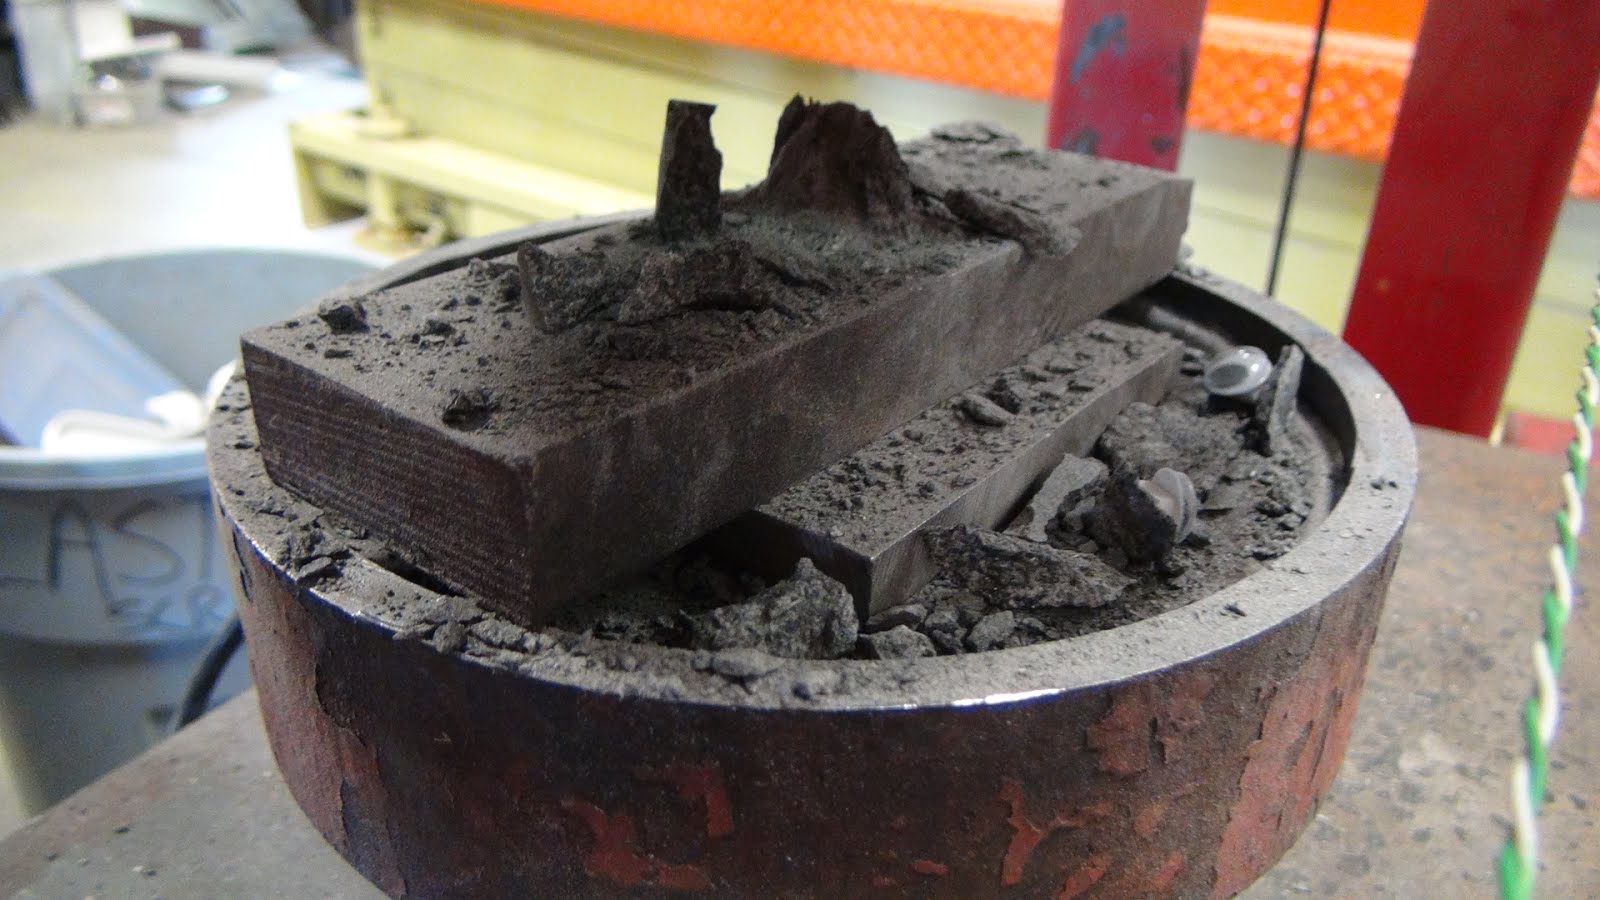
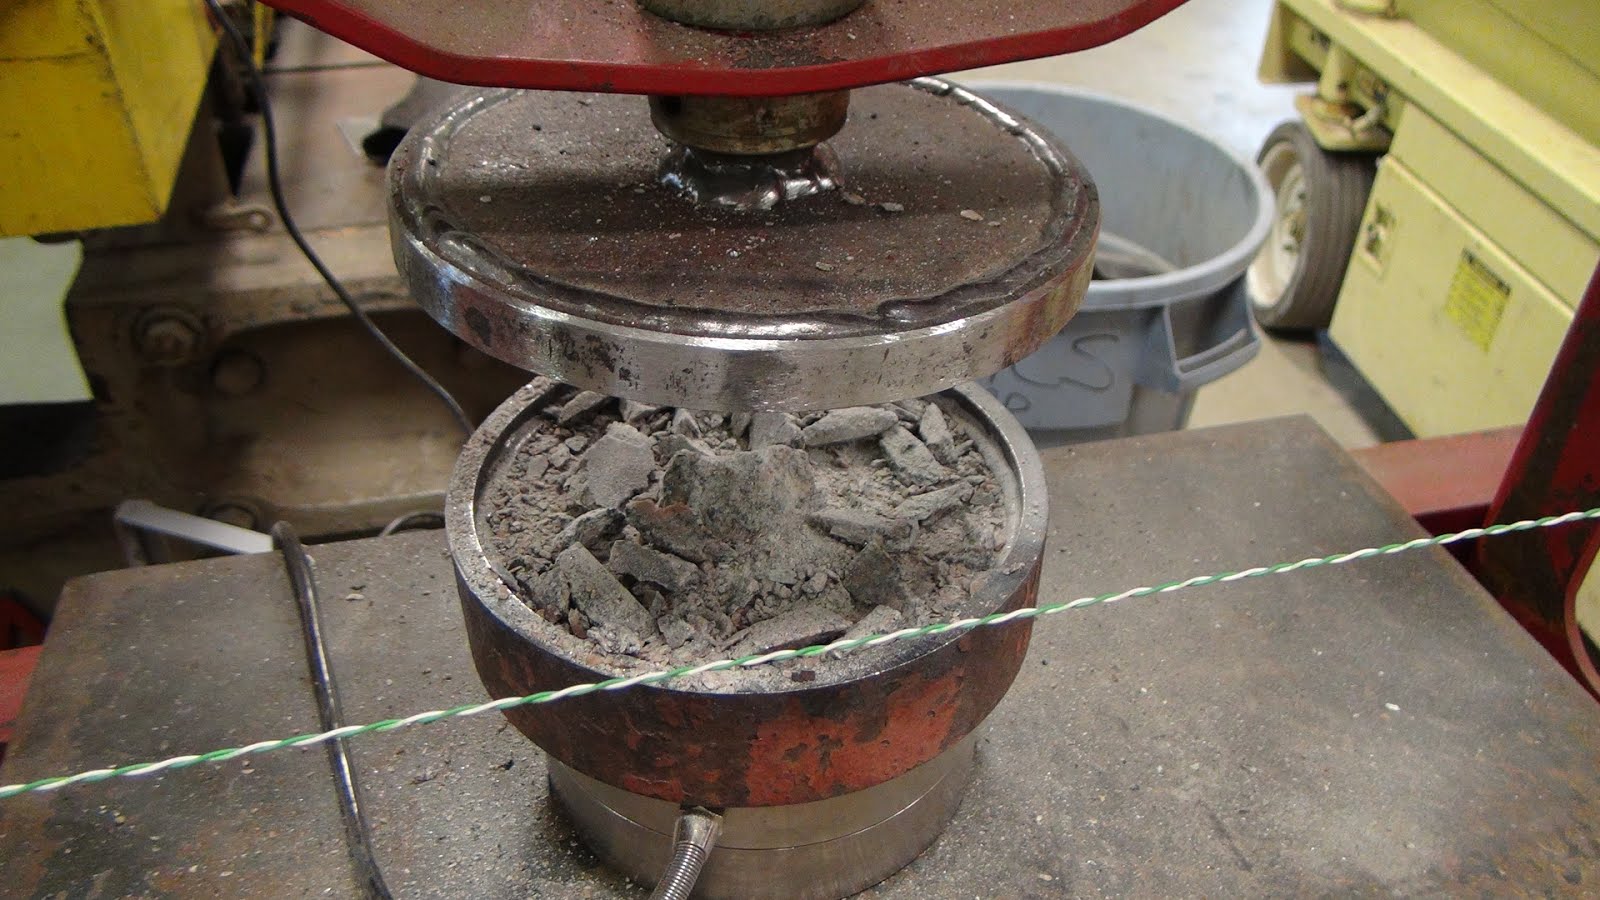
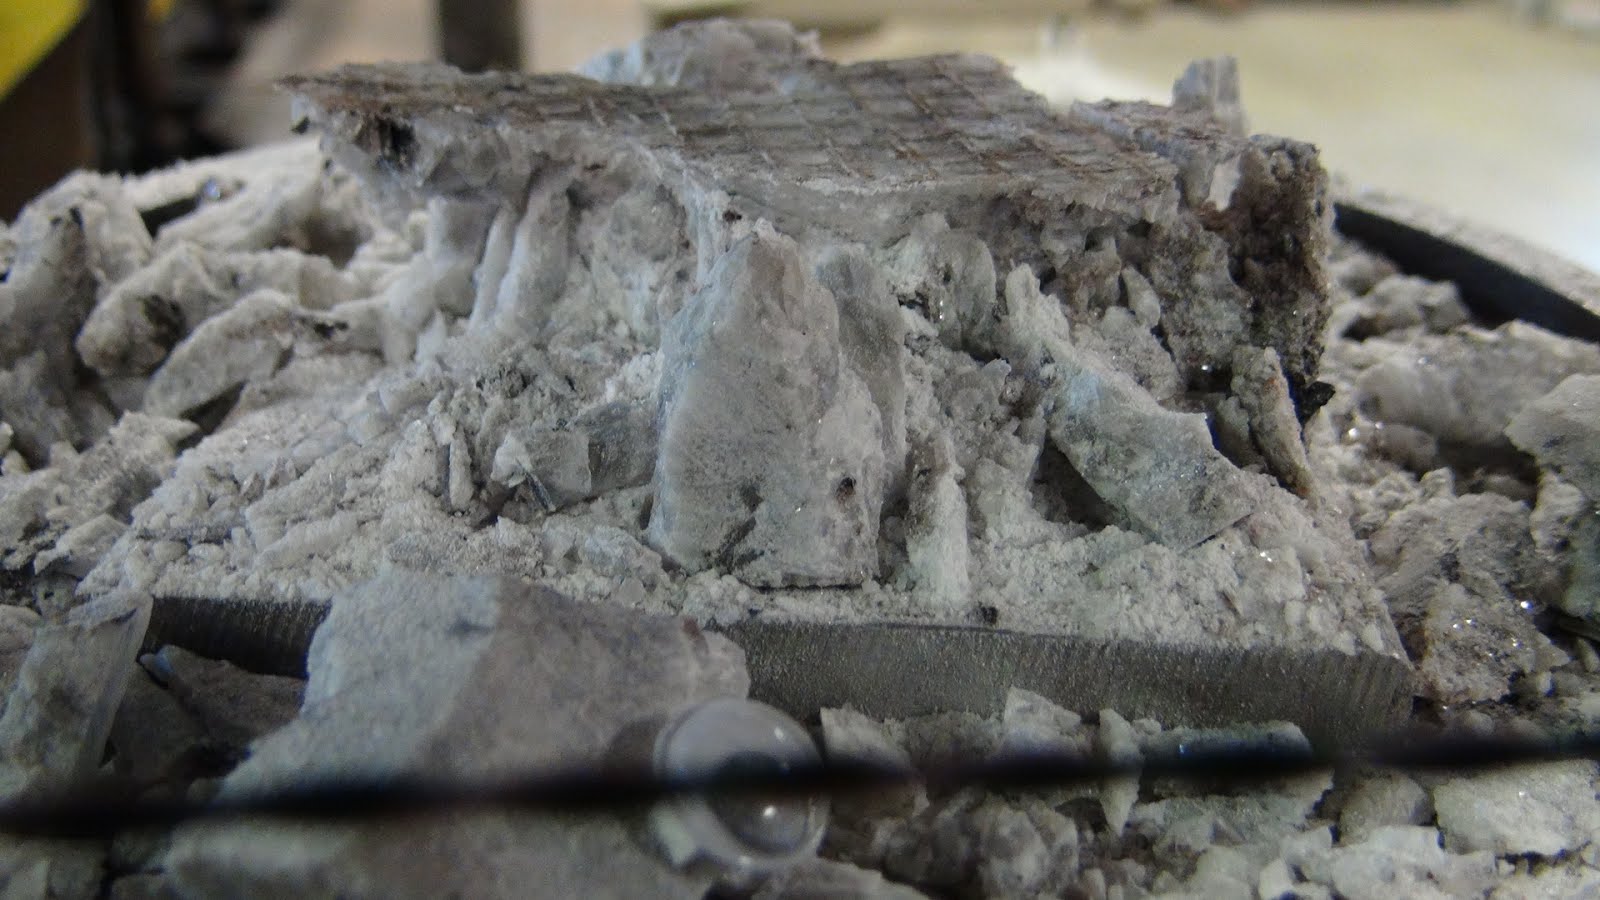
Crushed a sample of banded hematite. Reached over 25,000 lbs of pressure before it cracked. Was recorded using one of the webcams since the two webcam setup continued to crash with the current software. Malachi filmed using the shop cam so we could cover both detectors. Despite the large bang that made us both jump about a foot, there were no neutron bubbles in the detectors.
Displaying the magnetic properties of hematite
Bubble Detectors Before (no bubbles)
Hematite sample in press with additional steel blocks to give it the necessary height for the bubble detectors.
(25000 lbs of force later)
The Aftermath
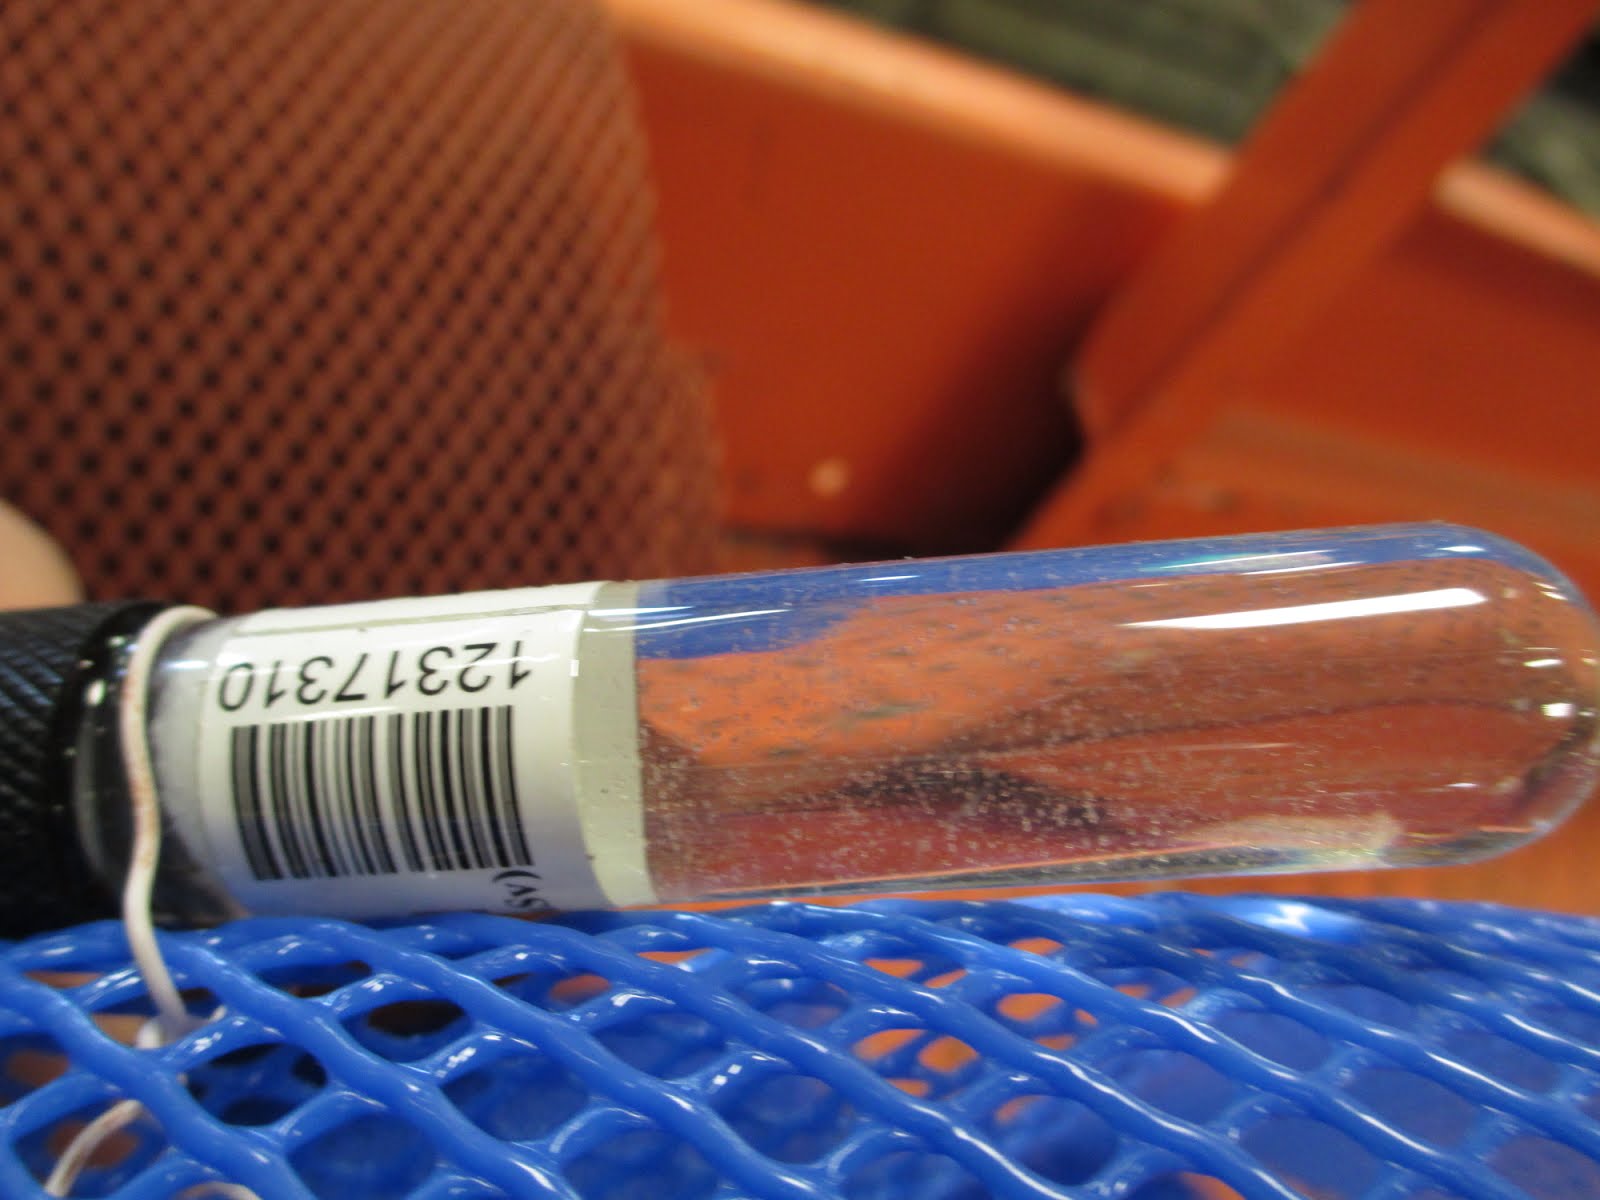
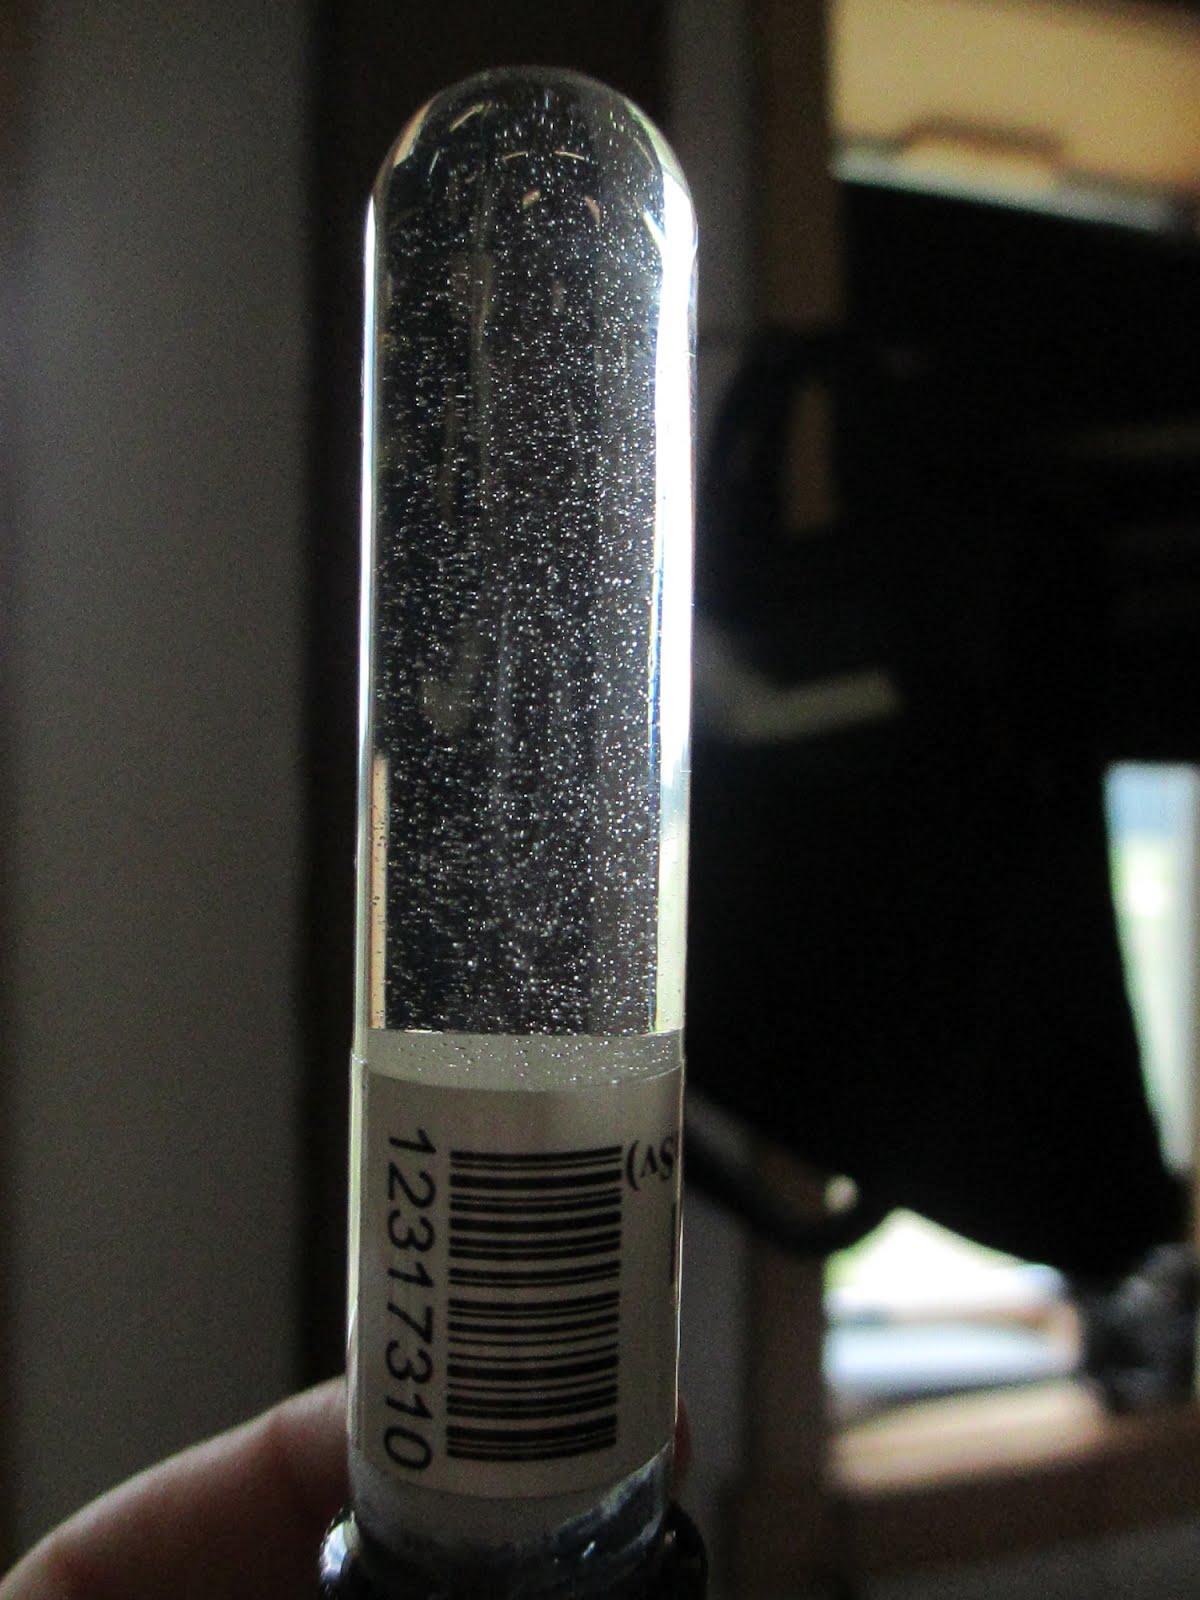
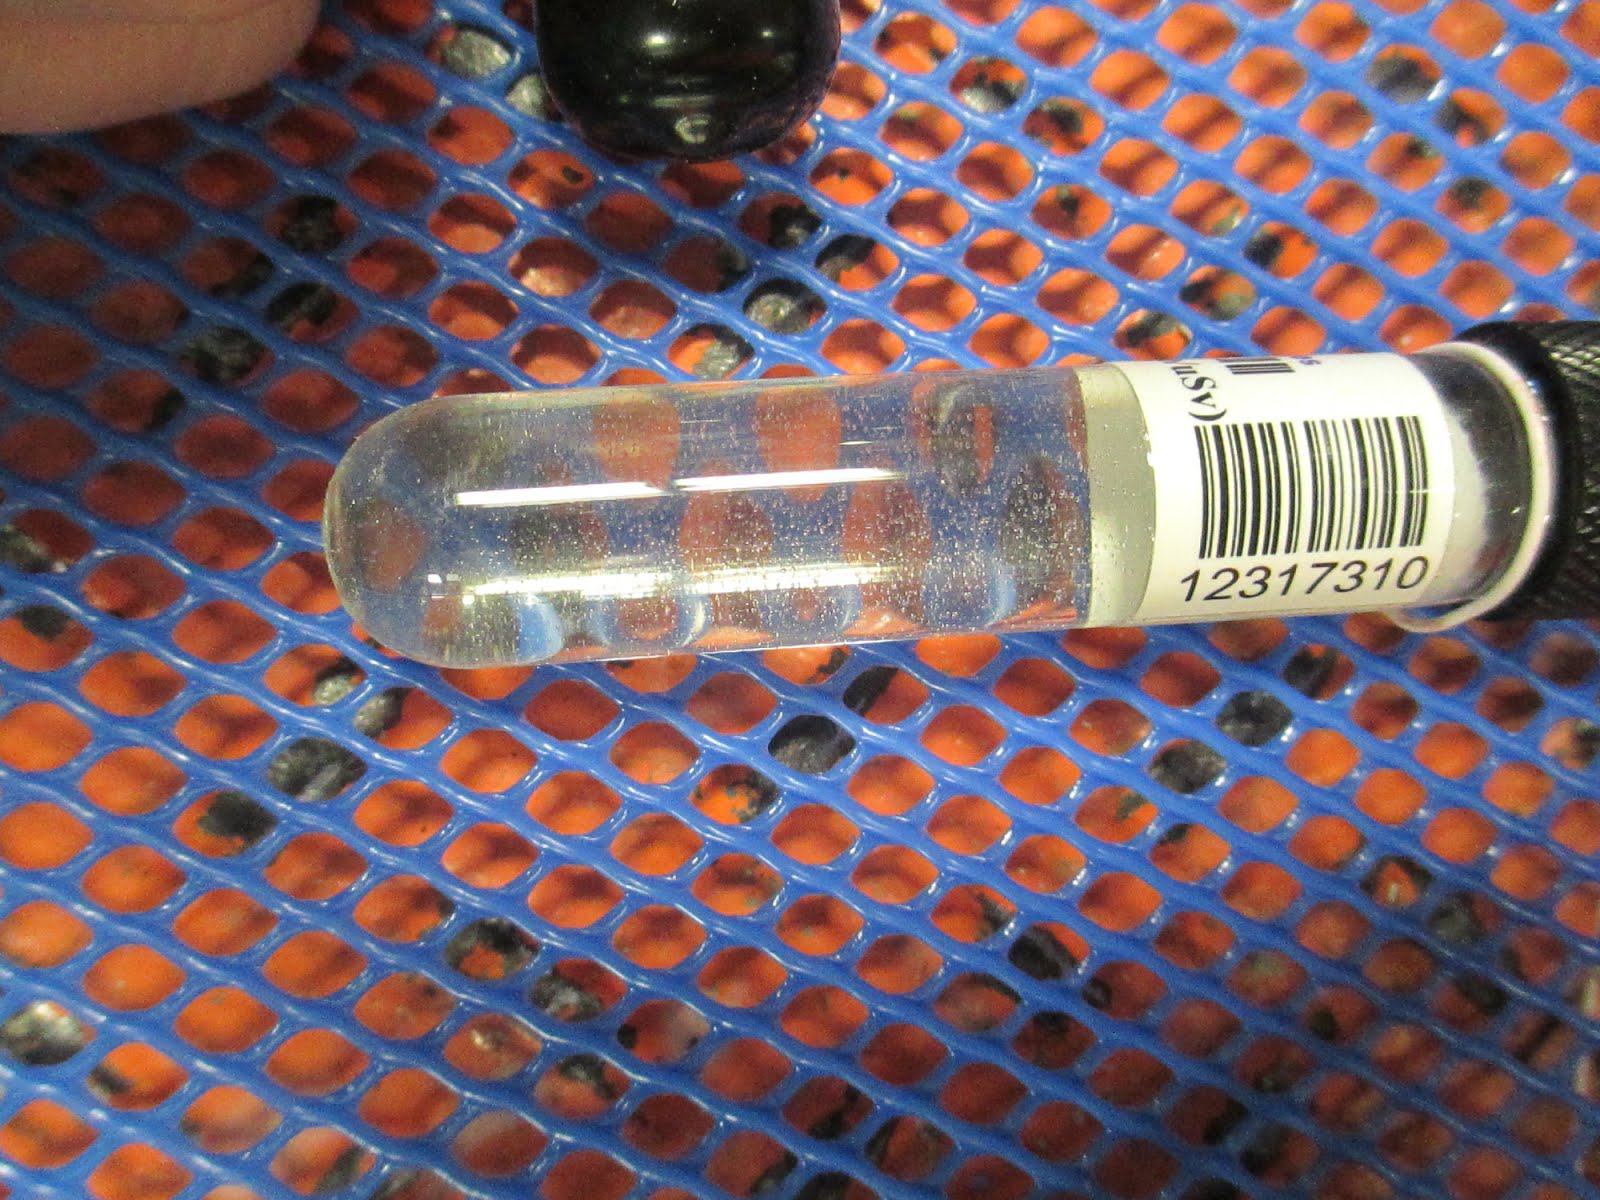
No Bubbles. (Sorry for not getting the serial number, the first picture has #310)
August 2:
No neutron bubbles in the detectors after being left out overnight.
This afternoon we are going to move on from crushing yard rocks and crush a few of the granite scraps.
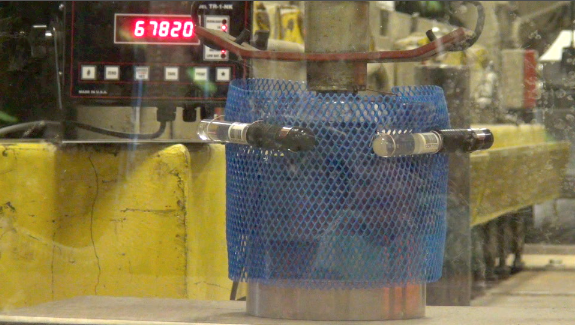
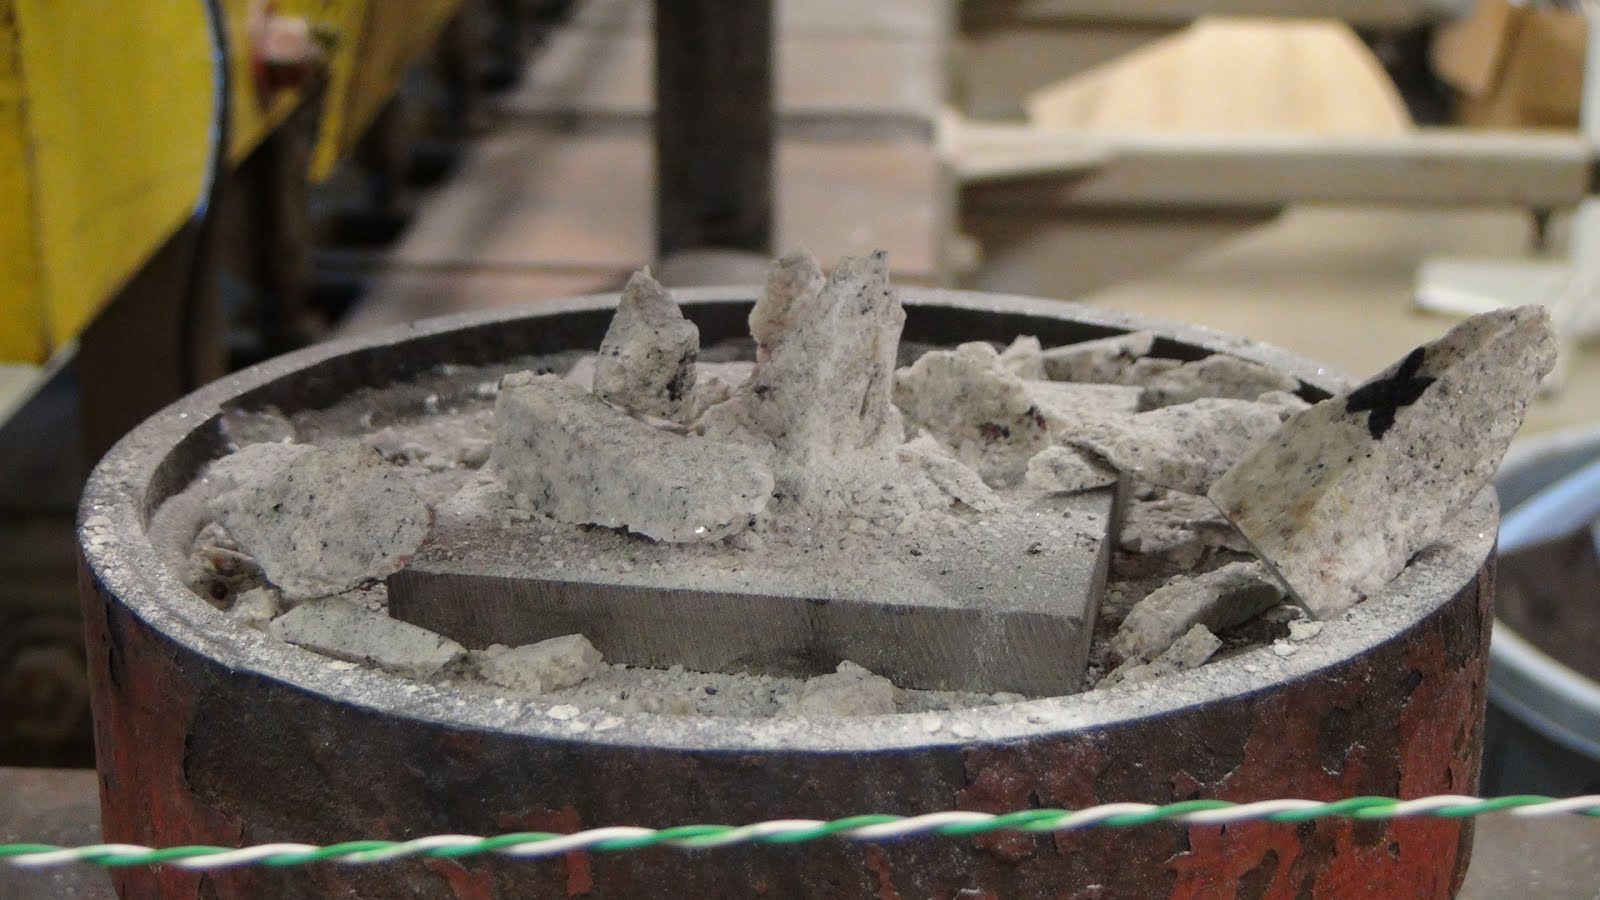
All three samples are the same type of dark granite. Hopefully this provides us with three similar tests, increasing our chances of a positive result. We will use the same setup as yesterday, utilizing the two steel blocks to keep the granite at a useful level for neutron detection. After installation of the iPi recording software we will attempt to use it to record shots of both of the bubble detectors.
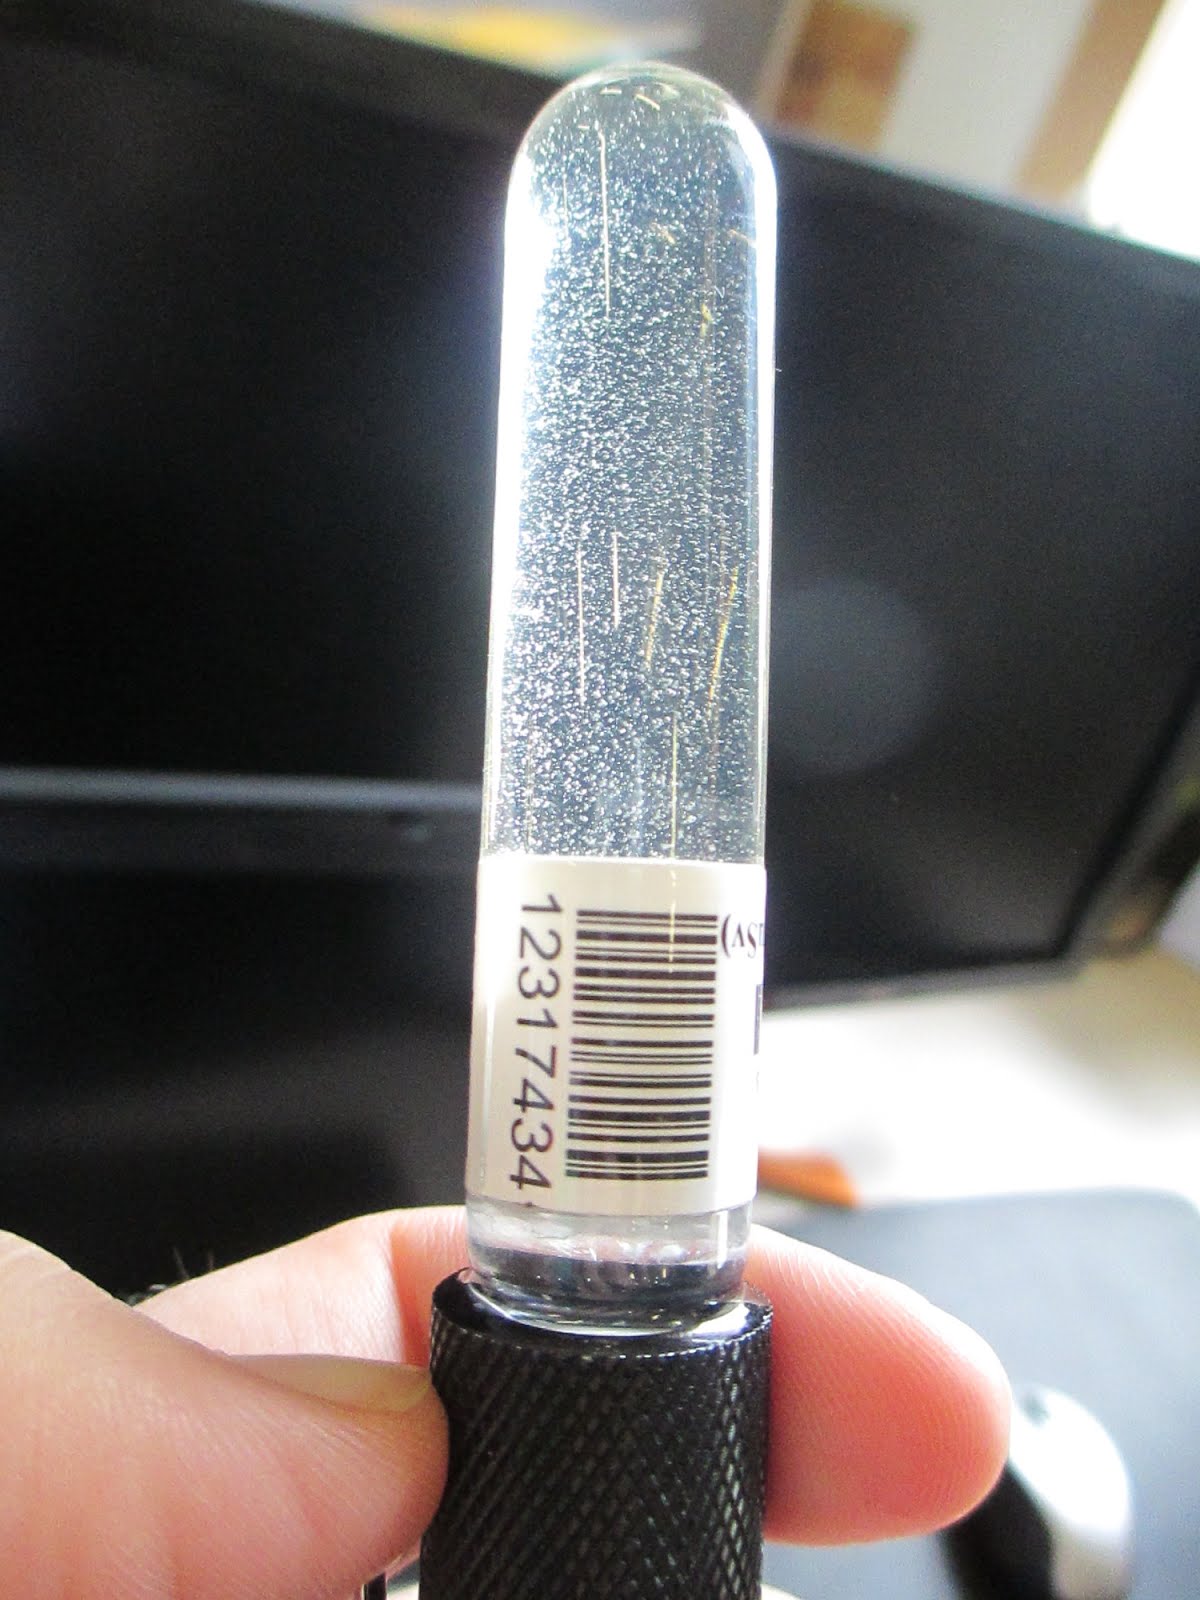
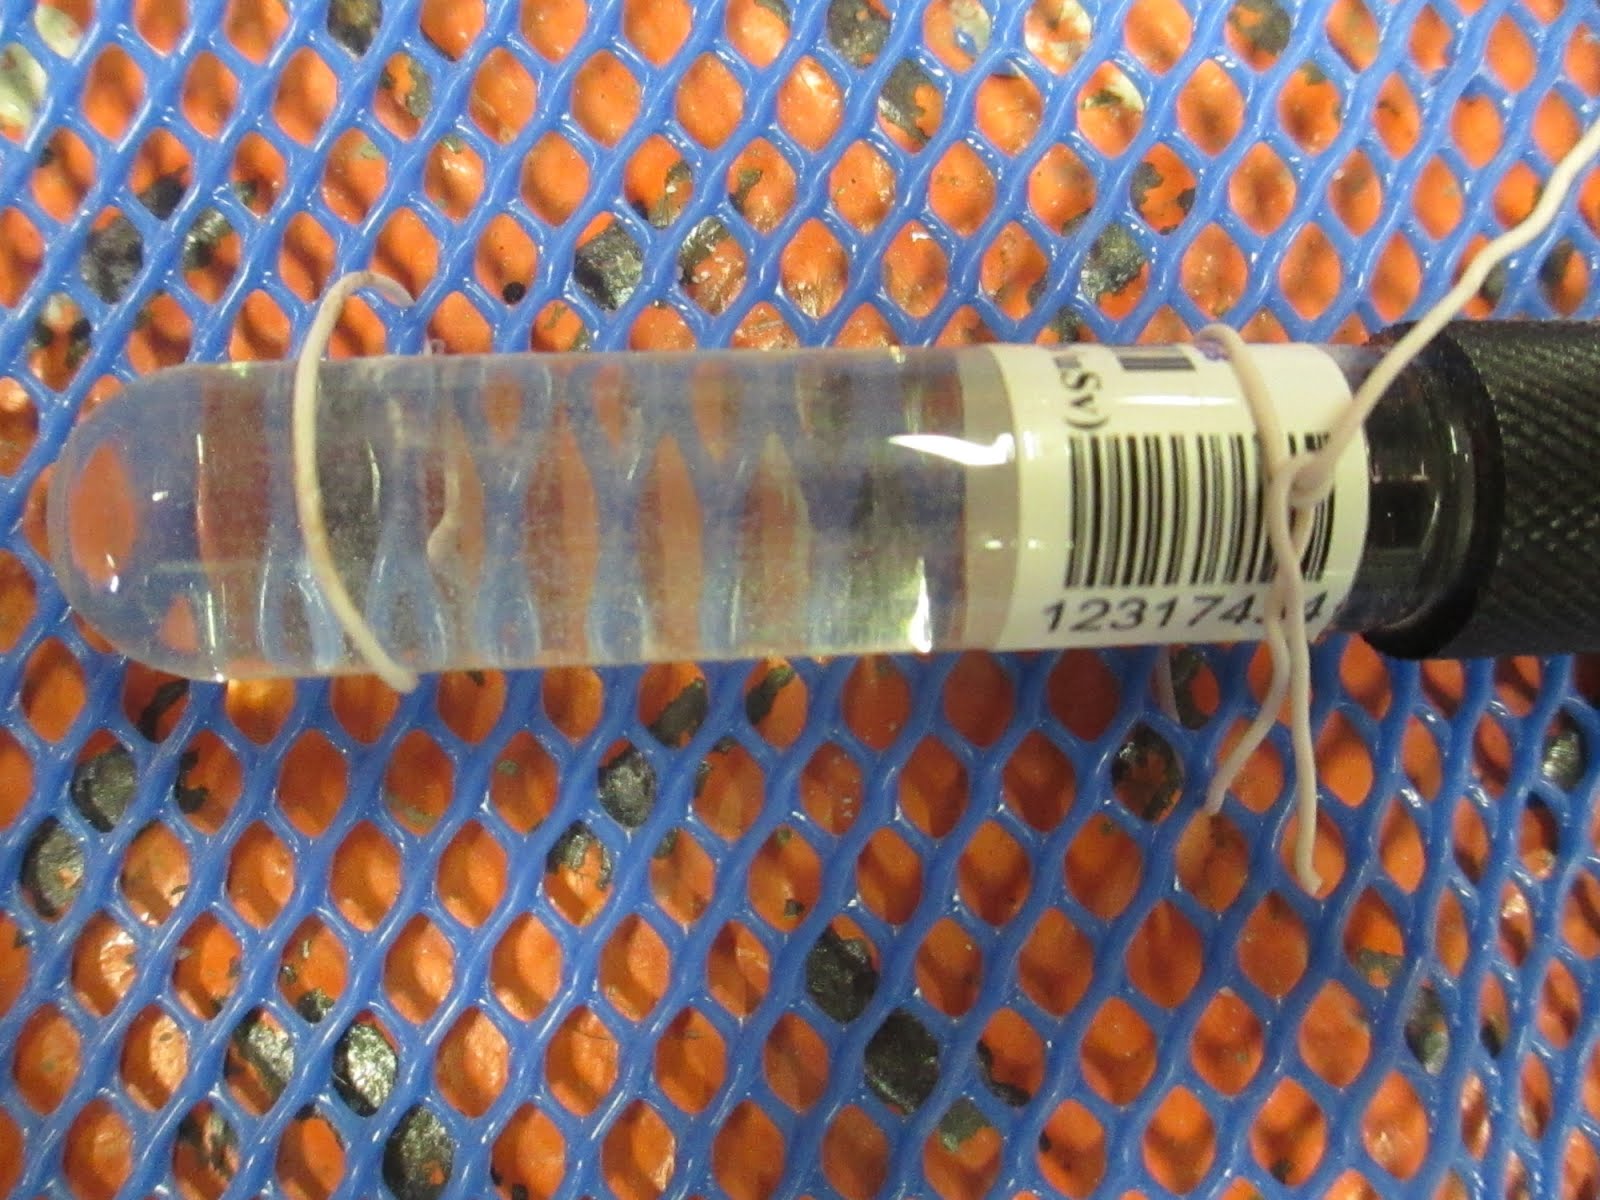
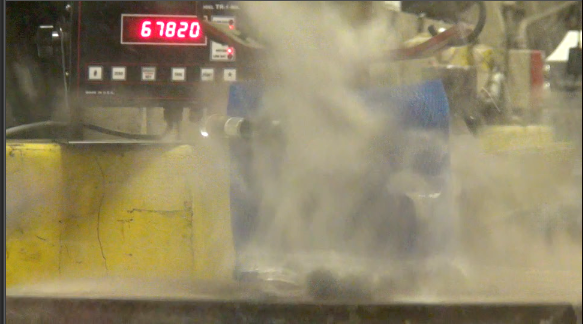
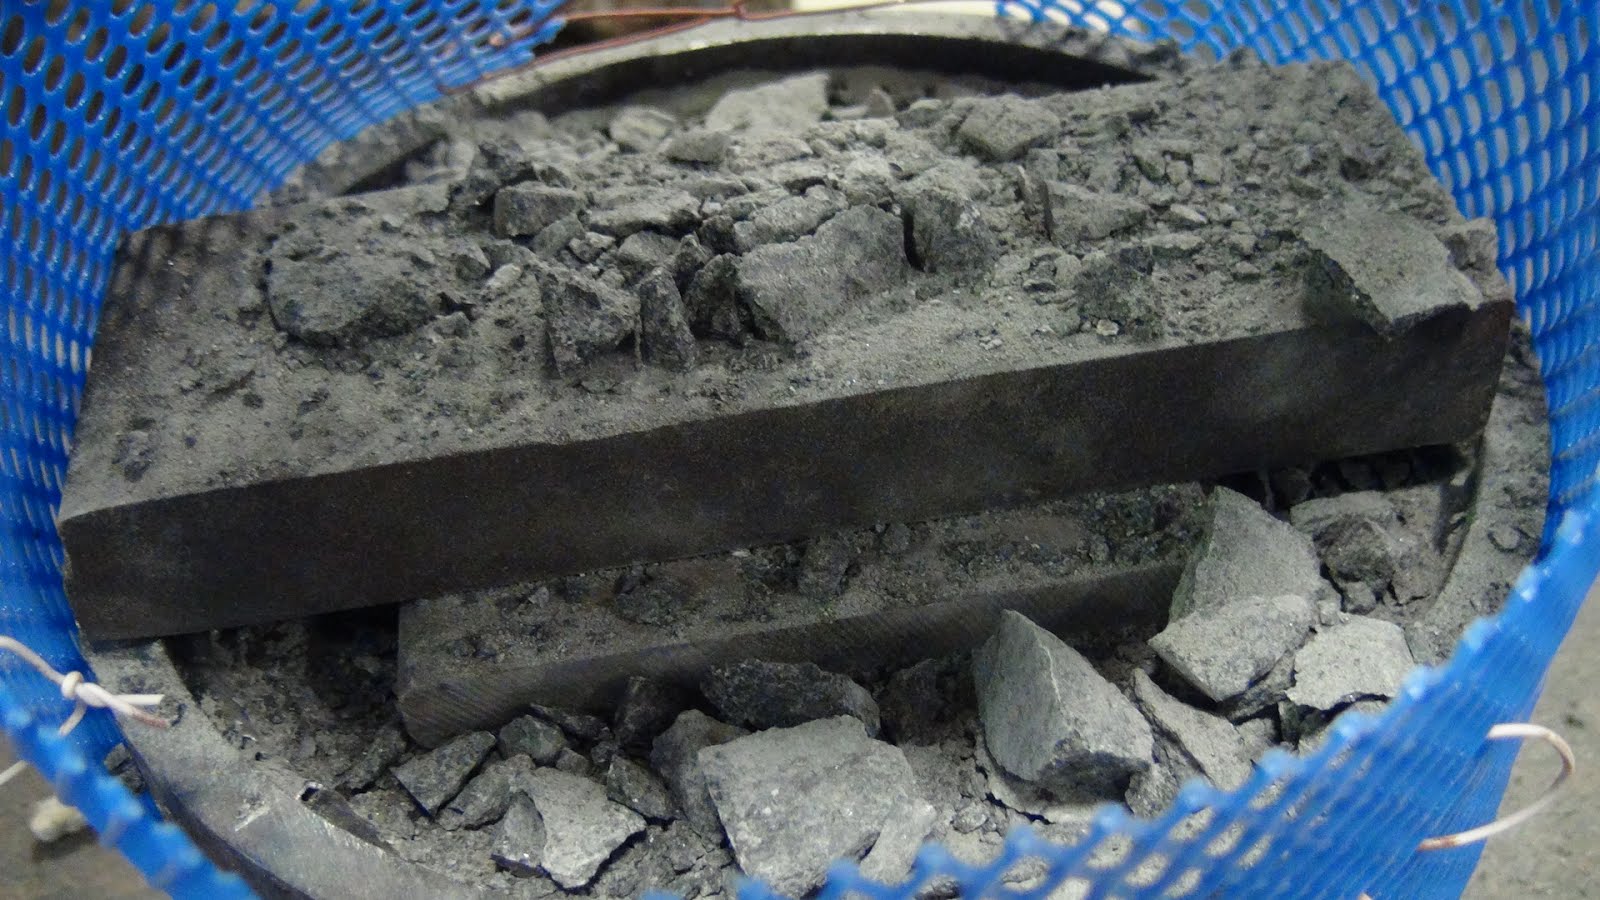
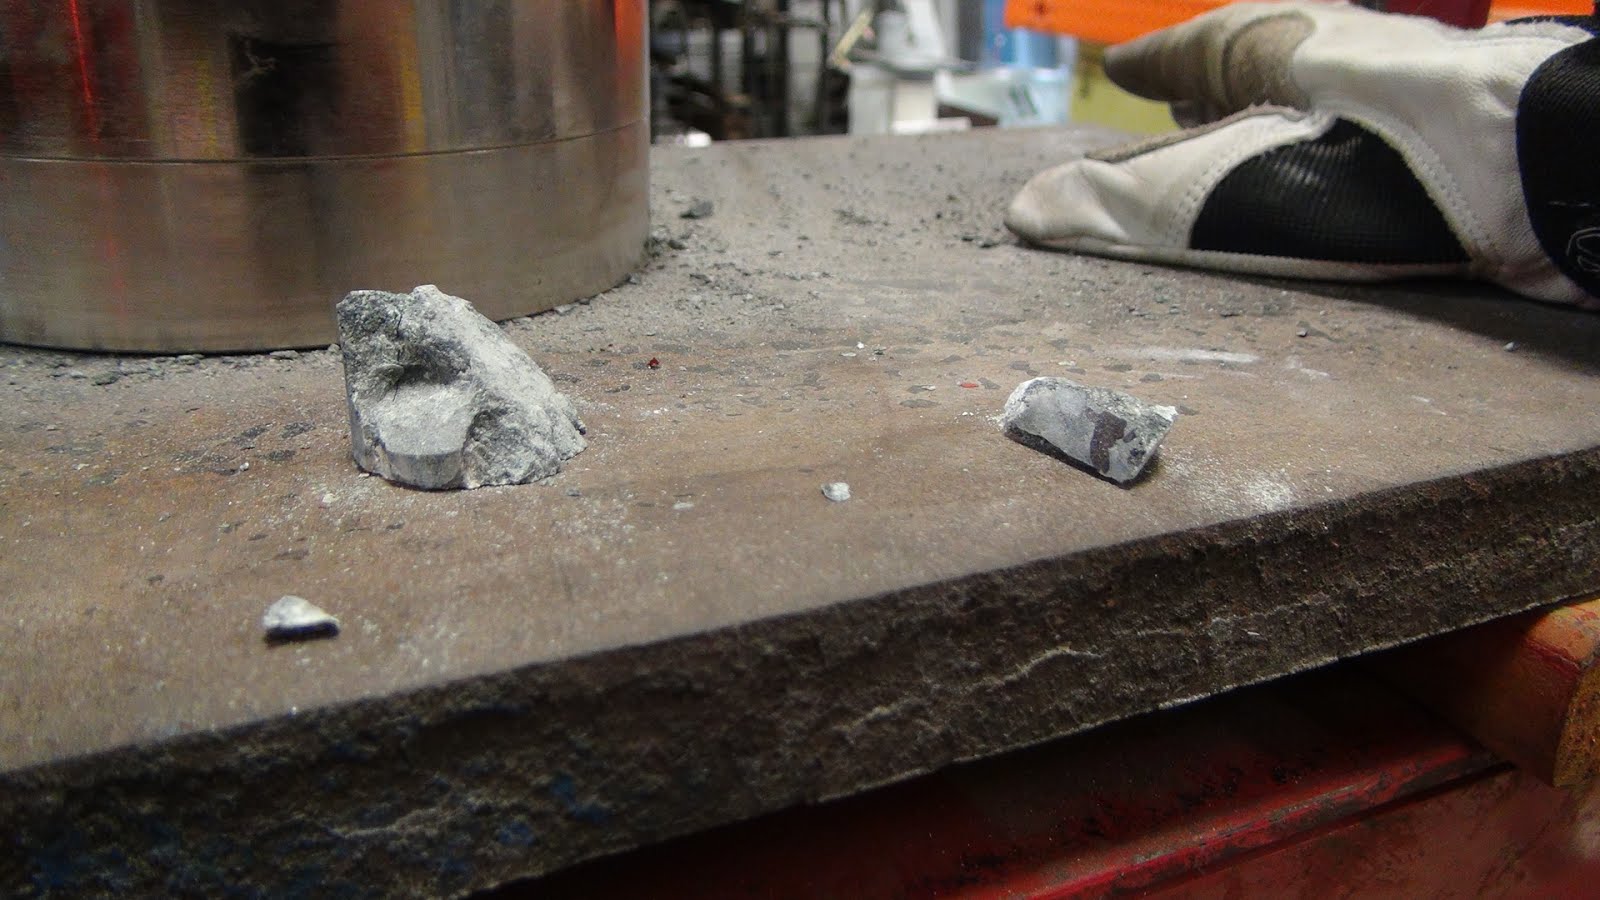
This afternoon we successfully crushed the rectangular piece of black granite seen above. It took over 50,000 lbs of force and over an hour of slowly lowering the press. We went through three cameras due to a combination of lack of memory and battery life. Finally when the rock did crack we saw a cluster of bubbles at the end of detector #474. Detector #310 appeared not to have changed during the crushing.
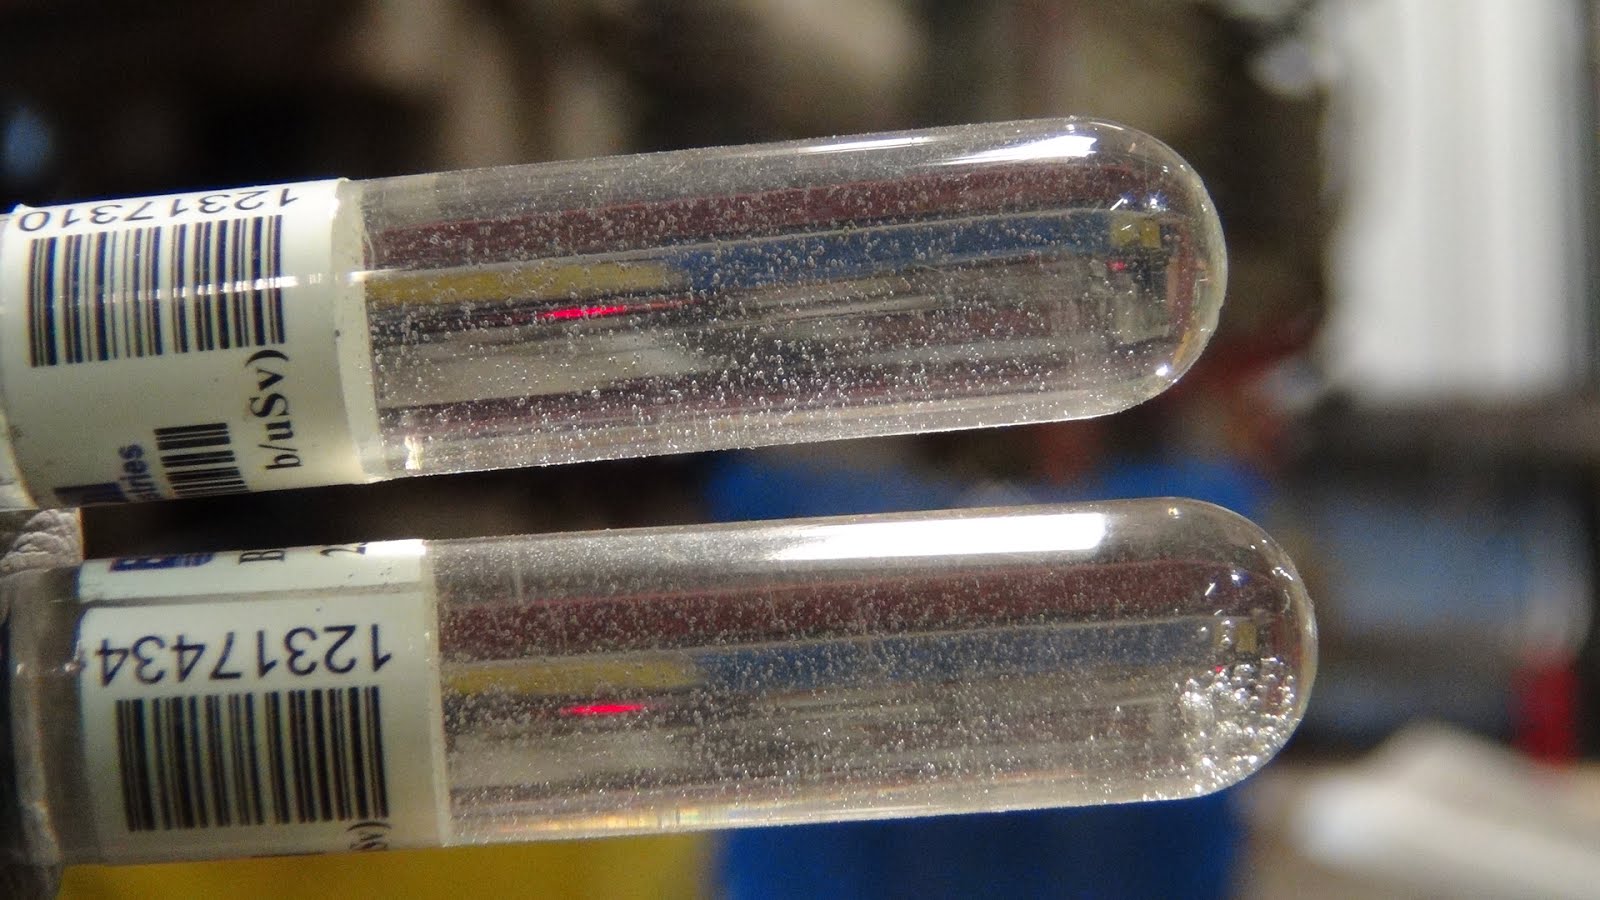
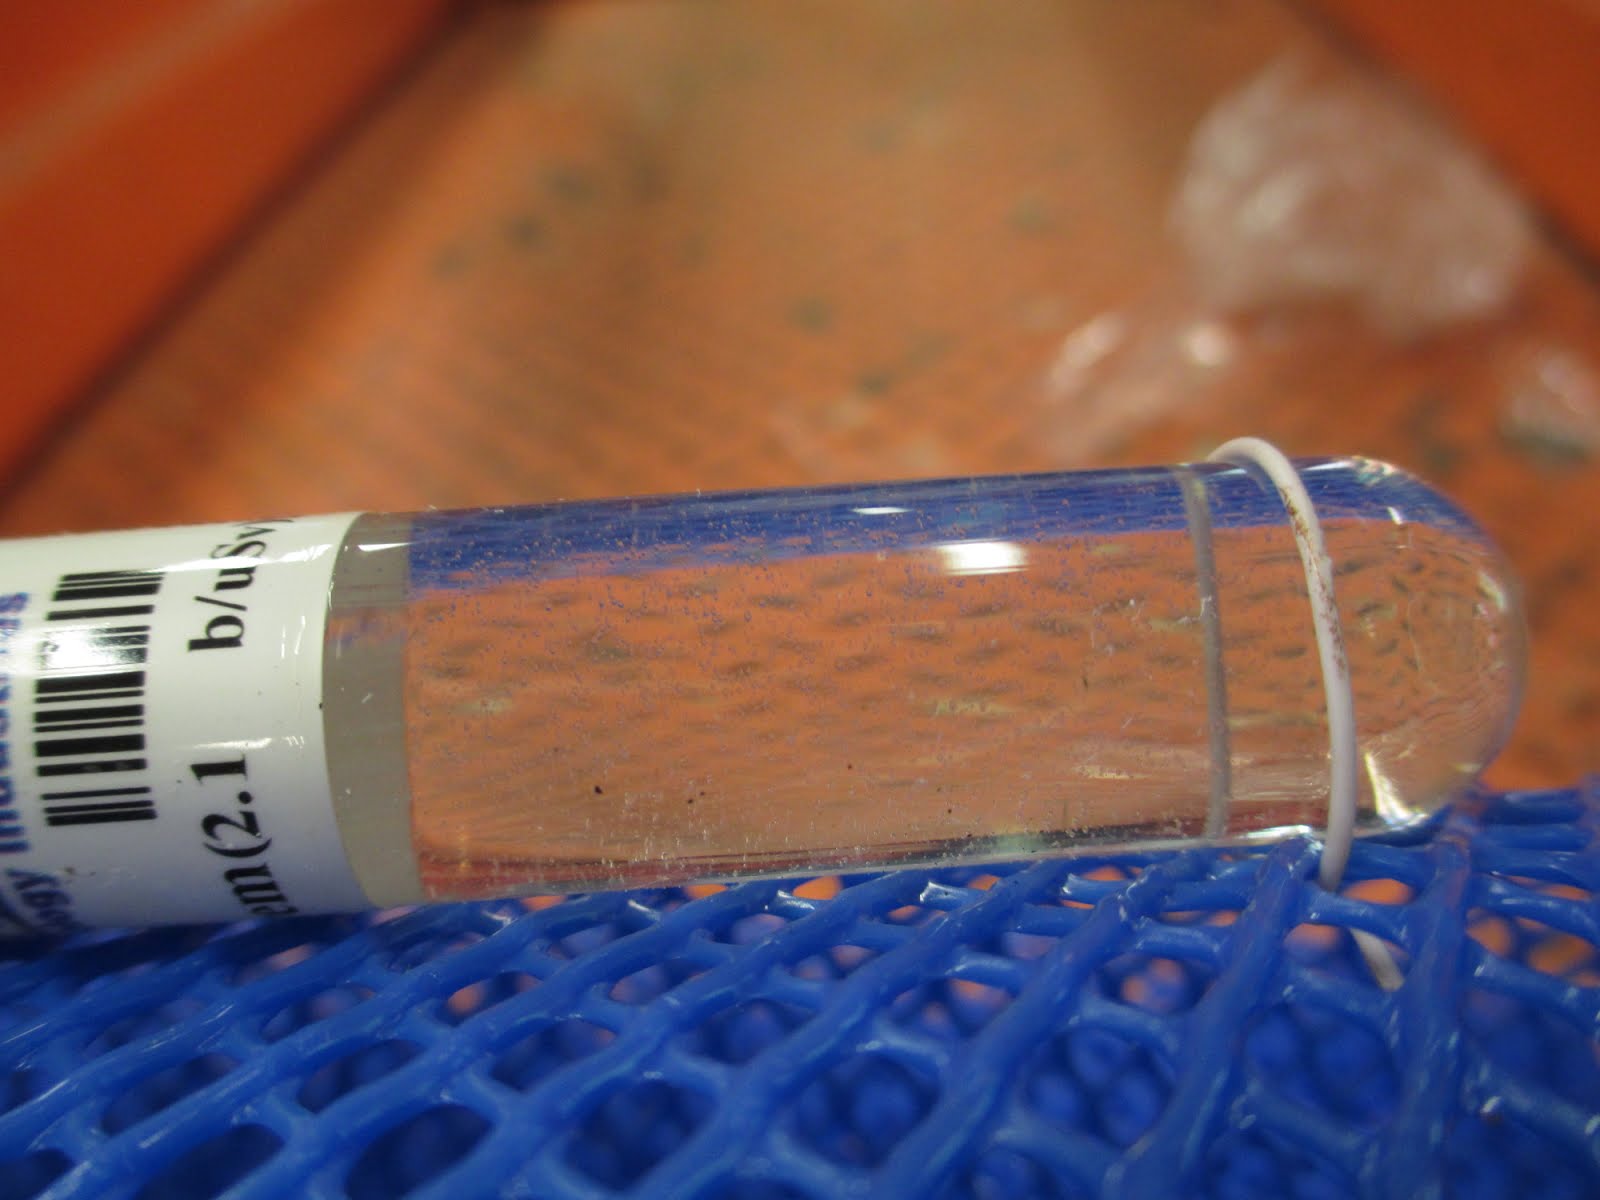
When counting bubbles in the detector you are supposed to begin counting at the label and go until the tube begins to curve. (The cluster of bubbles formed towards the end of the tube where they are not supposed to count, but we will analyze them anyway.) This part of the detector was closest to the plate when the rock cracked and the plate compressed further.
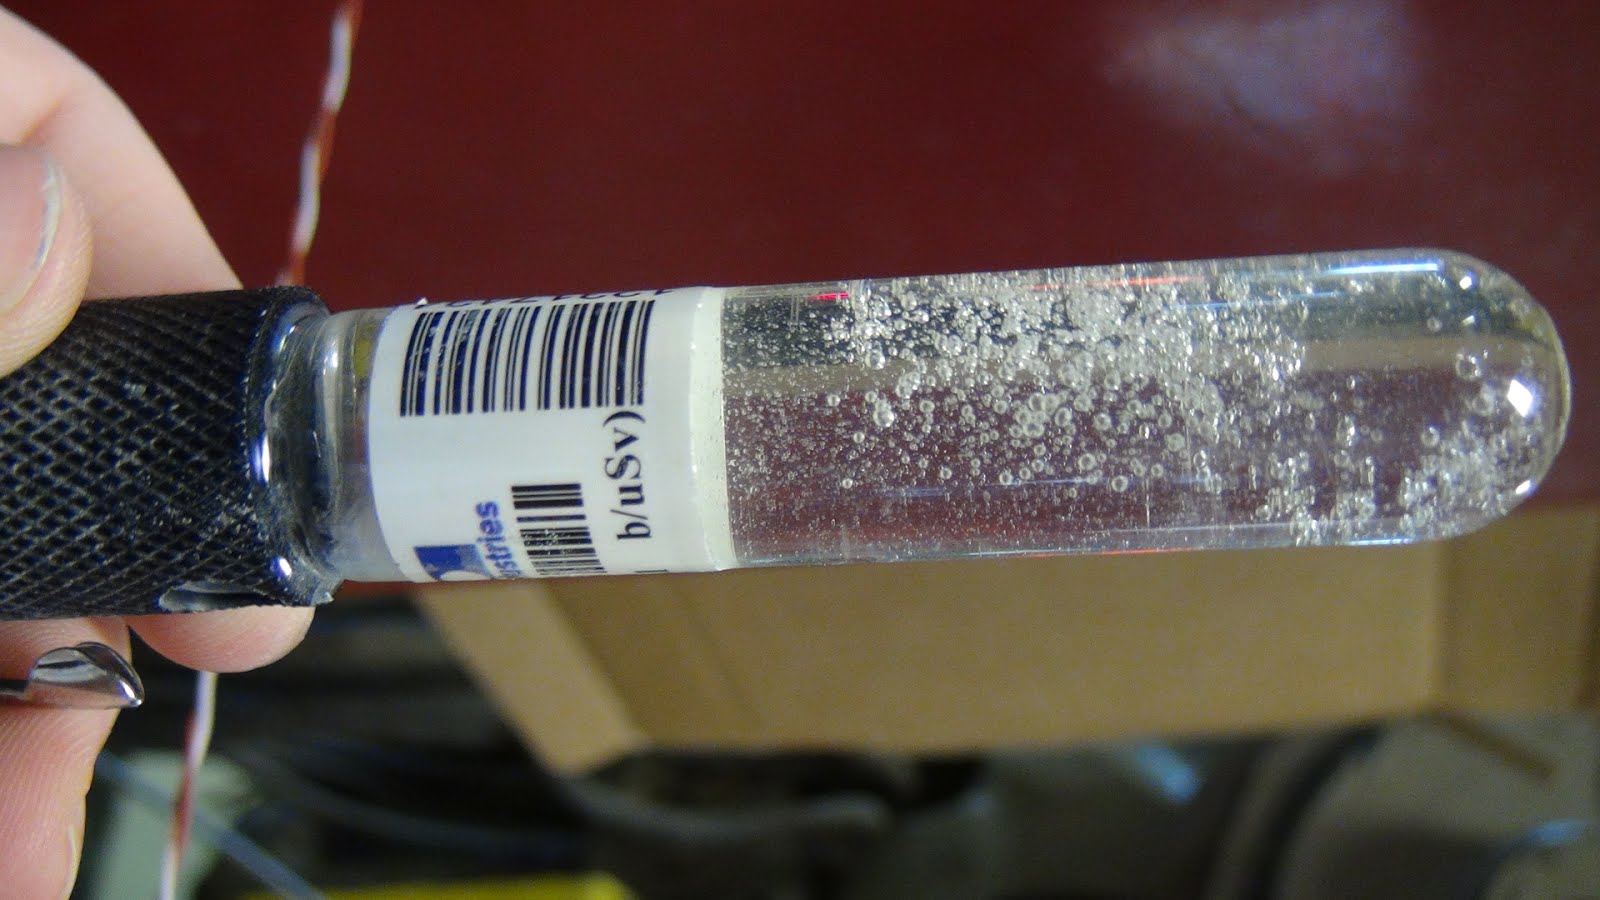
From the BTI Instructions for Use document: “BD-PND are subject to shock damage if banged or dropped onto a hard surface. The result will be a cluster of bubbles near the point of impact which can be cleared by re-setting the BD-PND. Shock does not affect the sensitivity of the BD-PND but the cluster of bubbles must be ignored when counting.” Bubbles from neutrons will be more randomly dispersed throughout the detector.
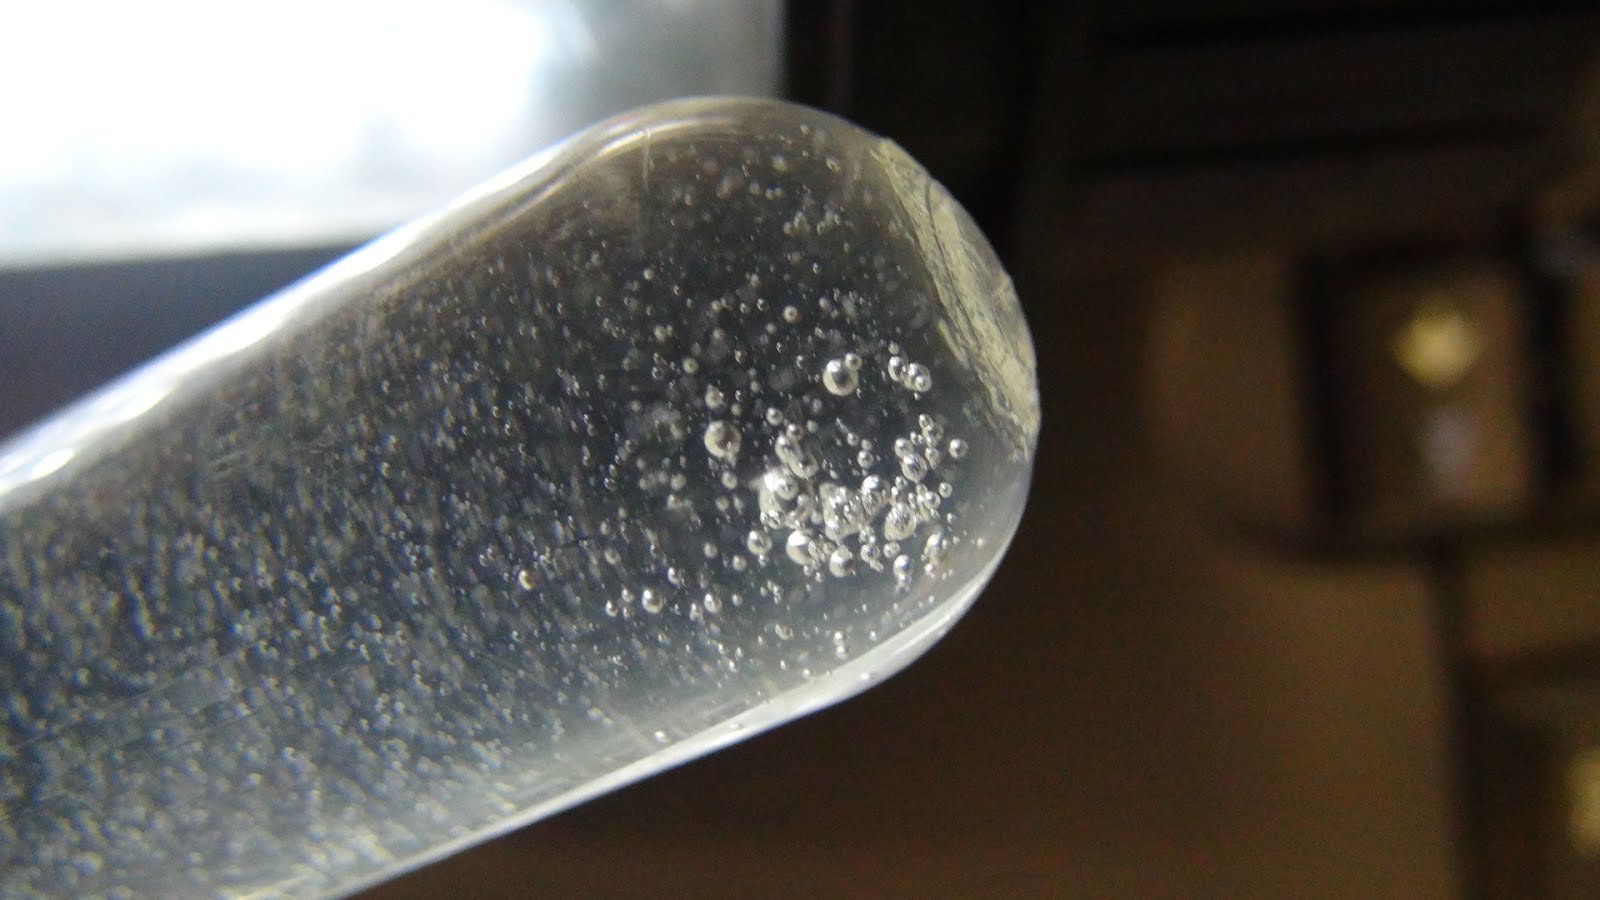
I think the bubbles we saw present a strong case for shock bubbles. True, until this point we have been unable to produce a shock bubble, but we also have not reached 50,000 lbs of force before.
August 5:
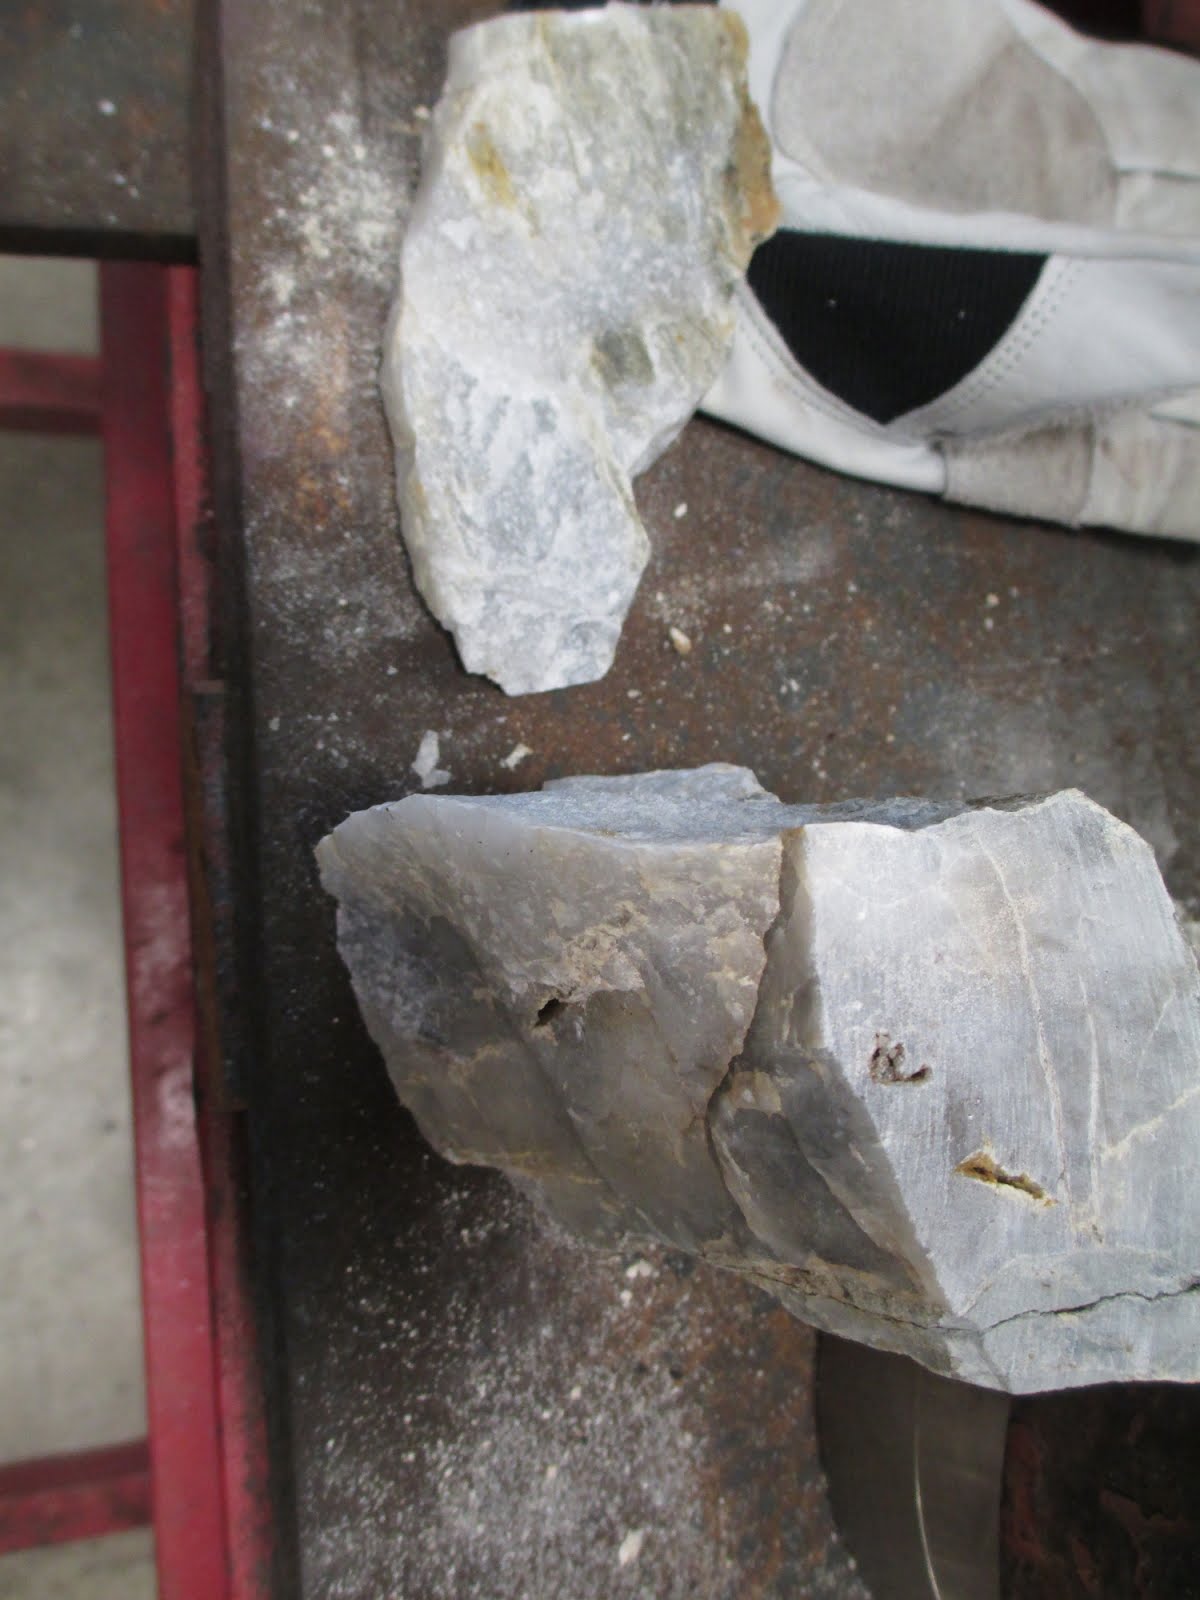
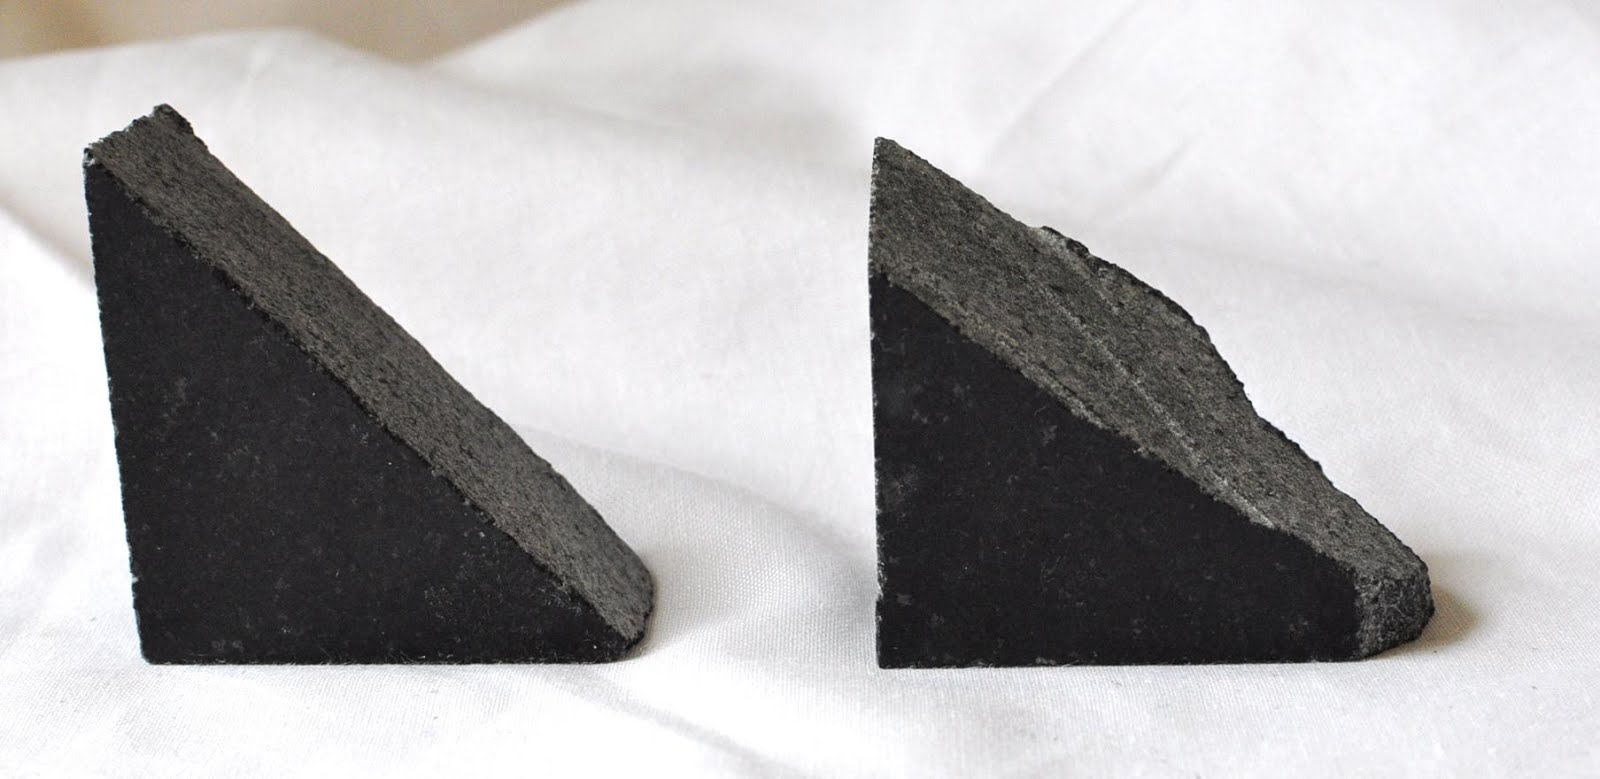
In an attempt to produce similar results to before I crushed another piece of black granite, this time it was one of the triangular pieces.
A poor picture of the rock
The detectors before
The setup
And stills from the video
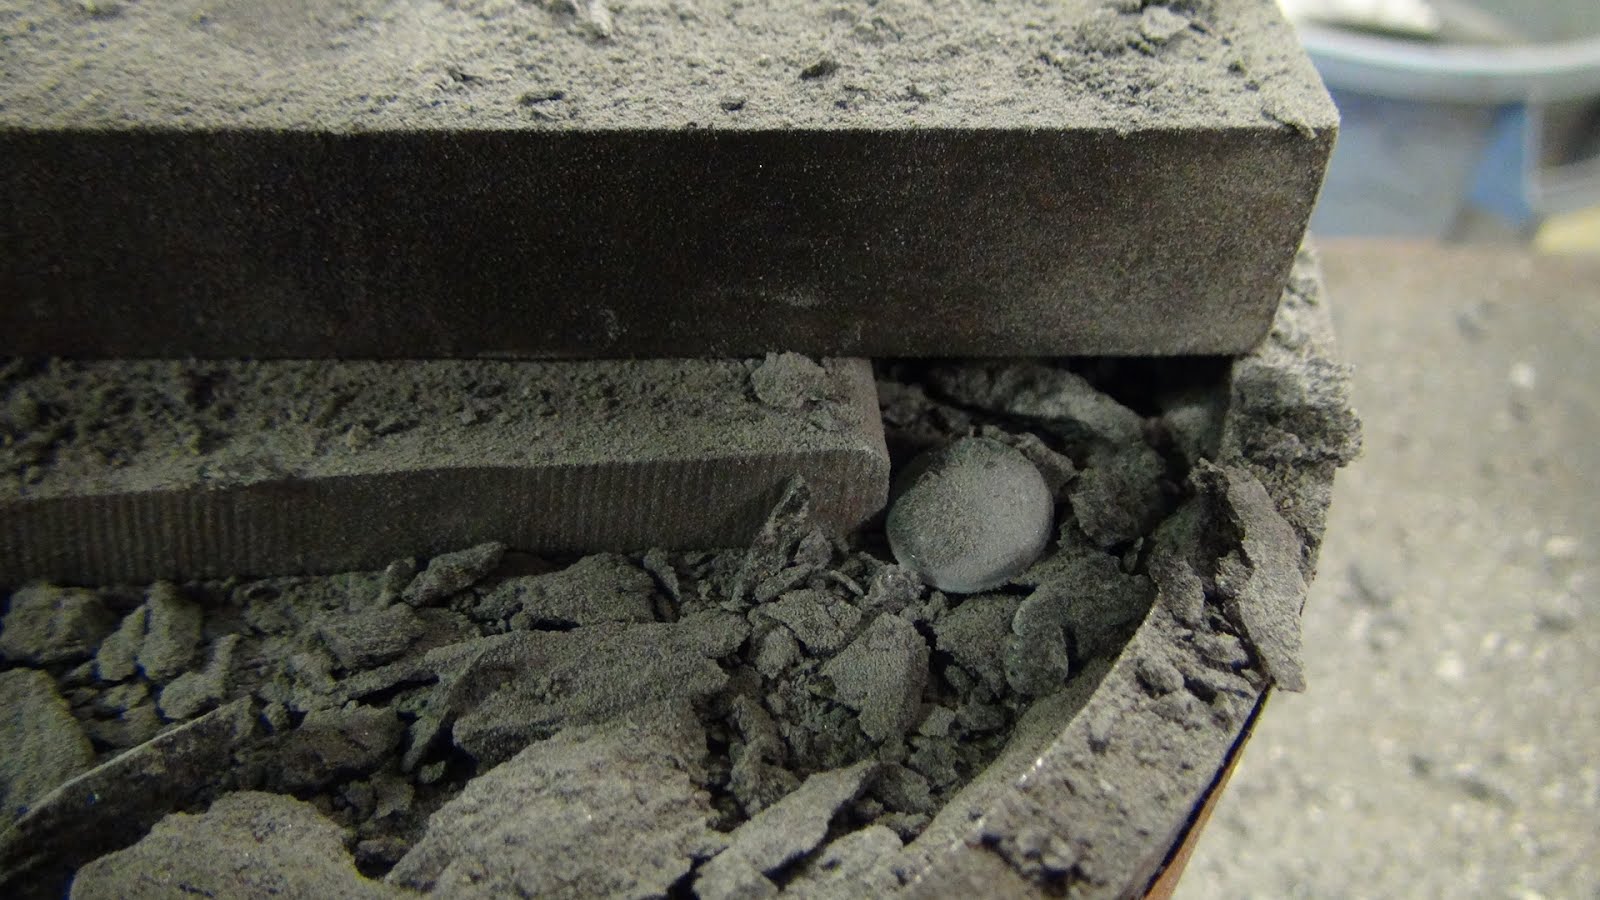
Right detector can been seen flying off
(glare is from plexiglass shield)
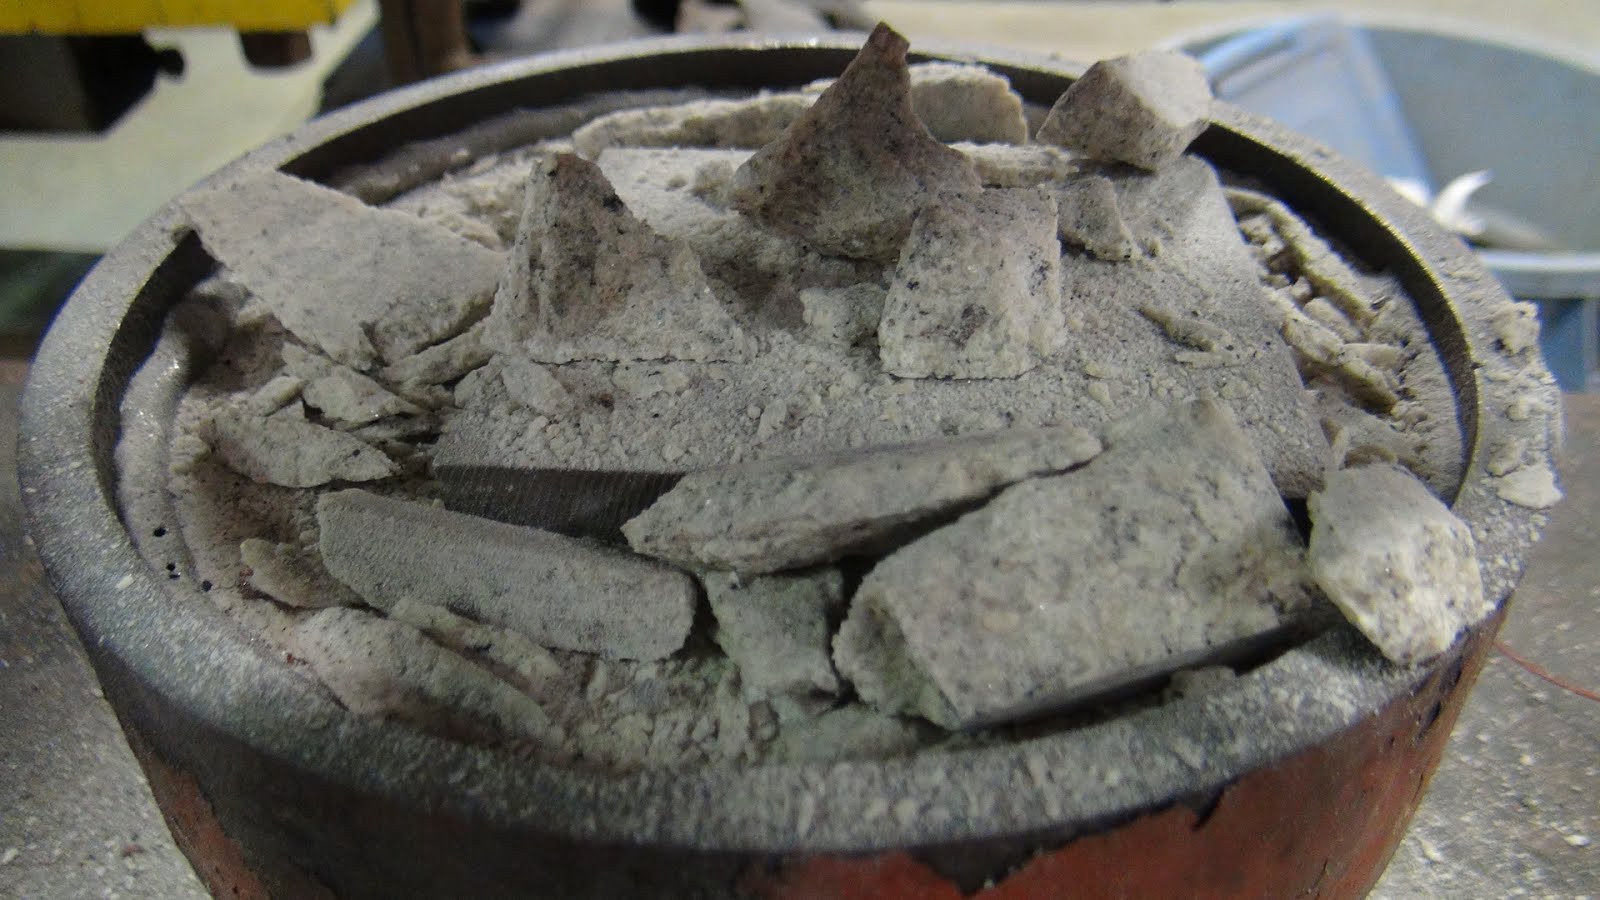
Broken Rock
Broken Detector
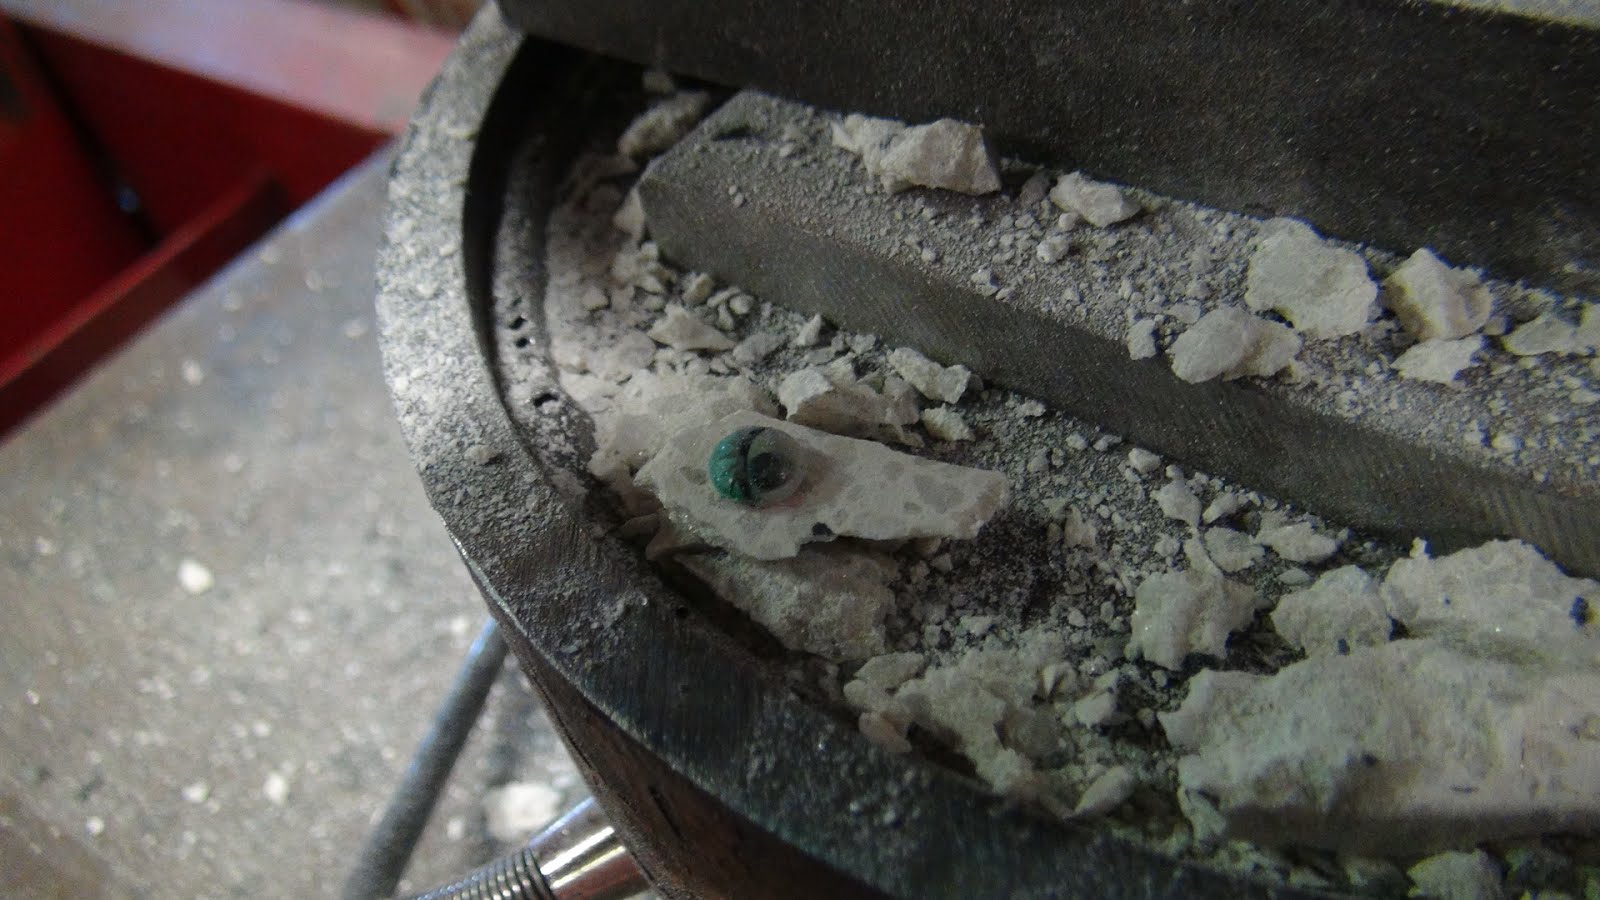
Bubbles
Because #310 broke and therefore none of the bubbles seen can be considered valid. The major difference, as far as we can tell, between shock bubbles and neutron bubbles is size. As soon as the end of the detector broke off the seal was broken and the pressure was lost. This allows the bubbles to expand and grow to the size of a neutron bubble.
Ear plugs are no longer recommended, they are required. Hopefully some videos of the crushing will be available soon.
August 6:
Plan for today
1.) cut a couple pieces of granite on the wet saw and look for neutrons
2.) crush the second triangle of granite with the detector in a safer location
Granite Cutting
For this experiment I clipped the detector onto my sweater. It was at a good height in comparison to the saw and it would also monitor if I was personally exposed to any radiation while cutting. If any neutrons were detected I would repeat this experiment with different materials to see if the result was repeatable.
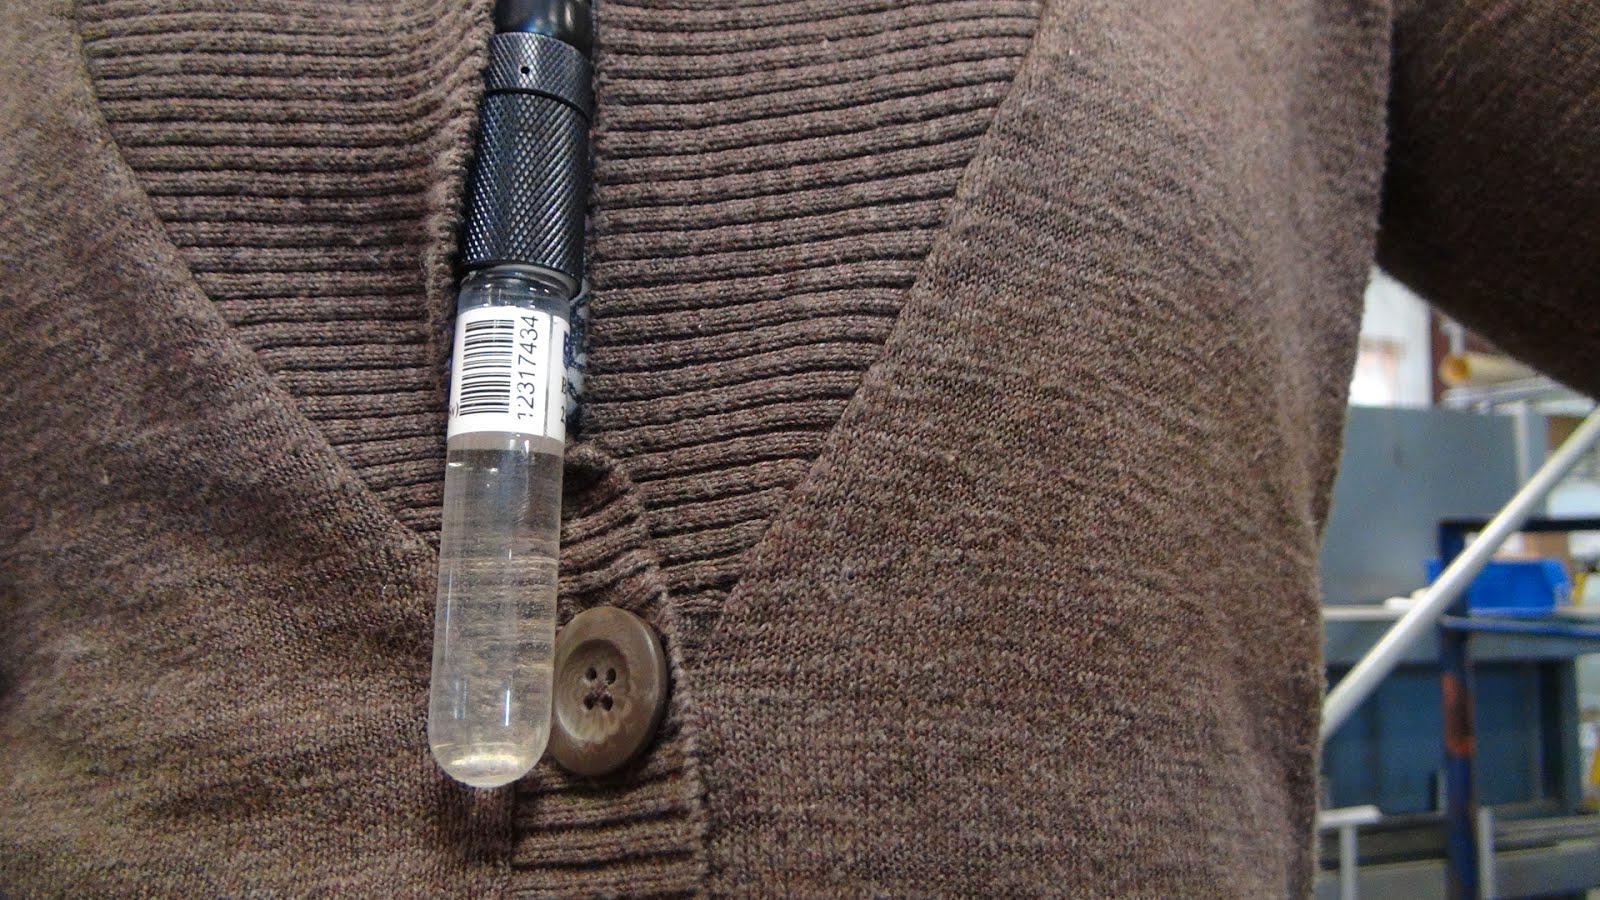
The next step was to select a specimen for cutting. I used a piece of unfinished dark granite, similar to the rocks used for crushing these past couple days.
No Bubbles
The next step was to repeat the process with the detector in a new location.
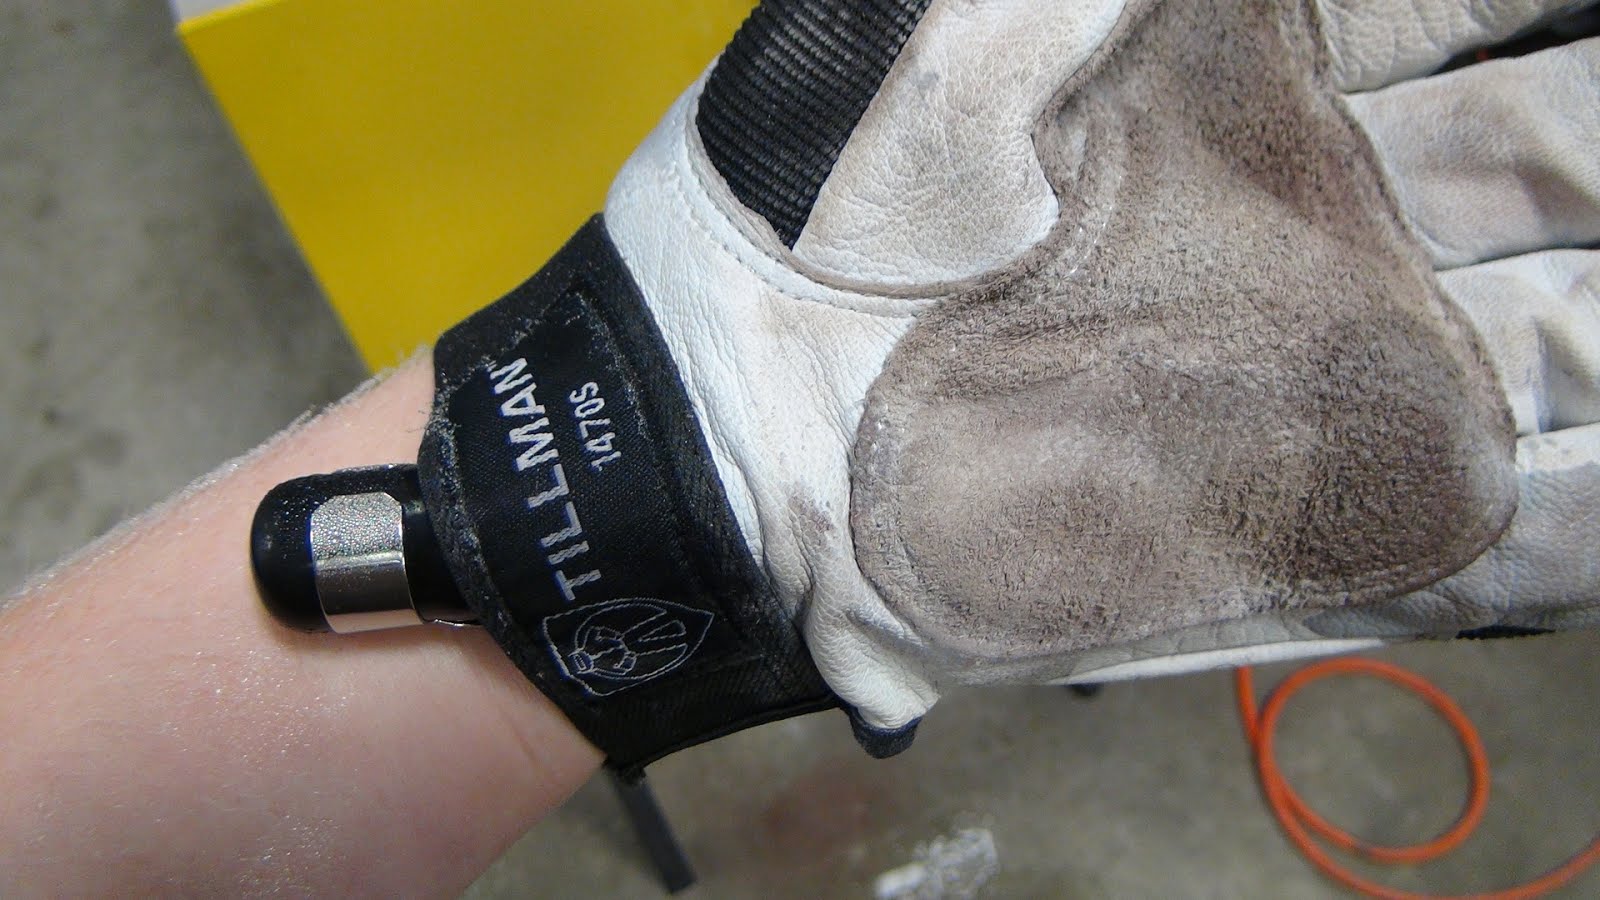
This time inside my glove
Another cut
And again, no bubbles
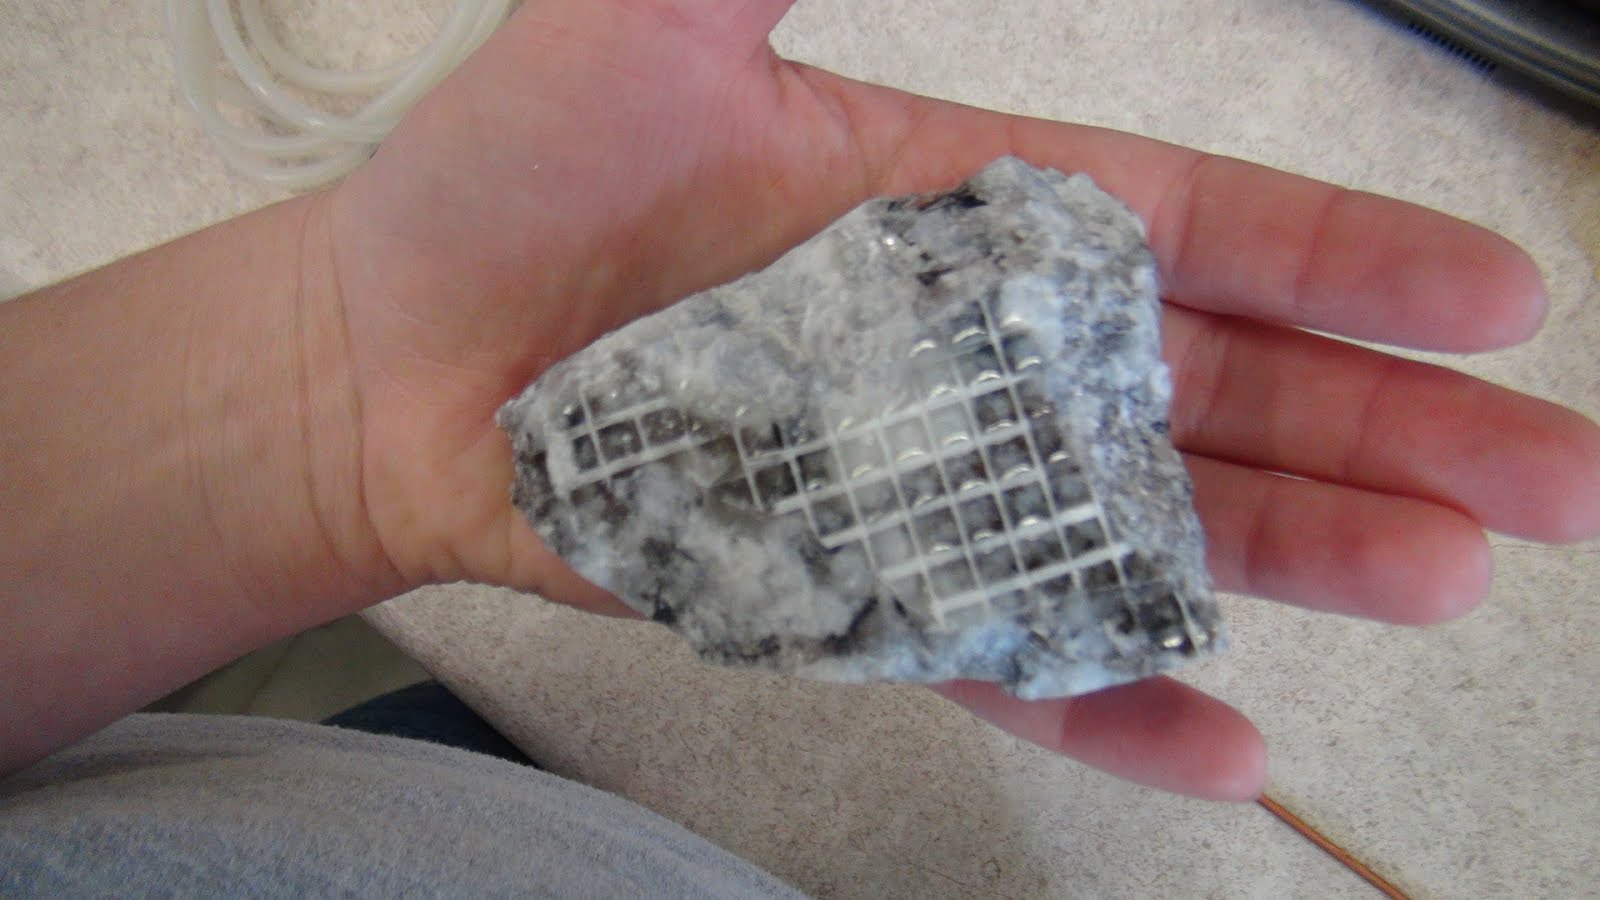
In light of the most recent setback (Read: broken detector) a new protection system needed to be utilized for the detector. The solution was to encase the detector in a dense foam allowing the neutrons through, but ideally preventing shock waves from affecting it.
Although we would like to say we effectively stopped the shockwaves from affecting the stone, we did not reach the high forces seen before. Until we are at these high pressures where hundreds of bubbles were produced, it will be inconclusive whether or not we have solved the shock bubble concern.
Detector before
Foam casing protecting the detector.
Rock ready for crushing (same positioning as triangle #1)

During setup I realized I had no idea where the sensor part of the detector was and decided to make it more clear based on the outside of the foam.
The detector setup in position for crushing.
August 7:
Plan of attack for today is to crush the two prisms of white granite.
The load will be applied as pictured to the smaller cross section. We should not reach a load as high as with the first triangle of black granite.
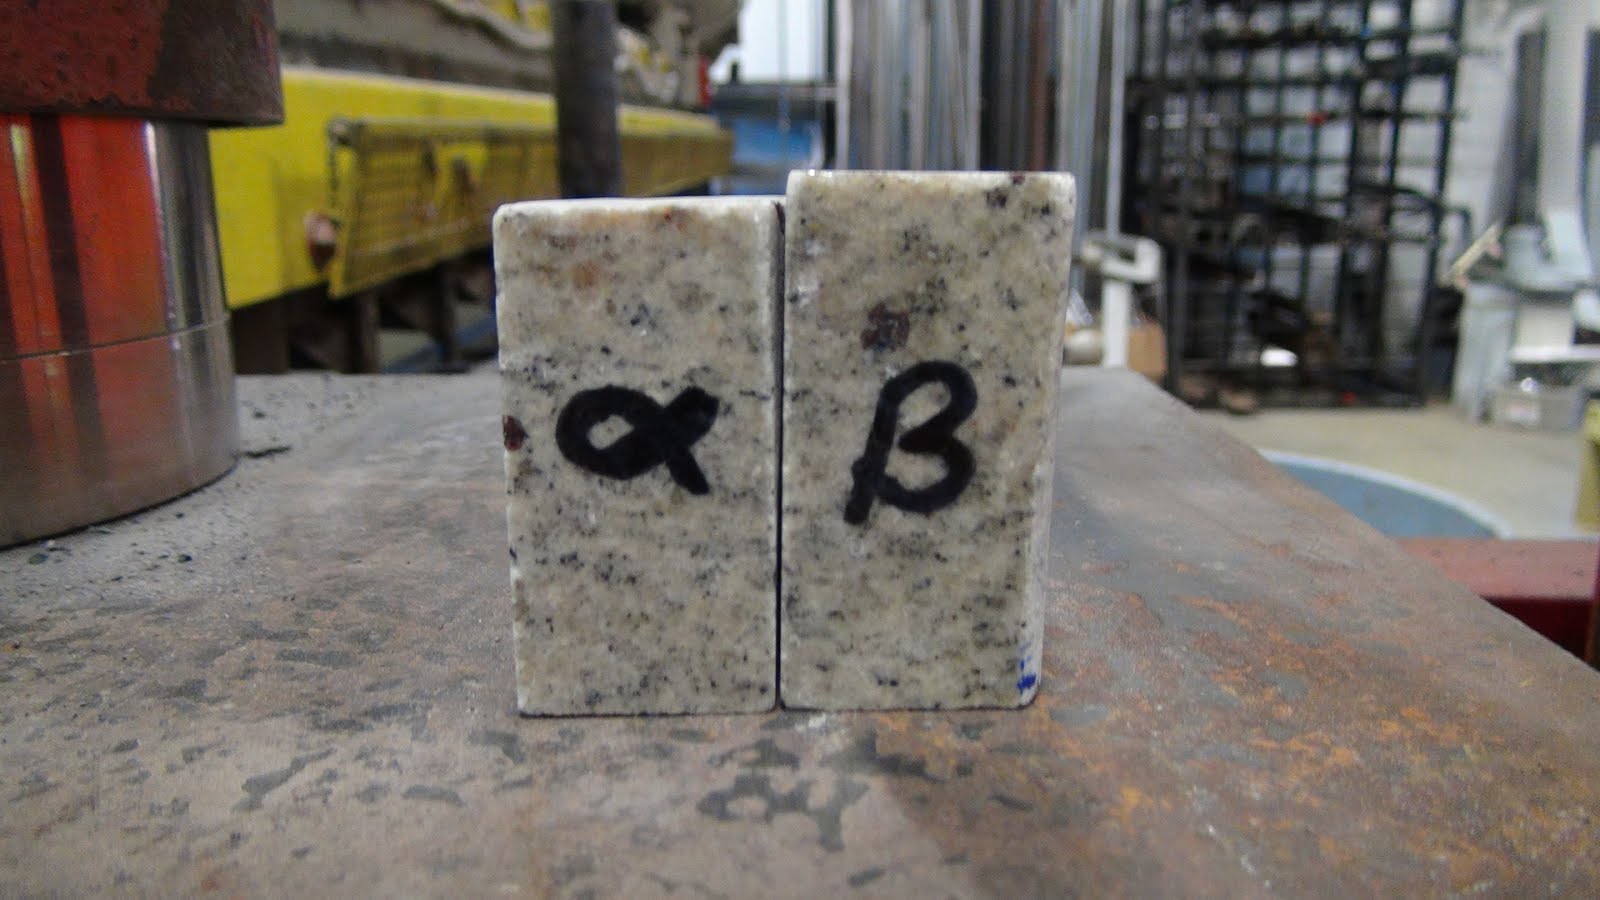

Rock Alpha
Before
After
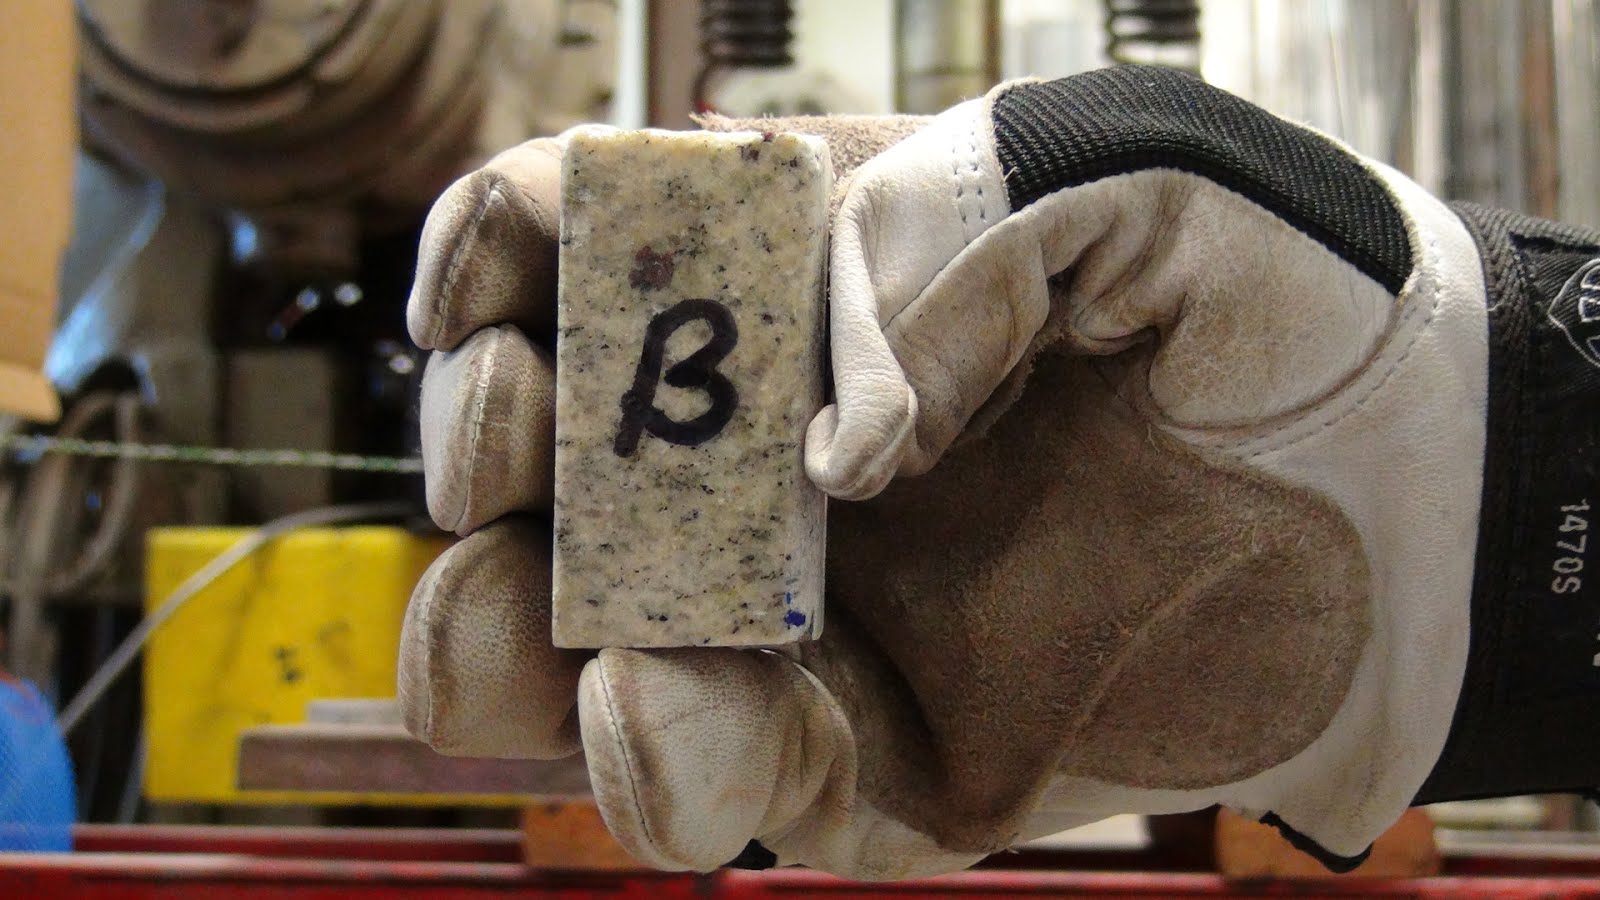
Rock Beta
Next set of rocks on the table.
The Core Samples
Will not crush the slanted core sample.
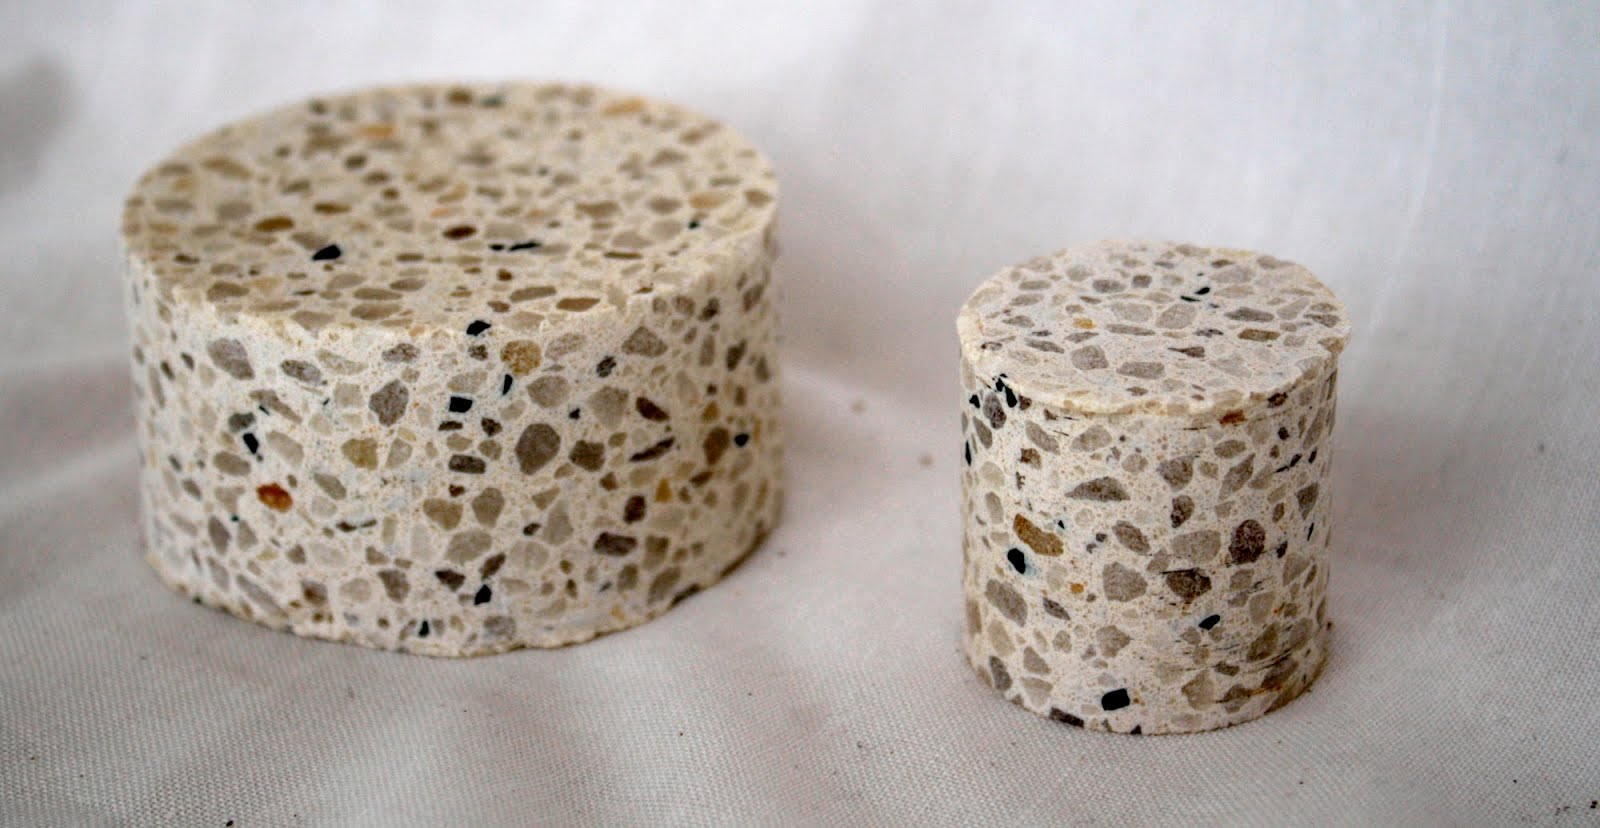
(Only crushing the smaller of the two)
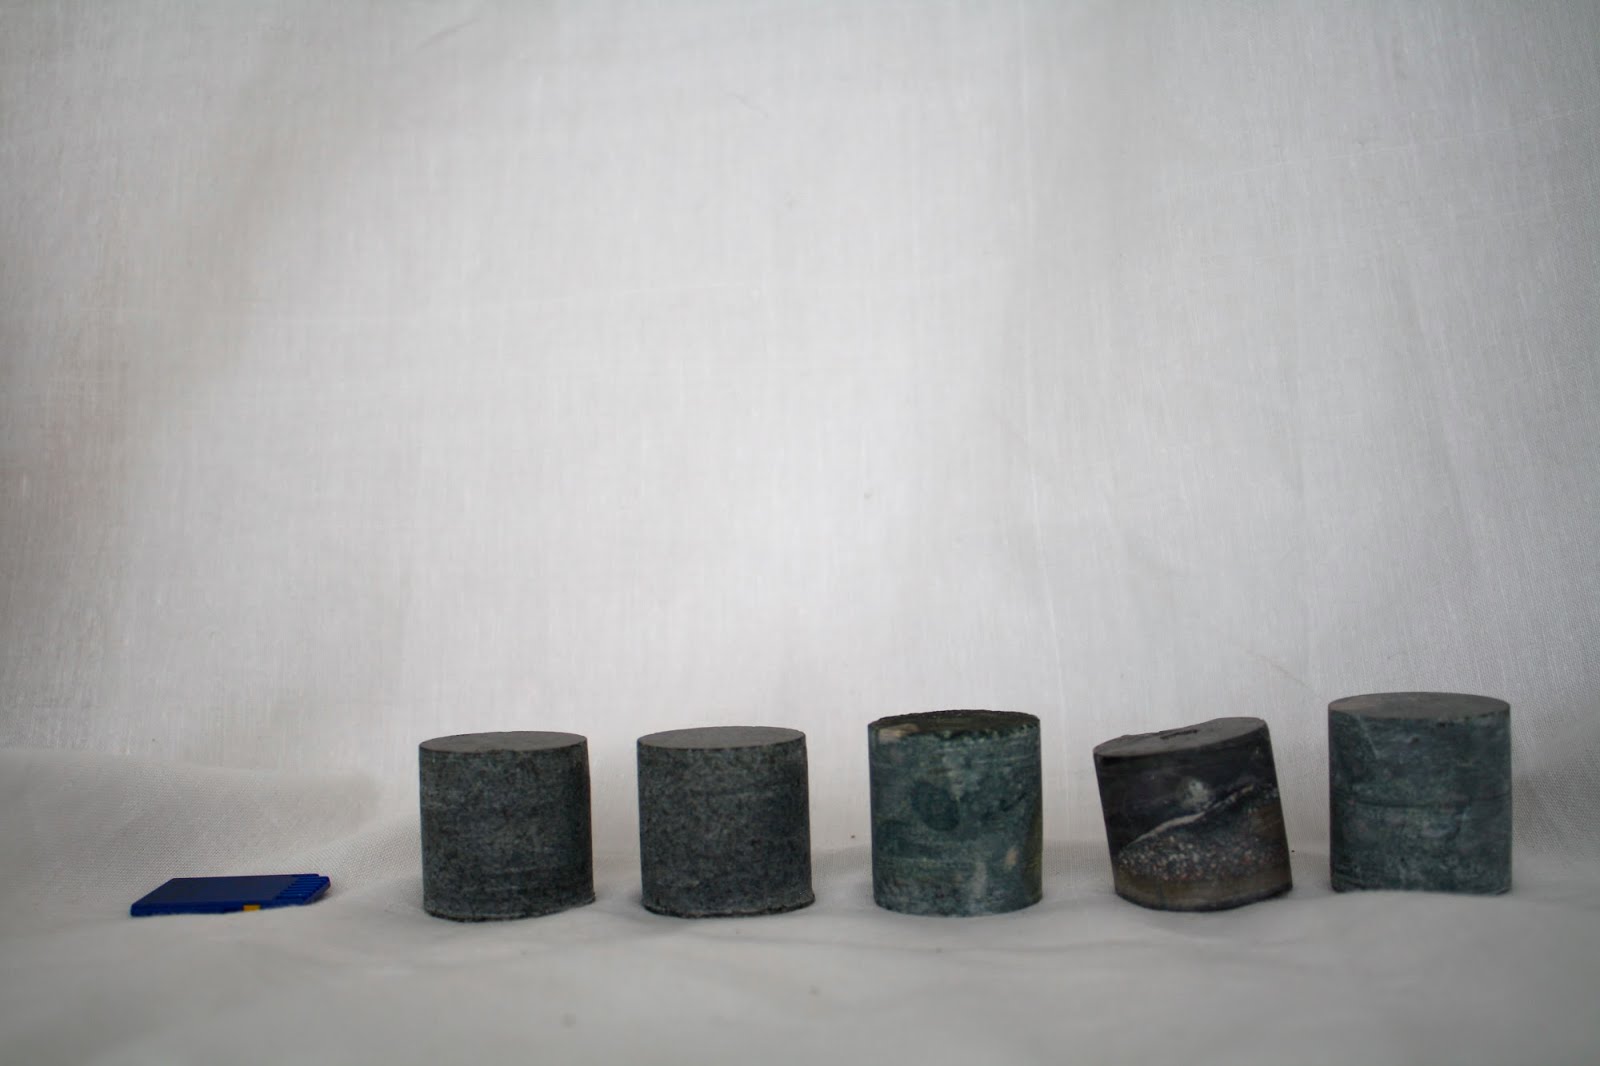
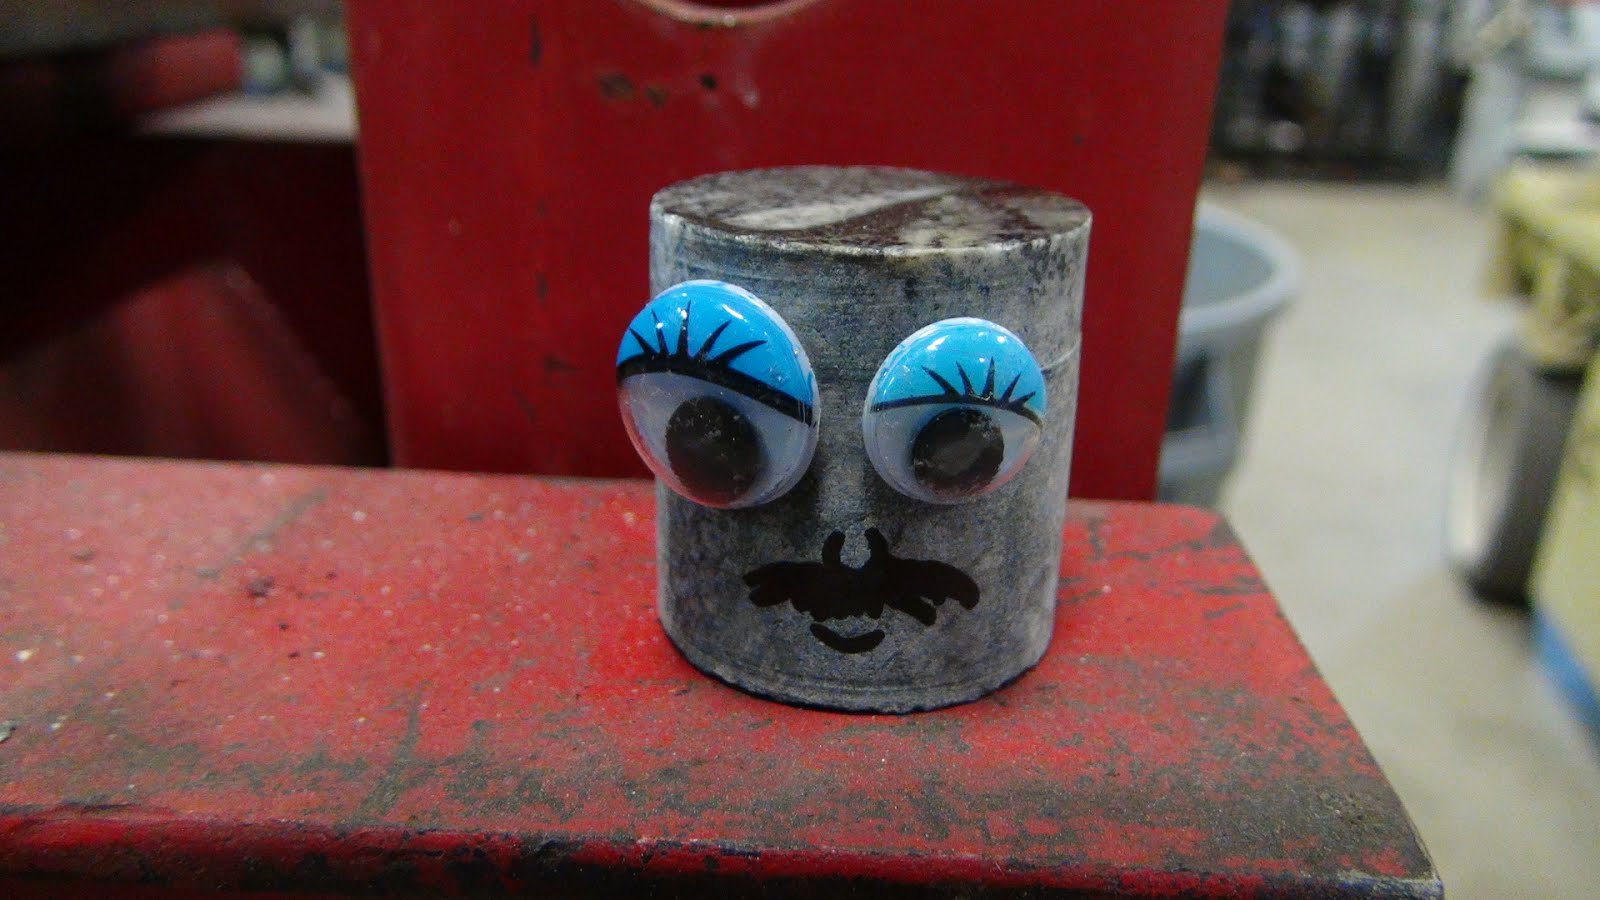
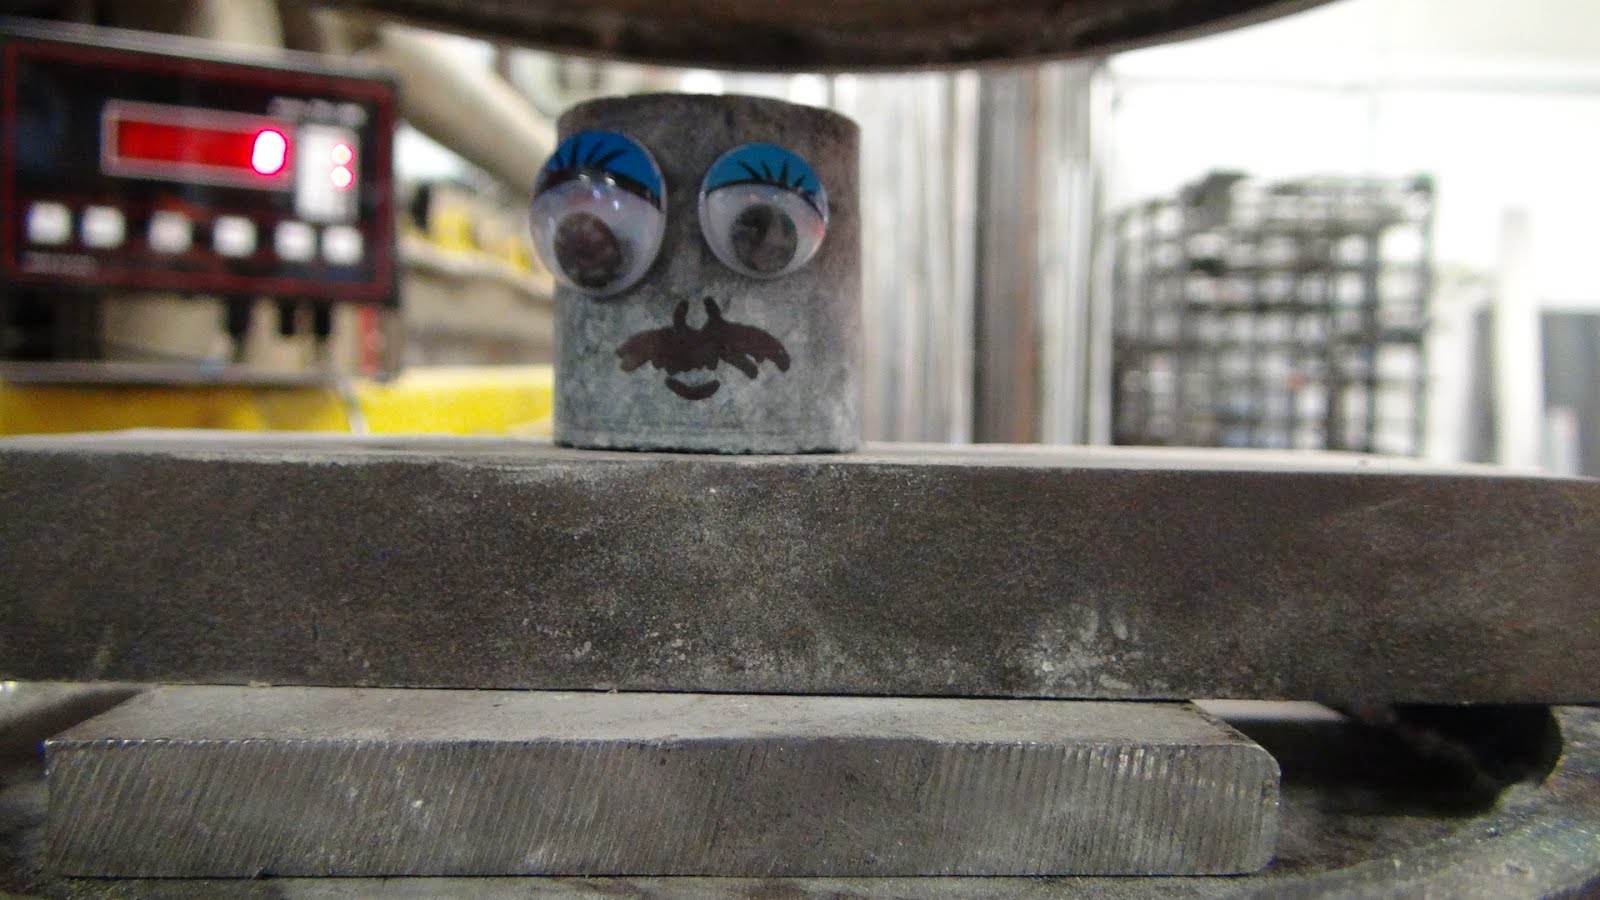
Sample A and B are the same type of stone as the triangular granite crushed before. Sample C and D are a dark granite with other colors of stone in it.
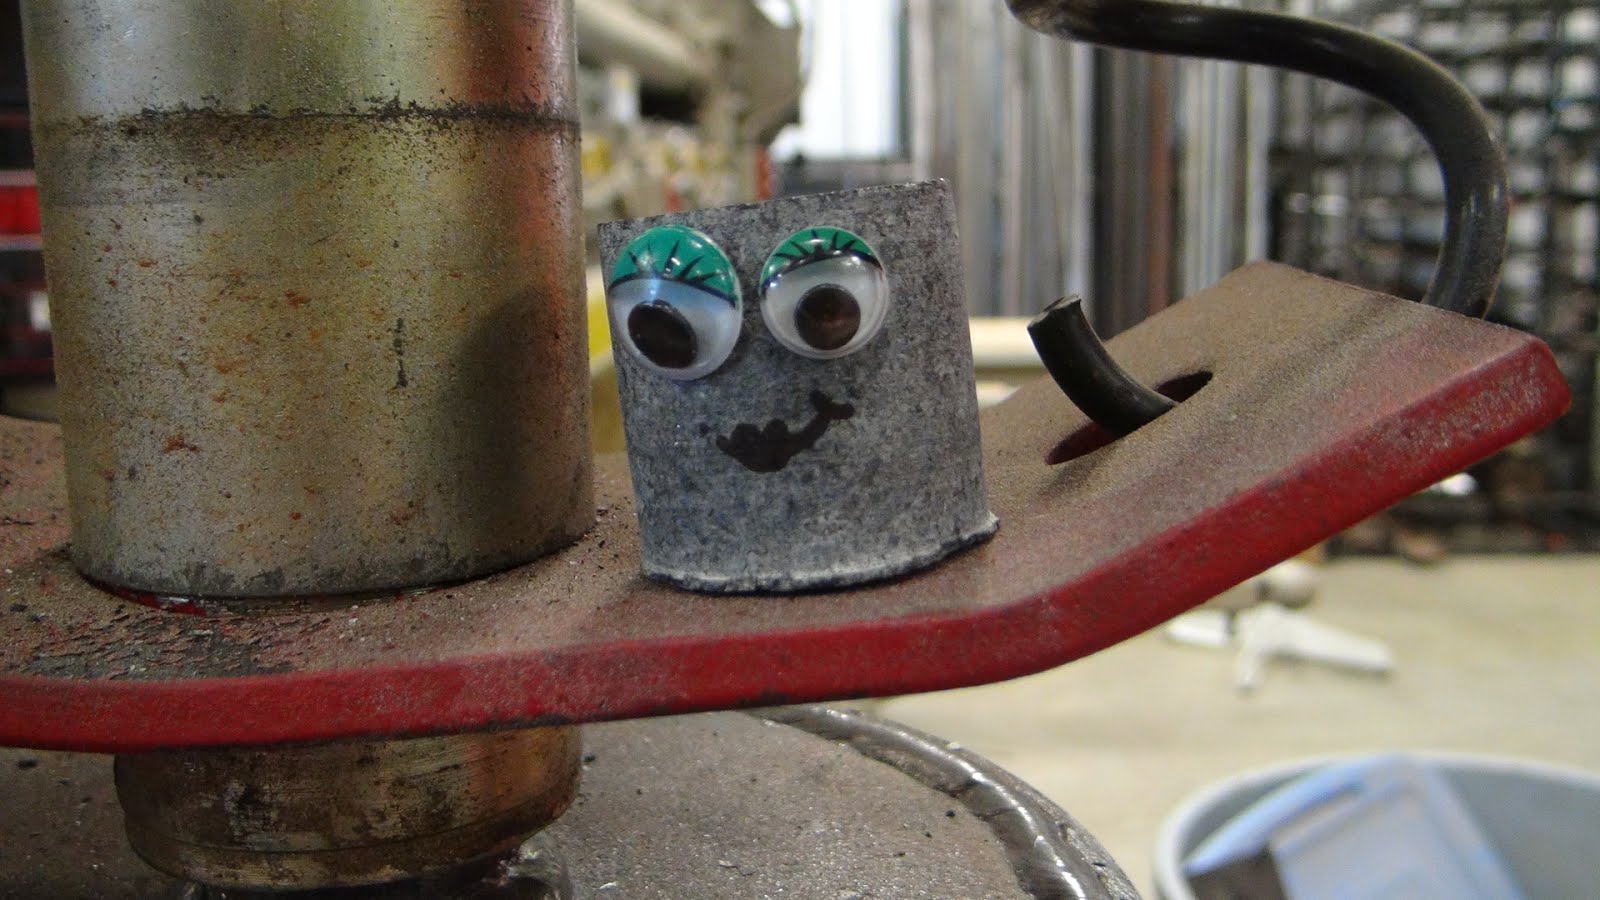
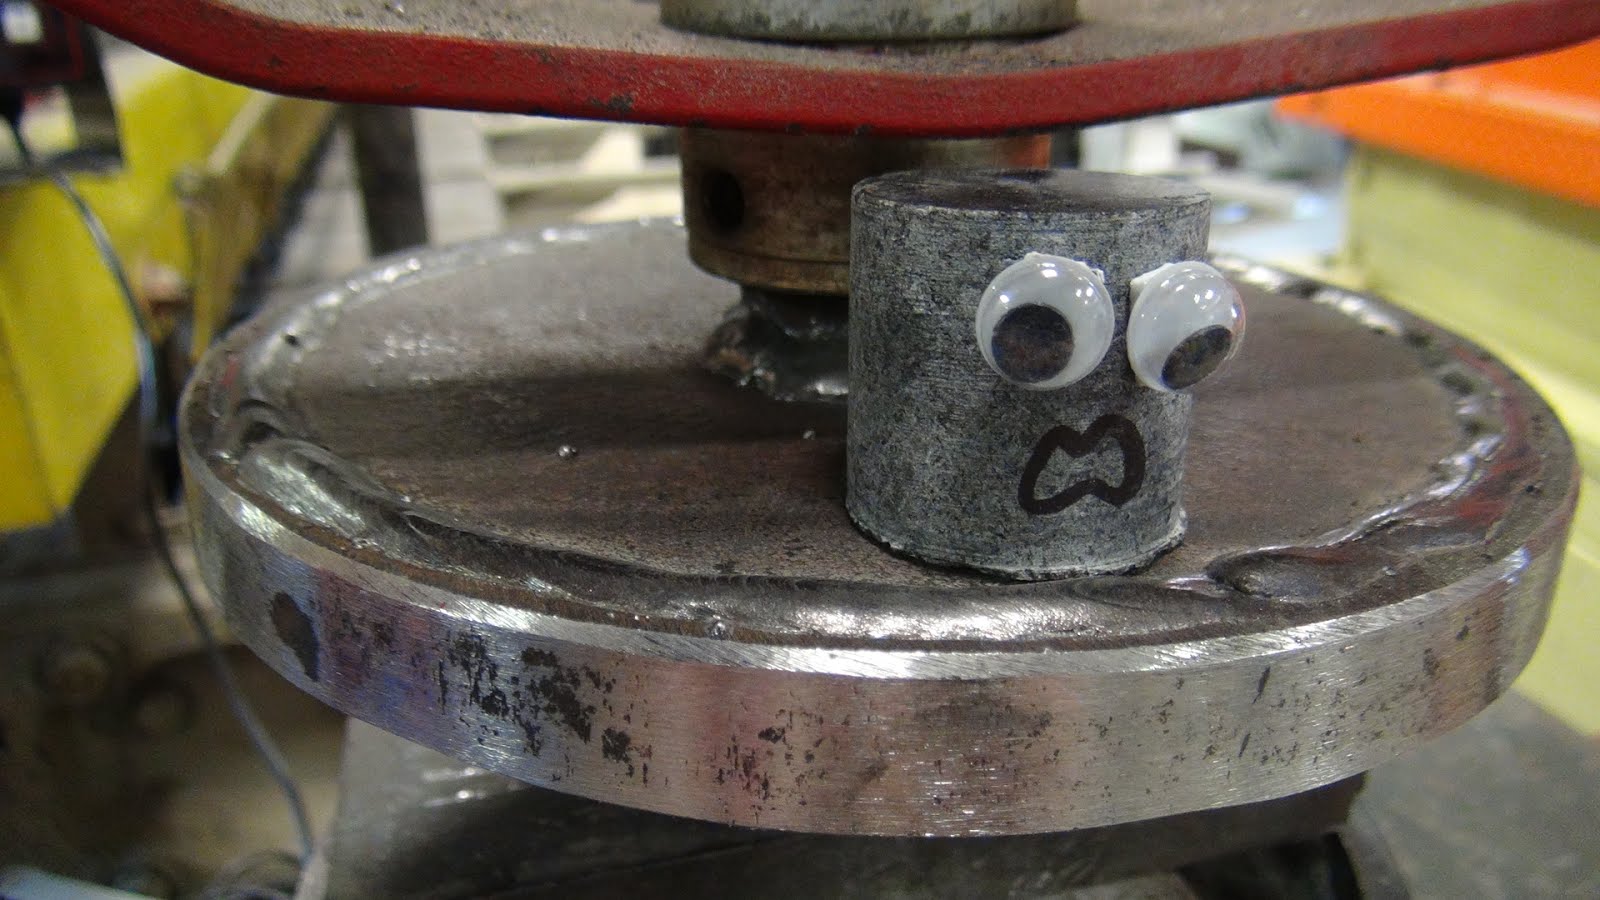
After a quick makeover...
Meet the gang!
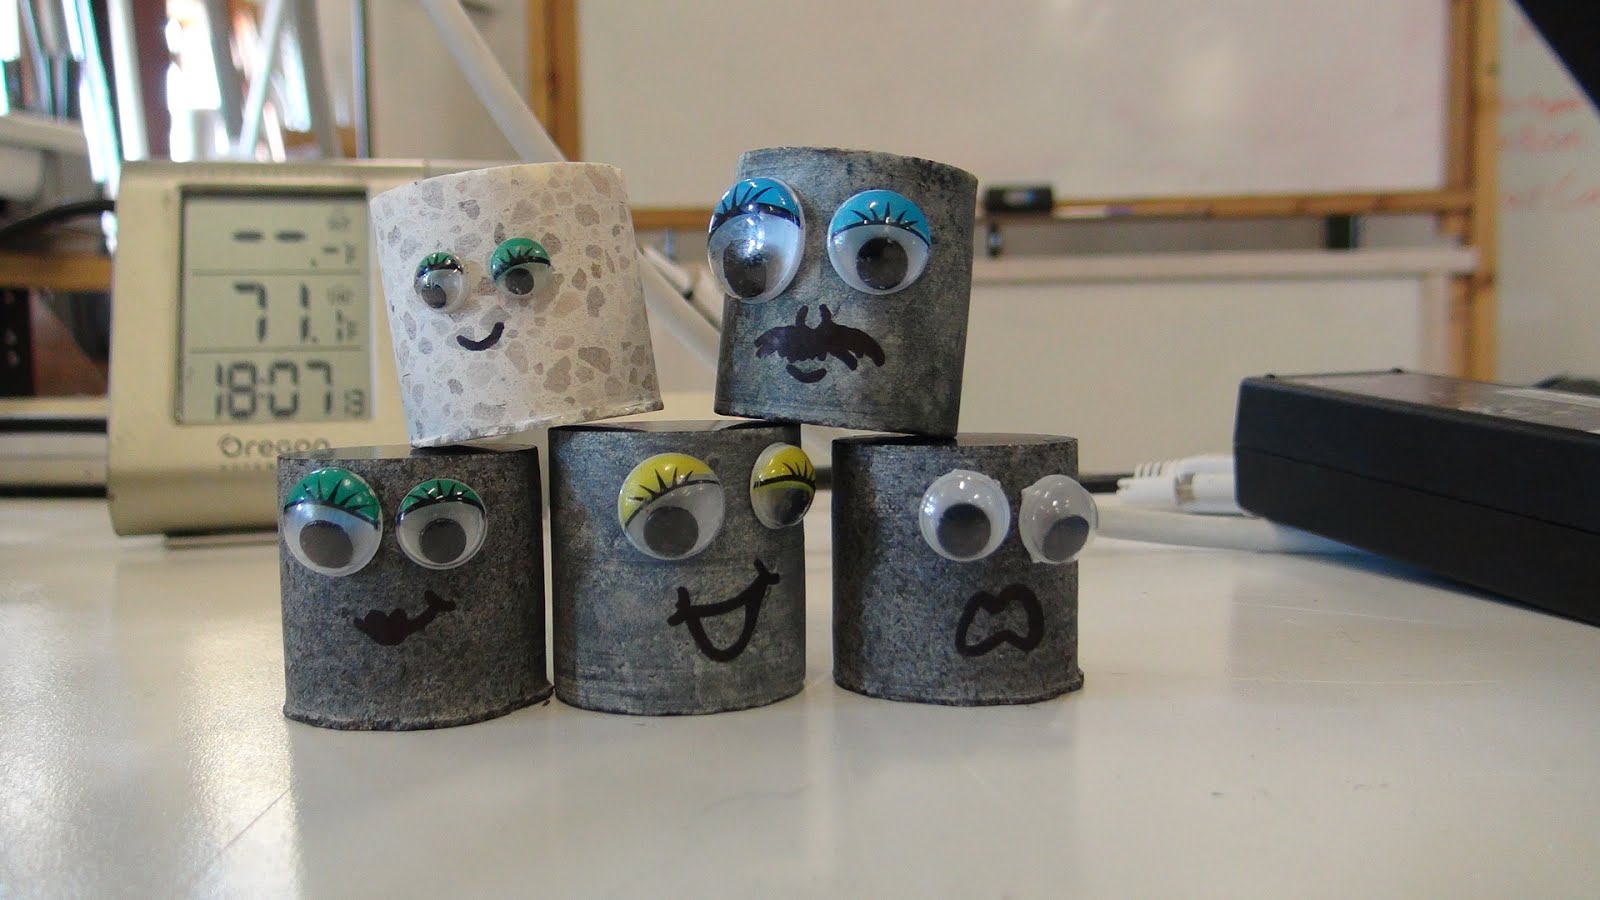
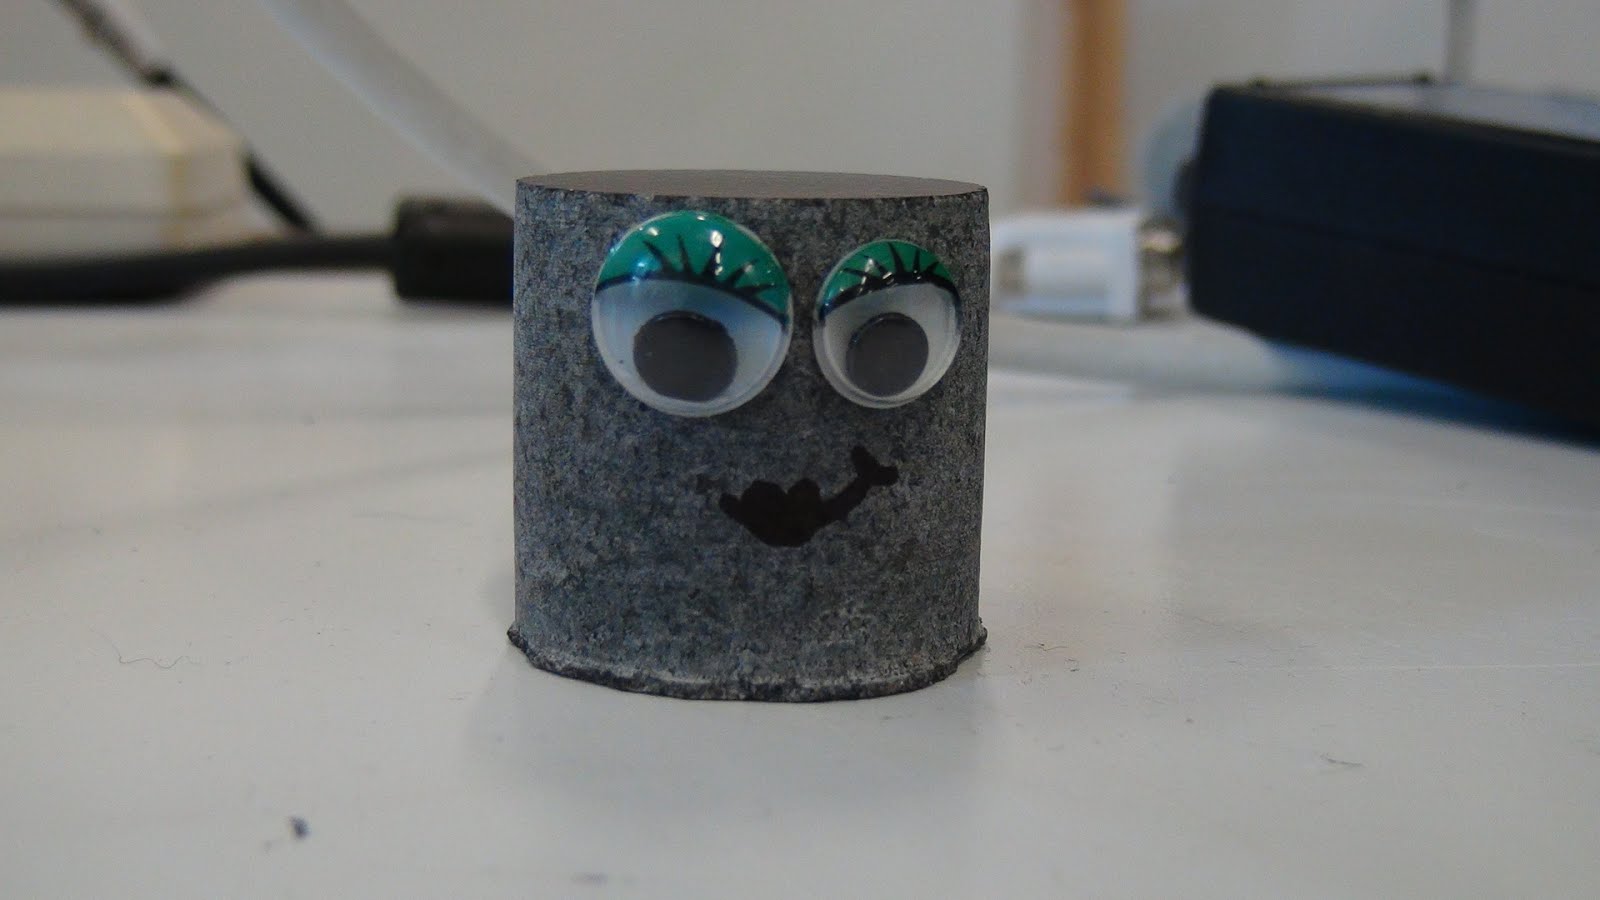
Sample “A” (green) Arabella “You just try to get neutrons out of me.”
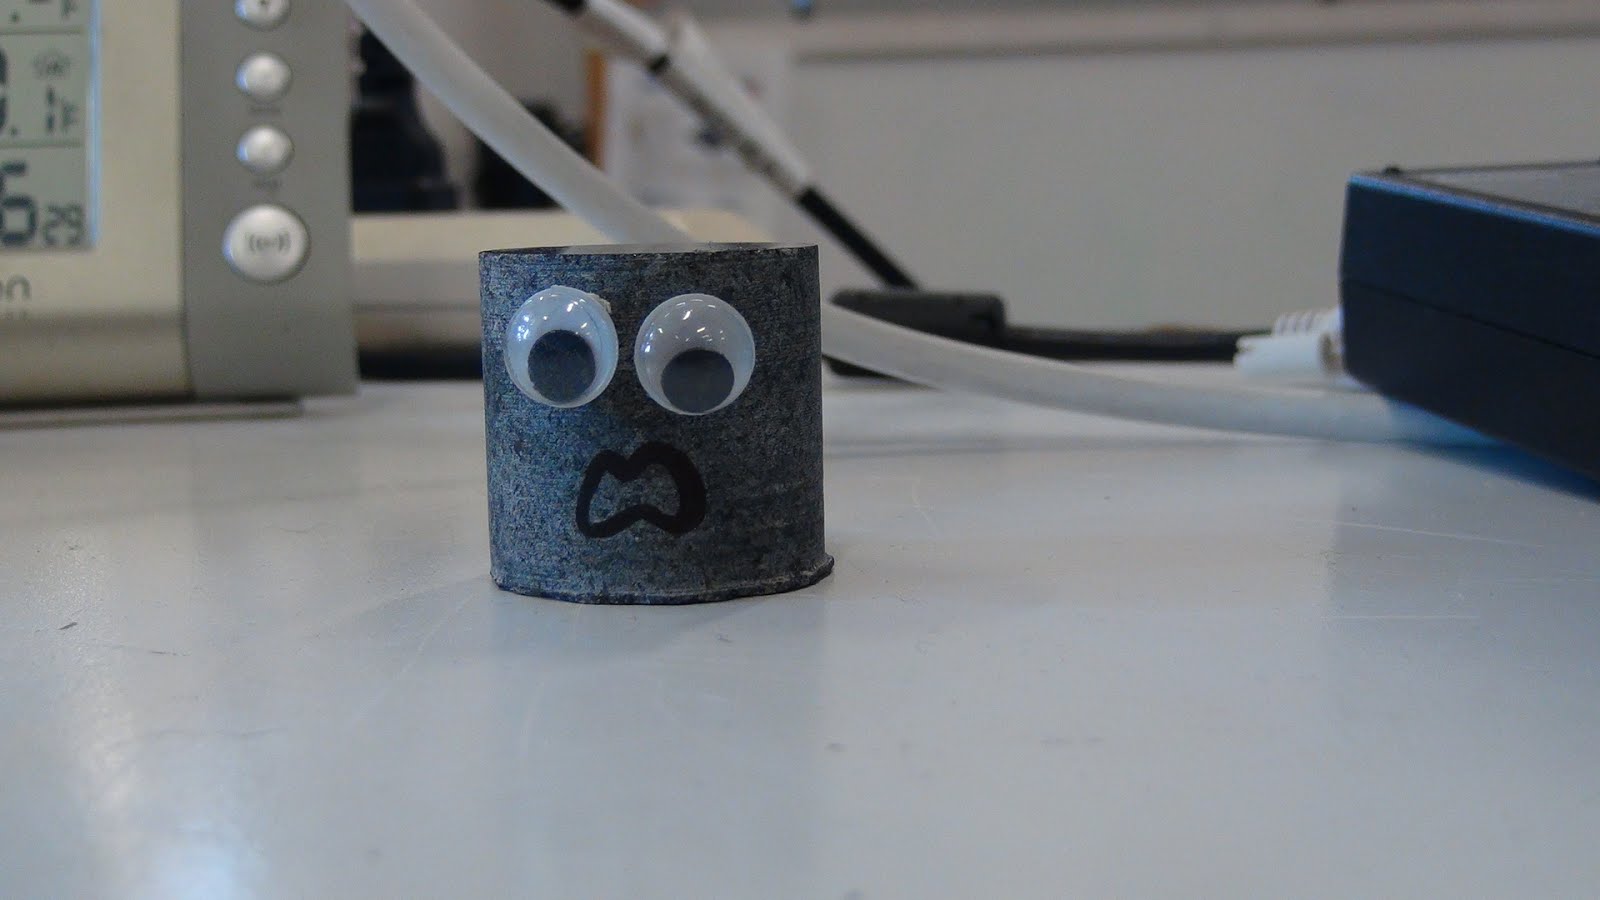
Sample “B” (no eyelashes) Bartleby “I thought you said we’d be taking the tests! I can’t handle that kind of pressure!”
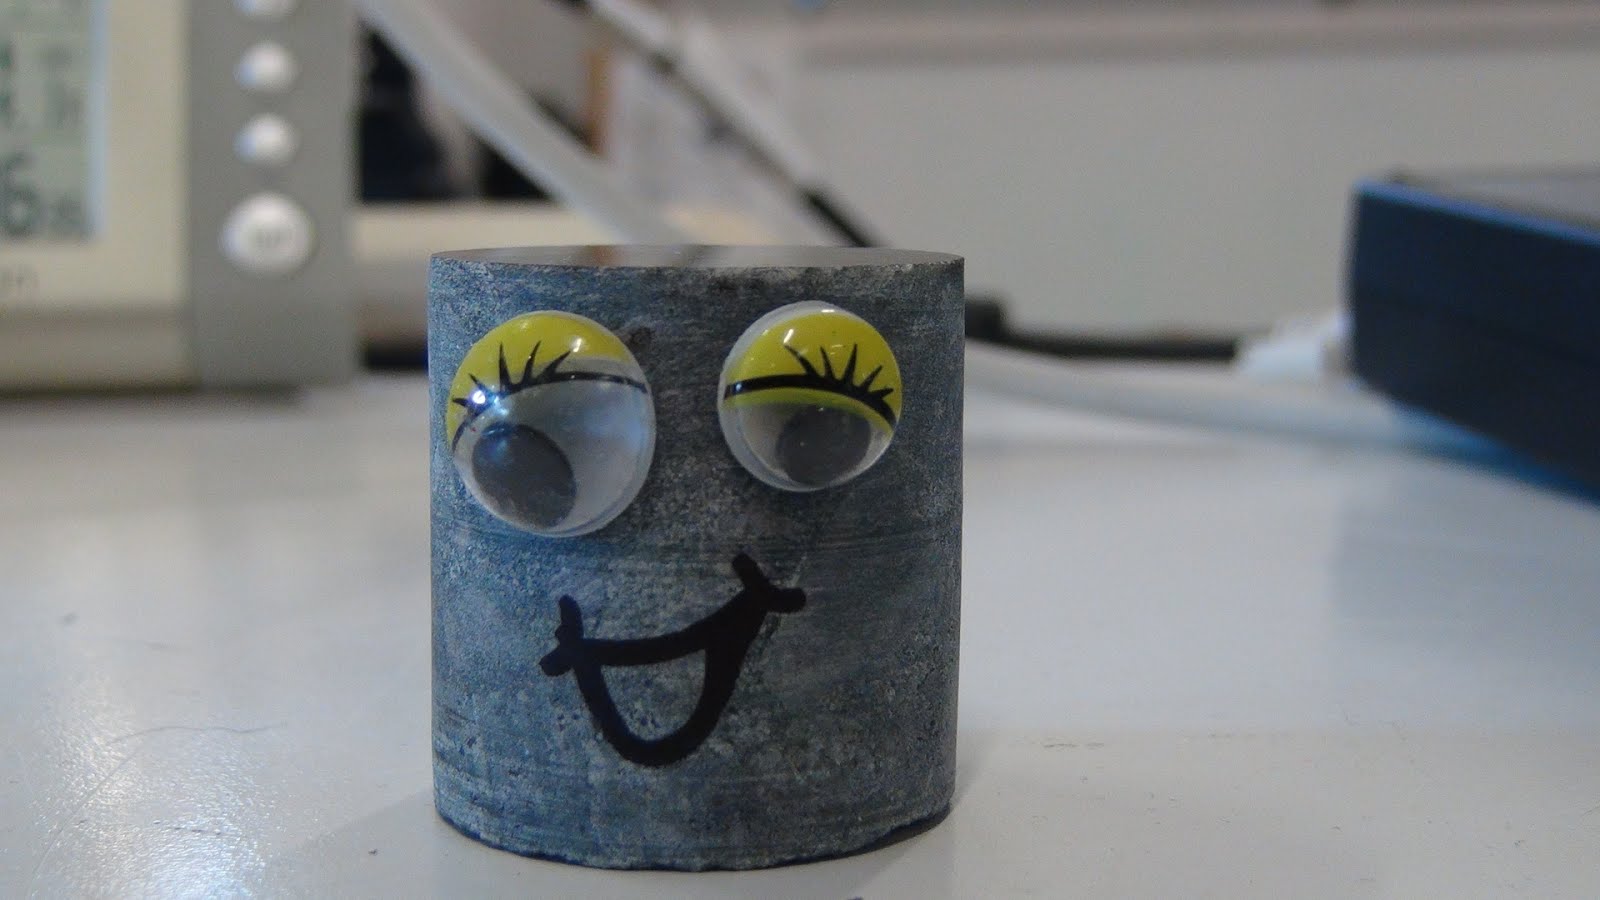
Sample “C” (yellow) Carenza “I am just happy to be here!”
Sample “D” (blue) Dimitri “Do it for science.”
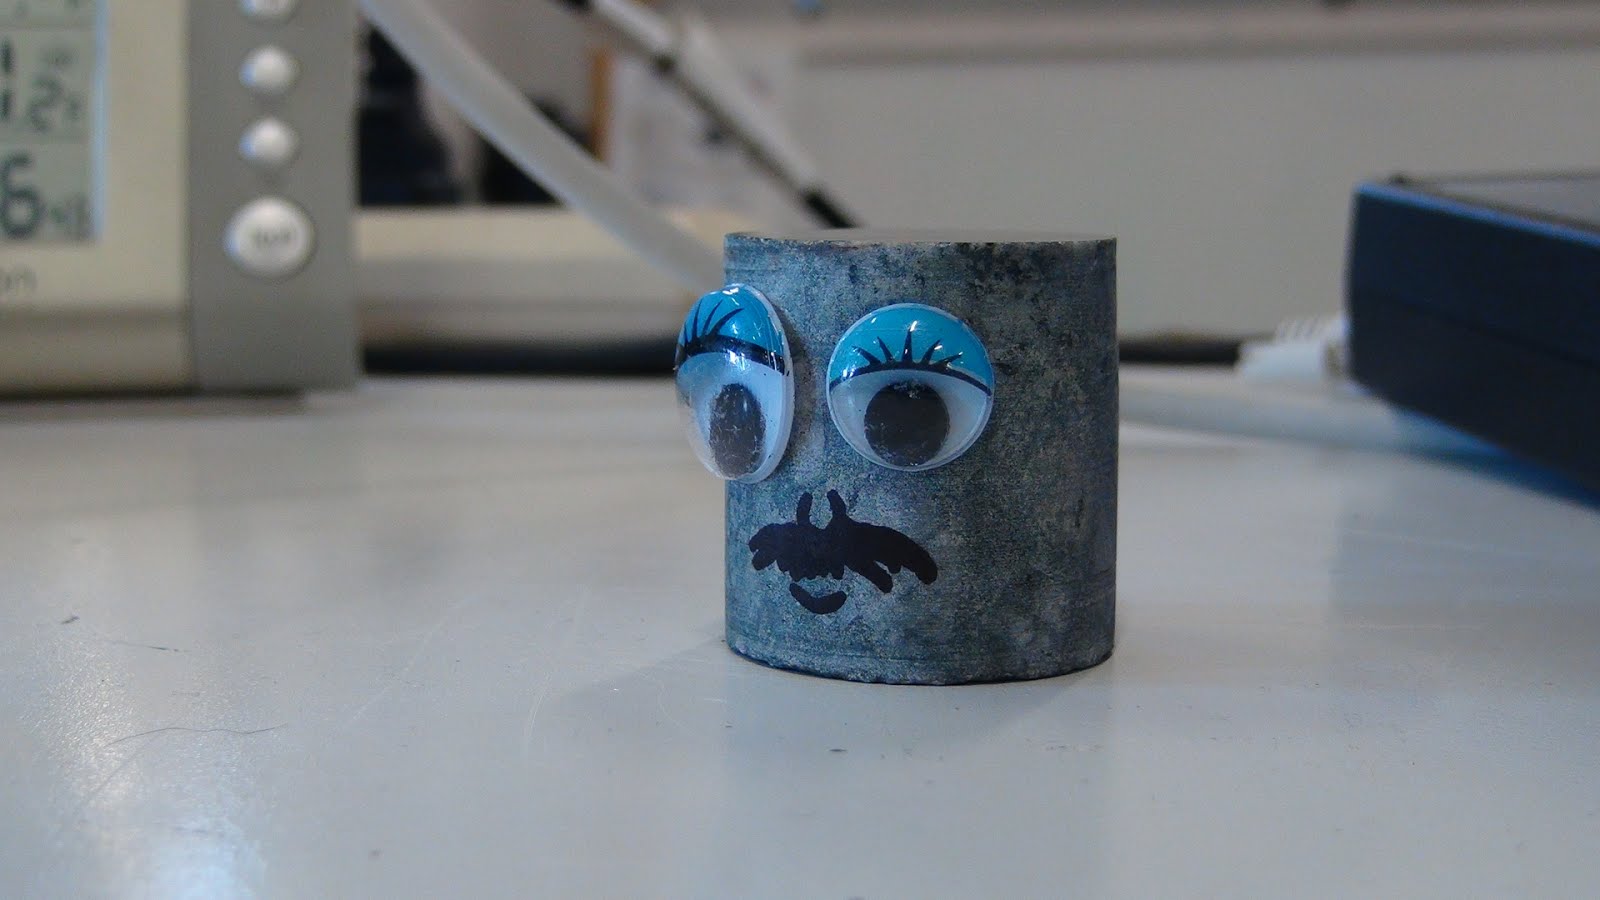
Sample “0” (White epoxy) Francine “Laaaah de dah de daaah.”
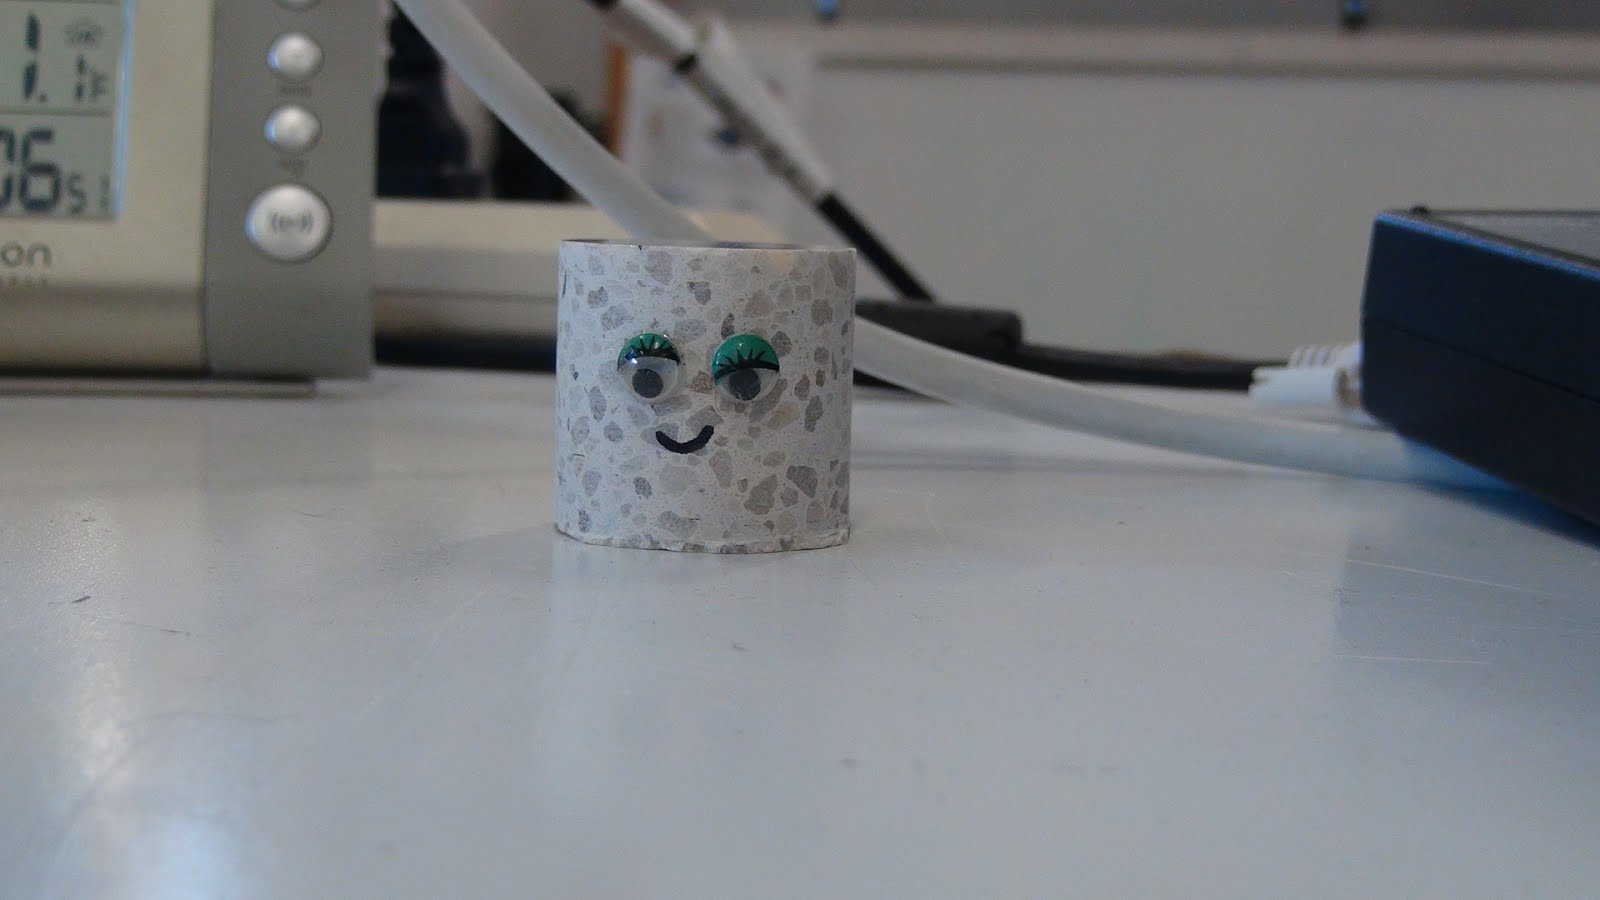
We will be crushing alphabetically.
First up: Arabella
The detector is clear of bubbles to begin
and is placed back in the foam tube
26,640 lbs of force
All that remains of Arabella.
No bubbles.
Moving on to Bartleby!
This is the same granite as Arabella (as well as the original granite piece and two triangles).
We take our PPE seriously here.
After the last couple crushings, earplugs are mandatory.
22,840 lbs of force
Sample C - Carenza
Blurry picture of the detector before
And after 16700 pounds

No bubbles.
Dimitri’s Turn!
11200 pounds later
Detector after.
Interesting way that the base was left intact.
And then there’s Francine
27480 pounds later
Poor Francine
August 8
Crush Red/Black rock
Beginning with the shorter of the two pieces.

Detector before
Detector after

The 1” plate beneath the load cell has bowed after this series of tests. In an attempt to fix this, and prevent the plate from further bowing, we flipped the plate over, and added a third support underneath the plate.
Red Granite Tall
Approximately twice as tall as the first sample of red granite.

Detector before
Detector after
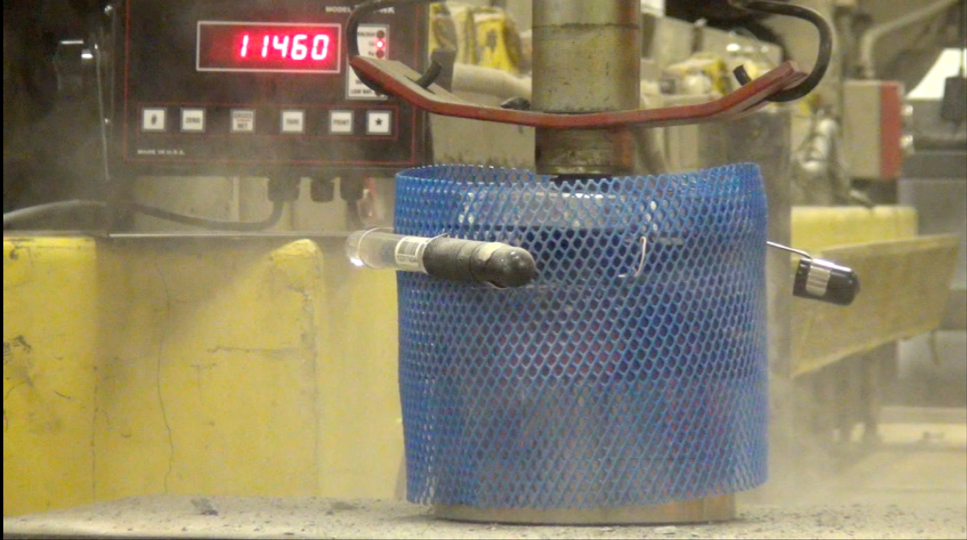
August 9, 2013
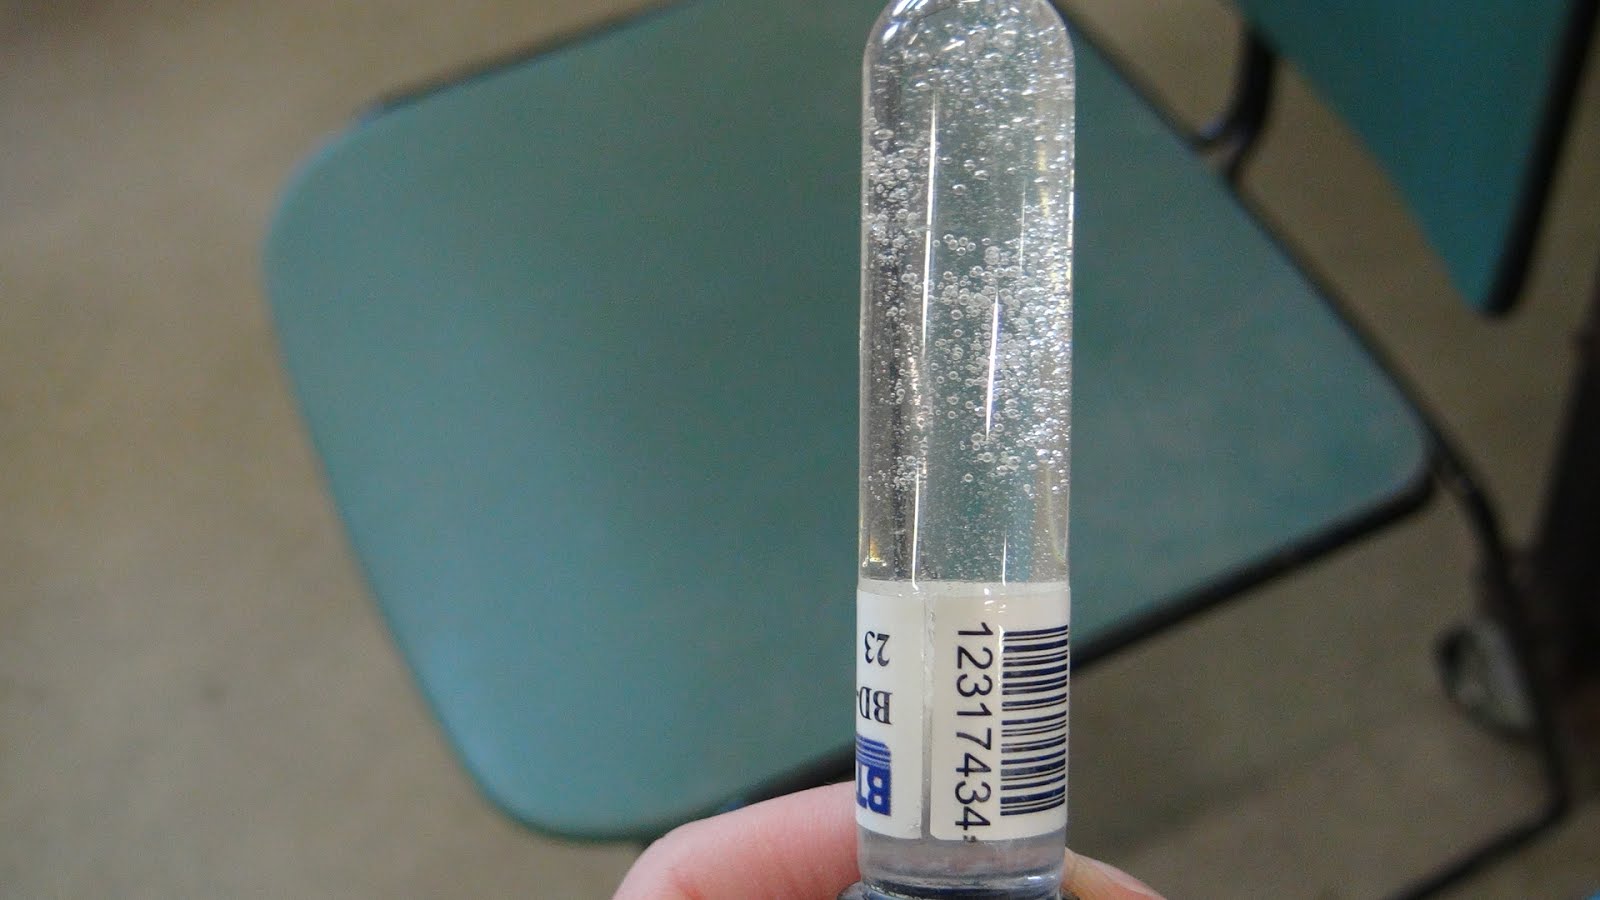
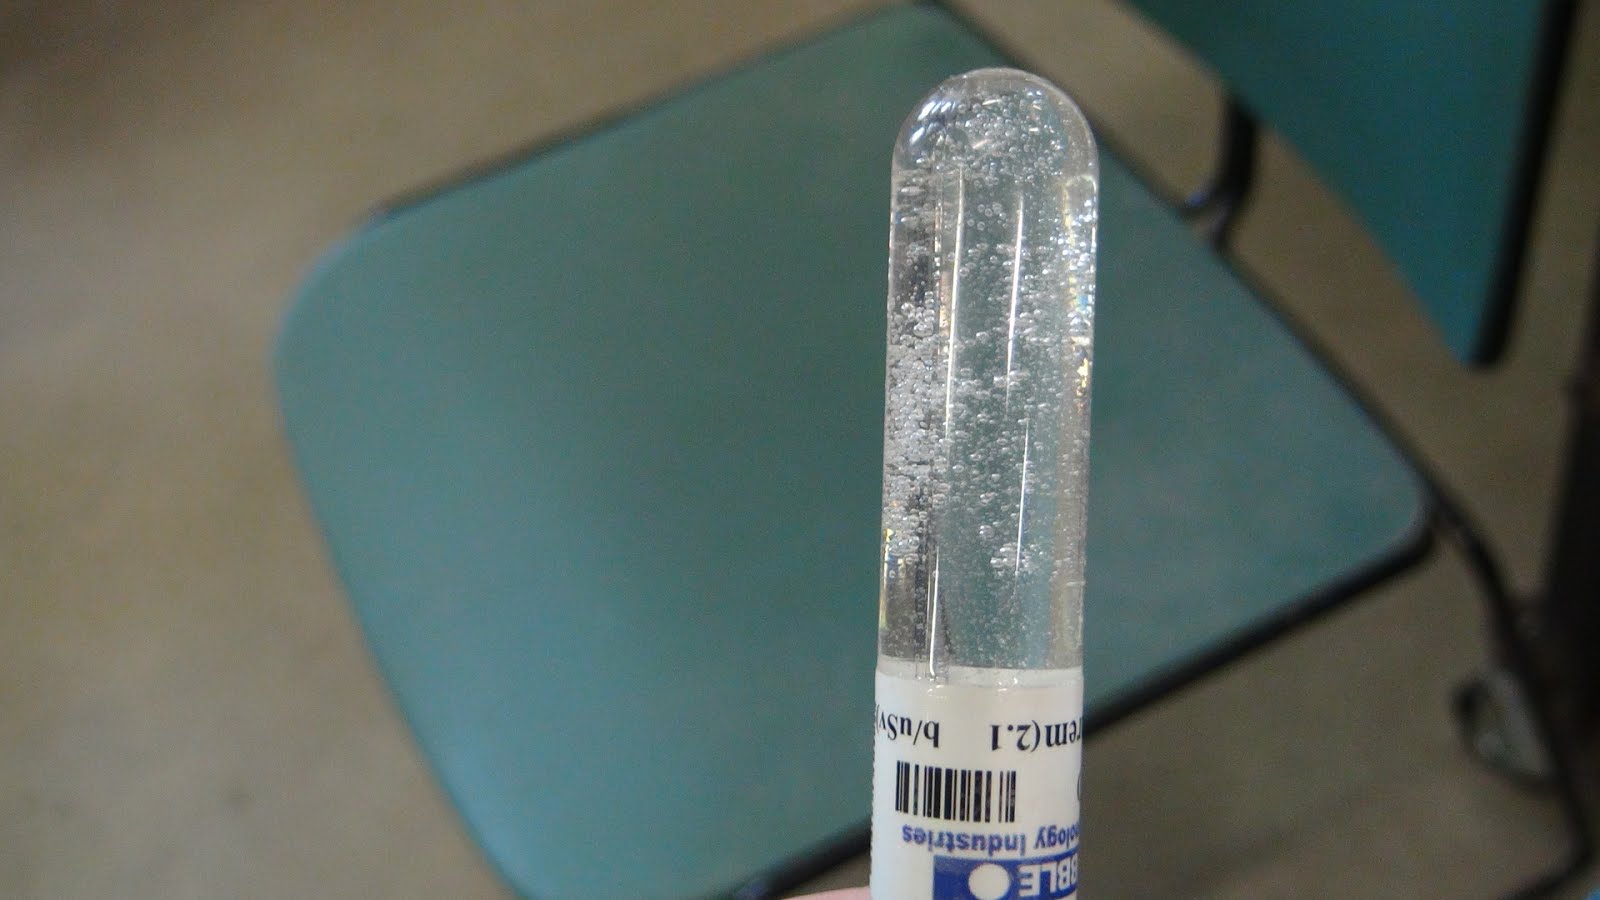
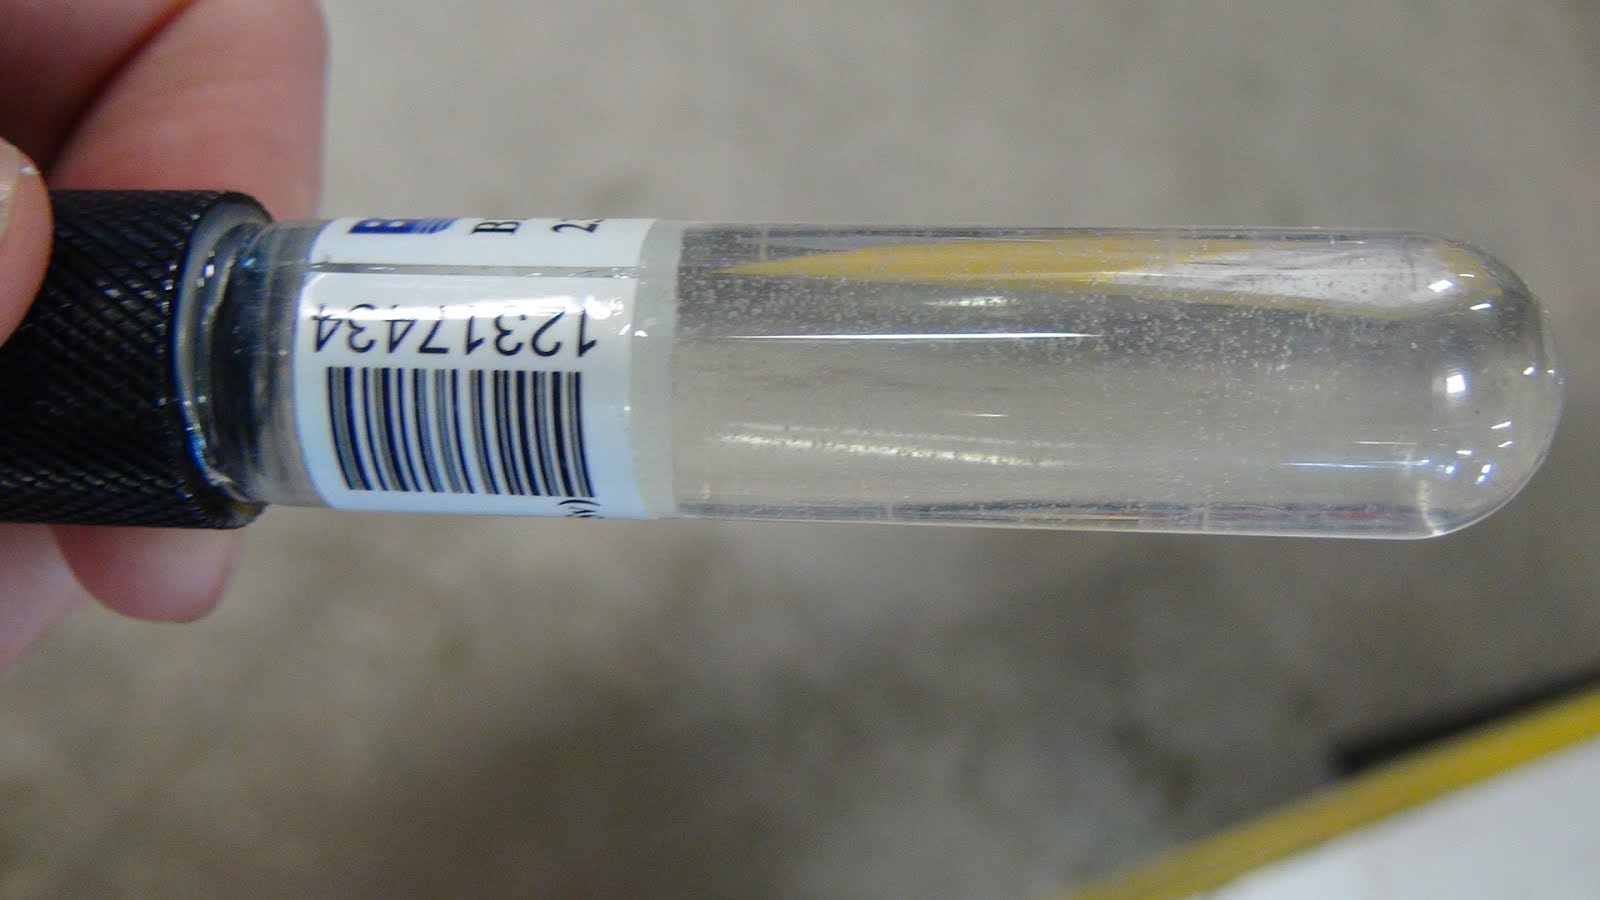
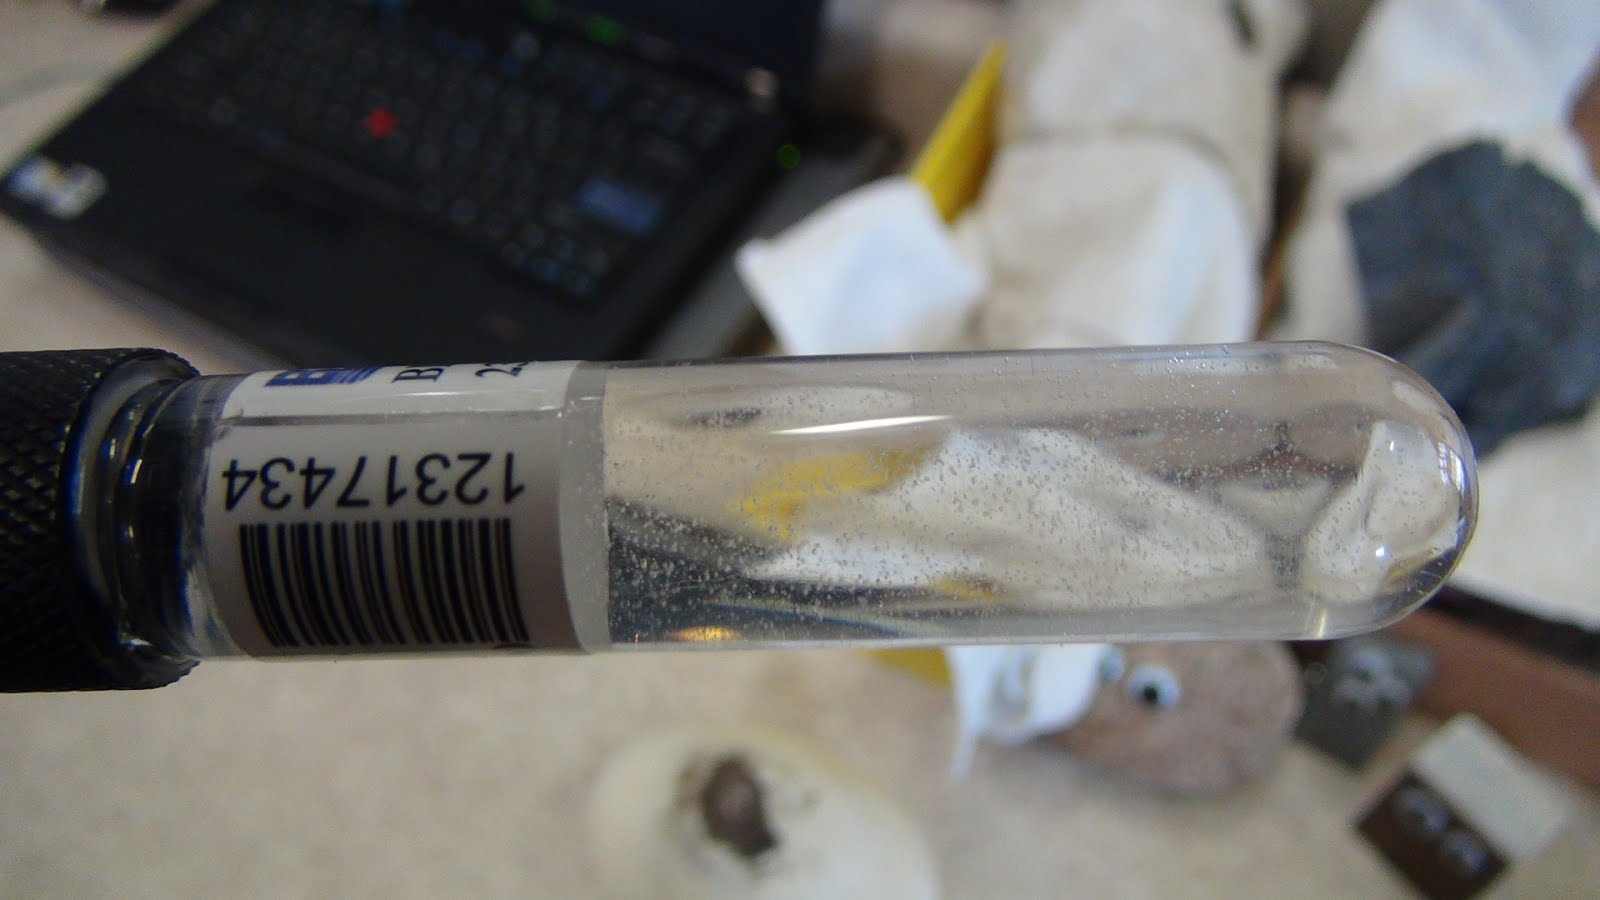
Starting off the day with a new picture of the detector. No bubbles!
Specimen for crushing in the hopes of reaching forces as high as 70,000 pounds.

Ready!
And still, no bubbles.
-
Resources and Links
http://theatomunexplored.com/wp-content/docs/1carpinteri.pdf
Link for a presentation on Carpinteri’s research and his theory. Contains citations for his (as well as others’) papers.
http://staff.polito.it/alberto.carpinteri/papers_piezonuclear_reactions.htm
List of publications by Carpinteri about piezonuclear reactions.
http://staff.polito.it/alberto.carpinteri/papers/CARPINTERI_2012_N.675_SADHANA.pdf
Paper from 2012 containing data for 9 different samples of Luserna granite stone.
But the data might have been falsified: http://arxiv.org/pdf/1205.6418.pdf
A team claims that Carpinteri’s data from EDS analysis is too correlated and could only have been falsified.
http://staff.polito.it/alberto.carpinteri/papers/CARPINTERI_2011_N.643_STRAIN.pdf
Windom, Swain, and Srivastava describe piezoelectric properties and ideas behind neutron production. http://arxiv.org/pdf/1109.4911v2.pdf
Overview of the bubble detectors and their use:
http://www.explorecuriocity.org/Portals/2/Themes/SkyScience/Bubble%20Detector%20Backgrounder.pdf
Examples of the piezoelectric effect:
Possibility of quartz acting under NYC http://www.examiner.com/article/crystals-quartz-and-a-piezoelectric-effect-under-new-york-city
Suppliers
Granite Scrap Samples: http://www.granitetreasures.com Free requires pickup
Bubble Detectors: http://www.bubbletech.ca/ $155/detector (minimum order of two) + $175 shipping