Angle Grinder Refresher Guide
If you have any hesitations about use, please consult a mentor.
Never use the trigger lock!
Steel only!
Wheel selection
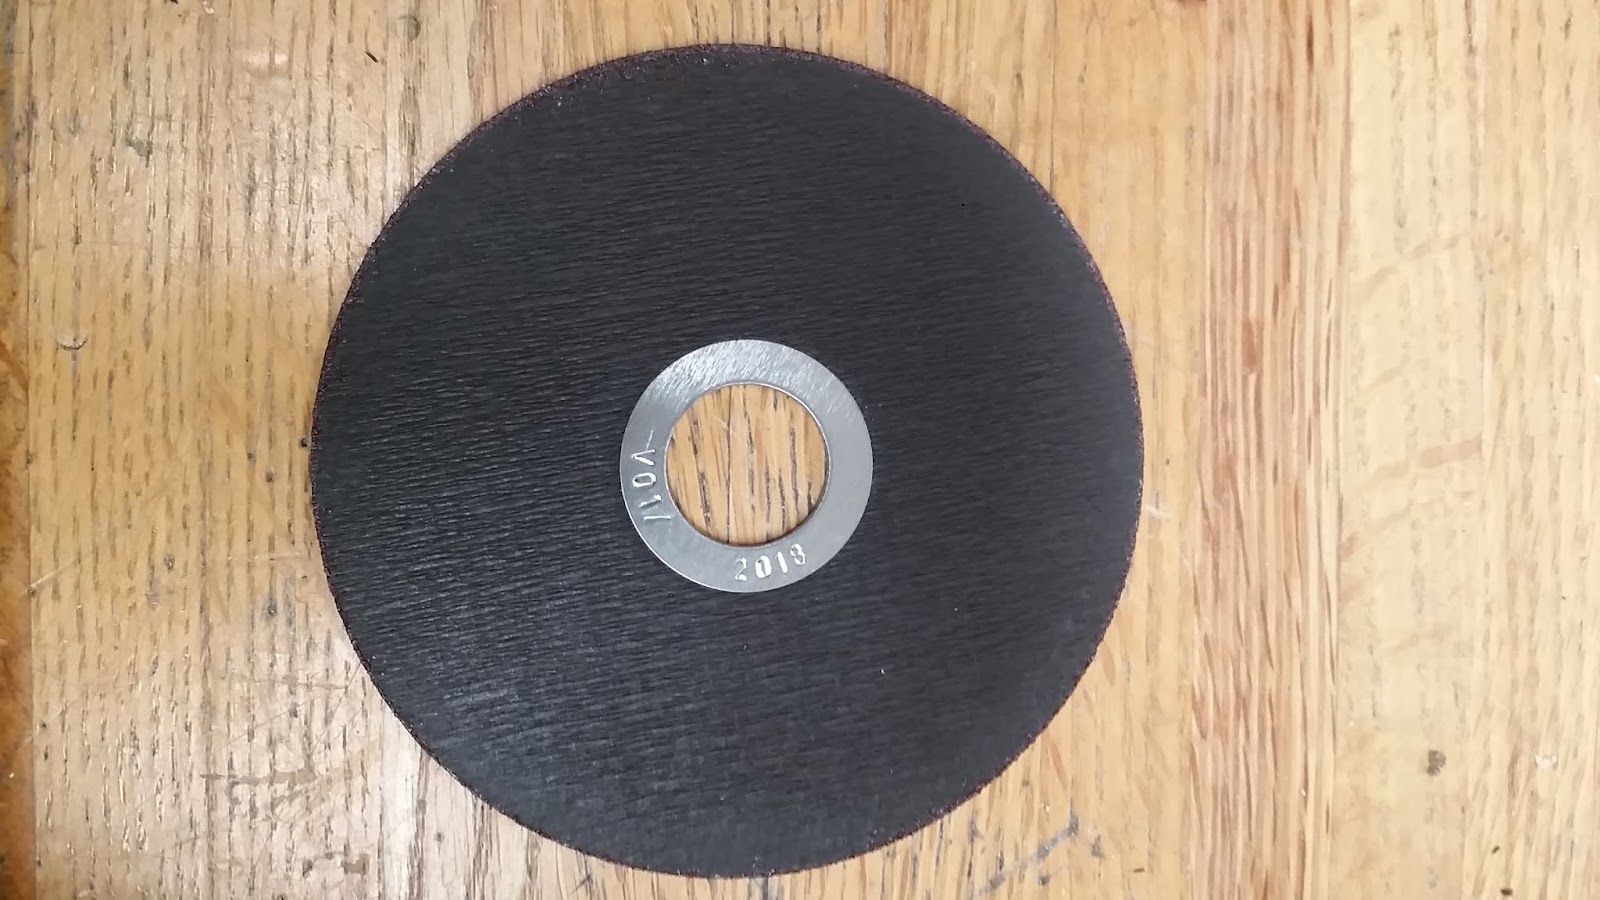
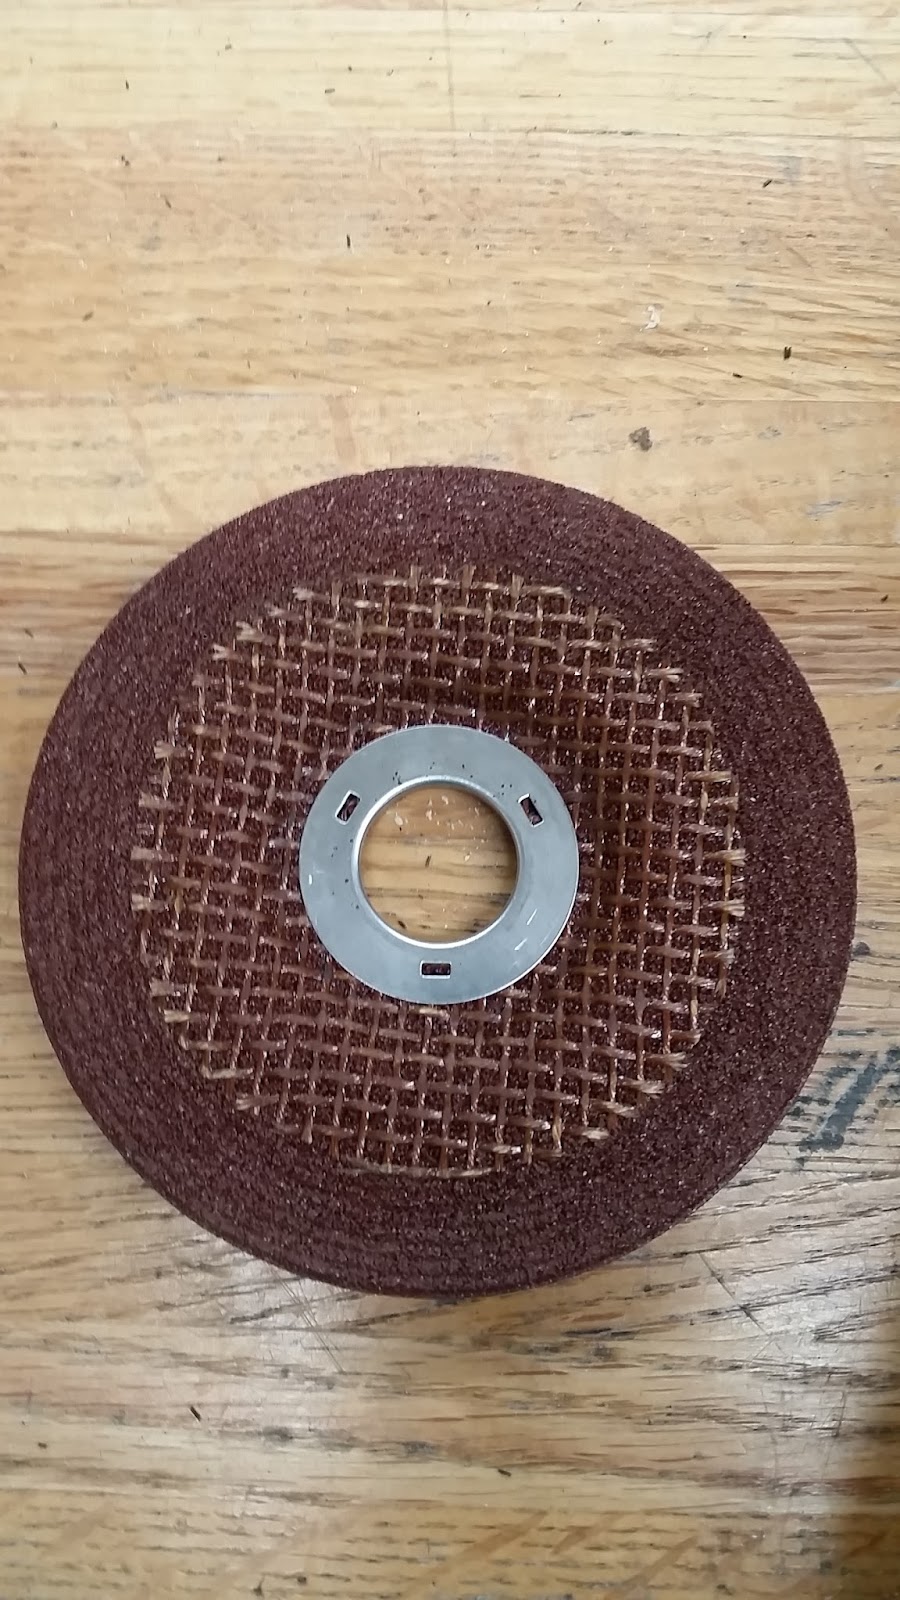
For cutting, use the thin cut-off wheel. Note that this wheel only has abrasive on its perimeter, and therefore the side of the tool should never be used. | When grinding a surface or edge, use the grinding wheel. The abrasive surface is on the edge of the downward face of the wheel. |
Guard selection & Installation
The guard for cut-off operations is marked “Cut” as shown, and has a fully enclosed face. | The guard for grinding operations has an open face to allow for grinding, and is marked as shown. |
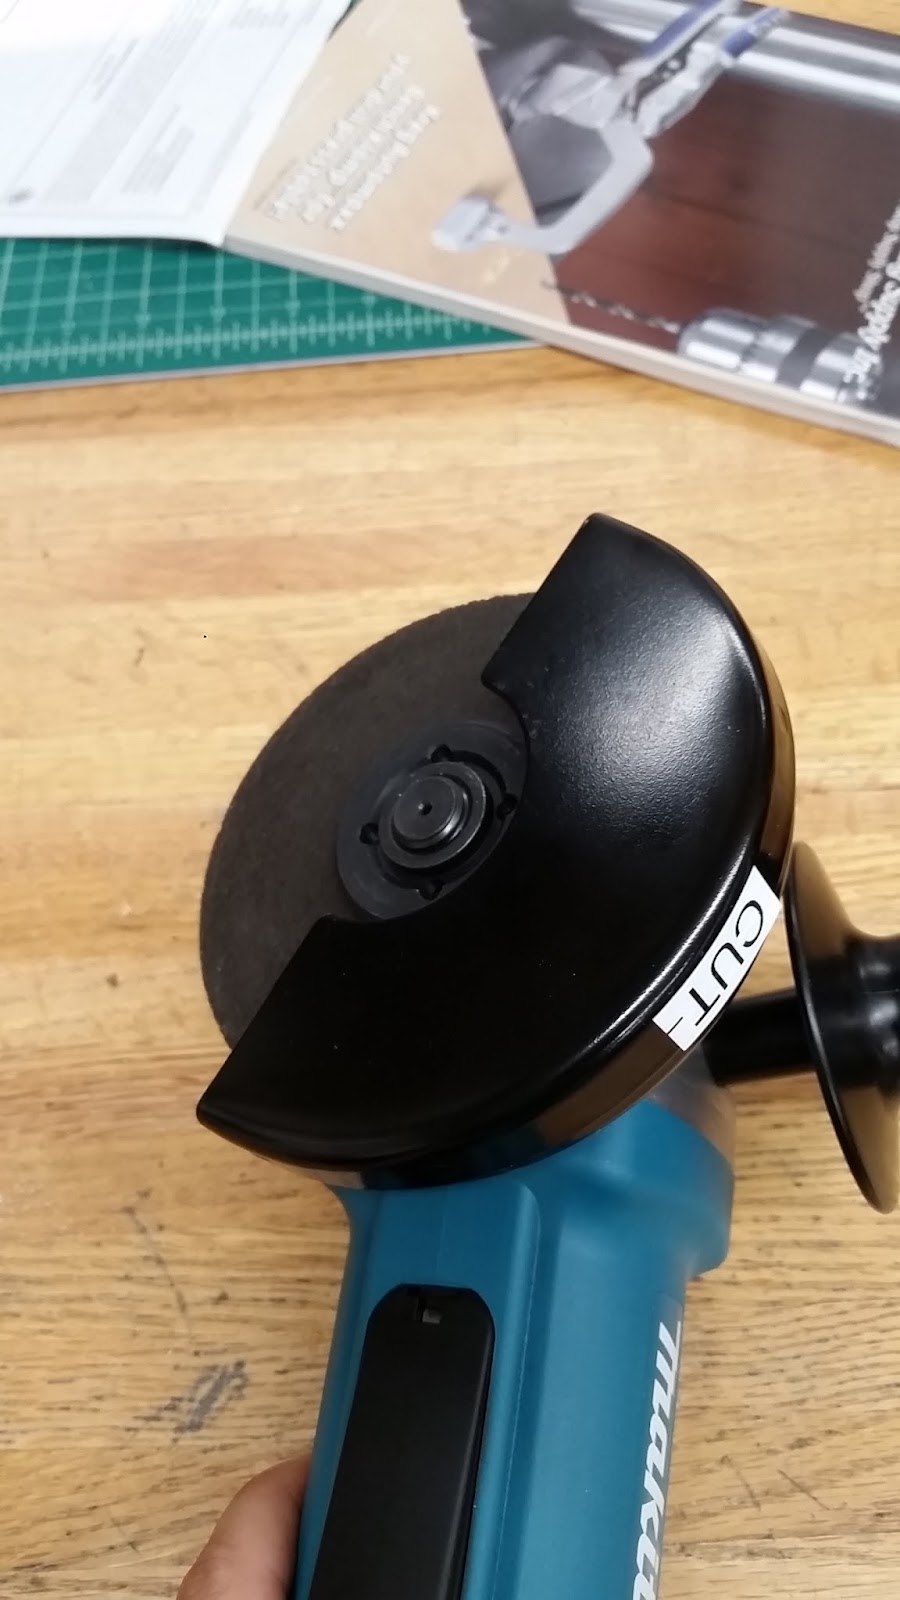
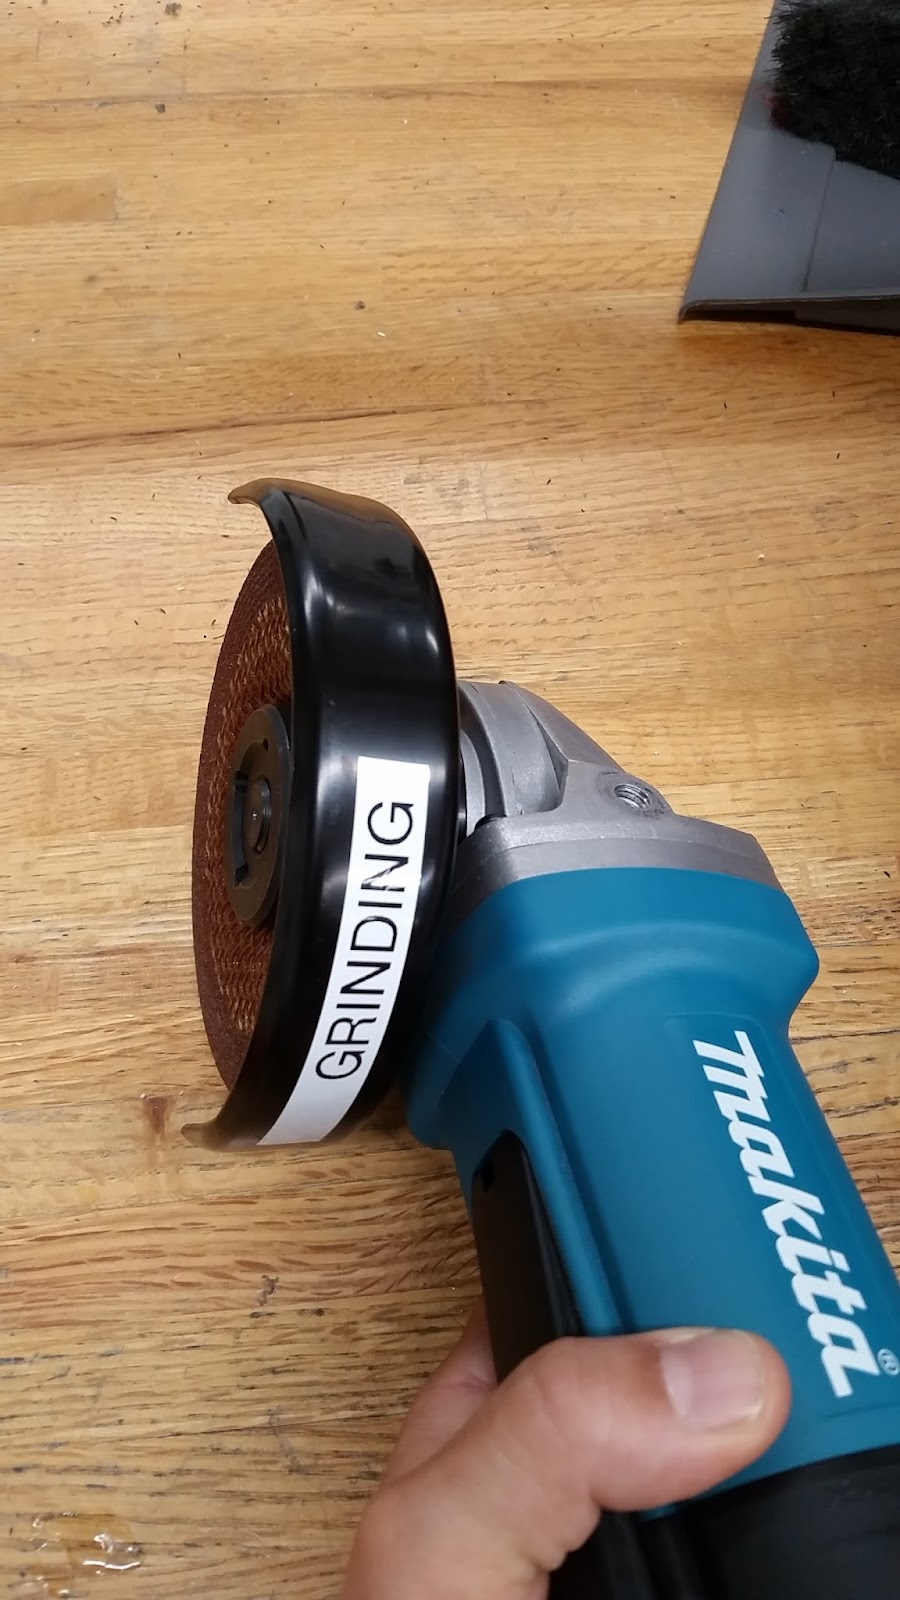
Install the appropriate guard by slipping the ring around the grinder and tightening the screw, like a hose clamp. Orient the guard so that your hands and body are as protected as possible. Note that when cutting, you should orient the guard in the opposite direction as the cutting rotation, so that sparks fly downward during the cut. The rotation direction is marked on the tool.
Wheel Installation
The proper orientation and sequence of the nuts and wheel are CRUCIAL for safe and functional operation. There are two nuts on the grinder; one inner flange, with a notch to mate with the motor unit, and another lock nut with both a thin and thick OD orientation.
Flange (keyed side faces tool body) | Lock nut (orientation depends on wheel) |
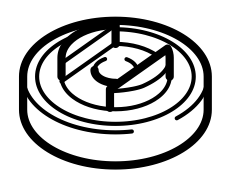
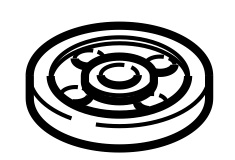
The flange is always oriented in the same direction, with the keyed side facing down so that it mates with the motor shaft. However, the orientation of the lock not depends on the wheel being used.
When using the cut-off wheel, the lock nut should such that the wide face is in contact with the wheel, as shown to the right. Lock nut orientation |
When using the grinding wheel, the lock nut should such that the small and wide face is in contact with the wheel, as shown to the right. This is the opposite configuration of the lock nut as for the cut-off wheel! Lock nut orientation |
Handle installation
You MUST use the external handle when using the angle grinder. When using the cut-off tool, the handle should be on the same side of the tool as the guard, described above. When grinding, you can attach the handle on either the left or right side of the tool, depending on your dominant hand.
Grinding
Grinding happens optimally at an angle of 10-15 degrees from horizontal. The down-facing edge of the grinder is what does the work (indicated by the red arrow). For grinding flat surfaces, move the tool in the direction of the black arrow. If grinding corners or edges, move against the direction of rotation.
Cut-off
The cut-off wheel only has abrasive on the EDGE of the disk. Do not use the sides for cutting! When cutting, hold the tool perpendicular to your material and let the weight of the tool drive the cut. Do not apply pressure.
Clean up
Everywhere you saw a spark land, there is metal dust. Please take care to sweep not only the vise and bench, but also the floor around you (~4ft radius). When putting the tool away, remove the wheel you were using. Leaving the guard in place is ok.
Page of 4