How to Scan at the Sharp Copiers Using PaperCut
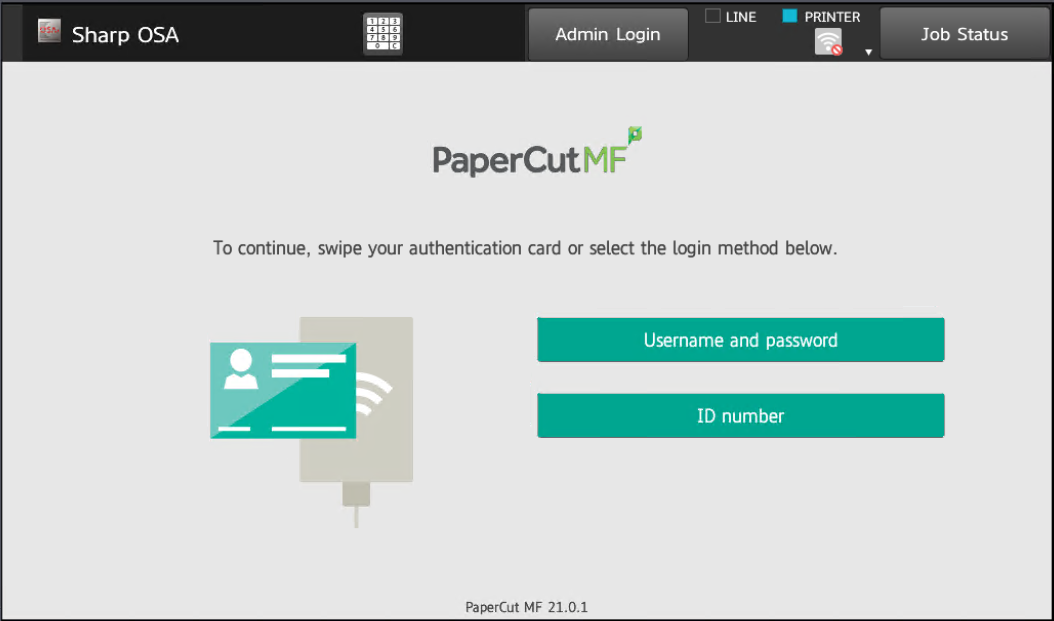
- Visit any Sharp copier. You will have the option to sign in using either your Arcadia Username, your ID card, or entering your PIN.
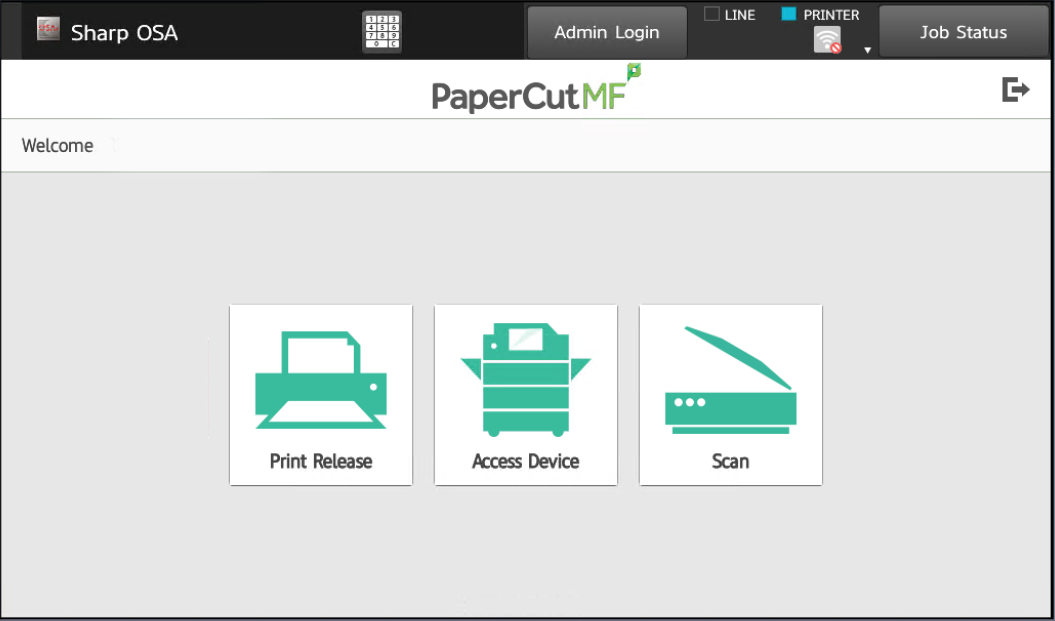
- Once you are signed in, you will see three (3) options: Print Release, Access Device, and Scan. Click Scan
- On this screen, you will see three (3) more options for scanning.
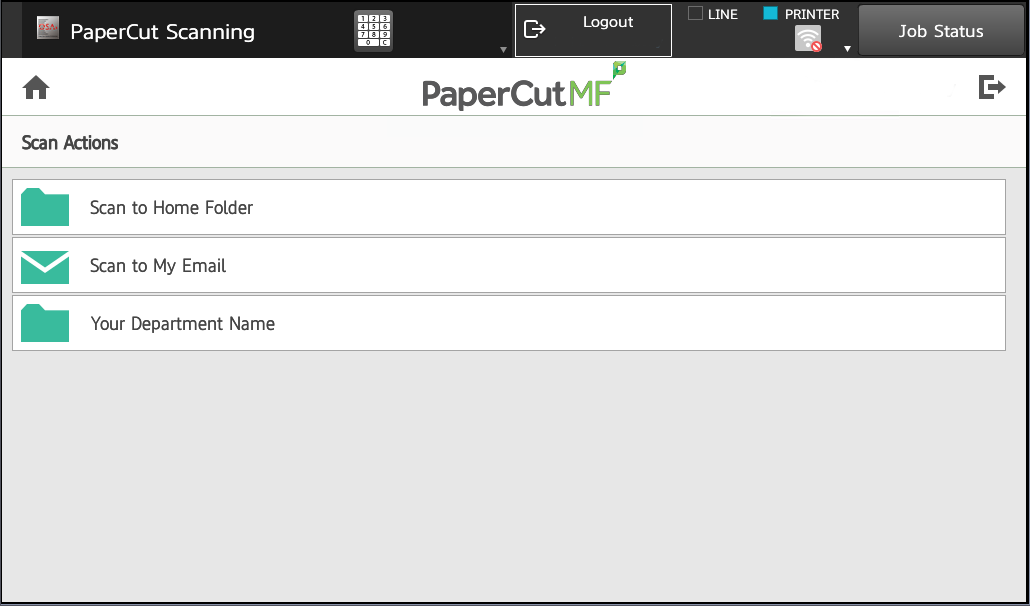
- Choose your desired method of scanning, based on the descriptions above. You will be taken to one of the screens below with your scanning options:
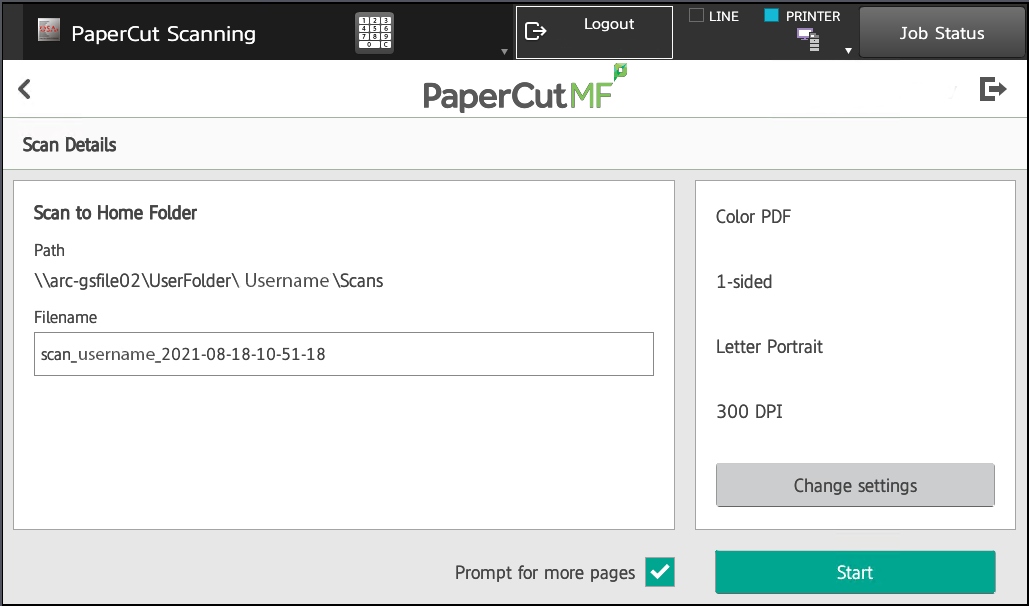
- Scan to Home Folder
This will scan your documents and send them to a “Scans” folder in your home folder (your “M” drive). In this menu, you can modify the name of the file that will be sent to your email containing your scanned document.
**Please note: Documents containing Level 1 Restricted and Level 2 Sensitive data must NOT be scanned to your Home folder.
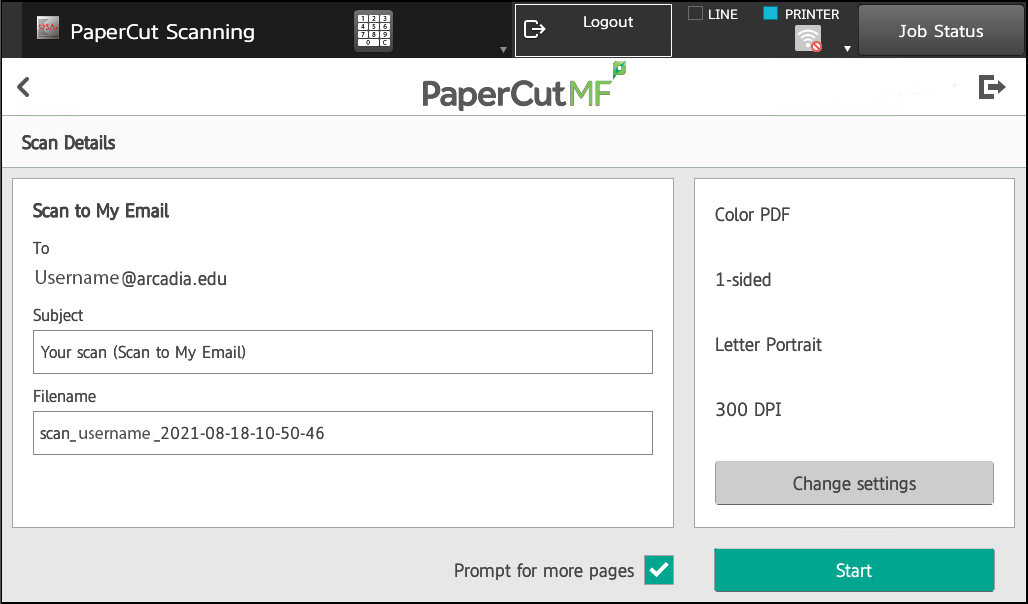
- Scan to My Email
This option allows you to scan your documents to your Arcadia email. In this menu, you can modify the Subject of the email and the name of the file that will be sent to your email containing your scanned document.
**Please note: Documents containing Level 1 Restricted and Level 2 Sensitive data must NOT be scanned to your email.
- Scan to Department Scan Share (Your Department Name)
Choosing this option will scan the document to your designated Department Scan Shared folder. In this menu, you can modify the name of the file that will be sent to your email containing your scanned document.
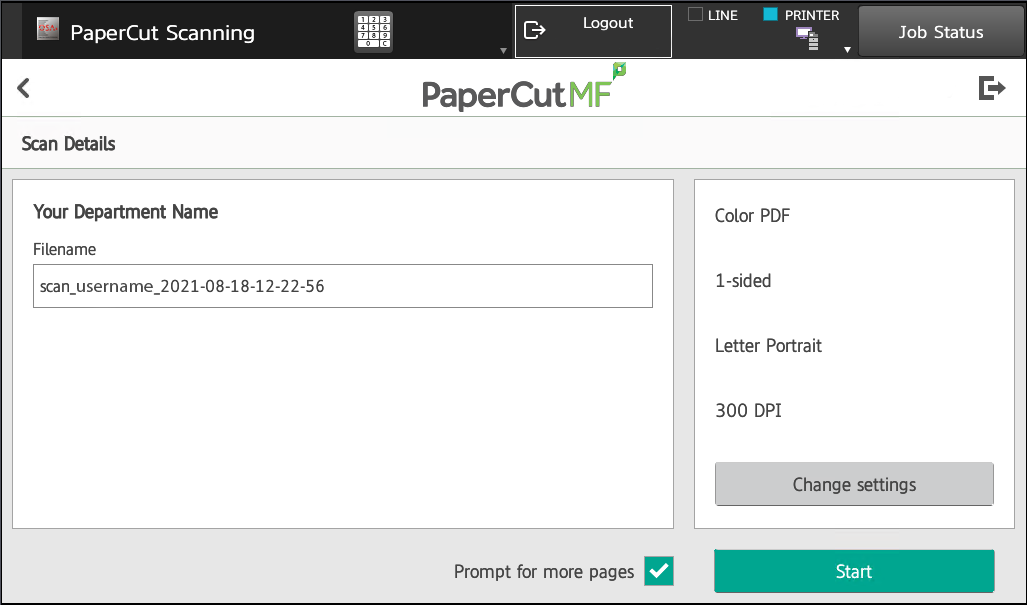
**Please note: Documents containing Level 1 Restricted and Level 2 Sensitive data may be temporarily scanned to your Department Scan Share, but must NOT be stored for longer than 5 days. After successfully scanning your document containing Level 1 Restricted and Level 2 Sensitive data to this location it must be moved to the appropriate system of record or your Department Shared Drive and deleted from your Department Scan Share.
- Once you are ready to scan and your document is loaded in the tray, press Start to begin your scan job.
- After the first page scans, you will have the option to scan additional pages by clicking Scan Next Page. Please note that clicking this button will add all pages to the same document.
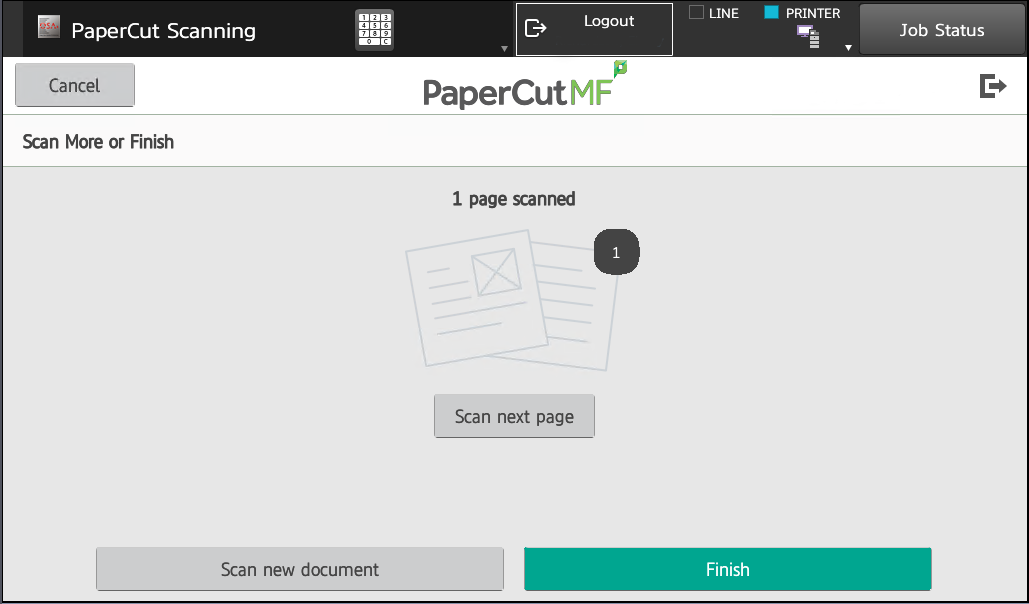
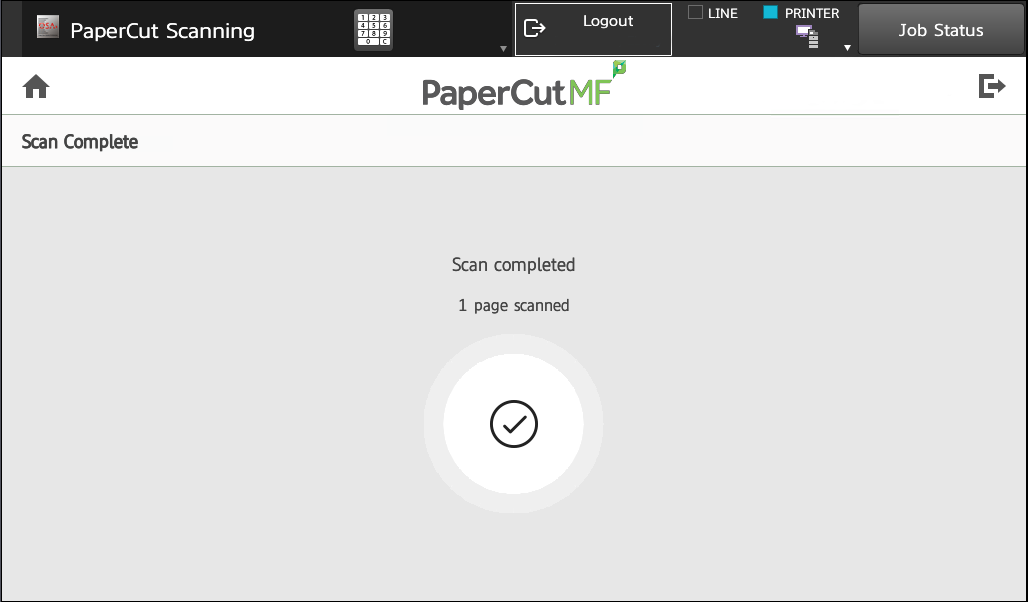
- When you are finished scanning all pages, click Finish.
- Your scanned document will now appear in the destination chosen in Step 4.